
If you’re dealing with a leak, flooding, or a burst pipe, the language can get confusing fast. People say “restoration” when they really mean “drying,” and insurance often splits work into separate buckets. This guide breaks down water mitigation vs water restoration so you can make the right calls in the right order. You’ll learn what happens in the emergency response phase, what comes later in the rebuild phase, how timelines typically shake out, and how to keep your insurance claim clean with the right documentation. And yes, we’ll also cover when remediation enters the picture, like mold growth or sewage backup.
Best for: Homeowners who need to stop active water intrusion quickly and then plan repairs without redoing work.
Not ideal when: You’re facing contaminated water, electrical hazards, or widespread structural saturation without professional help.
Good first step if: You can safely stop the source, protect valuables, and document conditions while arranging emergency response.
Call a pro if: There’s standing water near outlets, sewage odors, ceiling sagging, or you can’t identify and stop the leak.
Quick Summary
- Mitigation is the urgent work that prevents secondary damage by removing water and controlling humidity.
- Restoration is the repair and reconstruction work that returns materials like drywall, flooring, and baseboards to pre-loss condition.
- Mitigation typically involves water extraction, drying, dehumidification, moisture mapping, and selective demolition.
- Restoration typically involves rebuilding, reinstalling finishes, and sometimes coordinating multiple trades.
- Insurance claims often separate these phases, so good photos and moisture monitoring notes matter.
Quick Answer: Mitigation Stops Damage, Restoration Repairs it
Water mitigation is the immediate work that stops damage from spreading, while water restoration is the follow-up work that repairs and rebuilds what was affected. Mitigation focuses on emergency response: removing standing water, stabilizing humidity, and preventing mold growth and material swelling. Restoration brings your home back to pre-loss condition through reconstruction and finishing.
Mitigation can include removing wet drywall or carpet (demolition) if it helps structural drying, but it usually doesn’t include installing new materials. Restoration is where repairs happen, from insulation replacement to paint touch-ups, after moisture monitoring shows the structure is dry.
A Simple Side-by-side Comparison
Mitigation happens first because wet materials keep deteriorating the longer they stay wet, even after the visible water is gone. Restoration comes after because rebuilding over hidden moisture can trap humidity and create odors, warping, or contamination later.
| Option | Primary goal | Common activities | Common crew |
|---|---|---|---|
| Water mitigation | Stop/limit damage | extraction, drying, dehumidification, selective demo | drying techs |
| Water restoration | Return to pre-loss | repairs, reconstruction, reinstall finishes | rebuild trades |
So what does this mean for you? If you’re still wet, you’re in mitigation. If you’re dry and rebuilding, you’re in restoration.
What Water Mitigation Includes (the Emergency Phase)
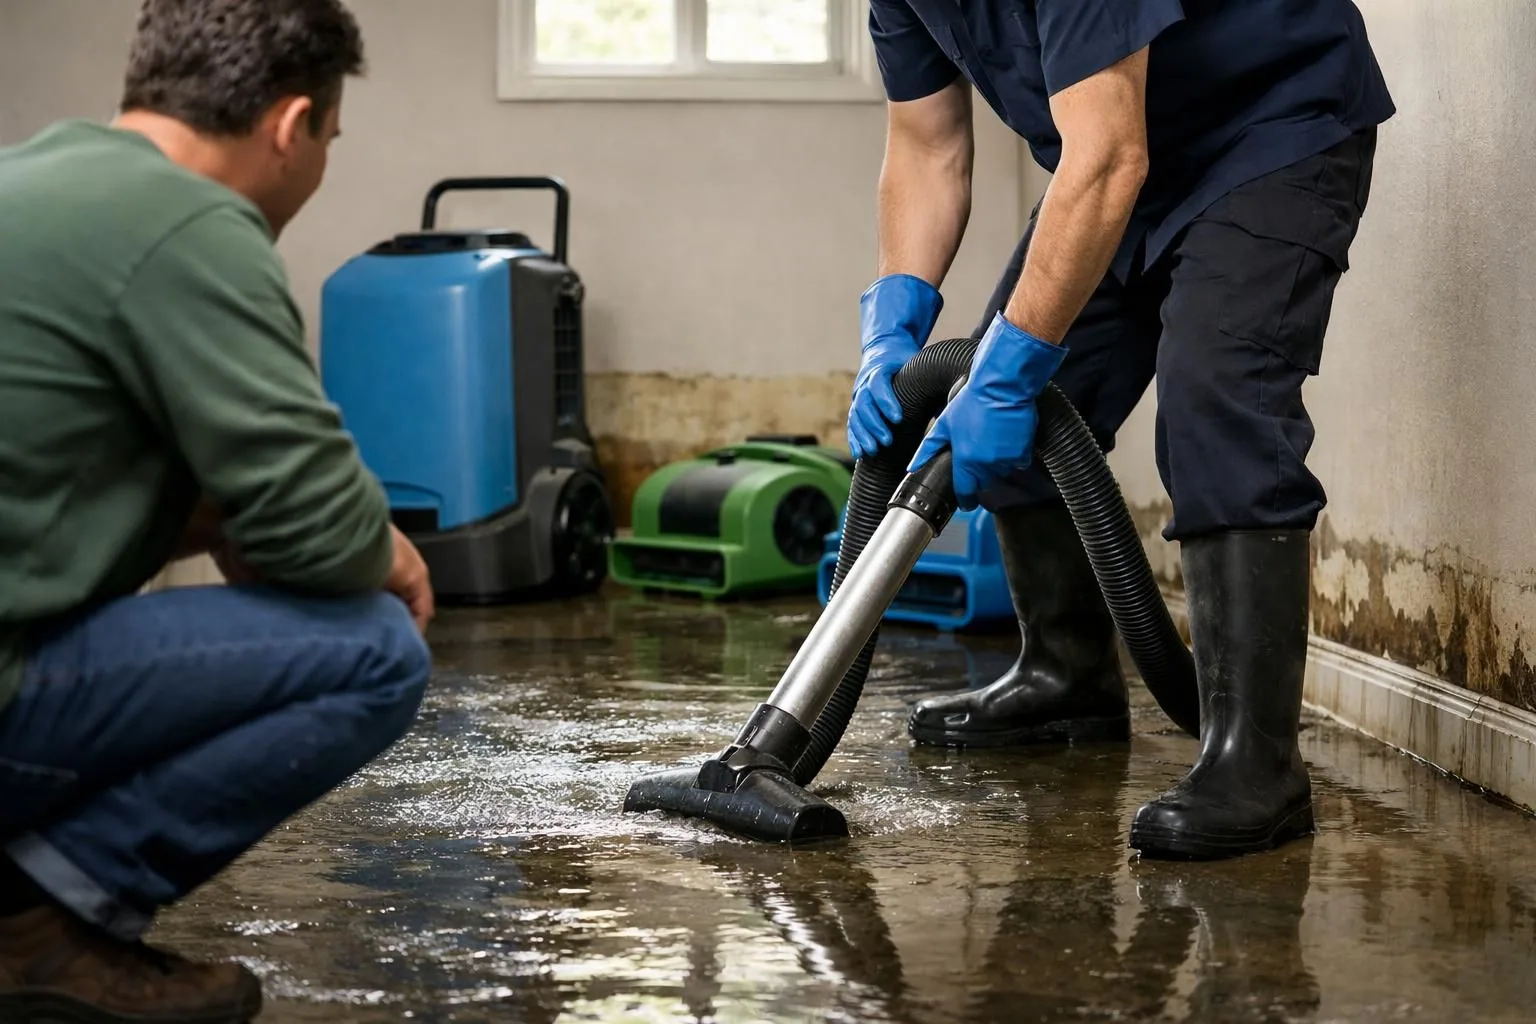
Water mitigation is the emergency work that removes water, stabilizes conditions, and prevents secondary damage. It typically includes water extraction, air movers, dehumidifiers, and moisture checks using meters and moisture mapping to find what’s still wet.
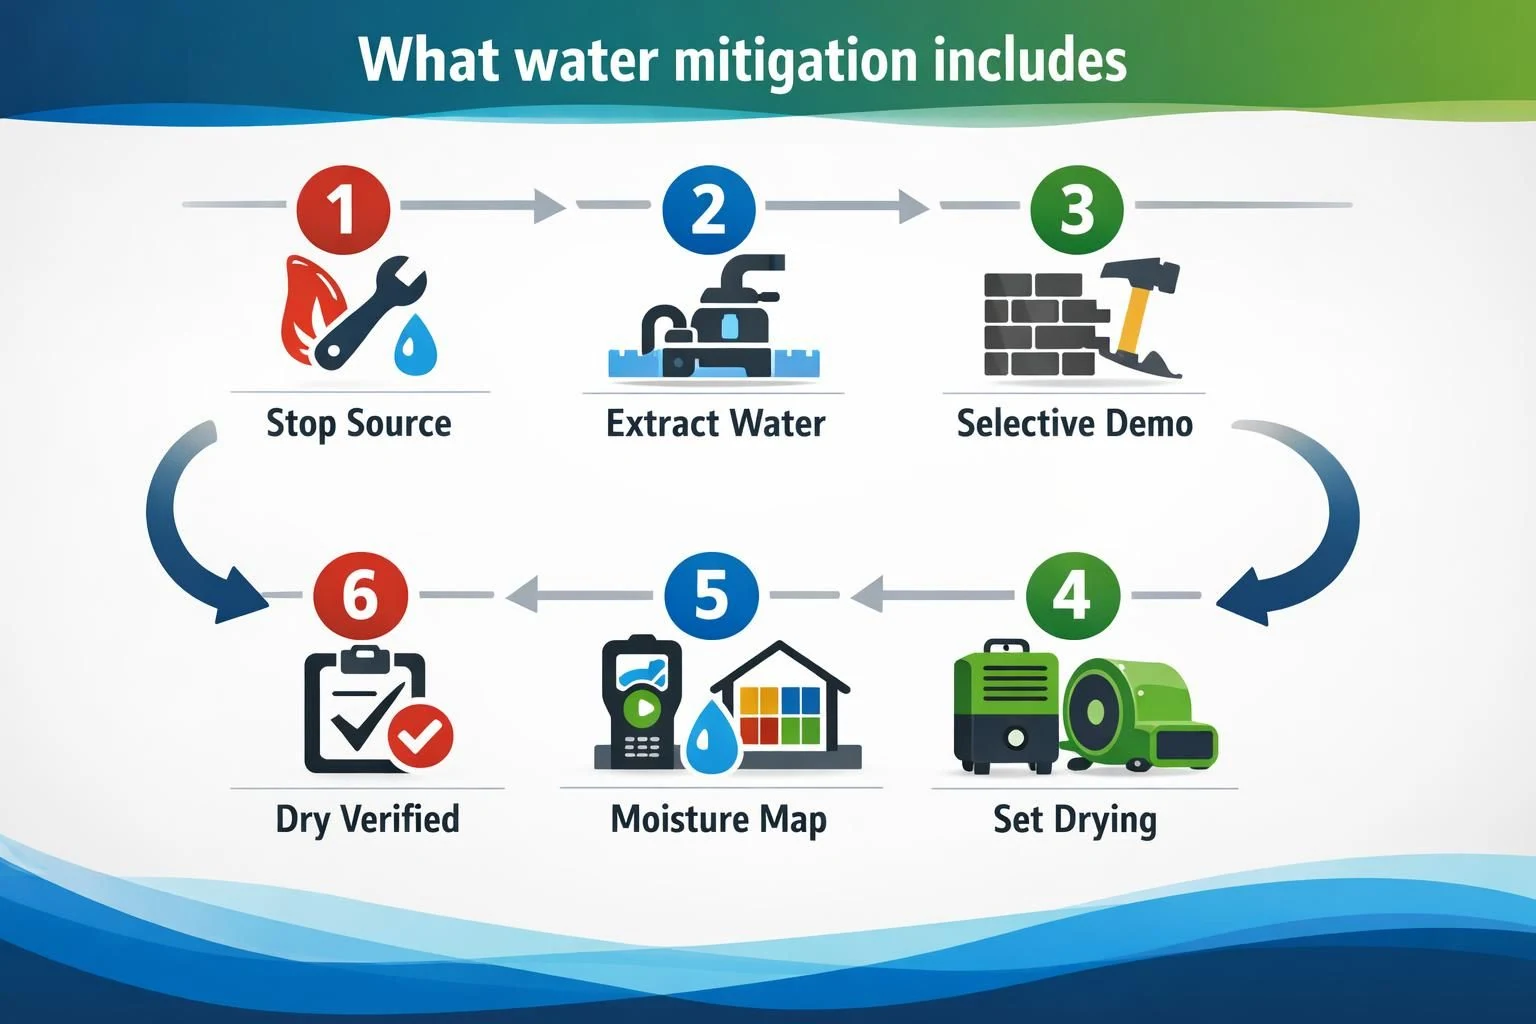
A good team also decides what must be removed now versus saved. Saturated insulation rarely dries in place, and swollen baseboards can trap moisture against drywall. For a scenario walkthrough, see first steps after a burst pipe.
Typical Steps and Timeline (First 24–72 Hours)
Most mitigation work starts with stopping the source (if possible), then moving quickly into extraction and structural drying. The exact timeline depends on how far water intrusion traveled, what materials got hit, and how quickly humidity rises.
Typical mitigation steps include:
- Safety check, including PPE and basic hazard flags (electrical, contamination)
- Water extraction with a water pump or wet/dry vacuum
- Moisture mapping using a moisture meter and sometimes a thermal imaging camera
- Setting air movers and dehumidifiers for drying and dehumidification
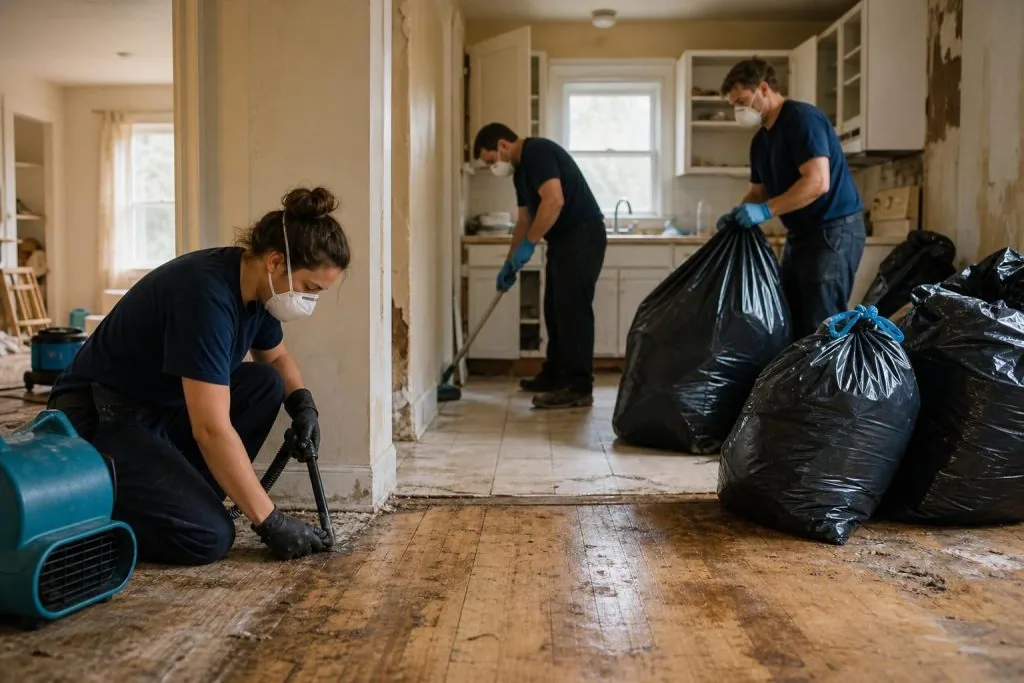
- Removing unsalvageable porous materials (selective demolition)
- Moisture monitoring with drying logs until readings stabilize
What Water Restoration Includes (the Rebuild Phase)
Water restoration includes the repairs and reconstruction that put your home back together after the structure is dry. This is where replacement materials go in and finishes get restored: drywall, insulation, baseboards, subfloor repairs, flooring installation, and paint. If mitigation is “make it safe and dry,” restoration is “make it whole again.”
This phase often looks slower, but it’s doing different work. It may involve an estimate, material ordering, and coordinating trades so repairs don’t conflict. If you’re comparing service scopes, it can help to look at how contractors define full water restoration work versus emergency-only drying.
Typical Repairs and Timeline
Restoration timelines vary because drying completion, inspections, and material availability can change the sequence. But the logic is consistent: you rebuild only after moisture monitoring confirms the structure is ready.
Common restoration tasks include:
- Drywall replacement and finishing
- Insulation replacement in affected cavities
- Baseboard and trim reinstall
- Subfloor spot repairs and flooring replacement
- Cabinet toe-kick repairs or resets (when applicable)
- Painting, texture matching, and final detailing
If you’re tempted to rush, don’t. Rebuilding over lingering moisture is how people end up paying twice.
Key Differences: Goals, Tasks, Tools, and Who Performs the Work
The clearest difference is that mitigation is measured by dryness and stability, while restoration is measured by repair quality and livability. Mitigation crews focus on moisture mapping, containment barrier decisions (when needed), and drying strategy. Restoration crews focus on reconstruction, fit-and-finish, and code-friendly repairs.
Tools differ, too. Mitigation commonly uses air movers, dehumidifiers, moisture meters, thermal imaging cameras, and extraction equipment like a water pump. Restoration leans on demolition tools (when rebuild prep is needed), carpentry tools, drywall finishing gear, flooring tools, and painting equipment. And while one company can do both phases, the skill sets are still distinct: drying technicians versus reconstruction trades.
Costs and Insurance: How Claims Typically Separate Mitigation and Restoration
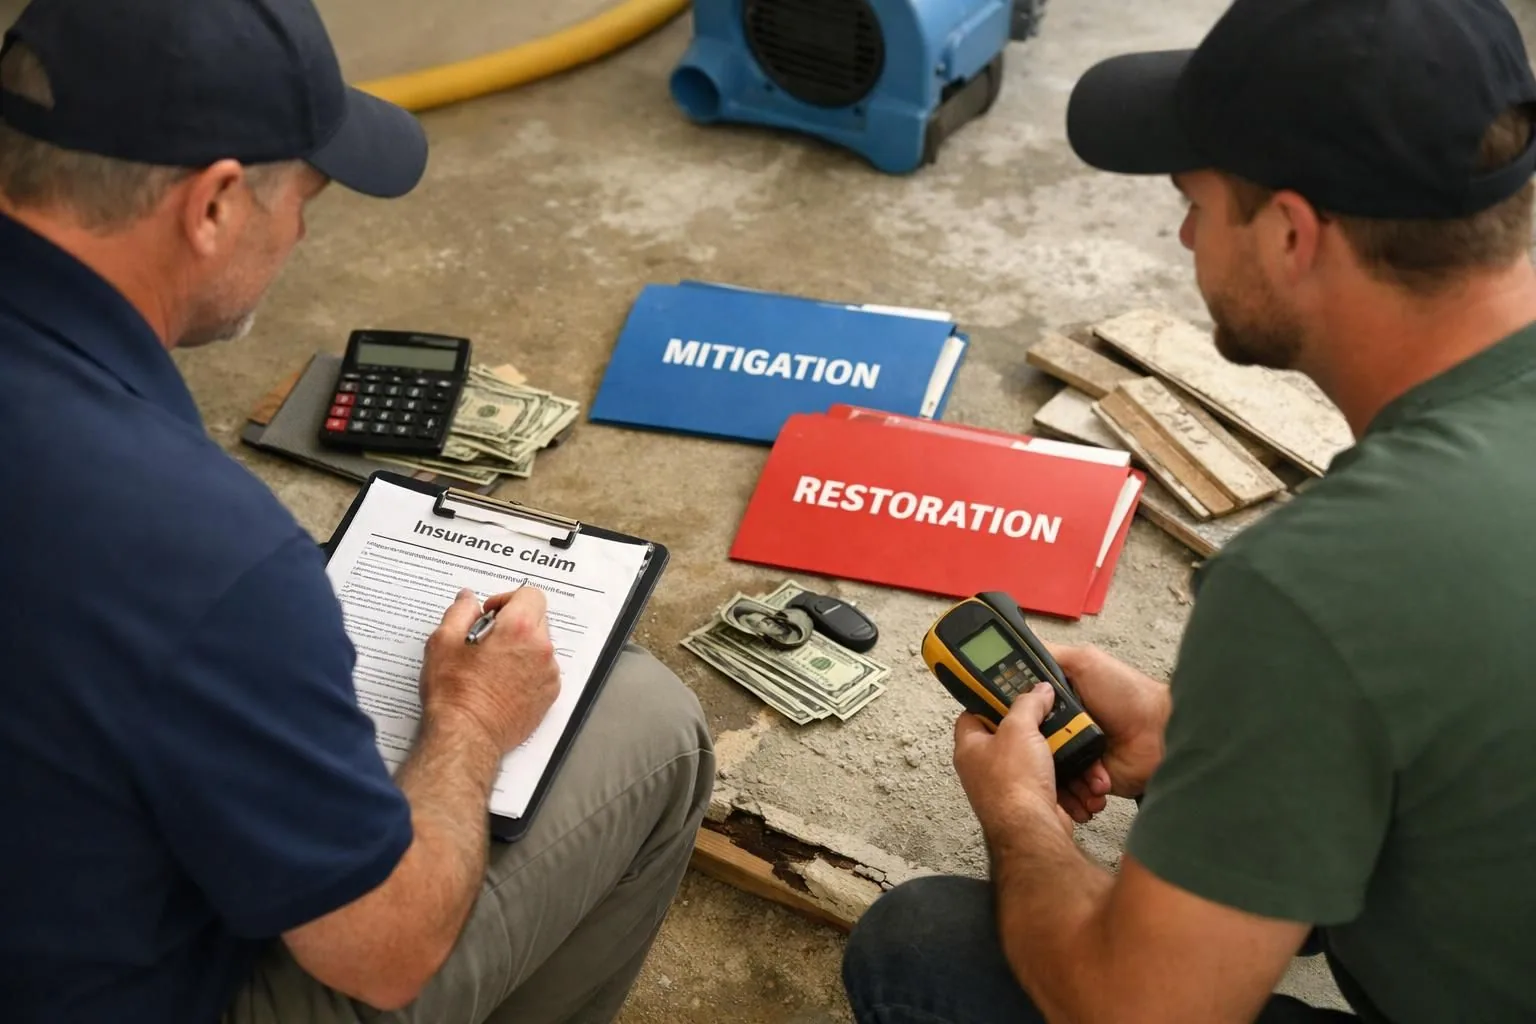
Insurance usually treats mitigation and restoration as related but separate parts of one claim because they happen at different stages. Mitigation invoices commonly include emergency response, extraction, drying, dehumidification, disinfection when needed, and moisture monitoring. Restoration estimates cover repairs and reconstruction, including replacing finishes.
Costs depend on more than square footage: material type, access (behind cabinets or under floors), and water category (clean versus sewage) all change scope. Avoid paying twice by aligning mitigation choices with the rebuild plan and delaying restoration until drying is verified. For early containment, use stop damage from spreading.
What Documentation You Should Expect
Good documentation makes the handoff between phases cleaner and reduces claim friction. You’re not looking for fancy reports, just consistent proof of conditions and progress.
Expect documentation like:
- Photos of damage before work begins and during drying
- Moisture mapping notes and daily moisture monitoring readings
- Drying logs showing equipment placement and check results
- A clear scope of work and itemized invoices
- Any notes about demolition decisions and what was removed
And keep your own notes, too. A simple timeline of when you found the leak and what you did next helps.
When You Might Need Remediation Too (Mold, Sewage, Contamination)
Remediation may be needed when the issue is contamination or microbial risk, not just water. Mold can start when materials stay damp and humidity remains high, and sewage introduces pathogens that change what can be cleaned versus removed. In these cases, remediation requires stricter containment, removal rules, and disinfection.
Drying alone often isn’t enough. Porous items exposed to contaminated water may need removal, plus barriers and higher-grade PPE. If you notice musty odor, spotting, or dampness in hidden cavities, read signs mold is getting worse and get an assessment before rebuilding.
What to Do Right After Water Damage (Homeowner Checklist)
Act fast to limit damage before help arrives. Priorities: safety, stop the source, protect valuables, and document conditions.
Checklist:
- Shut off the water supply for plumbing, appliances, or burst lines
- If safe, cut power to affected areas, especially with standing water
- Take photos of damage and water lines before cleanup
- Move valuables, rugs, and small furniture to a dry area
- Extract small amounts of water only if you can do it safely
- Improve airflow by opening interior doors, but don’t run HVAC into wet cavities
- Call for emergency extraction if water is pooling, soaked, or spreading
For wet wall cavities, see what to do for wet walls.
When to Call a Pro vs Safe DIY
DIY is only for minor, clean-water leaks you can dry quickly without safety risk. Bring in a pro when water is extensive, hidden, contaminated, or you can’t verify everything is dry.
DIY can fit when:
- The leak is small, clean, and confined to easy-to-dry surfaces
- You can remove wet items fast and keep humidity down
- No drywall, insulation, subfloor, or assemblies are saturated
Call a pro when:
- Water is near outlets or you’re unsure about shutoff, like turning off electricity safely
- There’s standing water, ceiling sagging, or rapid spread
- Sewage or contamination is involved
Conclusion
Mitigation first, restoration second is the sequence that protects both your home and your budget, because drying and moisture monitoring set the stage for repairs that actually last. If you’re weighing water mitigation vs water restoration, ask yourself one simple question: are you still trying to stop damage, or are you ready to rebuild? Start with safe shutdowns, quick photos, and an emergency response plan, then move into reconstruction only once the structure is truly dry.