Water damage rarely stays in one place. It wicks through drywall, follows framing, seeps under flooring, and can drip into lower levels long after the first puddle is gone. If you act quickly and in the right order, you can limit how far it travels and reduce the amount of material that needs repair. This guide explains how to stop water damage from spreading, starting with immediate safety and shutoff steps, then moving into containment, extraction, and drying. You will also learn how to stop water damage on wood without trapping moisture, what mistakes to avoid, and when the situation calls for professional equipment and expertise.
- Stop the source before you focus on cleanup, or the damage will keep expanding.
- Contain and redirect water so it cannot reach adjacent rooms or lower floors.
- Remove standing water fast, then shift to controlled drying and dehumidification.
- Prioritize porous materials (rugs, drywall edges, insulation) that wick moisture.
- Avoid sealing wet materials or using heat in ways that drive moisture deeper.
- Document everything early so repairs and insurance decisions are easier.
Quick answer: the fastest way to stop water damage from spreading
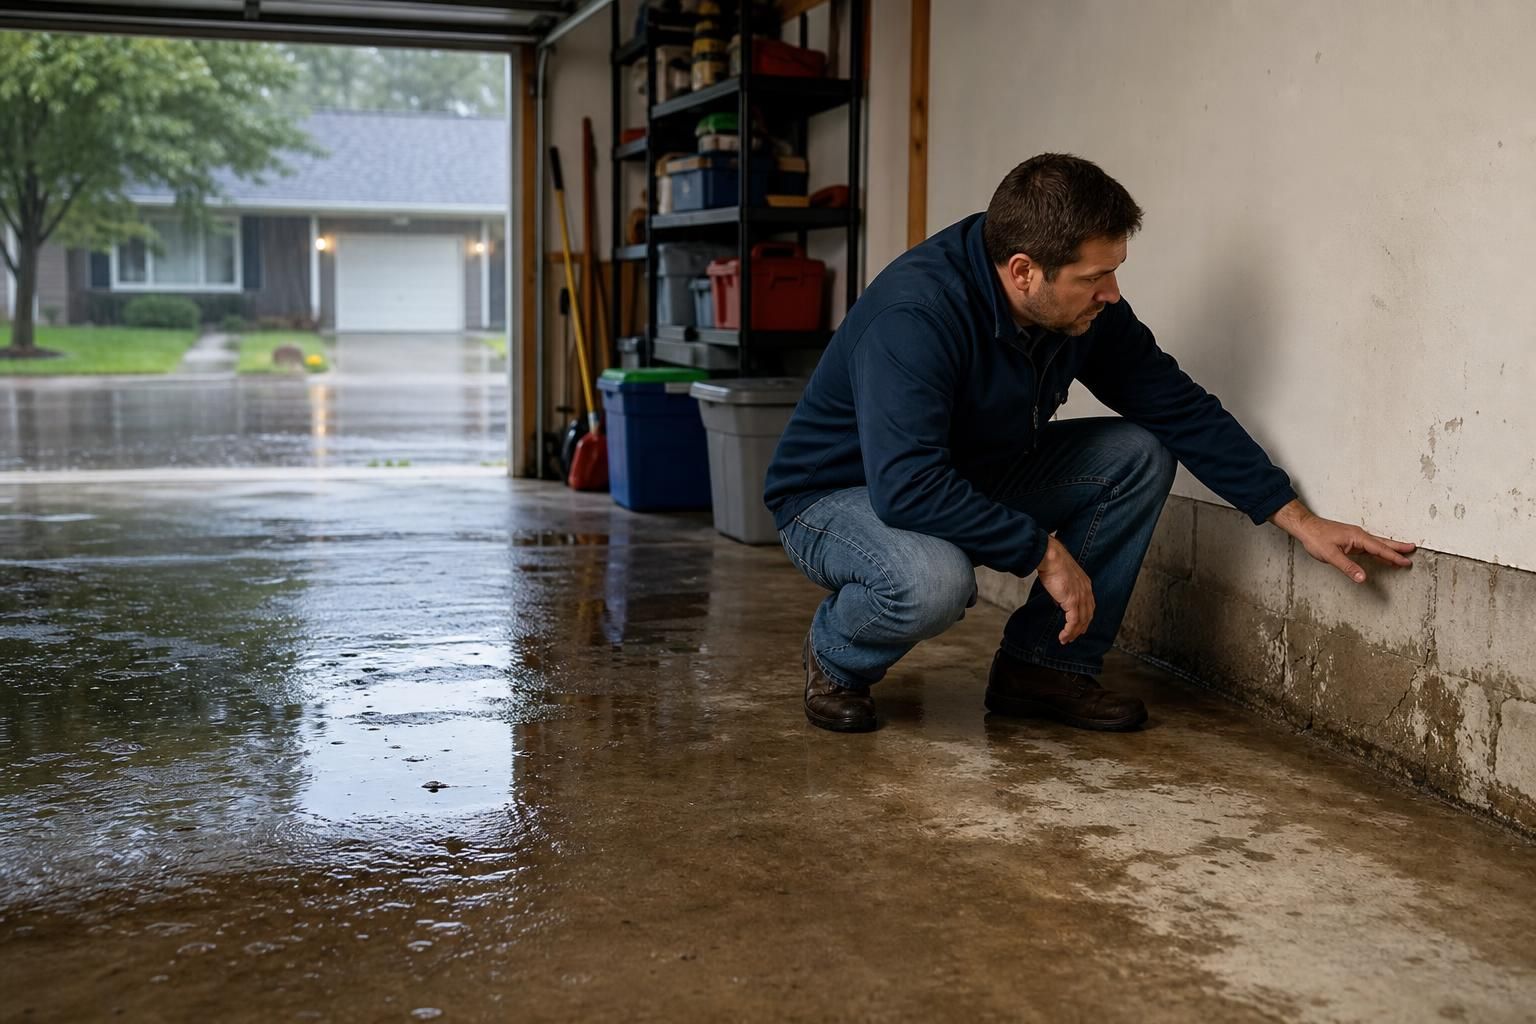
The fastest way to limit spread is to stop the water, cut power to affected areas if needed, and remove standing water immediately. Start by shutting off the nearest valve or main water supply, then contain runoff using towels, plastic sheeting, or a makeshift berm so water cannot migrate under baseboards or into hallways. If water is coming from above, catch it with buckets and relieve bulging ceiling drywall carefully only if it is safe.
Next, extract water with a wet/dry vacuum, mop, or pump depending on depth. Once the surface water is gone, begin evaporation: increase airflow, lower humidity with a dehumidifier, and keep temperatures moderate. Speed matters most in the first hours because drywall, carpet pad, and wood edges absorb water quickly and move it outward.
Stop the source first (water shutoff and leak control)
Stopping the source is the single most effective step in how to stop water damage. If the leak continues, every other effort becomes temporary, and saturated materials will keep feeding moisture into neighboring areas. Identify whether the water is from a supply line, appliance, roof intrusion, window, or drain backup. Supply leaks usually require shutting off a valve. Intrusion from rain may require temporary exterior measures while you protect the interior.
The fastest way to limit spread is to stop the water, cut power to affected areas if needed, and remove standing water immediately to begin learning how to dry a room after a water leak. Start by shutting off the nearest valve or main water supply, then contain runoff using towels, plastic sheeting, or a makeshift berm so water cannot migrate under baseboards or into hallways. If water is coming from above, catch it with buckets and relieve bulging ceiling drywall carefully only if it is safe.
If there is any chance water contacted outlets, light fixtures, or wiring, avoid walking through it and turn off power at the breaker for the affected rooms. For active plumbing leaks, close the fixture shutoff (under a sink or behind a toilet) if accessible. If you cannot locate the local valve or it is stuck, shut off the main water supply. Once flow is stopped, relieve pressure by opening a faucet.
To control small leaks until repairs happen:
- Wrap a small pipe leak with a rubber patch and clamp, or tightly secure a rubber strip with a clamp or zip ties
- Place a pan under drips and route water into a bucket using a short piece of tubing or a towel “wick”
- For appliance leaks, turn off its supply, unplug it, and pull it slightly forward only if the floor is stable and not slick
Protect adjacent rooms and lower levels
After stopping the source, focus on containment. Water spreads laterally under flooring and along the bottom edge of drywall, then can drop through penetrations, seams, and recessed fixtures. Close doors to slow airflow that pushes humid air into other rooms, but do not trap moisture in the wet space without ventilation. Use towels along thresholds and at the base of doorways. If you have plastic sheeting, tape it low along the floor line to limit seepage into carpet or adjacent hard floors.
Stopping the source is the single most effective step in water damage restoration. If the leak continues, every other effort becomes temporary, and saturated materials will keep feeding moisture into neighboring areas. Identify whether the water is from a supply line, appliance, roof intrusion, window, or drain backup. Supply leaks usually require shutting off a valve. Intrusion from rain may require temporary exterior measures while you protect the interior.
Check the level below the affected area early. Look for damp ceiling spots, bubbling paint, or drips around light fixtures. If you see signs below, move valuables away and place catch containers. Even if the leak is stopped, trapped water can continue to migrate for hours. Your goal is to keep the wet zone small and predictable so drying can be focused and materials outside the zone stay dry.
How to create a quick water barrier and route flow
A quick barrier is often enough to prevent an extra room from becoming part of the loss. Roll towels into tight tubes and press them into a line at the doorway, then place a second line a few inches behind the first. For more control, put plastic sheeting down on the dry side, overlapping toward the wet side, and weight it with books or boards. This creates a slippery surface that encourages water to stay on the wet side where you can extract it.
If water is still trickling in, route it to a single collection point. A simple method is to angle a piece of plastic, a baking sheet, or a dustpan so water runs into a bucket. For slow seepage under flooring, concentrate extraction along the edge where it is moving, rather than chasing the center puddle. The edge is where spread happens.
When to move furniture and pull rugs
Move items as soon as it is safe and the source is stopped. Start with anything that can stain, swell, or rust: upholstered furniture, particleboard shelves, cardboard boxes, and electronics. Lift furniture legs onto small blocks or foil squares to reduce contact with wet flooring. If carpet is wet, remove lightweight furniture first, then address the carpet and pad.
Rugs should be pulled if they are wet or if water is moving toward them. Roll them rather than dragging, and take them to a dry, ventilated area. Be cautious with large area rugs on wood, because trapped moisture underneath can cause cupping and discoloration. If a rug is only slightly damp at the edge, you can sometimes fold it back and dry both sides, but do not leave it flat over a wet floor.
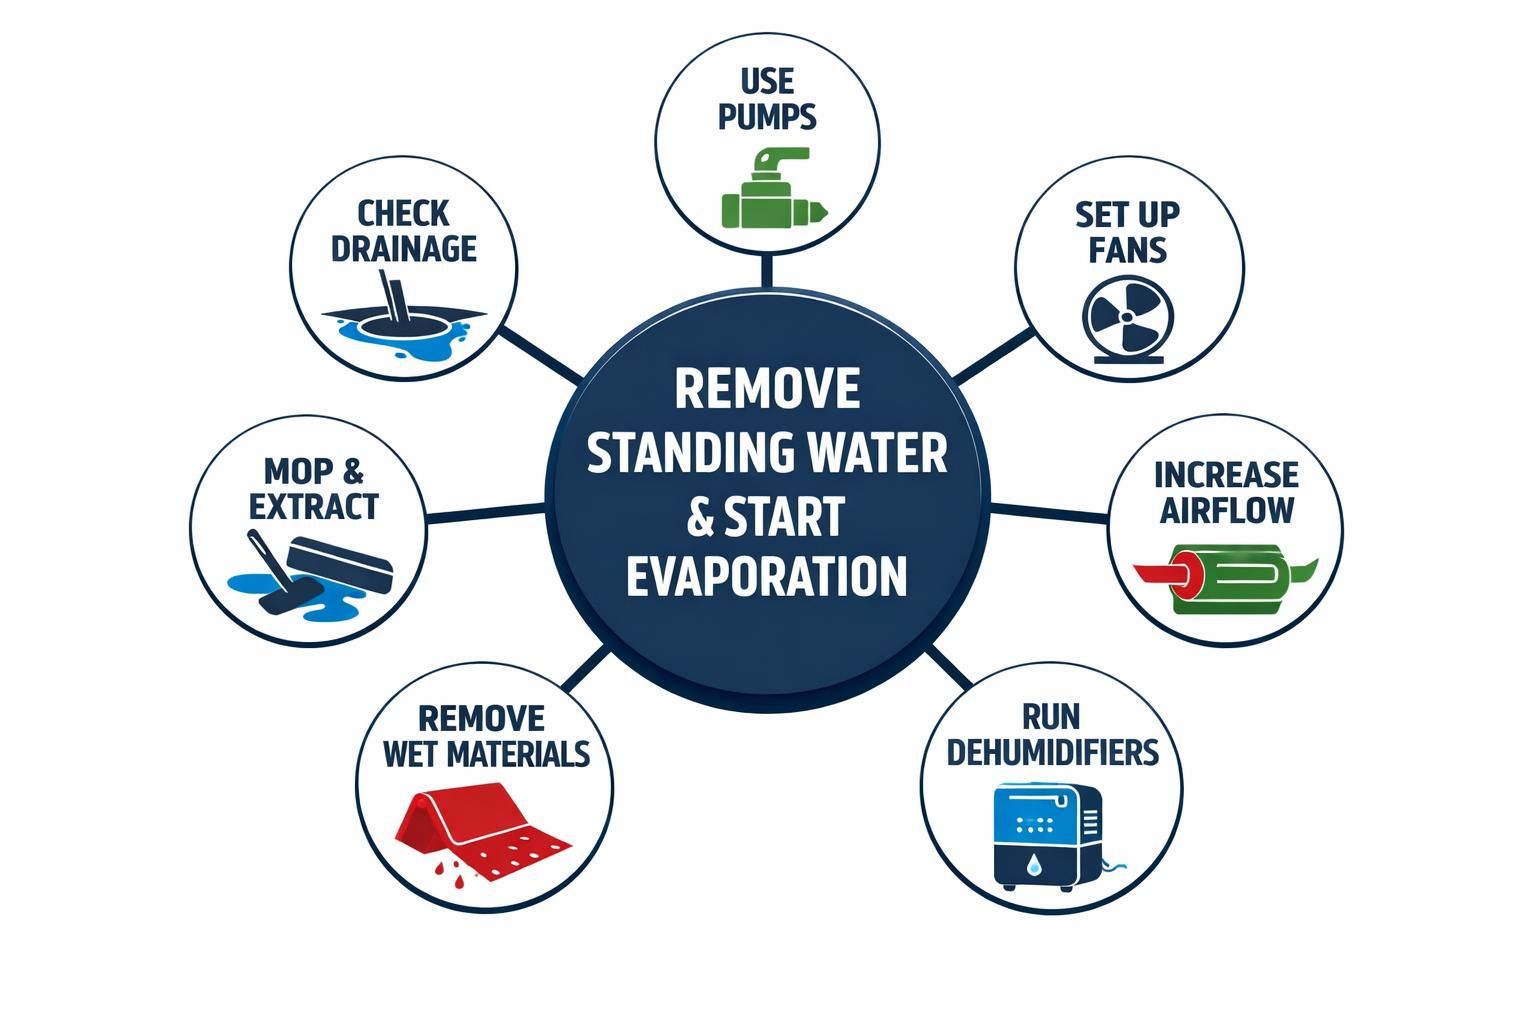
Remove standing water and start evaporation
Extraction is faster than drying. The more water you physically remove, the less you need to evaporate into the air, which lowers the risk of moisture spreading into walls and adjacent rooms. Use a wet/dry vacuum for shallow water, a mop and bucket for hard surfaces, and absorbent towels for tight spaces. Work from the outer edge toward the center so you stop the migration line first.
After standing water is gone, remove wet, absorbent items that hold gallons of water invisibly, such as carpet pad, stuffed furniture cushions, and piles of damp clothing. If you are dealing with water on wood floors, wipe it thoroughly, then dry the surface gently with airflow. Avoid immediately sealing the room tight, because evaporation needs an exit path and dehumidification needs circulation.
Drying strategy (airflow, humidity, temperature)
Drying is about controlling three levers: airflow across wet surfaces, low humidity so moisture can leave materials, and moderate warmth to speed evaporation without causing secondary damage. Place fans to move air across the wet area, not straight down into it. Angle them so air sweeps along the floor and up the wall, then out toward a return path. Open interior doors if it helps create a consistent air path, but keep barriers at thresholds if water might re-enter.
Run a dehumidifier continuously if you have one, and empty it often. Air conditioning can help lower humidity, but it is not a replacement for dedicated dehumidification. For how to stop water damage on wood, the key is slow, even drying. Too much heat can cause rapid surface drying that traps moisture inside boards, leading to warping. If baseboards or lower drywall edges are wet, promote airflow along those edges, because trapped moisture there often drives spread behind finishes.
Practical drying checklist:
- Aim fans across surfaces, not directly into corners
- Keep the space moderately warm, avoiding high heat blasts
- Run dehumidification and keep doors arranged for a steady air path
- Check hidden zones: under sinks, behind toilets, closet corners, and along baseboards
What not to do (common mistakes that make it worse)
Do not ignore safety. Avoid using household fans if there is standing water near outlets or exposed wiring, and never run electrical equipment through wet areas. Another common mistake is closing windows and doors tightly while also not running a dehumidifier. That traps humid air and can push moisture into drywall, trim, and adjoining rooms.
Do not ignore safety. Avoid using household fans if there is standing water near outlets or exposed wiring, and never run electrical equipment through wet areas. Another common mistake is closing windows and doors tightly while also not running a dehumidifier after a burst pipe. That traps humid air and can push moisture into drywall, trim, and adjoining rooms.
Do not paint, caulk, or apply floor finishes over damp materials. Sealing wet surfaces can lock moisture inside, causing swelling, odor, and ongoing damage you cannot see. Also avoid cranking heat too high. High heat can drive moisture deeper into porous materials or cause wood to cup and split. Finally, do not assume a surface that feels dry is actually dry. Drywall, insulation, and subfloor can stay wet behind intact finishes, continuing to spread dampness sideways.
When to call a restoration pro
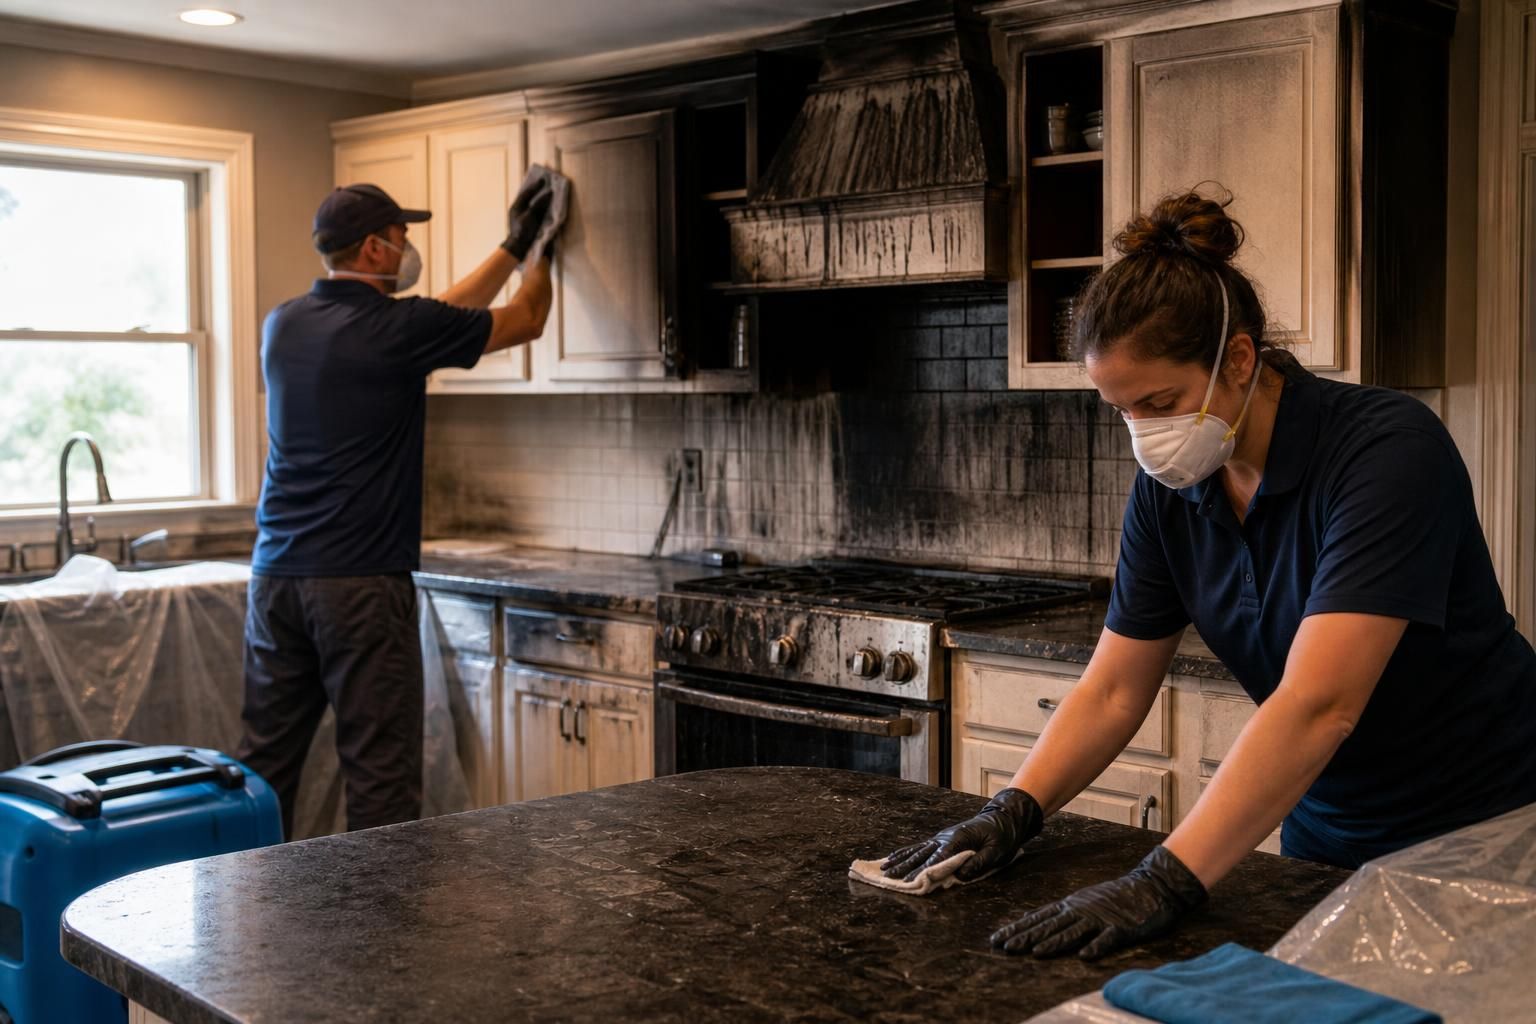
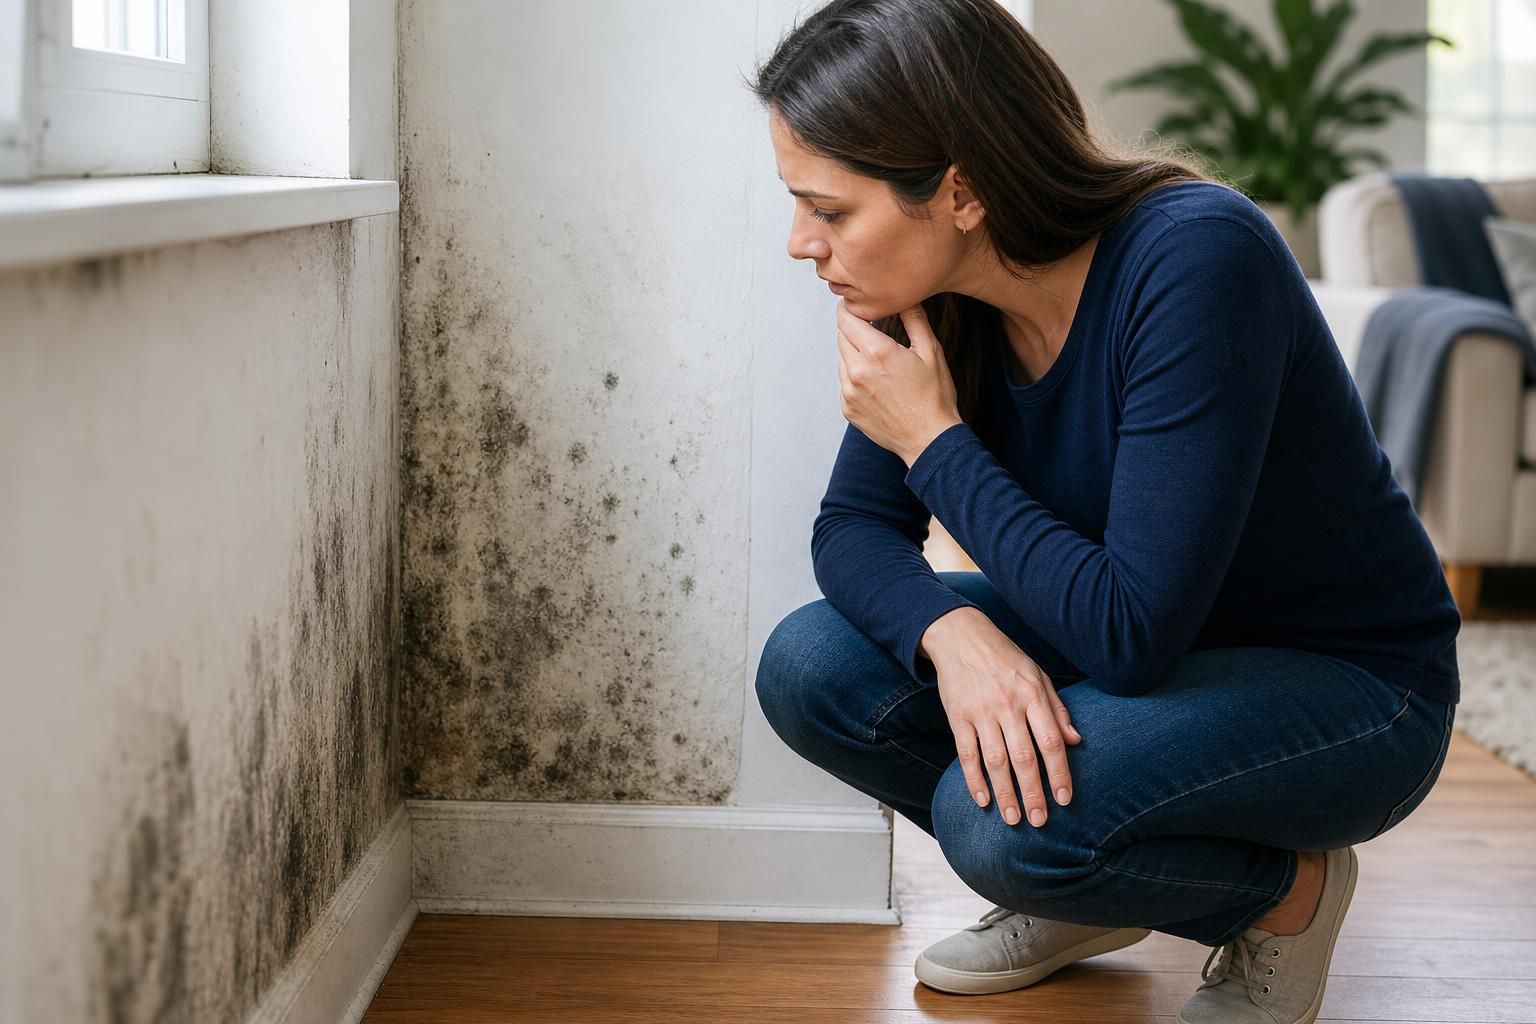
Call a restoration professional if the water is contaminated, if the affected area is large, if water reached walls or ceilings, or if the leak ran for an unknown period. You should also call if you see sagging ceilings, widespread bubbling paint, or a persistent musty odor after initial drying. Professionals can assess moisture behind materials and use equipment designed to dry cavities, not just surfaces.
If you have swelling wood floors, delaminating laminate, or soft drywall, you may need controlled drying and selective removal to prevent hidden moisture from traveling. The same applies if the water source was a drain backup or other potentially unsanitary water. In those cases, how to stop water damage from spreading includes preventing cross-contamination, which often requires specific cleaning steps and disposal of porous items.
Documentation for insurance and repairs
Document early, before you move too much, but after you have handled immediate safety. Take clear photos and videos of the source area, the path of water, and every affected material: floors, baseboards, drywall, ceilings below, and damaged personal property. Capture close-ups and wide shots that show location context. Write down what happened and the timeline as you understand it, including when you discovered the issue and what actions you took to stop it.
Keep receipts for supplies and any emergency services. If you remove damaged materials, save small samples if practical and take photos during removal to show saturation. For repairs, note which areas were wet even if they look fine now, since hidden moisture can cause delayed problems. Good documentation supports faster decisions about drying, repair scope, and whether further investigation behind walls is needed.
Conclusion
To reduce repairs and prevent secondary issues, act in a simple order: stop the water, contain the spread, extract standing water, then dry with controlled airflow and low humidity. Pay special attention to porous materials and edges where moisture wicks outward, and be cautious with wood floors by drying them evenly rather than aggressively heating them. Avoid sealing damp surfaces or assuming a dry feel means the structure is dry. If contamination, hidden wet areas, or structural concerns are present, bring in a professional. With a fast, methodical response, you can limit damage and confidently follow through on how to stop water damage from spreading.
Extraction is faster than drying. The more water you physically remove, the less you need to evaporate into the air, which lowers the risk of moisture spreading into walls and adjacent rooms, as discussed in understanding water damage. Use a wet/dry vacuum for shallow water, a mop and bucket for hard surfaces, and absorbent towels for tight spaces. Work from the outer edge toward the center so you stop the migration line first.