Roof leaks are stressful because they don’t just drip, they spread. Water can run along rafters, soak insulation, stain ceilings, and quietly pool where you can’t see it. This guide to roof leak water damage cleanup walks you through what to do in the first minutes and the first day, with a focus on safety, containment, drying, and knowing when materials have to come out. You’ll also learn how to tell “storm damage” from a slow seep, what to document, and how to lower your chances of dealing with the same mess again, especially in rainy areas like Seattle WA and Burien WA.
Best for: Homeowners dealing with an active roof leak or fresh ceiling stain who need a safe, practical first-day plan.
Not ideal when: Water is near wiring, the ceiling is sagging, or you can’t safely access the attic or affected rooms.
Good first step if: You can contain dripping, protect floors, and start drying while you track the leak’s likely path.
Call a pro if: You see bulging drywall, widespread saturation, strong odors, or the leak has affected multiple rooms or levels.
Quick Summary
- Act fast, but don’t rush into unsafe rooms when water and electricity might be mixing.
- Contain the drip first, then protect floors and furniture before you start moving things around.
- A roof leak ceiling stain often isn’t directly under the entry point, so trace the path logically.
- Attic water damage from roof leak issues often hides in insulation, around vents, and at roof-to-wall transitions.
- Drying works best when you pair airflow with dehumidification and create a way for trapped moisture to escape.
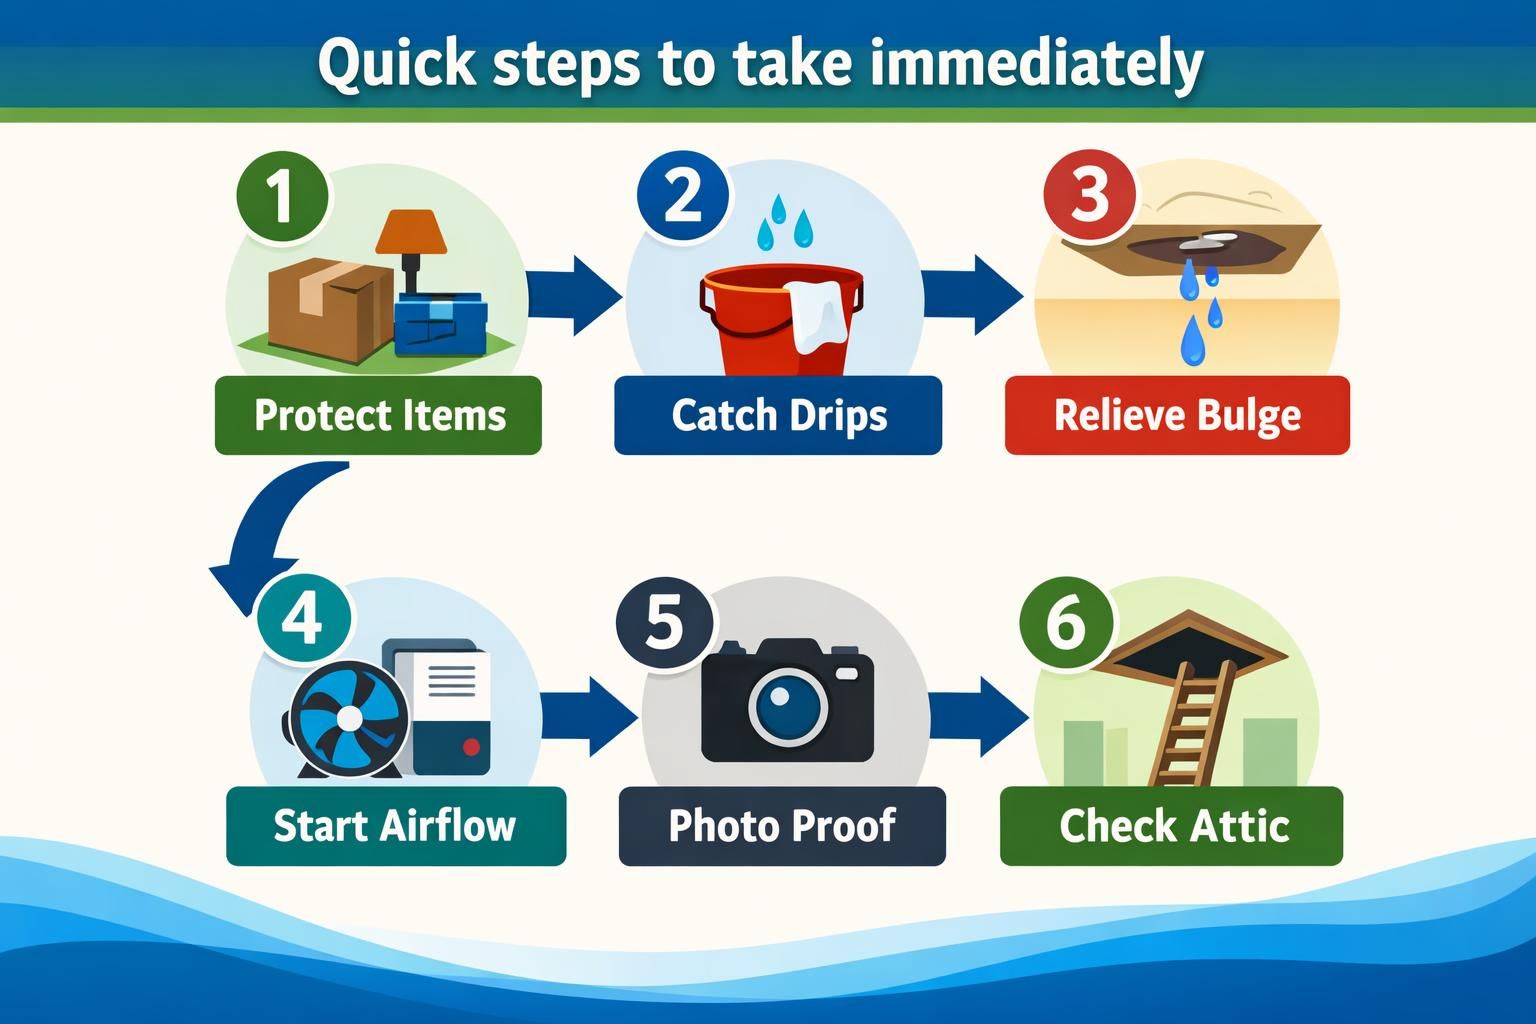
Quick Steps to Take Immediately
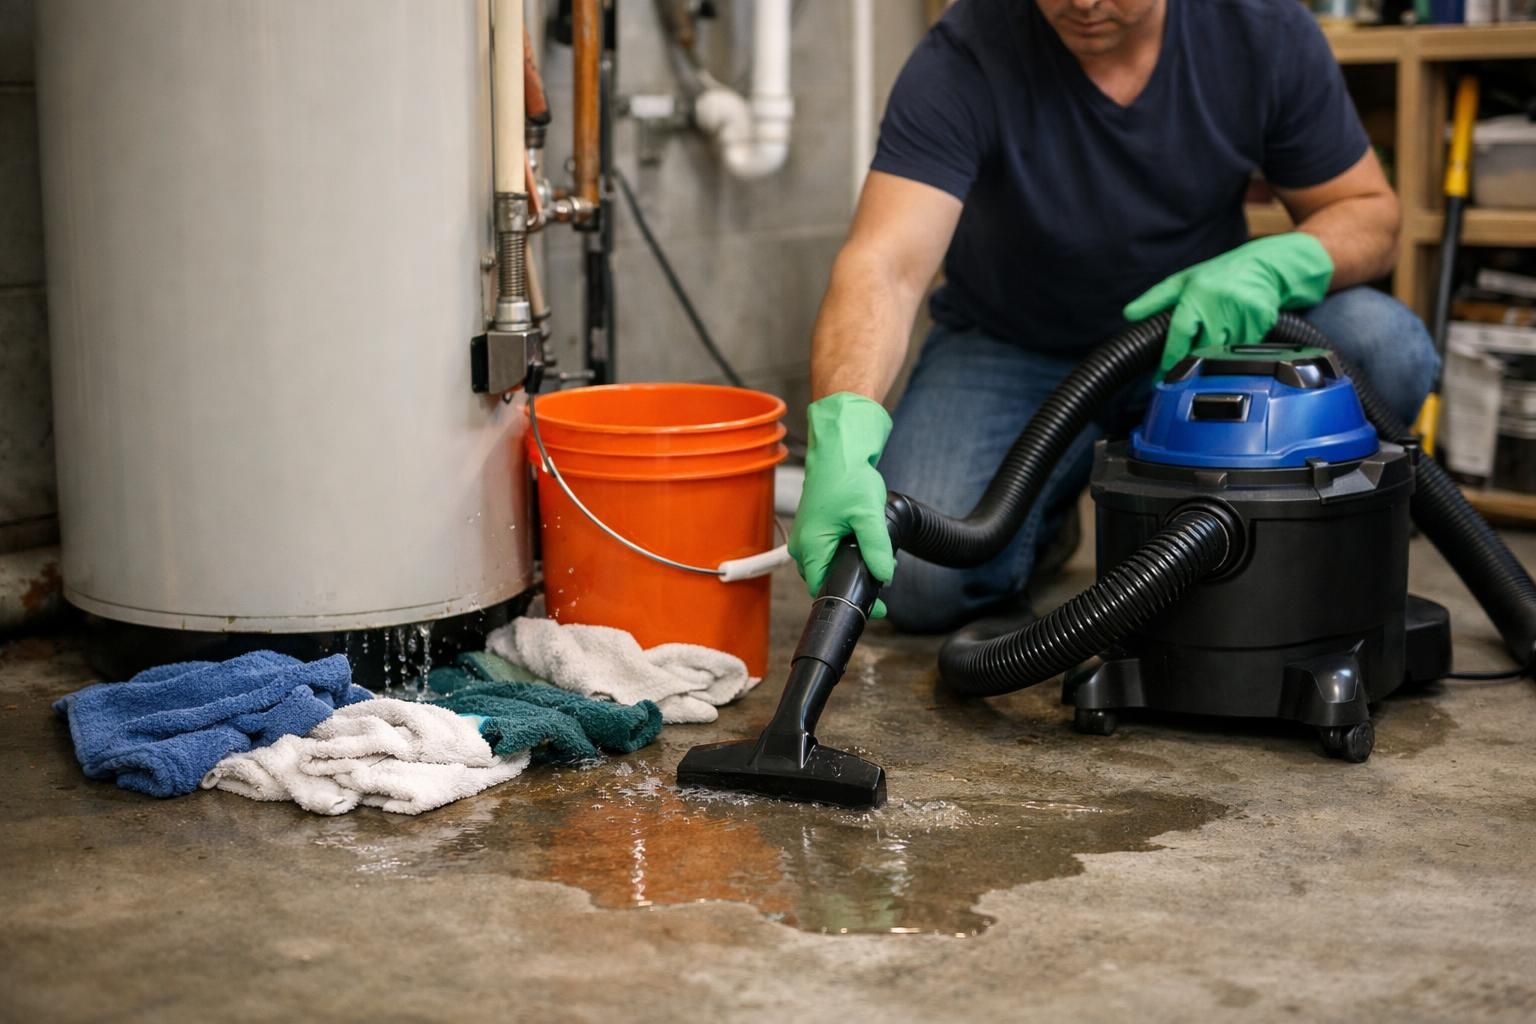
Contain water, protect valuables, and start controlled drying. In the first 10 to 30 minutes, focus on reducing additional damage.
Move items out of the drip zone and protect floors, rugs, and baseboards. If carpet is getting hit, lift an edge and slide plastic under it to protect the pad.
Checklist:
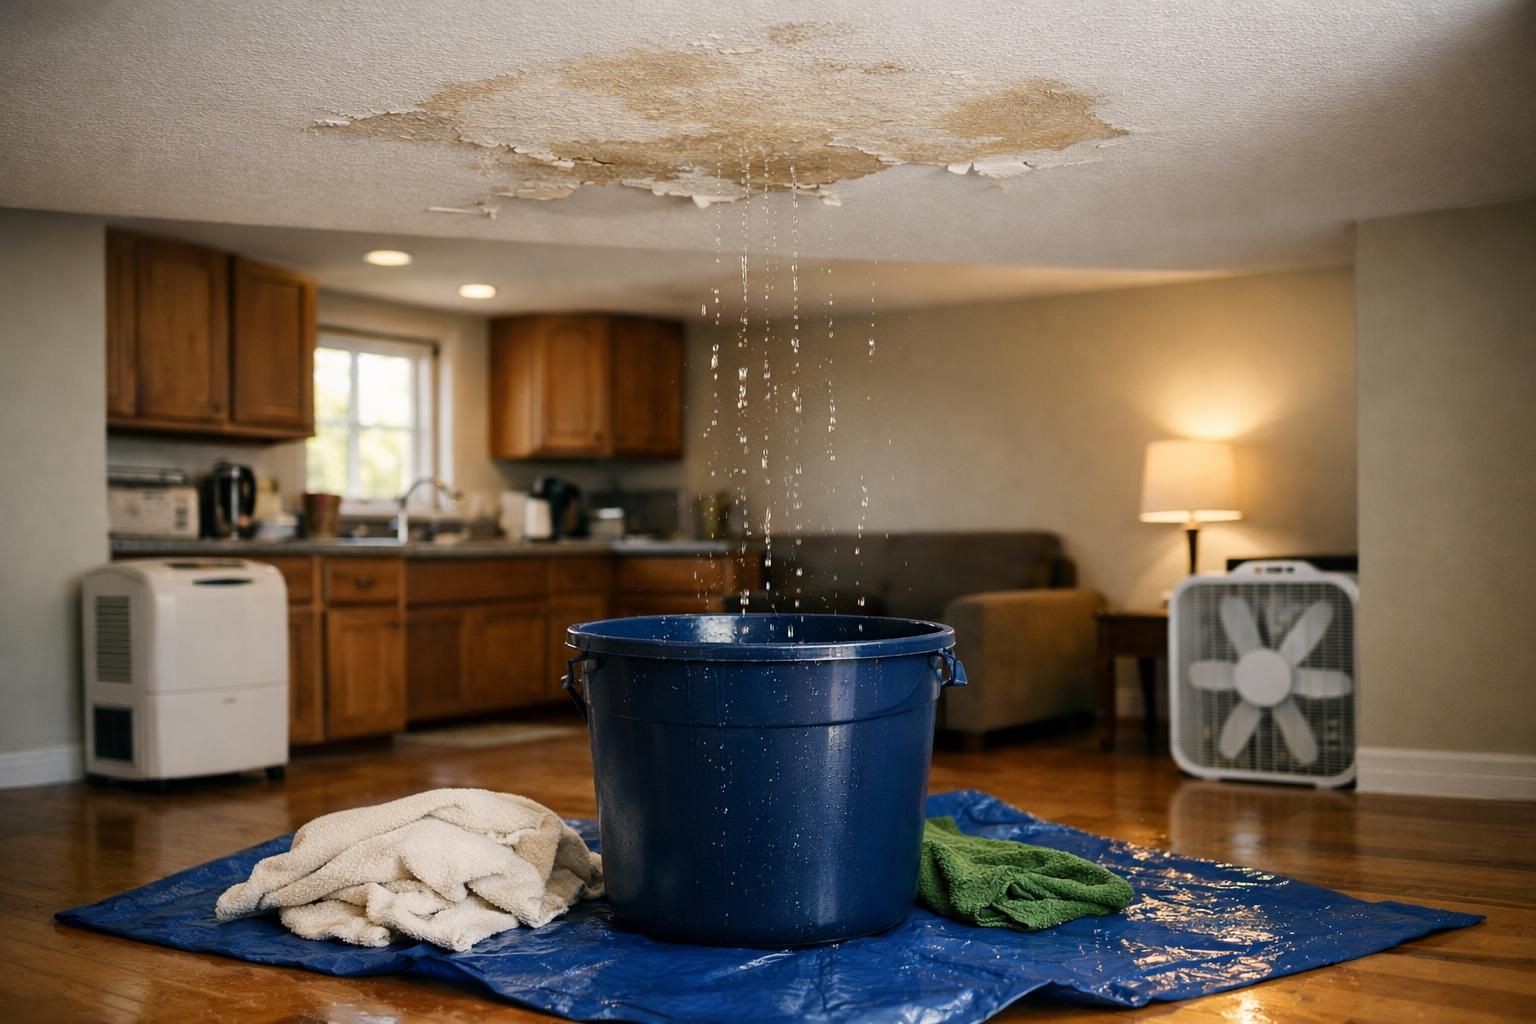
- Put a bucket under drips and add a towel wick.
- Drain a ceiling bubble only if safe and controlled.
- Run fans and a dehumidifier if available.
- Take photos before moving too much.
- Check the attic when it’s safe.
Safety First: Electricity
Treat electricity as a hazard anytime roof leak water damage cleanup involves ceilings, lights, outlets, or anything plugged in. Shut off power to the affected circuit at the breaker before moving wet items, draining a ceiling bubble, or running fans. Don’t touch switches, cords, or connections with wet hands, and don’t operate breakers while standing on a wet floor. If water is near lights or outlets, close off the area until power is confirmed off. When in doubt, call an electrician.
Safety First: Electricity, Ceiling Collapse Risk, and Slip Hazards
Assume water and electricity overlap until confirmed safe. Water can travel in cavities, so “dry” areas may still hide wet wiring.
If dripping is near lights, outlets, electronics, or the panel, stop and make a conservative call. Use this guide if needed: turn off electricity after a leak.
Watch for ceiling collapse: wet drywall gets heavy, and sagging bulges can fail. Prevent slips from slick floors and unstable ladders. Keep kids and pets out.
Stop the Water Fast (temporary Containment)
Capture dripping water and limit spread while you wait for repairs. The goal is control, not a full interior “repair.”
If you can safely access the attic, set a container under the drip point or hang plastic to guide water into a bucket. If you can’t, manage the room below: protect floors, contain drips, and stop water from migrating into adjacent rooms. For tactics to limit spread along flooring and walls, see stop water damage spreading.
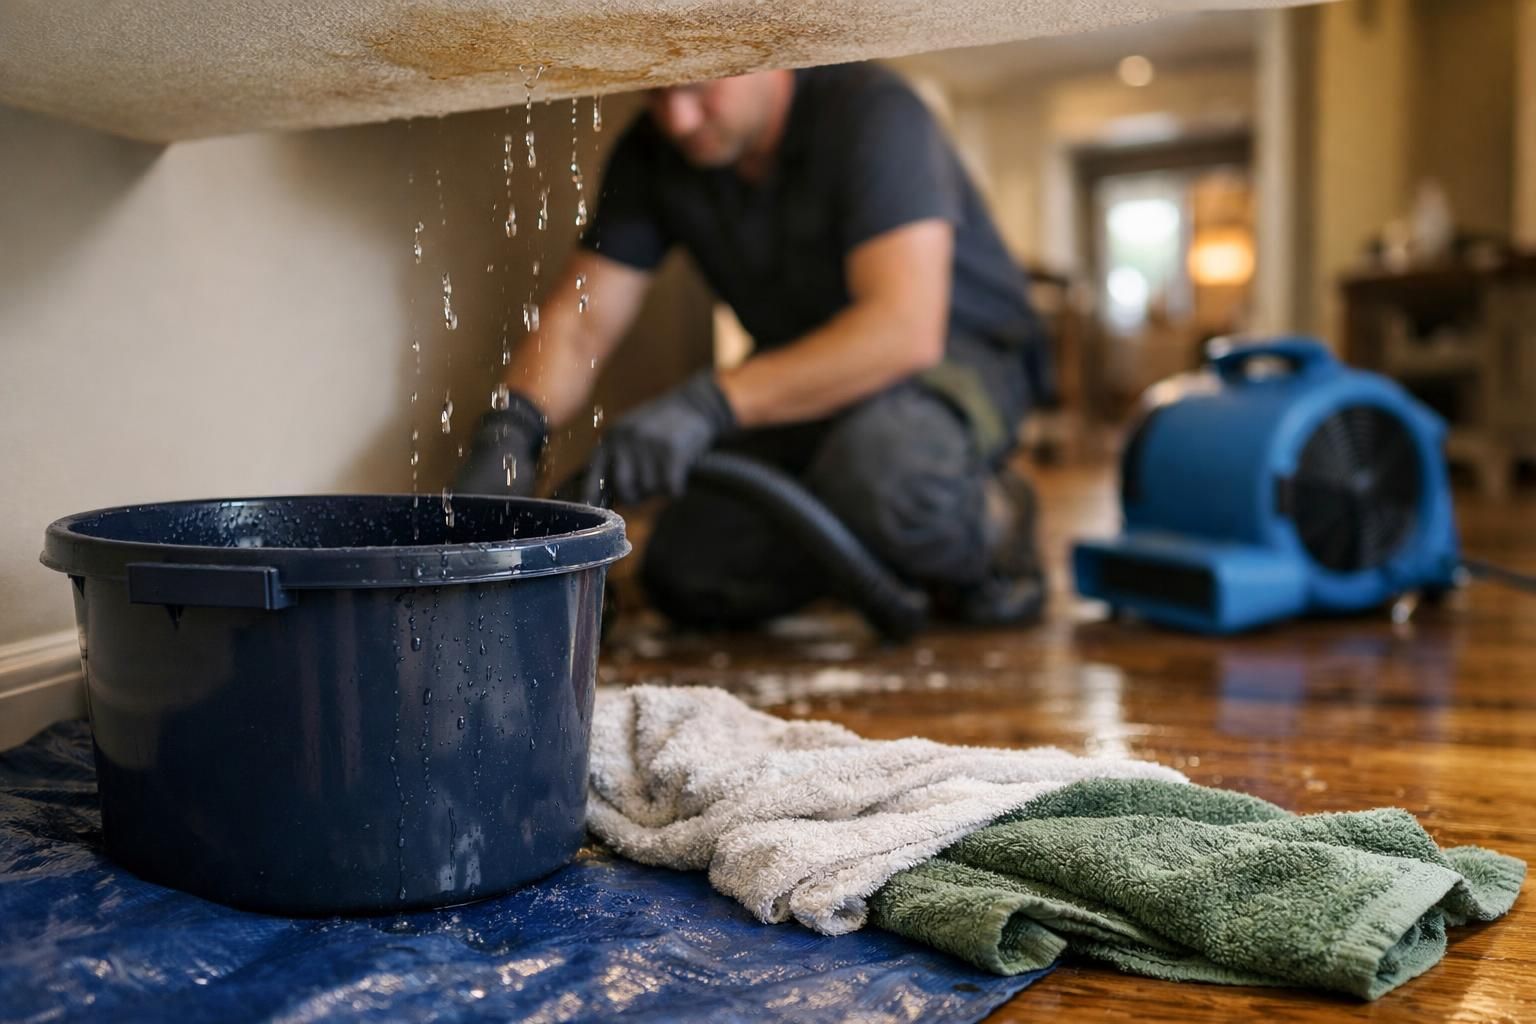
Buckets
Buckets are the fastest, cheapest way to reduce spread during roof leak water damage cleanup, but they work best when you control splash and overflow. Place the bucket directly under the drip line, then put a folded towel or sponge inside to break the fall of water and reduce misting onto nearby floors and furniture. If the drip moves, reposition quickly and consider using multiple smaller containers instead of one large one. Check levels frequently and empty before it gets heavy, because sloshing during carry-out can cause secondary water damage.
Buckets, Tarps, and Protecting Floors
Buckets work better when you prevent splash and overflow. Put a towel at the bottom of the bucket to quiet the drip and reduce misting, and check it often so it doesn’t overflow while you’re busy elsewhere.
To protect floors, think in layers. Plastic sheeting or a tarp on top keeps water off the finish, and towels underneath catch small leaks and reduce slipping. If you have hardwood, aim to keep water from pooling at seams. If you have carpet, prioritize keeping water from spreading laterally into pad, because that’s where odors and long drying times start.
When to Shut Off Power and Stay Out
Shut off power to the affected area if water is near fixtures, if a ceiling is actively dripping around a light, or if you hear buzzing or crackling. If you can’t identify the correct breaker confidently, don’t guess while standing on a wet floor.
Stay out of the room if the ceiling is sagging significantly, if you see fast-growing bulges, or if the leak is heavy enough that you can’t keep up with buckets. That’s when emergency roof leak cleanup shifts from “homeowner triage” to “control access and get help.”
Find the Likely Source (storm Opening vs Long-term Seepage)
Match interior timing to exterior conditions. A sudden stain after wind-driven rain suggests a storm opening. Slow, repeating staining across many storms points to flashing, sealants, or chronic wear.
Storm openings include displaced shingles, damaged ridge caps, branch punctures, or loose flashing at vents and chimneys. Long-term seepage is often pipe boots, nail pops, worn valleys, or flawed flashing details. Wind-direction leaks suggest a joint or transition.
Inside, map the path. Water can run along decking and show up far from entry.
Check Attic and Insulation for Hidden Saturation
Attics often show the real footprint. Look for darkened wood, wet nail tips, compressed insulation, and damp areas at penetrations like bath fans, plumbing vents, skylights, and chimneys.
Insulation can hold lots of water while looking fine, then insulate poorly and slow drying. Check near the ceiling line, not just the top. Musty odor, cool damp pockets, and matting are red flags. See signs of hidden water damage. Mark wet zones for later repairs.
Drying Plan for Ceilings
Dry ceilings by increasing airflow with fans, opening windows when weather permits, and running a dehumidifier until the surface is completely dry.
Drying Plan for Ceilings, Walls, and Attic Spaces
Drying works best with dehumidification plus airflow aimed at wet materials, with somewhere for moisture to go. Start with room air: run a dehumidifier with doors mostly closed. Add fans to move air across wet drywall, but don’t blast loose insulation.
Attics depend on outdoor humidity, especially around Seattle WA. If outside air is humid, venting may not help. Remove soaked insulation when needed and dry framing with targeted airflow. Use a moisture meter when possible. See water restoration process.
When Drywall or Insulation Needs to Be Removed
Remove drywall or insulation when it’s holding water, losing integrity, or blocking drying of framing and cavities. Swollen drywall and saturated insulation rarely dry reliably in place.
Drywall that’s soft, sagging, crumbling, or badly swollen usually needs replacement. Insulation that’s soaked, clumped, or dripping should come out because it keeps wood wet. Clues include ceiling bulges, bubbling paint, baseboard swelling, or repeat wetting that may involve contamination. See drywall water damage signs.
=== SECTION When drywall or insulation needs to be removed.
Mold Risk After a Roof Leak (the 24–48 Hour Reality)
Mold risk rises quickly when porous materials stay damp, oxygen is present, and temperatures are moderate. The “24 to 48 hour” rule isn’t magic, but it highlights how fast wet drywall paper and insulation can become a problem if drying stalls.
Risk is driven by duration, not just the leak. If materials can’t be meaningfully dried, remove wet porous sections instead of trying to save everything. Watch for hidden wetting from pressed insulation, closed cavities, or slow seepage. Persistent musty odor after drying efforts is a serious clue moisture remains.
When to Call a Roofer vs a Restoration Team
Call a roofer when the main problem is stopping the entry point, and call a restoration team when the main problem is drying and salvaging interior materials. In many real cases, you’ll need both, just in the right order.
A roofer is the fastest path to preventing the next round of water. They’ll focus on shingles, flashing, penetrations, and temporary weatherproofing. A restoration team focuses on moisture mapping, controlled drying, selective demolition, and documentation, which matters if multiple areas are affected or the attic is involved.
What to Document for Insurance and Repairs
Document the story in order: what happened, what you noticed, and what you did to limit damage. Take wide photos of each room, then close-ups of stains, drip points, and damaged items. In the attic, capture wet sheathing or vent areas. If you remove drywall or insulation, photograph before and during removal. Keep a simple timeline and save receipts. For coverage questions, see does insurance cover water damage.
Preventing the Next Roof Leak
Prevent repeats by inspecting roof details, not just field shingles. Most leaks start at transitions: chimneys, skylights, valleys, roof-to-wall areas, and penetrations that rely on flashing and seals.
Maintenance checklist:
- After big wind or heavy rain, scan for missing shingles and debris in valleys.
- Check flashing for gaps, corrosion, or looseness.
- Inspect pipe boots and vent seals for cracking.
- Keep gutters and downspouts clear.
- In the attic, look for dark sheathing or rusty nail tips.
Avoid cosmetic interior fixes. Painting over a ceiling stain without solving the source leads to recurring damage.
Conclusion
The smartest roof leak water damage cleanup plan is simple: stay safe, contain the water, confirm what’s wet (especially in the attic), and dry aggressively before materials start to degrade. If you’re seeing active water leaking from roof into house, treat it like a time-sensitive project, not a weekend chore. Your next step is either getting a roofer to stop the entry point or bringing in a restoration team to dry and remove trapped moisture, then documenting everything so repairs don’t turn into guesswork later.