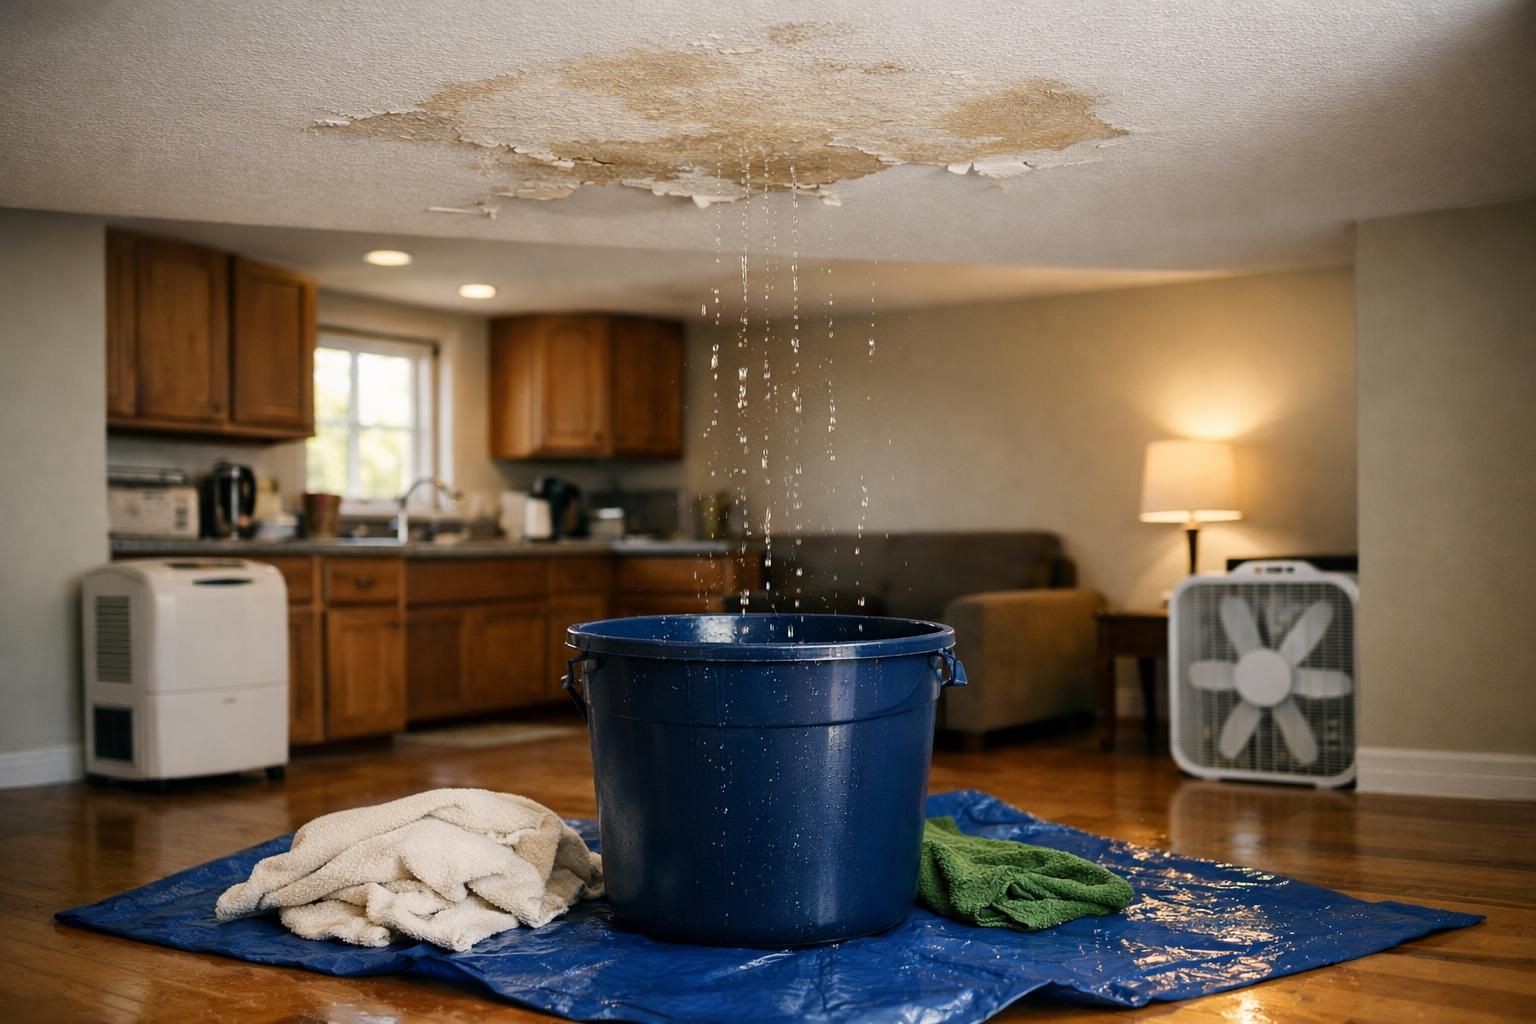
A water heater leak can go from a small puddle to warped flooring and soaked drywall fast, so your first moves matter. This water heater leak water damage cleanup guide walks you through the safest order of operations: protect yourself, stop the source, remove water, then dry and document the right way. You’ll also learn what materials usually recover, what tends to be a lost cause, and when it’s smarter to call in restoration help, especially if you’re dealing with a water heater flood in or near Burien WA.
Best for: Homeowners who caught a water heater leak early and can access shutoffs, power, and the wet area safely.
Not ideal when: Water is near live electrical panels, the heater is in a finished wall, or sewage-contaminated water may be involved.
Good first step if: You can see active leaking, can shut off the supply, and can start removing standing water right away.
Call a pro if: Water reached drywall, insulation, or multiple rooms, or you smell mustiness after initial drying efforts.
Quick Summary
- Stop the leak first, then remove standing water before it wicks into walls and flooring edges.
- Treat electricity and slip risk as the main immediate hazards, even with “clean” water.
- Drying is airflow plus dehumidification, not just blasting heat for a day.
- Check the hidden zones: toe-kicks, baseboards, closets, and flooring transitions.
- Photos, notes, and saved parts help with water heater leak insurance questions and repair decisions.
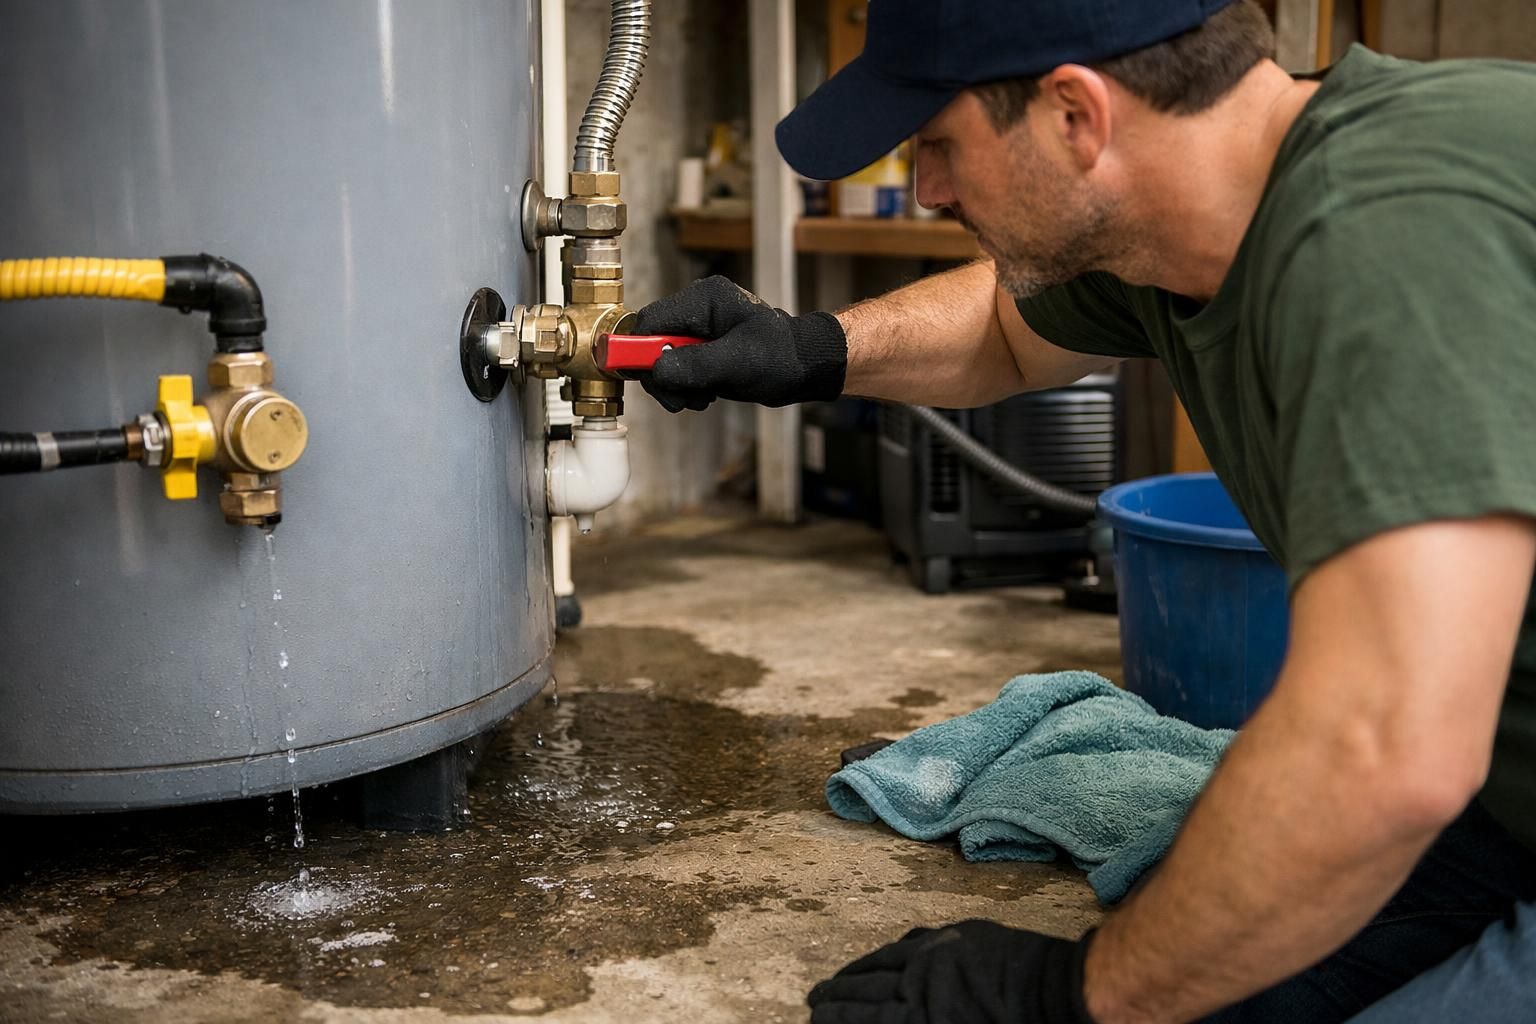
Stop the Source (valves
Stopping the source is the fastest way to limit how much water heater leak water damage cleanup you’ll be dealing with. Close the cold-water shutoff feeding the heater (often above the tank) by turning it clockwise, then confirm the flow slows or stops. If that valve fails or the leak seems to be from nearby piping, shut off the home’s main water supply to remove pressure. Then stop the heater from running: switch an electric unit off at the breaker or set the gas control to off so it does not heat an unsafe or partially drained tank.
Quick Steps to Take Immediately
Your priority is to stop spread while keeping the area safe. First, identify the likely source: tank seam, T&P valve discharge, supply line, drain valve, or adjacent plumbing. Decide if the leak is active now or if you are seeing leftover water from an earlier event.
Use this order: stop the source, remove standing water, then start drying. Delays allow water to wick into baseboards, cabinets, and flooring edges, which is where repairs get expensive.
Here’s a practical short list that works in most homes:
- Keep people and pets out of the wet area
- Put down towels to create a safer walking path
- Shut off water feeding the heater (or the home if you’re not sure)
- Turn off power or gas to the heater
- Mop or wet-vac standing water and move stored items out of the splash zone
- Start airflow and a dehumidifier as soon as you can
If water is moving into other rooms, contain it fast at doorways and flooring transitions to slow wicking. For more containment ideas, see stop water from spreading.
Safety First: Electricity
Treat electricity as the top hazard and cut power before working around pooled water. If the unit is electric, turn off the correct breaker and avoid touching heater access panels or wiring while anything is damp. If water is near outlets, cords, or a subpanel, do not walk through water to reach switches; shut power off from a dry location or wait for an electrician. Even with gas heaters, nearby cords, appliances, and damp floors can create shock risk, so verify the area is safe before running equipment.
Safety First: Electricity, Slipping Hazards, and Water Type
The biggest immediate risks are shock and falls, not just the leak. Water can travel farther than it looks, including under mats, behind appliances, and along wall edges. Assume surfaces are slick until cleaned and dried.
Wear shoes with good grip, and avoid stepping on softened vinyl edges, swollen particleboard, or saturated carpet transitions where footing is unstable. Move slowly and keep a clear path to the exit.
Water type changes your cleanup approach. Supply-line water starts “clean,” but once it runs across floors, under appliances, or through dust, it becomes dirty. If there are signs of contamination from a floor drain backup, toilet area, or other sources, treat it as potentially unsafe and avoid blowing it into the air with fans until the situation is controlled.
If you’re unsure about cutting power or what areas should be shut down, turn off electricity after leaks can help you evaluate the risk.
Stop the Source (valves, Shutoffs, and Power)
To limit damage, cut off water supply and shut down the heater. Close the cold-water inlet valve above the tank and turn off the energy source. If the inlet valve won’t stop the flow, use the home’s main shutoff.
Also confirm the leak location. What appears to be a tank failure may be a loose fitting, flex connector, or a T&P valve line dripping. Use a flashlight and wipe connections with a dry paper towel to find fresh water without guessing.
Shut Off Water to the Fixture or Main (if Needed)
Close the cold-water valve feeding the heater first because it removes the pressure driving the leak. Turn it fully clockwise, but don’t force it hard enough to break. If it spins, won’t budge, or still passes water, move to the home’s main shutoff.
If you’re not sure the heater is the source, check nearby suspects like a laundry box, sink cabinet, or exposed pipe. For a step-by-step way to isolate leak sources, see find the leak source.
Turn Off Power to the Affected Area (if Needed)
Once water is off, shut down power or gas. For electric heaters, turn off the correct breaker and leave panels closed if the area is wet. For gas units, turn the control to off; if you smell gas or suspect flooding near the burner, close the gas shutoff and ventilate.
If water blocks safe access to switches or the panel, don’t cross standing water. Shut power off from a dry, safe location, or wait for an electrician or restoration crew if you cannot do it safely.
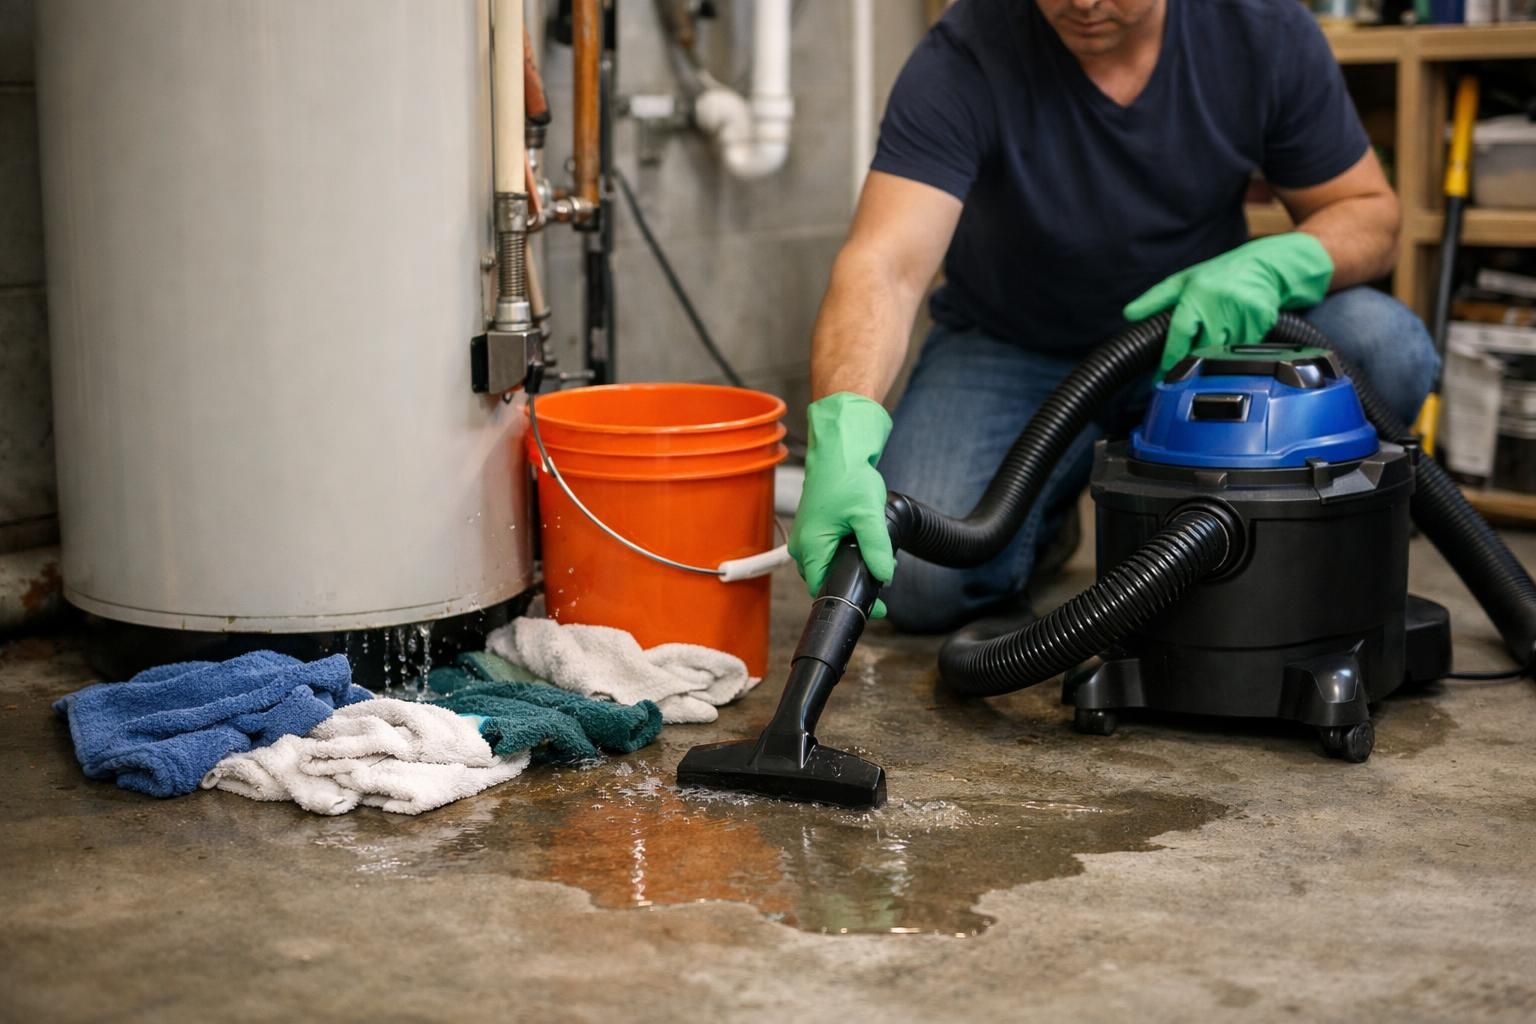
Remove Standing Water and Protect Nearby Materials
Fast water removal reduces how far moisture migrates into walls and flooring layers. Use a wet/dry vacuum if available, then mop and towel-dry what’s left. For carpet, extract and blot; household vacuums are not safe for water and can push moisture deeper.
Protect materials that wick. Lift cardboard, fabric items, shoes, and wood off the floor. Place foil or small blocks under furniture legs to prevent swelling and staining. If drywall is nearby, keep water from sitting along the wall by moving items forward and drying the edge.
Avoid trapping moisture under rugs, rubber mats, or piles of towels. Covering wet areas slows evaporation and can lead to lingering odor. If you notice persistent smell after cleanup, track down moisture smells can help you identify what stayed wet.
Check Hidden Water in Cabinets
Check cabinets early because water can pool under toe-kicks and soak particleboard bases before it becomes obvious. Open doors, remove items from lower shelves, and feel for dampness or swelling at the floor and back corners. If the toe-kick is removable, take it off and look for standing water in the cavity, then dry it with airflow. Focus around pipe openings and supply lines, where water can drip behind the cabinet box into the wall.
Check Hidden Water in Cabinets, Walls, and Flooring Edges
Hidden moisture is the reason a room can look fine but develop odor or damage later. Check toe-kicks, closet corners near the heater, baseboards, and flooring transitions. Water can travel along tack strips, under floating floors, and through small gaps around pipes.
Look for dark baseboards, bubbling paint, soft drywall near the floor, and spongy flooring edges. Press gently at the drywall-to-floor line and scan with a low flashlight angle to catch warping and sheen from dampness.
For a quick list of commonly missed areas, see signs of hidden moisture.
Drying Setup: Airflow Plus Dehumidification (not Just Heat)
Drying works when you move moist air away and remove humidity from the room. Fans without dehumidification can circulate damp air, and heat alone can make the surface feel dry while moisture stays in padding, subfloor, or drywall.
Use a simple setup: fans to create directional airflow across wet surfaces and a dehumidifier running continuously. Keep interior doors open for circulation, but close windows if outdoor humidity is high. In a small room, point a fan toward the doorway to push damp air outward.
A few practical tips that help:
- Pull wet items away from walls by a few inches to let air move behind them
- Remove the toe-kick panel under cabinets if it’s wet so air can reach the cavity
- Lift a corner of floating flooring only if you know it can be reinstalled correctly
- Empty the dehumidifier bucket often, or run a drain hose if you can
- Keep drying going until materials feel dry and the space no longer smells damp
To understand what professional drying typically includes, see restoration drying steps.
What Materials Can Usually Be Saved vs Replaced
Save vs replace depends on how long materials stayed wet and whether they can dry completely. Non-porous surfaces usually recover after cleaning and drying. Layered or porous materials often trap moisture, swell, delaminate, or hold odors.
Materials that often can be saved if addressed quickly:
- Sealed concrete and many tile floors (after water removal and drying)
- Solid wood items that weren’t saturated long (dry slowly to reduce warping)
- Some area rugs, if extracted and dried promptly
- Cabinets that are solid wood and only lightly affected at the toe area
Materials that are commonly replaced after significant soaking:
- Carpet pad (it holds moisture and odors even when carpet feels dry)
- Swollen MDF or particleboard (toe-kicks, some cabinet bases, trim)
- Drywall and insulation that wicked water up from the bottom edge
- Laminate flooring that has cupped or separated at seams
If you can’t get airflow to the wet layer, you can’t reliably dry it. That’s when a “looks fine” cleanup turns into odor or damage later.
When to Call a Water Damage Restoration Pro
Call a restoration pro when moisture likely reached cavities or when household tools can’t control drying. Water moving under flooring, into wall bottoms, or across multiple rooms often requires targeted extraction, controlled dehumidification, and moisture checks to confirm it’s truly dry.
Common escalation triggers:
- Water sat long enough to soak carpet pad, subfloor seams, or baseboard edges
- Drywall is soft, stained, or bulging near the floor
- You smell mustiness even after fans and a dehumidifier
- The heater is in a finished space with limited access to wet areas
- You’re in Burien WA and need fast local help because water spread beyond the utility area
For local service expectations, see Burien cleanup support.
What to Document for Insurance and Repairs
Documentation helps with water heater leak insurance questions and speeds up repairs. Take wide photos showing the room, then close-ups of the source and affected materials. Video is useful if water is actively moving.
Create a simple timeline of what happened and what you did to mitigate damage. Save failed parts like a supply line or valve in a bag in case a plumber or adjuster wants to inspect them.
Your basic documentation checklist:
- Photos/video before and after water removal
- The suspected cause (tank, fitting, valve, line, drain)
- Areas affected, including adjacent rooms and closets
- Drying equipment used and how long it ran
- Receipts for supplies, equipment rental, and professional services
For coverage questions to ask, see what insurance may cover.
Preventing a Repeat Leak
Prevent repeat water heater leak damage by fixing the failure point and adding simple safeguards. If the tank body is leaking, replacement is usually the right move because patches don’t last. If the issue was a fitting or supply line, replace the part and verify the shutoff valve works.
Prevention steps that fit most setups:
- Install a drain pan with a properly routed drain line where allowed and practical
- Add a leak alarm near the heater, especially in finished areas
- Replace aging flex lines proactively and avoid over-tightening fittings
- Test the shutoff valve occasionally so it won’t seize when you need it
- Keep the area around the heater clear so drips are easy to spot
Small warning signs matter. Corrosion, recurring dampness, or a faint musty smell often shows up before a bigger failure.
Conclusion
If you handle a leak in the right order, you’ll usually keep a messy situation from turning into major repairs. Cut water and power, remove standing water, check hidden edges, then dry with airflow plus dehumidification and document everything. If you can’t verify dryness or water reached walls and flooring layers, bring in help sooner rather than later. Done right, your water heater leak water damage cleanup becomes a controlled project instead of a long-running mystery.