
The hoarding cleanup process is a careful step-by-step service that starts with safety, then moves through assessment, sorting, removal, deep cleaning, and restoration. If you’re preparing for a cleanup, you might be wondering where to start, what professionals actually do, and how to keep the process respectful for the person who lives there. That’s exactly what this guide covers.
Hoarding cleanup isn’t the same as ordinary tidying. In some homes, blocked exits, hidden moisture, odors, pests, or damaged surfaces can make the work more complex. The goal isn’t to judge the space or rush decisions. The goal is to make the home safer, cleaner, and more usable while handling belongings with care.
- Use this for a structured cleanup when clutter blocks access, affects safety, or makes normal cleaning hard to complete.
- Pause if the space only needs light organizing and has no safety, odor, pest, or contamination concerns.
- First, you need a room-by-room plan before deciding what to keep, remove, donate, or repair.
- Get expert help if you see mold, pest residue, blocked exits, sharp hazards, strong odors, or damaged flooring or walls.
Quick Answer
The hoarding cleanup process follows a practical order: secure the space, assess each area, sort belongings, remove items, clean deeply, then restore damaged parts of the home. That order matters because cleaning can’t really happen while rooms are still packed. Think of it like trying to wash a kitchen counter covered with boxes. You first need safe access.
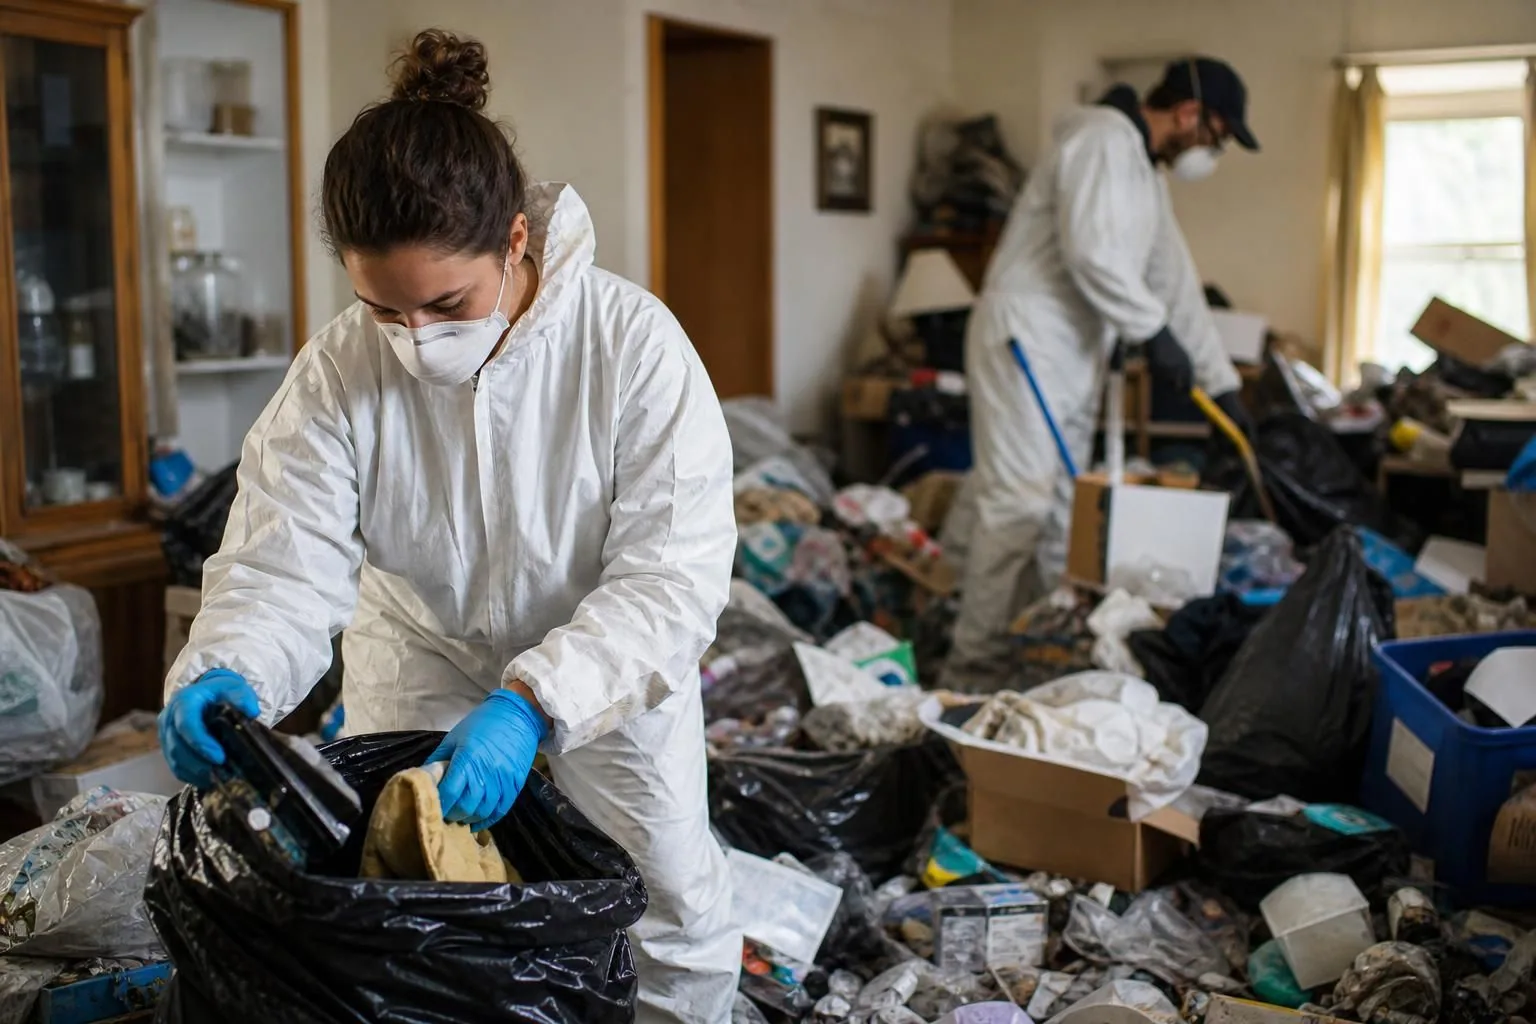
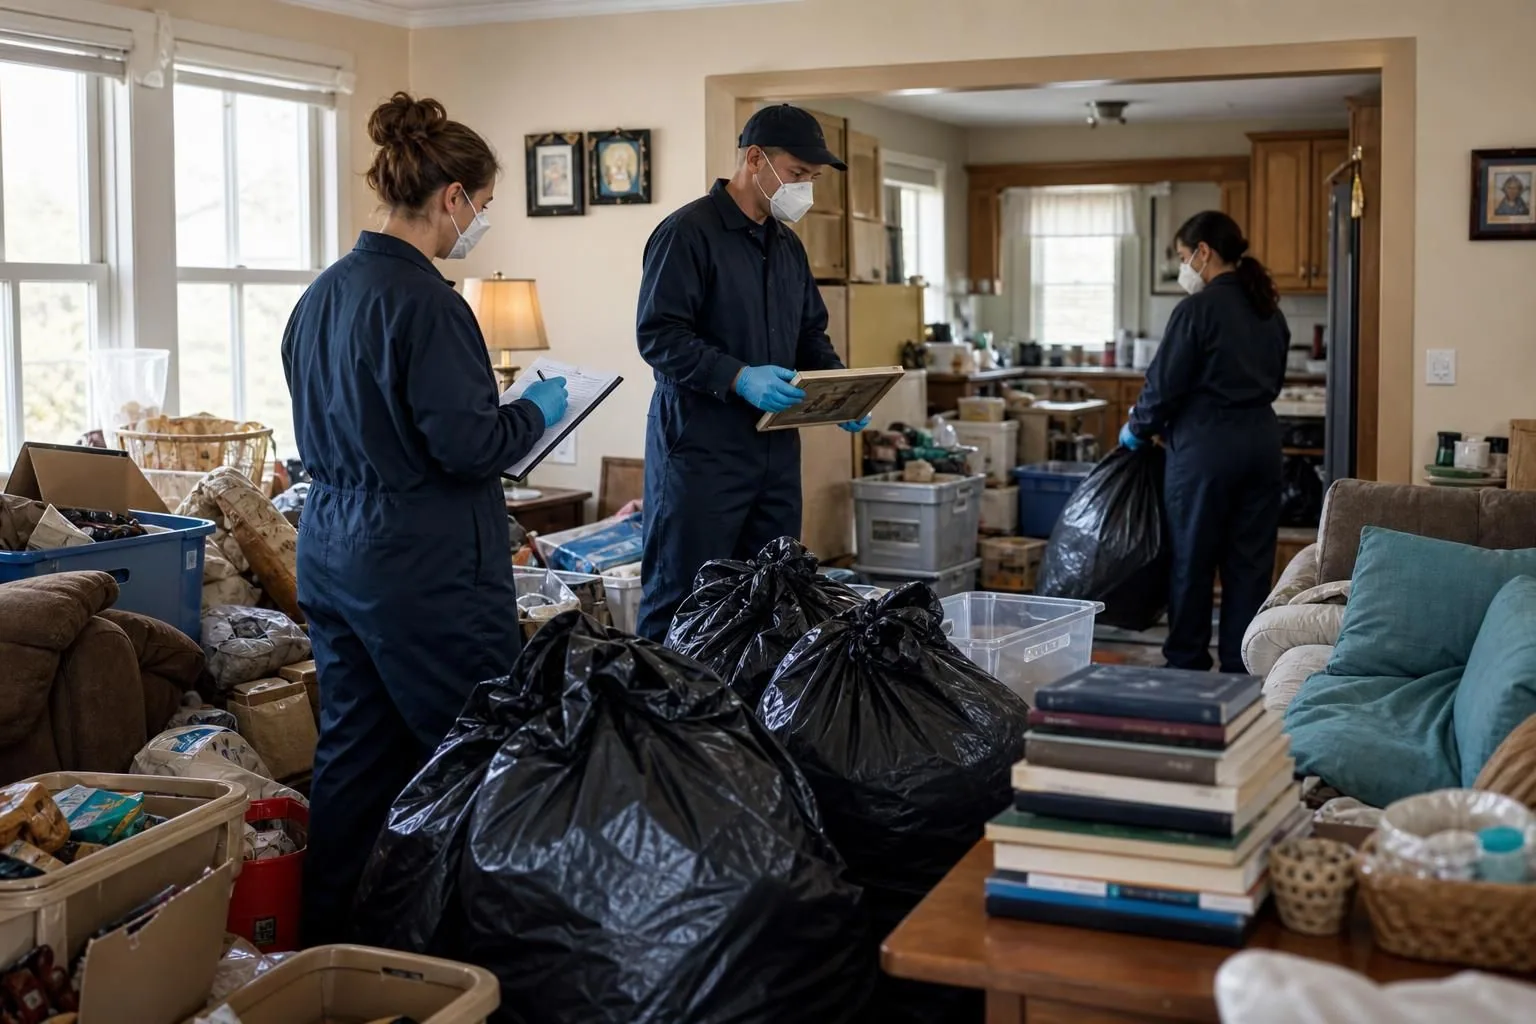
A professional hoarding cleanup team usually brings structure, protective equipment, supplies, and a room-by-room plan. Protective equipment means items like gloves, masks, sturdy shoes, and disposable coveralls that help reduce contact with dust, sharp objects, contaminants, or irritating odors.
- Check entry points, exits, floors, and utilities.
- Identify hazards before touching items.
- Photograph or document room conditions when needed.
- Sort items into keep, relocate, donate, discard, or review categories.
- Remove trash and unwanted items in a controlled order.
- Deep clean exposed surfaces, floors, fixtures, and hidden areas.
- Address repairs, odors, mold concerns, or pest-related damage.
| Stage | Main goal | What it solves | Finished when |
|---|---|---|---|
| Safety planning | Reduce risk | Blocked exits, unstable piles, hazards | Safe work paths exist |
| Sorting and removal | Clear the space | Clutter, trash, blocked rooms | Items are categorized and moved |
| Deep cleaning | Sanitize surfaces | Dust, residue, odors, debris | Surfaces are cleaned and accessible |
| Restoration | Return function | Damage, moisture, stains, repairs | The space can be used safely |
Why Hoarding Cleanup Starts With Safety
Safety comes first because hidden hazards can turn cleanup into a risky job fast. A packed room may hide sharp objects, weak flooring, leaks, spoiled food, pest residue, electrical problems, or blocked exits. Even a bedroom filled floor-to-ceiling needs a careful entry plan before sorting begins.
Start at the doorway and look before stepping in. Check whether the floor is visible and whether doors can open fully. Look for blocked windows, electrical panels, heaters, vents, or plumbing fixtures. If you smell gas, see exposed wiring, notice sagging floors, or find standing water, stop and get qualified help.
A professional team will often create pathways first. That means clearing enough space to move safely without climbing over piles. If you are deciding whether to do the work yourself or bring in help, a professional hoarding cleanup plan can provide structure before removal starts.
Use basic safety supplies before touching anything.
- Wear thick gloves to protect your hands.
- Use sturdy closed-toe shoes or boots.
- Wear a fitted mask if dust or odor is heavy.
- Keep trash bags, bins, and labels nearby.
- Keep a first-aid kit within reach.
- Avoid mixing cleaning chemicals.
- Keep children and pets out of the work area.
Do not pull from the bottom of a tall pile. Remove loose items from the top and edges first, and stop if a path feels unstable.
Assessment, Sorting, Removal, and Documentation
Assessment, sorting, removal, and documentation create the roadmap for the cleanup. Assessment means looking at the space and deciding what happens first. Documentation means recording useful details, such as room conditions, item categories, or belongings that need review before removal.
Start with one room, not the whole home. A packed bedroom is a good example. Before cleaning begins, someone must decide which items stay, which leave, and which need more time for review. Without sorting, the process can become confusing and stressful.
Use clear categories and label containers before you begin.
- Keep: items that remain in the home.
- Relocate: items that belong in another room or storage area.
- Donate: usable items the owner no longer wants.
- Discard: trash, broken items, or contaminated materials.
- Review: personal papers, photos, valuables, or uncertain items.
Ask before removing personal items whenever possible. This matters in a family-supported cleanup where the owner needs help making decisions. The process usually works better when one trusted person helps instead of several people giving competing opinions.
Remove items in batches. Take out obvious trash first if it is safe. Then move donations and relocation items. Save sensitive items, documents, and valuables for careful review. Keep notes simple so important decisions do not get lost.
Deep Cleaning, Odor, Mold, and Pest Concerns
Deep cleaning begins after enough clutter is removed to expose floors, walls, counters, fixtures, and hidden surfaces. Basic cleaning wipes what you can see. Deep cleaning goes further by addressing dust, residue, odors, stains, and contamination in areas covered for long periods.
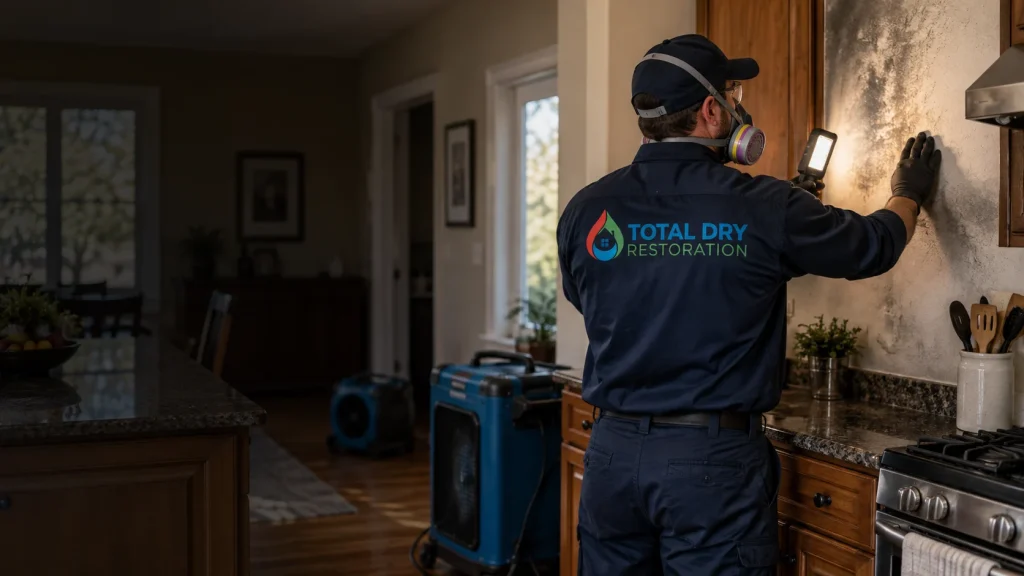
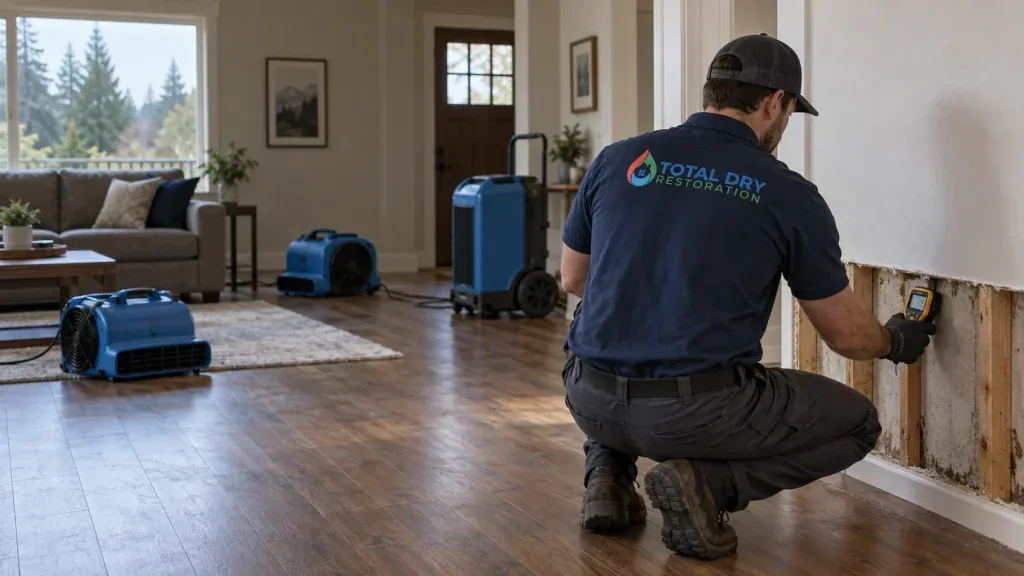
Expect surprises once items are moved. A home may seem dry at first, then reveal odor or moisture behind furniture, boxes, or stacked belongings. Moisture matters because it can damage materials and create mold concerns. Mold remediation means addressing mold growth and the conditions that let it return.
If you find damp drywall, musty smells, stained flooring, or visible mold-like growth, pause the normal cleaning plan. A trained team can decide whether the area needs containment, removal of damaged materials, or specialized drying. When moisture is part of the problem, mold remediation may need to happen before cosmetic repairs.
Pest concerns also change the cleanup process. Pest residue, nesting materials, chewed items, or contaminated surfaces need careful handling. Use controlled removal, sealed bags, and proper disposal. After removal, sanitize hard surfaces according to the product label.
Odor treatment depends on the source. Air fresheners only mask smells. Real odor control usually requires removing contaminated materials, cleaning surfaces, improving airflow, and treating porous materials like carpet, fabric, cardboard, and unfinished wood.
Repairs and Restoration After the Cleanout
Repairs and restoration happen after removal and deep cleaning reveal the home’s true condition. Restoration means returning the space to safe, normal use. It is different from cleaning. Cleaning removes soil and residue. Restoration fixes or replaces damaged materials.
Once clutter is gone, damage that was hidden often becomes visible. Common examples include stained subflooring, damaged drywall, loose trim, broken fixtures, pest-related damage, moisture marks, or worn flooring. Spaces with blocked access may also have heating, cooling, plumbing, or electrical areas that need inspection before the room is fully usable again.
- Inspect exposed floors, walls, ceilings, and fixtures.
- Identify moisture, staining, odor, and structural concerns.
- Remove materials that can’t be cleaned safely.
- Repair damaged surfaces before repainting or refinishing.
- Confirm that rooms can be used as intended.
Clutter cleanup restoration can be small or extensive. In one home, it may mean patching drywall and cleaning under appliances. In another, it may mean replacing flooring where contamination or moisture sat unnoticed. If water damage is discovered during cleanup, the water damage restoration process can help explain why drying and repair order matters.
Before booking, ask what is included, and confirm pricing, disposal rules, and service scope directly with the provider.
How to Keep the Process Respectful and Organized
A respectful cleanup keeps the person involved in decisions whenever possible and avoids treating belongings like a problem. The work is physical, but it is also personal. Even when safety requires firm limits, the process can stay calm, organized, and nonjudgmental.
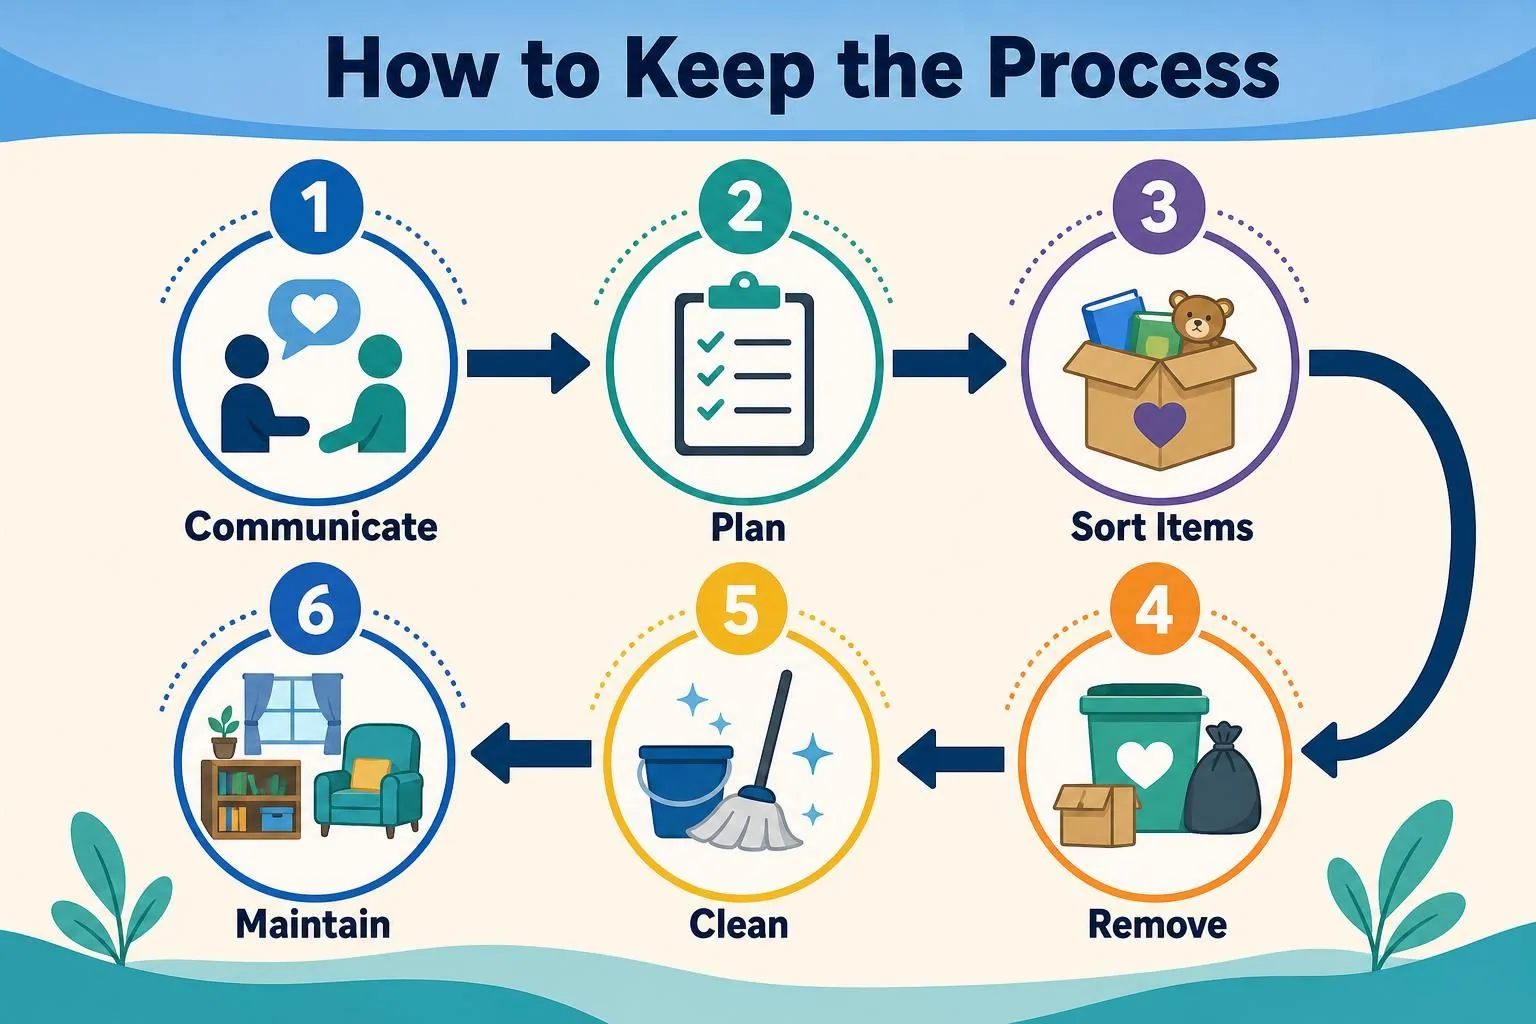
Set decision rules before the first bag leaves the room. Personal documents, photos, jewelry, family items, medications, and legal papers should go into a review box. This prevents accidental disposal and builds trust.
If family members are helping, use one lead decision-maker. Too many voices slow the process and create conflict. The lead person can ask simple questions like, “Do you want to keep this here, move it, donate it, or let it go?” Short choices work better than long debates.
Work in timed blocks. Decision fatigue is real, so take short breaks, keep water nearby, and keep pathways clear. At each session’s end, remove filled trash bags, label saved items, and clean the active work zone.
Avoid these common mistakes:
- Starting in the hardest room first.
- Throwing items away without permission when permission is possible.
- Making too many categories.
- Cleaning surfaces before clutter is removed.
- Ignoring odors, moisture, or pests.
- Promising the job will be finished quickly.
- Forgetting to document valuable or sensitive items.
If you are unsure how to begin, ask for a walkthrough and a written scope before committing. You can contact the team with room details, safety concerns, and the level of support needed.
FAQs
Hoarding cleanup questions usually focus on safety, timing, personal belongings, and the difference between cleaning and restoration. The answers depend on the condition of the home, the amount of clutter, and whether hazards are present.
Use these answers as planning guidance, not a promise that every cleanup will follow the exact same timeline. A provider should explain the current scope, pricing, and limits before work begins.
What Should I Do Before a Hoarding Cleaning Service Arrives?
Clear nothing that feels unsafe. Instead, write down your main concerns, such as blocked doors, odors, pests, moisture, or important items to save. Gather keys, access information, and any decision-makers. If possible, identify documents, medications, photos, or valuables that should be reviewed carefully.
Can Cleaning Start Before All Clutter is Removed?
Light cleaning may happen along cleared paths, but true deep cleaning usually starts after clutter is removed. Surfaces need to be visible and reachable first. If a room is packed floor-to-ceiling, sorting and removal must happen before floors, walls, fixtures, and hidden areas can be cleaned properly.
What Happens if Mold is Found During Cleanup?
If mold is found, stop ordinary cleaning in that area and avoid disturbing it. Mold can spread when materials are handled the wrong way. A trained provider can check the moisture source, affected materials, and whether specialized remediation is needed before restoration continues.
Is Professional Hoarding Cleanup Always Required?
No, not always. Small, safe clutter projects may be handled by family or the homeowner. Professional help makes more sense when exits are blocked, surfaces are contaminated, pests are present, odors are strong, moisture is visible, or the volume of items makes sorting and removal unsafe or overwhelming.
The hoarding cleanup process works best when it follows a steady order: safety first, then assessment, sorting, removal, deep cleaning, and restoration. That order protects people, preserves important belongings when possible, and helps uncover issues that were hidden under clutter.
Your next step is to look at the space honestly and choose the right level of help. If the job involves blocked access, mold concerns, pest residue, strong odors, or damaged materials, don’t rush into cleanup without a plan. Start with a room-by-room assessment, confirm what services are included, and move forward at a pace that keeps the process safe and respectful.