
Water damage doesn’t just look bad, it can quietly wreck drywall, framing, insulation, paint, and even indoor air quality. The good news is that water damage wall repair is usually very doable once you know two things: where the water came from and how far it traveled. In this guide, you’ll learn how to spot early warning signs, decide whether you can handle the fix yourself, and follow a practical step-by-step process that works for most homes. We’ll also break down what drives cost, why bathrooms are a special case, and when it’s smarter to bring in a pro.
Best for: Homeowners dealing with small, localized staining or soft drywall where the leak is already stopped and the area can dry out.
Not ideal when: Walls feel spongy across a wide area, you suspect mold inside cavities, or the water source is unknown or ongoing.
Good first step if: You’re unsure of the extent, so you want to map moisture, open a small inspection area, and dry thoroughly before patching.
Call a pro if: You have contaminated water, electrical outlets were wet, or the damage spreads behind tile, cabinets, or multiple rooms.
Quick Summary
- Start by stopping the water source, then dry the wall completely before you patch anything.
- Stains can be cosmetic, but softness, bubbling paint, and crumbling drywall usually mean material damage.
- The “right” repair depends on what’s wet: paint, drywall paper, insulation, studs, or hidden framing.
- A good patch is more about clean cuts, solid backing, and proper priming than fancy tools.
- Cost is driven by the size of the cutout, drying time, access behind finishes, and whether mold remediation is needed.
Signs of Water Damage in Walls
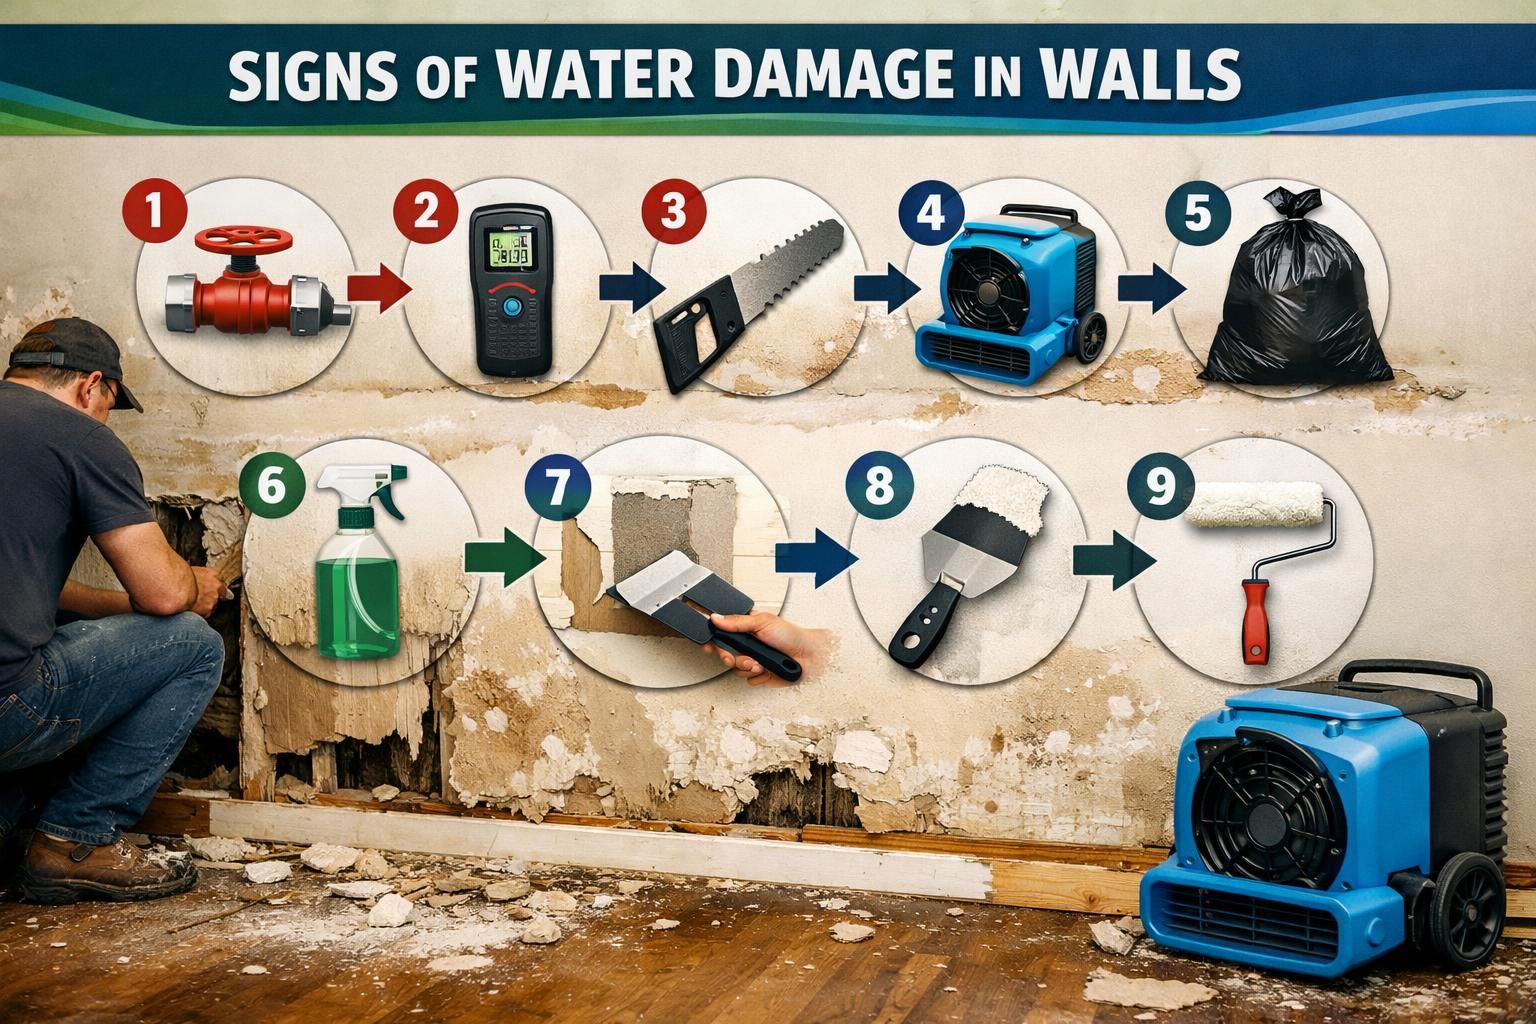
Common signs of water damage include discoloration, bubbling paint, peeling wallpaper, swollen baseboards, and drywall that feels soft or dents easily. Yellow or brown staining is typical, but texture changes often show up first.
Damage can appear far from the leak. Water can run along studs, behind barriers, or down to the bottom plate before it becomes visible, so don’t judge severity by stain size alone.
Symptoms to take seriously include paint blisters or puffed seams, cracking or crumbling joint compound, a musty odor that comes and goes, rusty nail pops, and baseboards separating or swelling at the ends.
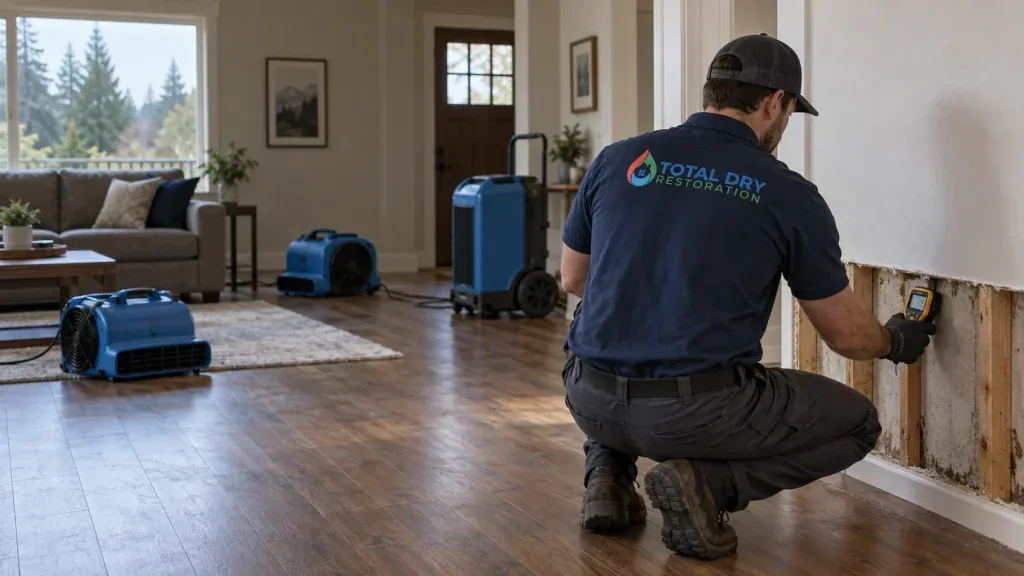
If you’re unsure, check moisture and spread with a pin-type moisture meter. For drywall-focused cues: drywall damage signs.
Can You Repair a Water Damaged Wall Yourself
You can repair a water damaged wall yourself if the leak is fully stopped, the area is small, and the cavity can dry completely. That usually means clean water, limited drywall removal, and no signs the wall is still wicking moisture.
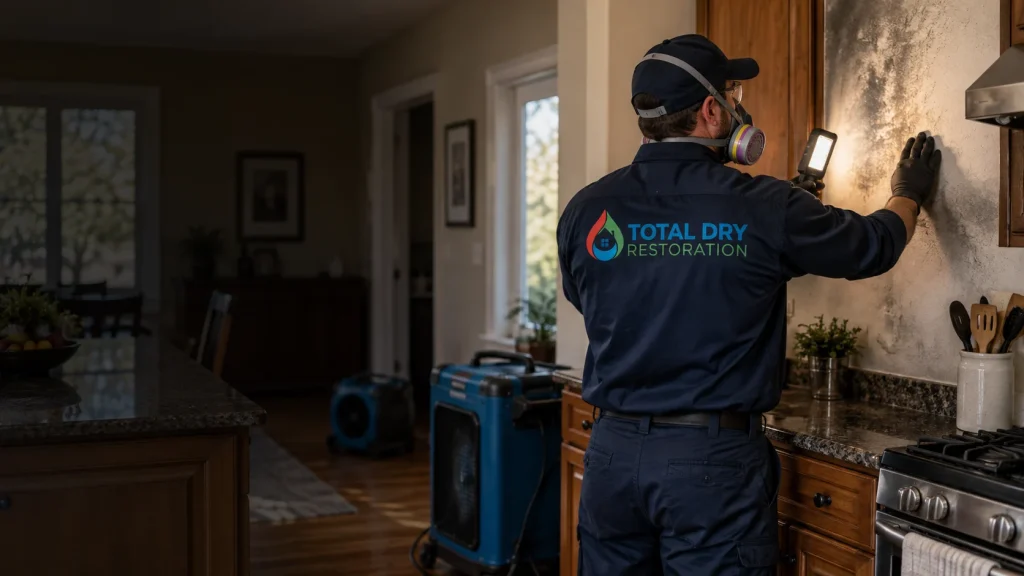
DIY stops making sense when water is contaminated, materials keep re-wetting, or mold is likely. If you open the wall and see black or fuzzy growth on drywall paper or insulation, it’s not cosmetic. It’s a containment and cleanup issue.
Quick reality check: Green is a small, one-time wet spot that dries fast after the leak is fixed. Yellow is recurring stains, peeling layers, moisture near an outlet, or damage behind a vanity. Red is sewage or floodwater, strong musty odor, or sagging sections.
If the source is unclear, start here: find a sink leak.
Step-by-Step Water Damage Wall Repair
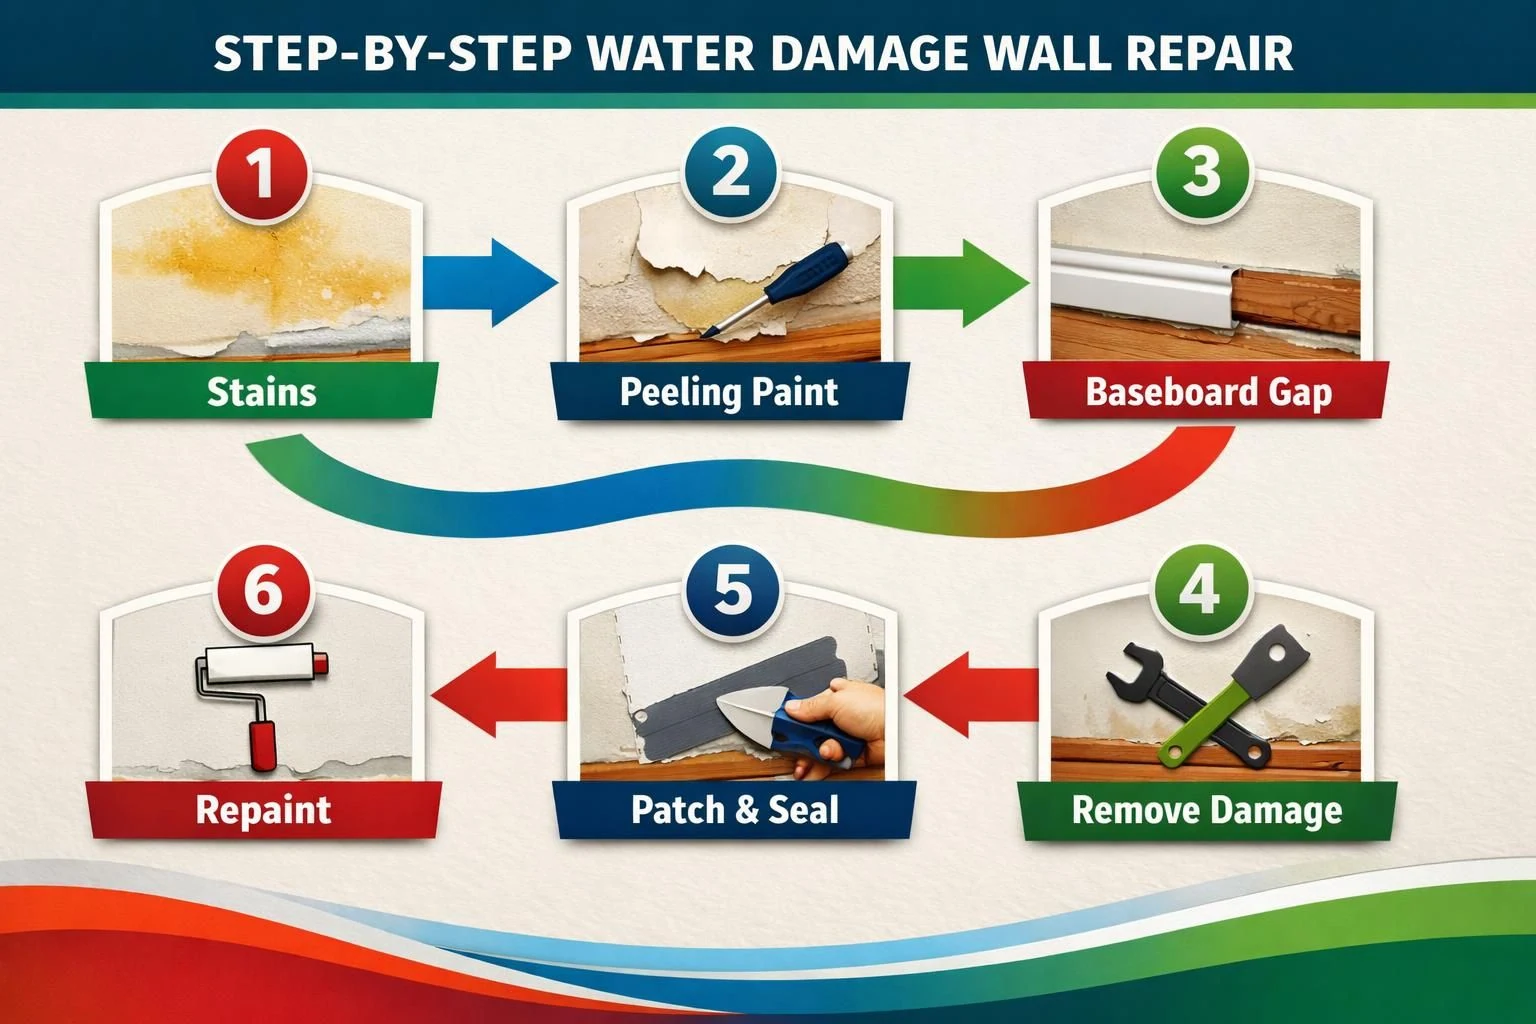
A durable repair follows a strict order: stop the water, dry fully, remove compromised material, then rebuild and seal. If you patch too soon, you’ll often get recurring stains, soft spots, or peeling paint.
Protect the space. Shut off power to outlets or switches in the affected area, and cover floors because wet drywall, insulation, and dust get messy.
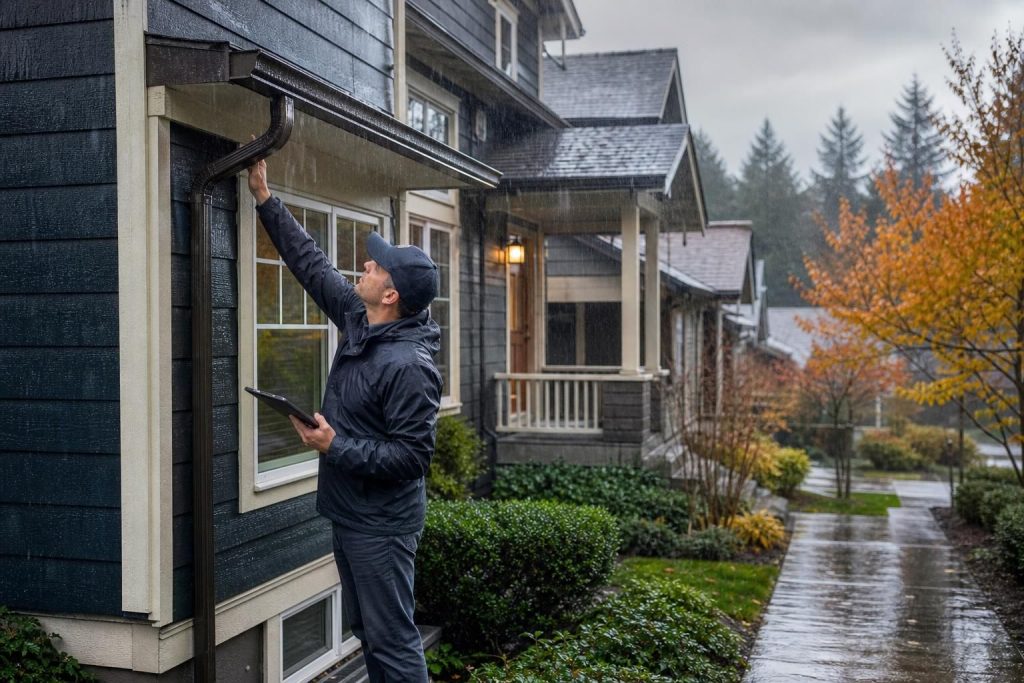
1) Stop the source and document. Fix the leak before opening the wall. Take photos first if insurance may be involved. If you rent, notify the property manager. For immediate containment, use: stop damage from spreading.
2) Dry completely. Drying means the cavity and framing are dry, not just the surface. Move air with fans, run a dehumidifier, and remove wet insulation so it can’t hold moisture. If a moisture meter still reads damp, keep drying.
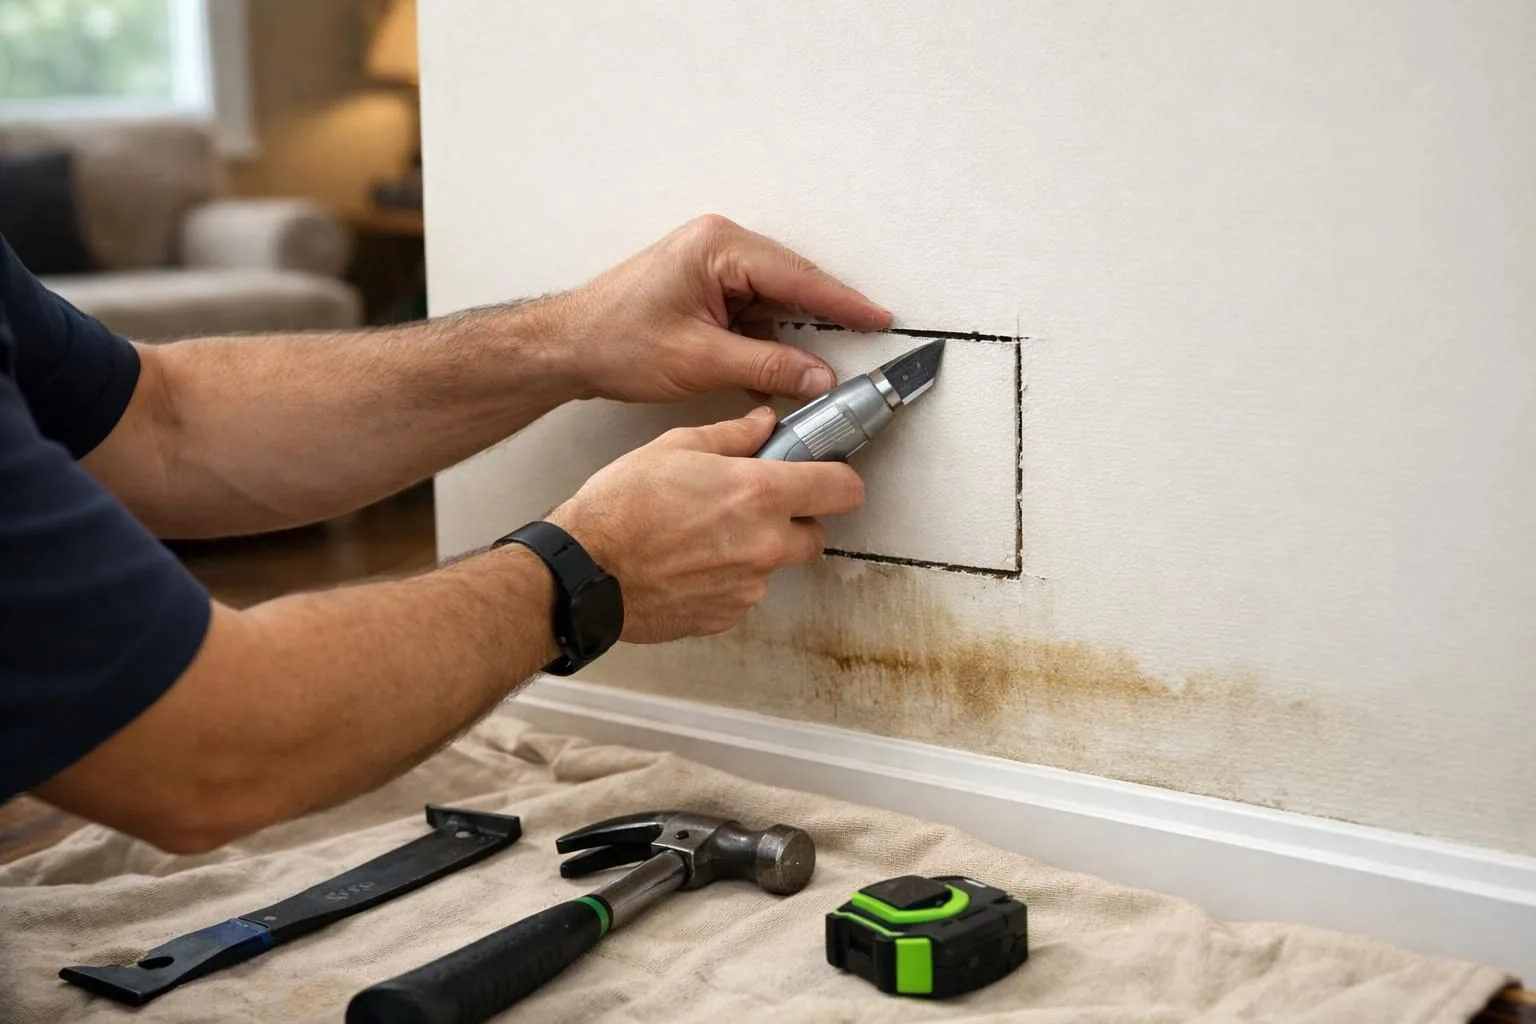
3) Cut out damaged drywall and inspect. Cut a clean square or rectangle for easier patching. Go past visible staining if drywall paper is soft or separating. Check studs and bottom plate for staining or softness, insulation for wetness or odor, plumbing for seepage, and the back of the removed drywall where mold can appear first.
4) Clean and treat (after drying). Wipe non-porous surfaces. If framing is only lightly affected, apply a mold-resistant coating after the wood is dry.
5) Replace insulation only when dry. Install new insulation if the old batt was wet.
6) Patch drywall. Match drywall thickness. Add backing strips if the opening doesn’t land on studs. Screw in the patch, tape seams, apply joint compound in thin coats, feather wider each coat, and sand lightly.
7) Prime and paint. Use a stain-blocking primer, then repaint, ideally corner-to-corner for blending.
8) Recheck. After a few days, touch the area and smell the room for returning mustiness.
Water Damage Wall Repair Cost
Water damage wall repair cost depends on how much you must open, how long drying takes, and what you find behind the finish. A small cosmetic patch is far cheaper than opening a wall, replacing insulation, drying framing, and blocking stains across a larger area.
Homeowners often underestimate access and finish work. A stain behind a toilet or vanity can require removing trim, disconnecting fixtures, working in tight corners, then retexturing and repainting to match.
Common cost drivers:
- Patch size and number of mud coats needed
- Drying and dehumidification time
- Insulation replacement and debris disposal
- Mold remediation if growth is present
- Texture/paint blending and trim reinstallation
- Specialty materials like plaster, tile backer, or paneling
Bathroom Wall Water Damage Repair
Bathroom wall water damage repair is tricky because moisture is often ongoing, hidden, and warmed by showers, which slows drying. The right fix depends on what’s behind the surface, since bathrooms can include drywall, cement board, tile, waterproofing, and many plumbing penetrations.
If damage is on a painted wall outside the shower zone, the repair is often a standard cutout, dry-out, patch, and stain-blocking prime. If it’s near a tub surround or tile, assume water may be coming from behind the tile or through failed caulk. Patching drywall without restoring waterproofing is usually a short-term cover-up.
Bathroom cues include bubbling paint near a shower, soft drywall low on a wall, and damage on a shared wall that originates on the shower side. For shower sources, check grout, caulk, valve trim, niches, and corners: leaking shower warning signs.
When to Call a Professional
Call a professional when damage may extend beyond what you can see or when proper drying and containment matter more than a cosmetic patch. Hidden leaks, repeated wetting, and hard-to-access cavities are common reasons.
Do not DIY safety or contamination issues. If water reached an outlet, switch, or fixture, shut off the circuit and involve an electrician or qualified restoration team. If the source is sewage or floodwater, materials may require controlled removal and disposal.
Get help when damage is large, spans rooms, access is blocked by tile or cabinets, drywall or ceilings sag, odors persist, or stains keep bleeding through paint. For first-hour steps: handle a drain overflow.
FAQs
How to Repair Water Damaged Wall Without Replacing Drywall?
If drywall is firm and only stained, dry it, clean, seal with a stain-blocking primer, and repaint. If paper bubbles, peels, or feels soft, replace drywall.
How Long Should You Wait Before Patching After a Leak?
Patch only after the cavity and framing are dry, not just the surface. Use fans and a dehumidifier. If moisture readings stay elevated, wait longer.
Can a Small Water Stain Mean Bigger Damage?
Yes. Water can travel along studs or behind baseboards, so a small stain may be an exit point. If it grows, smells musty, or feels soft, inspect.
What Materials Do You Need for a Basic Drywall Patch?
You’ll typically need a utility knife, drywall saw, matching drywall, screws, drill/driver, tape, joint compound, sanding tools, and stain-blocking primer. Add backing strips if no stud.
Is Bathroom Drywall Always Supposed to Be Moisture-resistant?
Moisture-resistant drywall helps in damp areas but doesn’t replace waterproofing in showers. If water is getting behind tile or caulk failed, rebuild the assembly correctly.
Conclusion
A good water damage wall repair comes down to a simple sequence: stop the water, prove everything is dry, remove what’s compromised, then rebuild and seal so stains and odors don’t return. If you’re debating DIY, be honest about what you can see and what you can’t. Small, clean-water issues are usually manageable, but recurring moisture, bathroom leaks behind finishes, and anything involving electricity or contamination deserve professional attention. Your best next step is to find the source, map the moisture, and plan the repair around drying, not around cosmetics.