
Water damage from leaking shower problems rarely start with a dramatic puddle. Most begin as a tiny failure in caulk, grout, a shower valve, or a drain gasket and then quietly feed moisture into places you don’t see. And once water gets behind tile or into a wall cavity, it can spread, soften drywall, and even trigger mold and mildew before you realize what’s happening.
In this guide, you’ll learn how shower leaks typically travel, the early warning signs (inside and outside the bathroom), the most common causes, and the smartest first actions to limit damage. We’ll also cover when a quick DIY fix is reasonable and when you’re looking at waterproofing or plumbing work.
Best for: Homeowners who suspect a shower leak and want to spot hidden damage early and prevent it from spreading.
Not ideal when: You already have saturated ceilings, active dripping, or a strong musty odor that suggests ongoing hidden water damage.
Good first step if: You can stop shower use, dry the area, and do a few simple checks to narrow down plumbing versus waterproofing.
Call a pro if: Water is showing in the ceiling below, walls feel soft, breakers trip, or you can’t locate the source within a day.
Quick Summary
Shower leaks often travel along framing and subflooring, so the visible stain usually isn’t the source.
Surface failures (caulk, grout, tile) and hidden plumbing issues can create similar symptoms at first.
Early clues include water stains, bubbling paint, loose tiles, crumbling grout, and a persistent musty odor.
Quick isolation checks can help separate fixture leaks from pan, drain, or waterproofing membrane failures.
Fix the leak first, then dry thoroughly, document conditions, and watch for mold or structural damage.
How Water Damage From a Leaking Shower Happens
Water damage happens when water escapes the waterproof zone and follows gravity and gaps into walls, floors, or the ceiling below. Tile and grout alone aren’t fully waterproof, so failures in the membrane, pan, or drain let moisture reach backer board, studs, and subflooring, then wick sideways and down.
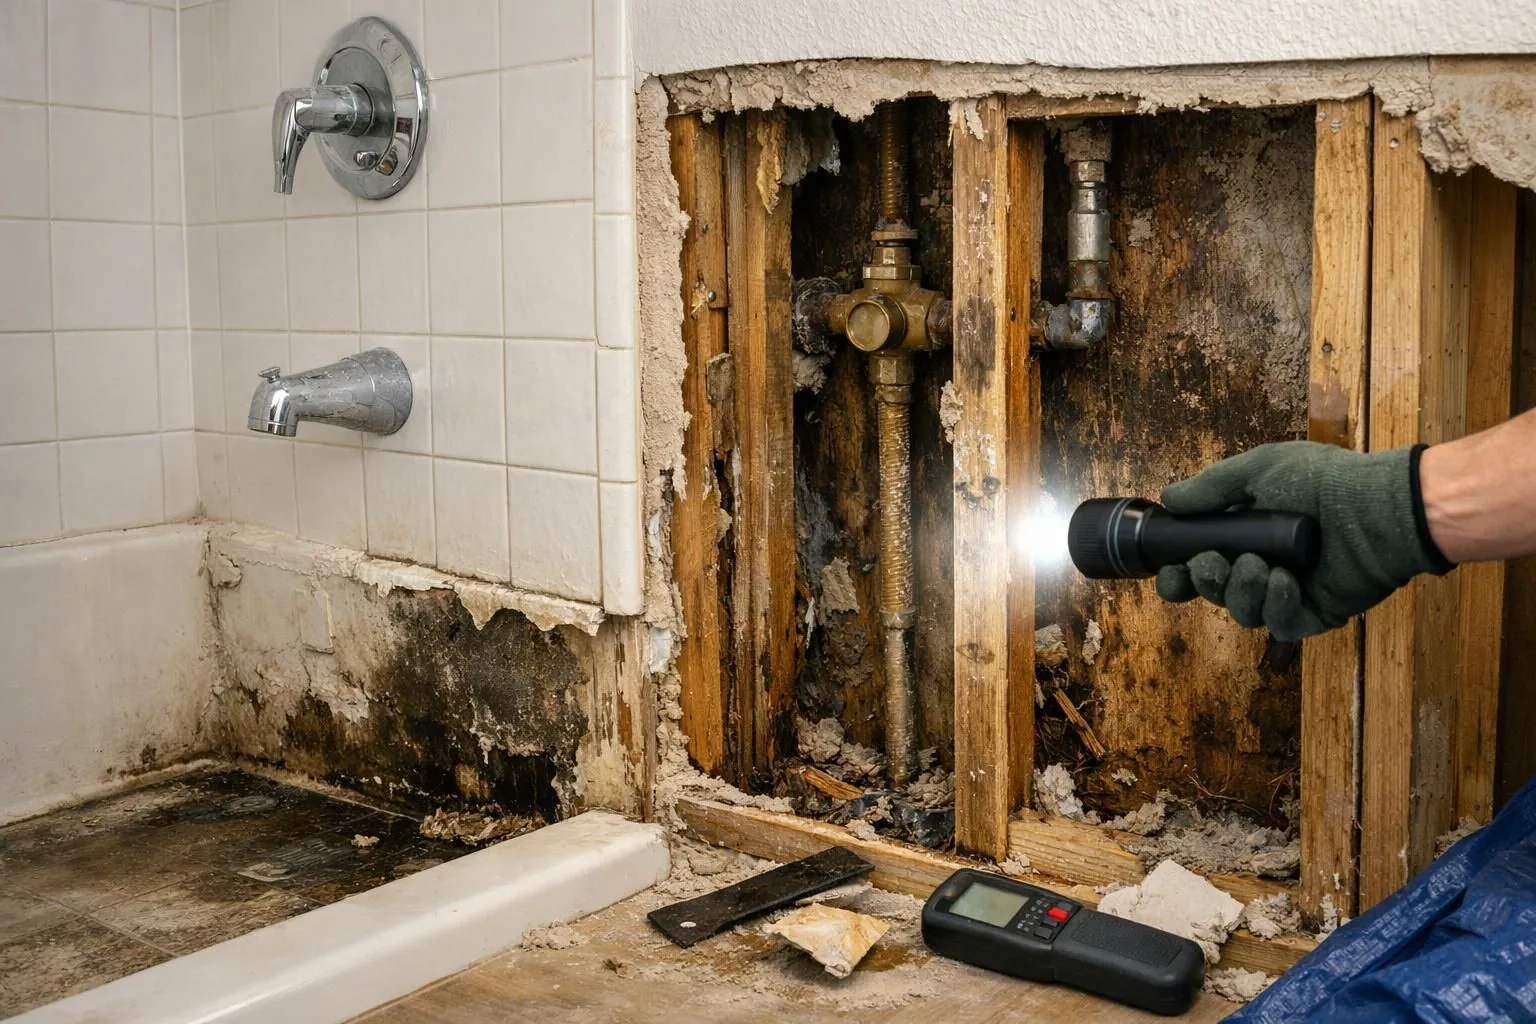
Small daily leakage adds up. Repeated wetting with slow drying can warp drywall, rot wood, loosen tiles, and spread staining far from the original entry point. Poor ventilation keeps assemblies damp longer and accelerates deterioration.
Surface Leaks Vs. Hidden Leaks Behind Walls
Surface leaks are usually from obvious splash-out or failed sealant at corners, the shower door track, or the curb, and you’ll often see wet floors right away. Hidden leaks behind walls come from plumbing pipes, a shower valve, or a compromised waterproofing membrane, and they show up as soft wall areas, staining, or odors outside the shower.
Early Warning Signs to Watch for
Early signs are small changes and subtle odors before you see dripping. The key clue is timing: symptoms that appear only after showering, especially longer showers, point to a shower leak, not a one-off spill. Watch for musty smell, mildew that keeps returning, and tile or seams that feel soft when pressed.
Also note utilities and patterns. A rising water bill can suggest a pressurized plumbing leak, while use-only damage often ties to the pan, drain, or waterproofing. If drywall feels damp, what to do after a wall leak outlines safe next steps.
Damage Inside the Bathroom (Tiles, Grout, Floor, Base)
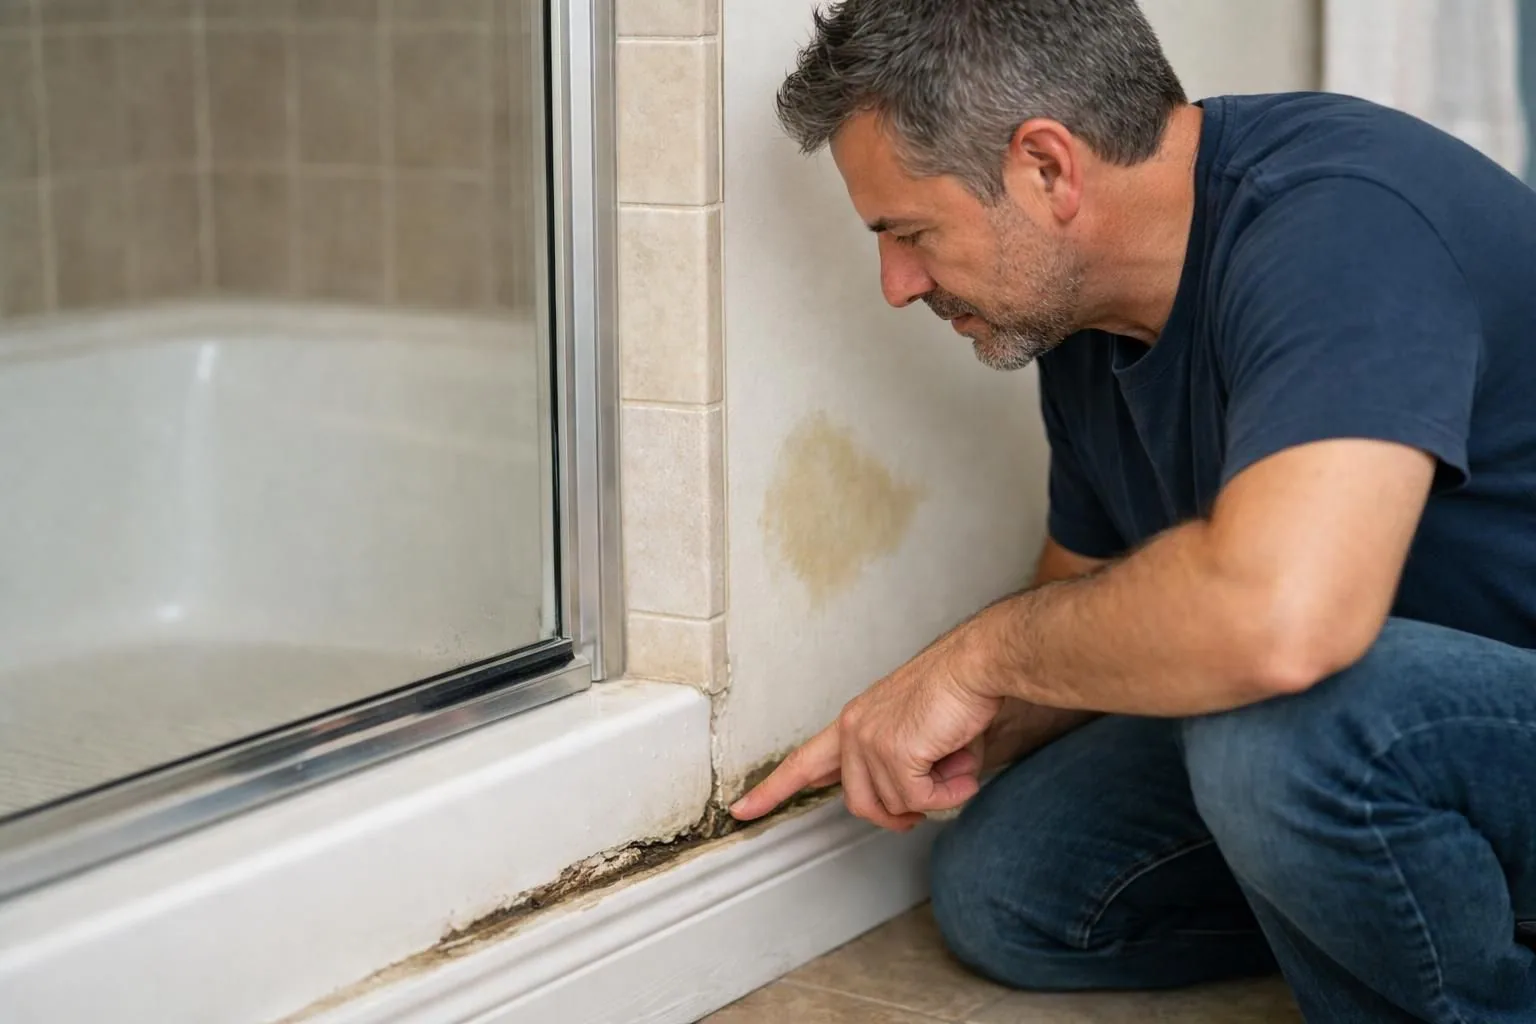
Inside the bathroom, look for crumbling grout, cracked tiles, hollow tiles (they sound empty when tapped), and loose tiles that shift slightly. At the base, check the skirting board and door frame for swelling, peeling paint, or darkened seams. A floor that feels spongy near the shower often points to subfloor moisture, not just a surface spill.
Damage Outside the Bathroom (Ceiling Below, Adjacent Rooms)
Outside the bathroom, the classic signs are water stains, bubbling paint, peeling paint, and damp trim on the adjacent room wall. If the ceiling below bathroom shows discoloration after showers, the leak path may be following framing bays. For immediate containment steps when staining appears overhead, ceiling leak action steps is a helpful companion.
Common Causes of Leaking Showers
Most leaking showers start at seams and penetrations: corners, transitions, and plumbing openings. Caulk and grout crack from movement, harsh cleaners, and temperature swings, letting water slip behind tile. Shower doors can also misdirect water if the sweep or track doesn’t seal.
The other major cause is plumbing or drain hardware. Valves and cartridges can seep into the wall, and drain gaskets or connections can leak into the subfloor. Ceiling stains after showers often trace to a drain or pan leak that occurs only while water is flowing.
Grout/caulk Failure and Cracked Tiles
Grout and caulk failures usually start at movement points: corners, the tub-to-wall line, and around fixtures. Repeated flexing turns small gaps into channels, and cracked tiles can deliver water directly to the substrate. If you see mildew lines that reappear quickly after cleaning, treat it as a leak-path clue, not just a housekeeping issue.
Drain, Pan, Valve, or Pipe Leaks
Drain and pan leaks usually show up only during use and worsen with longer showers. Valve and pipe leaks can drip even when the shower is off. A clogged drain can raise water level, stressing gaskets or splashing over the curb. Handle leaks often point to a worn cartridge, washer, or loose packing nut.
Shower Pan Leak Water Damage: Signs the Pan Has Failed
A shower pan is the waterproof base designed to collect water and direct it toward the drain. When the pan, liner, waterproof membrane, or connection around the drain fails, water can escape beneath the tile and spread into the subfloor, framing, walls, or the ceiling below.
Shower pan leak water damage often develops gradually and may not create a visible puddle inside the bathroom. Instead, homeowners may notice damage around or below the shower after repeated use.
Common warning signs include:
- Water stains or bubbling paint on the ceiling below the bathroom
- Soft or spongy flooring near the shower base
- Loose tiles, cracked grout, or separation around the shower curb
- A persistent musty odor near the shower or in the room below
- Swollen baseboards or damp drywall outside the shower enclosure
- Damage that becomes more noticeable after longer showers
A failed shower pan is different from a leaking valve or supply pipe because the symptoms usually appear only while the shower is being used. A controlled flood test can sometimes help confirm whether the pan is leaking, although testing should be left to a professional when the ceiling below is sagging, electrical components may be wet, or significant damage is already visible.
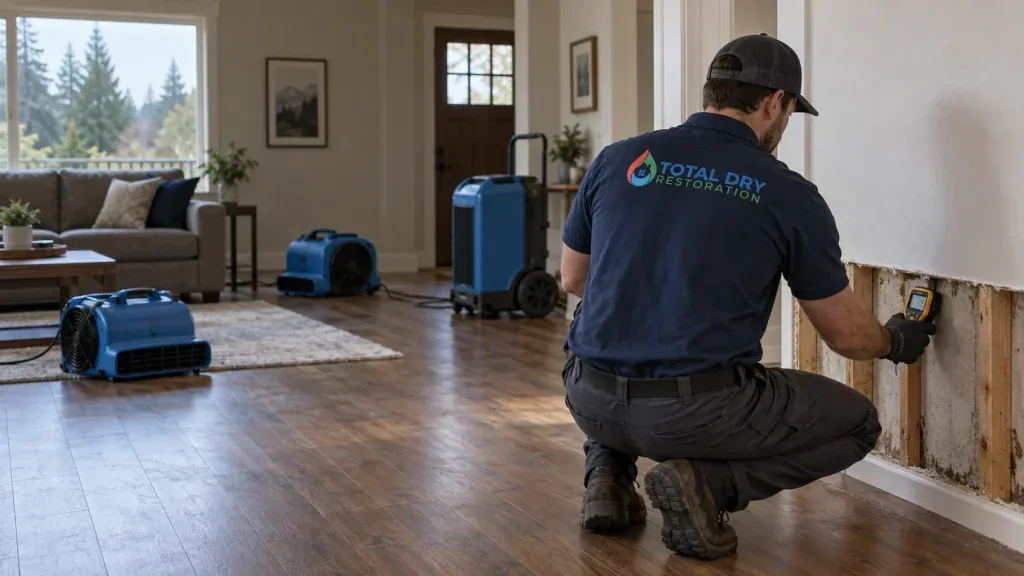
Repairing the pan stops the source, but wet subflooring, drywall, insulation, and framing may still require professional water damage restoration. Moisture detection and controlled structural drying help determine how far the water traveled and whether damaged materials can be safely dried or need to be removed.
What to Do Immediately (Stop the Leak + Limit Damage)
Stop using the shower until you narrow the source, because each use can feed hidden damage. Shut off water to the shower if you suspect a pressurized leak at the valve, head, or supply lines. Dry reachable areas: remove mats, towel up water, and run the exhaust fan plus a portable fan.
Protect nearby materials by moving items off the floor and checking the ceiling below for new spots. If water may have contacted electrical components, use decide about shutting off power to guide safety. Document photos, timing, and any water bill changes.
Shower Leaked? Check These Areas Before Using It Again
If your shower leaked, dry the visible water and stop using it until you determine where the moisture came from. Inspect the shower door, caulk lines, drain, curb, and plumbing fixtures, then check the adjacent walls and ceiling below for staining or dampness.
If moisture returns after every shower, the problem may involve the drain, shower pan, plumbing, or waterproofing behind the tile. Water that has reached drywall, flooring, or the ceiling below may require professional moisture inspection and drying.
Quick Isolation Tests to Pinpoint the Source
Separate plumbing from waterproofing with quick tests. Run the shower with the drain covered to make a shallow puddle; if wetness appears without draining, suspect the pan or seams. Then run the showerhead into a bucket; continued leaking suggests the valve or supply piping. Use first 24-hour drying steps if needed.
Repair Options (DIY Vs. Professional)
DIY repairs are appropriate only when the issue is clearly superficial and surrounding materials are solid: no soft drywall, spongy floor, musty odor, or spreading stains. Clean and dry the area, remove all failed caulk, and apply a continuous bead of bathroom-rated sealant. Minor grout touch-ups can also keep water from slipping behind tile.
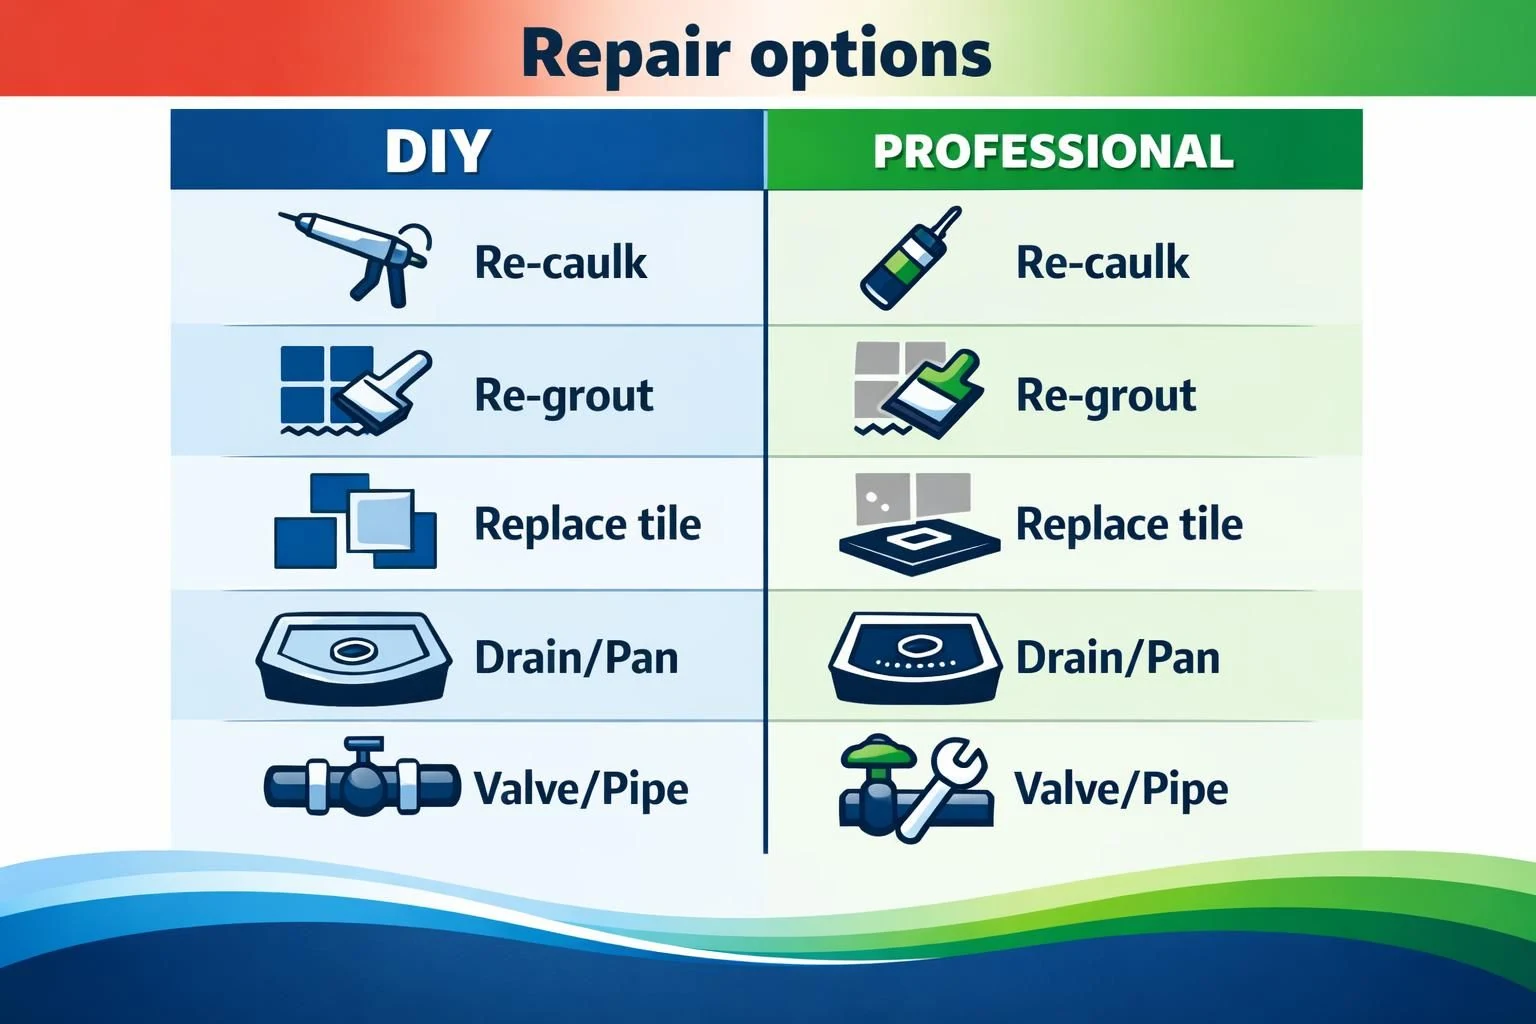
Hire a professional if you can’t confirm it’s surface-level. Valve, drain, or pipe leaks can soak cavities, and pan or membrane failures usually require tear-out. If water reached other rooms, restoration may be needed; how restoration work is handled covers the basics. Cost varies with access, saturation, and mold or structural damage.
When You Can Re-caulk/re-grout Vs. When Waterproofing/plumbing is Needed
Re-caulking or grout repair fits when the leak is at a seam, surfaces are firm, and damage stays within the shower footprint. Waterproofing or plumbing work is needed when tiles are loose, the pan is suspect, the ceiling below is affected, or leaks continue
Mold and Structural Risk: When it Becomes Urgent
It becomes urgent when moisture is trapped and can’t dry, because mold and structural damage become likely. Persistent musty odor, recurring mildew after cleaning, soft drywall, or a spongy floor suggest water is inside the assembly. Rot can develop in framing and plates, and subflooring can weaken even if the surface looks fine.
Risk rises if stains spread, paint bubbles, or drywall below sags. Stop the leak, map what’s wet, and dry it correctly before deciding what stays. Don’t rely on sprays alone; mold cleanup considerations explains when remediation is appropriate, especially for sensitive occupants.
Preventing Future Water Damage From Your Shower
Prevention is about water paths, drying time, and early detection. Keep water contained by maintaining caulk lines, repairing grout, ensuring the door closes properly, and confirming the drain works as designed. Shorten drying time with strong ventilation and run the exhaust fan long enough after showers to clear humidity, since lingering moisture weakens caulk and grout.
Detect problems early. Place a water sensor near the shower base (outside splash range) and consider an automatic shut-off valve to limit pressurized leaks. For a broader containment mindset, stop water damage spreading covers practical steps.
Maintenance Checklist and Leak-detection Upgrades
A simple routine catches most shower leaks early.
Inspect caulk lines and corners for gaps, lifting, or discoloration.
Check grout for crumbling and hairline cracks around niches and benches.
Confirm the drain is clear and odors aren’t building.
Test handles and faucets for drips that suggest cartridge or washer wear.
Run the exhaust fan during and after showers.
Add a water sensor and consider an automatic shut-off valve.
Conclusion
Water damage from leaking shower issues is one of those problems that rewards early attention and consistent care, catching small leaks quickly can prevent expensive structural repairs, mold growth, and long-term deterioration of finishes and framing. Regular inspections of grout, caulk, drain fittings, and the shower valve, combined with prompt repair of visible drips, loose tiles, or lingering moisture, greatly reduce the risk of hidden damage. Beyond visible fixes, addressing underlying causes such as worn seals, faulty plumbing connections, or inadequate waterproofing will provide a more durable solution and protect indoor air quality. Taking a proactive approach, documenting changes, improving ventilation, and consulting a professional for persistent or complex leaks, preserves both the safety and value of your home and minimizes disruptions and costs over time.