
A ceiling leak can feel like an emergency because it threatens your home, your belongings, and sometimes your safety. The good news is that a calm, step-by-step response can limit damage while you figure out the cause and arrange repairs. This guide covers what to do when your ceiling is leaking, starting with immediate containment and safety checks, then moving into how to trace common sources like a roof issue or plumbing above. You will also learn practical drying steps to reduce the risk of mold, how to check for hidden moisture, when drywall needs to be opened, and what to document for insurance.
- Act fast to control water and reduce spread, even before you know the exact cause
- Treat electricity and sagging drywall as priority safety risks
- Track the likely source by considering weather, fixtures, and what is above the stain
- Dry thoroughly within the first 24 to 48 hours to reduce mold risk
- Document damage and mitigation steps clearly in case an insurance claim is needed
Quick steps to take immediately
When you notice water leaking from ceiling, start by containing the water and reducing pressure on the drywall. Put a bucket or large container under drips and move quickly to protect anything underneath. If water is spreading across a wide area, use multiple containers or a shallow pan. Lay down towels to keep water from running across floors, and wring them out often.
Next, reduce ongoing flow if possible. If you suspect a plumbing issue, shut off water to the affected fixture or the main water supply if you cannot pinpoint it. If the leak seems tied to rain or melting snow, focus on containment now and plan to investigate the roof and attic once it is safe and conditions allow. Take a few quick photos as-is before you disturb the area, then continue mitigation.
Safety first: electricity and ceiling collapse risk
A ceiling leak is not only messy. It can be dangerous. Water can travel along framing and wiring, and the leak point is not always directly below the source. If water is near ceiling lights, smoke detectors, fans, or outlets, turn off power to that area at the breaker panel. If you are unsure which circuit feeds it, shut off the main power and call an electrician or restoration professional for guidance before touching fixtures.
Also consider collapse risk. Wet drywall becomes heavy and can fail suddenly, especially when water pools above it. A bulging ceiling, visible sagging, or cracking sounds are warning signs. Keep people and pets out of the room, and avoid placing your face or hands under the bulge. Your goal is to control water while preventing injury from falling debris.
Find the source (roof, plumbing, upstairs bathroom)
Next, reduce ongoing flow if possible. If you suspect a plumbing issue, shut off water to the affected fixture or the main water supply if you cannot pinpoint it, and consider calling for emergency water damage restoration. If the leak seems tied to rain or melting snow, focus on containment now and plan to investigate the roof and attic once it is safe and conditions allow. Take a few quick photos as-is before you disturb the area, then continue mitigation.
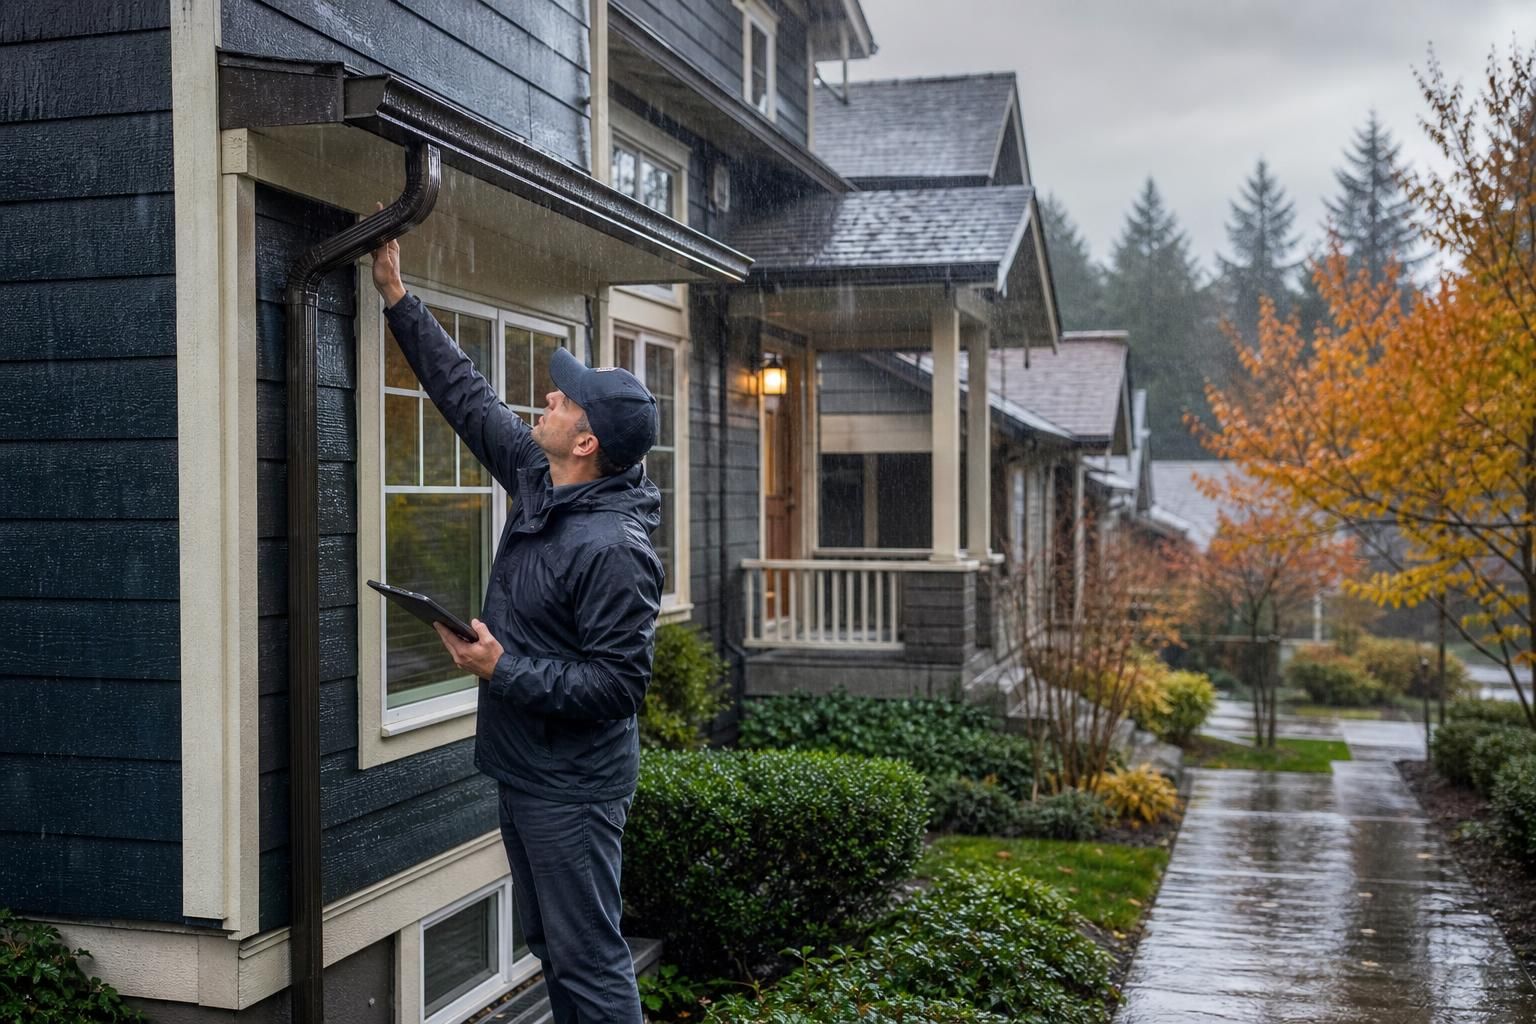
Finding the source helps you stop the leak at its origin, but do not assume the stain tells the whole story. Water can run along joists and beams before it shows up. Start with a few basic questions: Is it raining or did it rain recently? Is the stain near a vent pipe, chimney, or exterior wall? Is there a bathroom or laundry room above?
If the leak appears during storms, a roof issue is likely. Check the attic if you can do so safely: look for wet insulation, darkened wood, drips on nails, or water trails on rafters. If the leak appears regardless of weather, suspect plumbing. Common causes include supply lines, drain leaks, loose fittings, failed caulk, or overflowing fixtures. A specific scenario is water leaking from ceiling under bathroom, which often points to a toilet seal, tub drain, shower pan, or a supply line leak.
What to do if the ceiling is bulging or bubbling
A bulge or bubble means water is trapped above the drywall, increasing weight and the chance of a sudden break. The safest approach is controlled draining. Place a bucket under the lowest point. If power is off and the area is clear, you can make a small release hole with a screwdriver at the center of the bulge to let water drain in a predictable stream. Do not cut a large opening right away. A small hole can relieve pressure and limit widespread collapse.
As water drains, the bulge may spread or shift. Adjust your bucket position and be ready with towels. Once the active water is released, do not assume the ceiling is stable. Wet drywall loses strength. If the area is large, severely sagging, or you see multiple bulges, step back and consider professional help for safe opening, drying, and debris handling.
Also consider collapse risk. Wet drywall becomes heavy and can fail suddenly, especially when water pools above it. A bulging ceiling, visible sagging, or cracking sounds are warning signs. Keep people and pets out of the room, and avoid placing your face or hands under the bulge. Your goal is to control water while preventing injury from falling debris and to stop water damage from spreading.
How to catch and control dripping water
Drips can be deceptive because they can splash and spread, damaging more area than the leak itself. Use a deep bucket, and if dripping is fast, place a towel or sponge at the bottom to reduce splashing. For a wider drip line, set up multiple containers rather than letting water run across the ceiling and down walls.
If water is running along a seam or light fixture, you can tape up plastic sheeting to guide water into a container. Keep the plastic loose and sloped so gravity does the work. Check containers frequently, especially overnight. If you cannot stay to monitor it, prioritize shutting off water (for plumbing leaks) and isolating the room to prevent slips and further damage.
Protect floors, furniture, and belongings
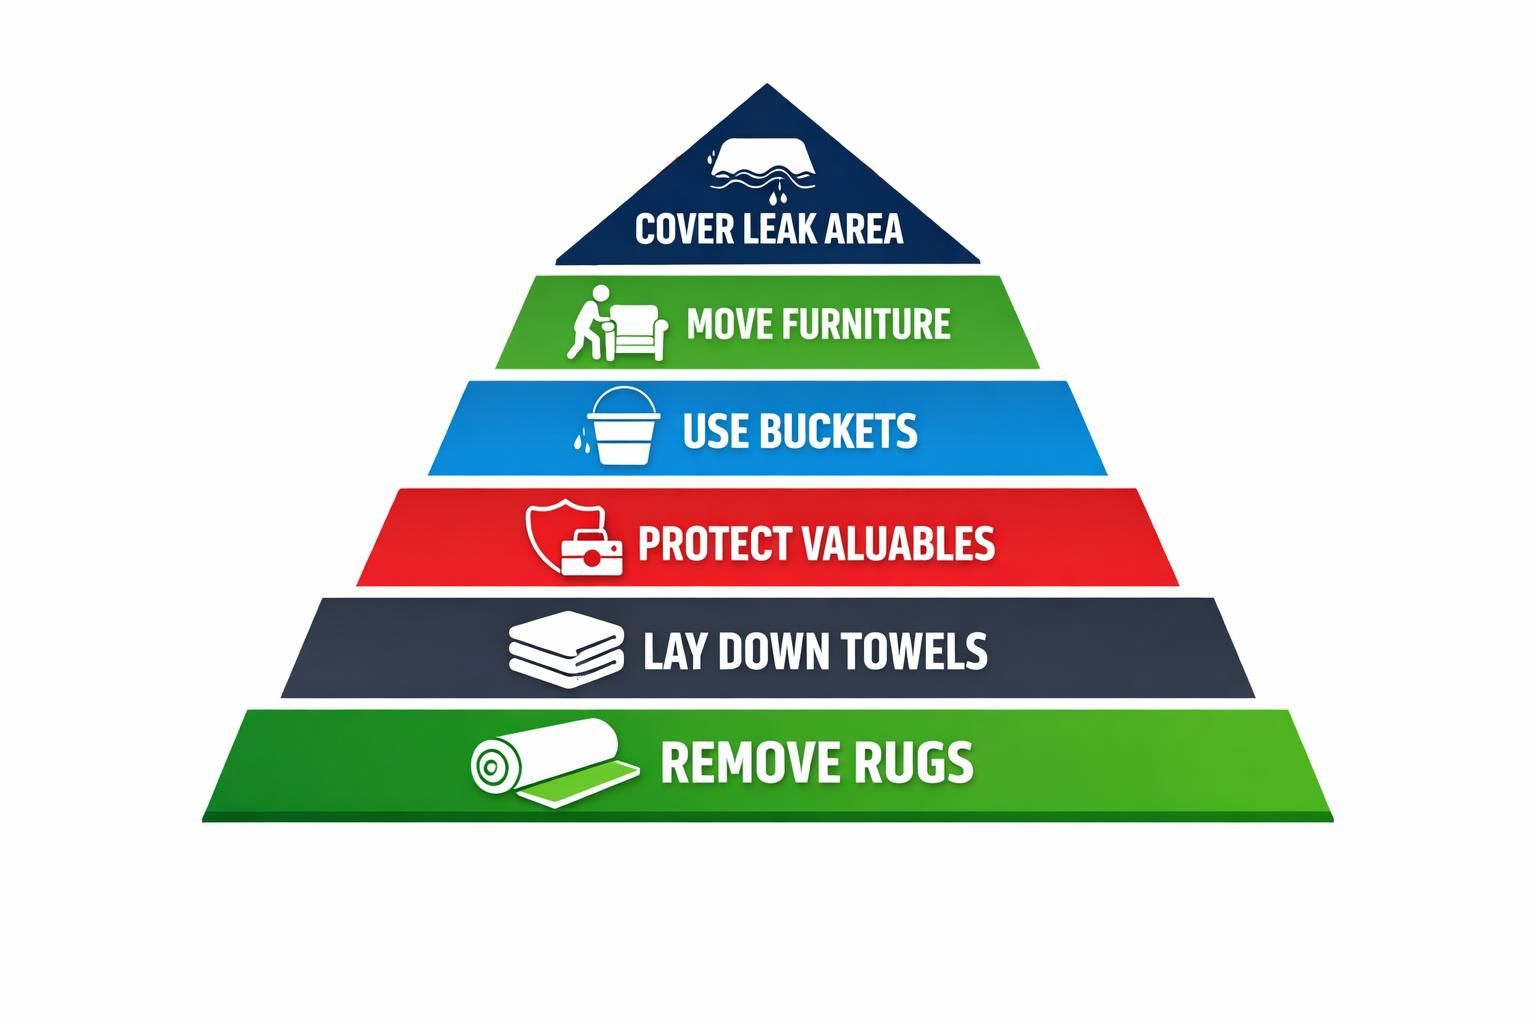
After initial containment, focus on minimizing secondary damage. Move furniture out of the room if it is safe to do so. If items are too heavy, slide plastic sheeting underneath and over the top, then place towels around legs where water may pool. Pull rugs away from the leak zone to prevent staining and trapped moisture.
Hard floors can warp or discolor if water sits. Mop up standing water promptly. For carpet, blot and extract water if possible, then elevate a corner to encourage airflow underneath. If water is dirty or has an odor, treat it as potentially contaminated, especially when the ceiling leak involves an upstairs bathroom drain. In that case, avoid spreading the water and consider professional cleaning guidance.
Drying steps to prevent mold (first 24–48 hours)
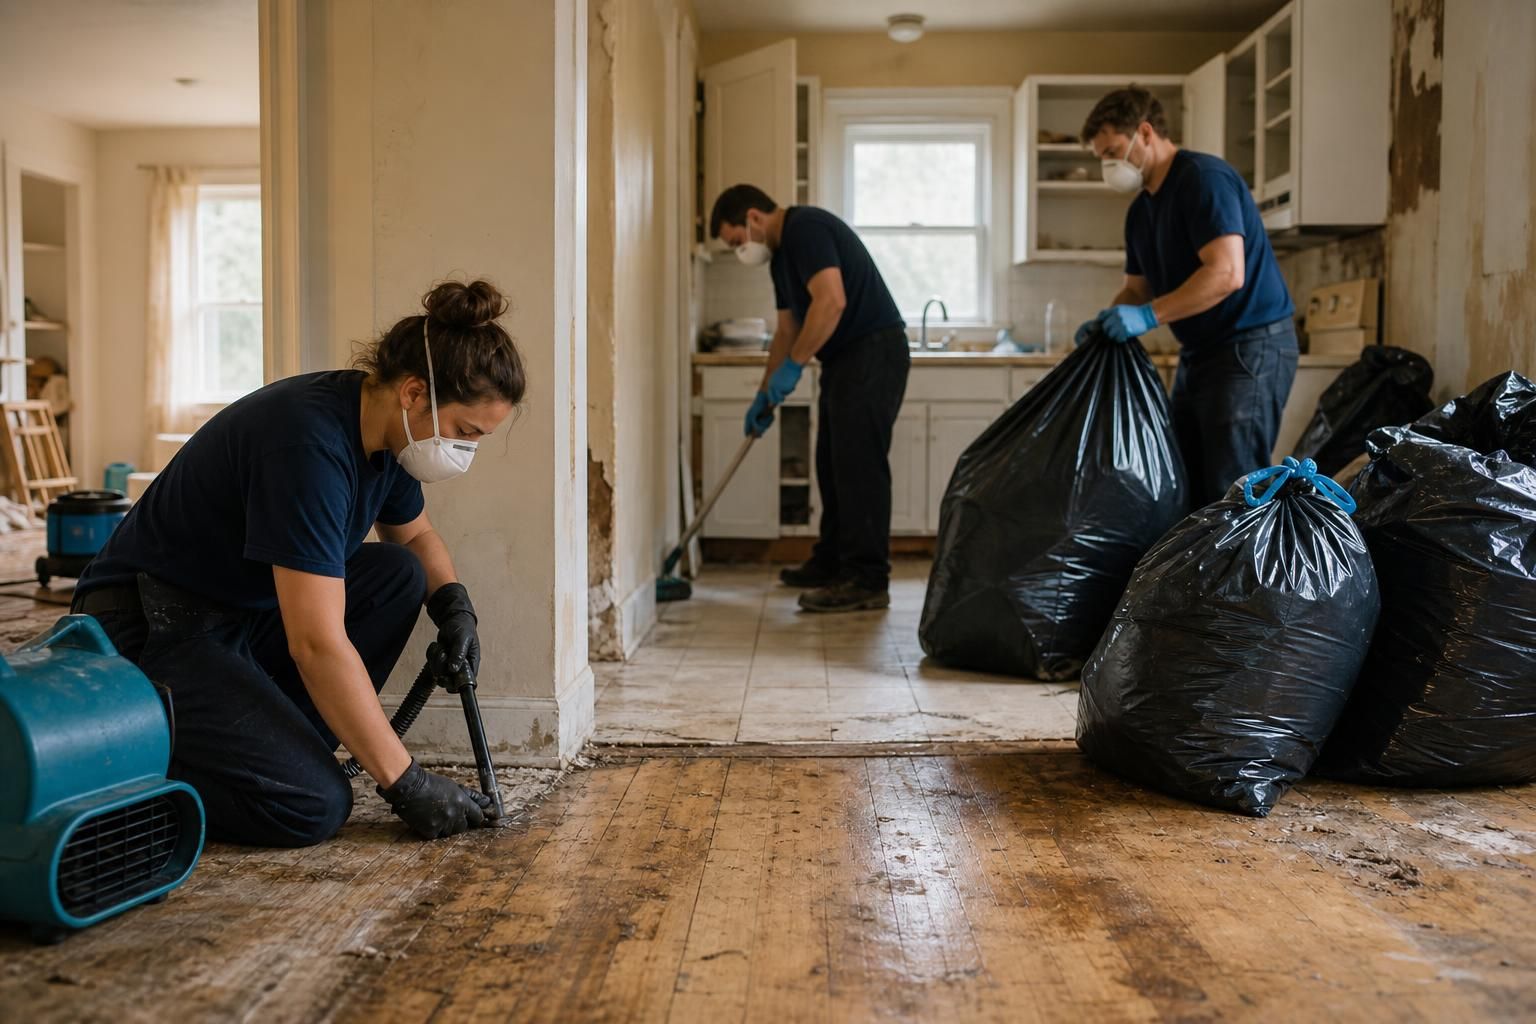
Drying starts immediately, not after the leak is fully solved. The first 24 to 48 hours are critical for reducing the chance of microbial growth. Increase airflow with fans, open interior doors, and run a dehumidifier if you have one. If outdoor humidity is lower than indoor humidity, opening windows can help. If it is humid outside, keep windows closed and rely on dehumidification instead.
Drying starts immediately, not after the leak is fully solved. The first 24 to 48 hours are critical for learning how to dry a room after a water leak and reducing the chance of microbial growth. Increase airflow with fans, open interior doors, and run a dehumidifier if you have one. If outdoor humidity is lower than indoor humidity, opening windows can help. If it is humid outside, keep windows closed and rely on dehumidification instead.
Remove wet porous materials when appropriate. Ceiling paint may blister, and drywall can stay wet inside even when it feels dry on the surface. If you notice early stage mold on ceiling from roof leak, such as small dark specks or a musty smell, do not just paint over it. The priority is drying the cavity and addressing the moisture source. Painting can temporarily hide staining while moisture continues behind the surface.
Helpful drying and prevention steps:
- Keep air moving across the wet area, not just in the room generally
- Run a dehumidifier continuously and empty it as needed
- Pull down or remove wet insulation if accessible and safe
- Remove soaked items that cannot be dried quickly, or separate them to dry individually
- Continue monitoring for new staining that indicates ongoing ceiling leaks
How to check for hidden moisture above the ceiling
Even after you stop the visible drip, moisture may remain trapped in insulation, framing, and drywall. If you have attic access above the affected area, look for damp insulation, water trails, or wet wood. Press lightly on insulation with a gloved hand to feel for dampness. Wet insulation often needs to be removed because it dries poorly and can hold moisture against wood.
From inside the home, watch for signs like persistent staining, soft spots, peeling paint, or a musty odor. A moisture meter can help identify damp areas, but you can still do a practical check by comparing the feel and temperature of the stained area to surrounding ceiling. Cooler spots can indicate remaining moisture. If the leak was active for more than a short time, assume the cavity needs targeted drying, not just surface airflow.
When the ceiling needs to be opened or drywall replaced
Not every ceiling leak requires cutting open the ceiling, but many do if water soaked the drywall or insulation. If drywall is sagging, crumbling, or remains soft after drying efforts, replacement is often the safer option. Drywall that has absorbed water can lose structural integrity and may not return to its original strength, even if it dries.
Opening the ceiling can also be necessary to confirm the source and to dry hidden areas. Small inspection holes near the stain can help locate wet framing and track the path of water. If the leak involved a drain line, discoloration or odor may suggest contaminated water, which is another reason to remove affected materials rather than sealing them in place. Once the area is dry and repairs are complete, patching and repainting can be done with confidence that the problem is not trapped behind the surface.
When to call a restoration pro vs a plumber

Call a plumber when the likely cause is plumbing: supply line leaks, a dripping shutoff valve, a toilet wax ring, a shower drain, or water leaking from ceiling under bathroom after someone uses the fixture. A plumber can isolate lines, pressure-test, and repair fittings or pipes. If you can stop the leak by shutting off a specific fixture, that is another clue it is plumbing-related.
Call a restoration professional when there is widespread wetting, saturated insulation, multiple rooms affected, or signs of ongoing moisture and odor. Restoration teams focus on controlled demolition, drying, and preventing secondary damage like warping and mold. If you see active ceiling leaks with sagging drywall, or you suspect moisture has spread beyond the visible stain, professional drying equipment and moisture mapping can prevent repeated repairs later.
Call a restoration professional when there is widespread wetting, saturated insulation, multiple rooms affected, or signs of ongoing moisture and odor. Restoration teams focus on controlled demolition, drying, and preventing secondary damage like warping and mold. If you see active ceiling leaks with sagging drywall, or you suspect moisture has spread beyond the visible stain, knowing what to do after a burst pipe can help, as professional drying equipment and moisture mapping can prevent repeated repairs later.
What to document for insurance
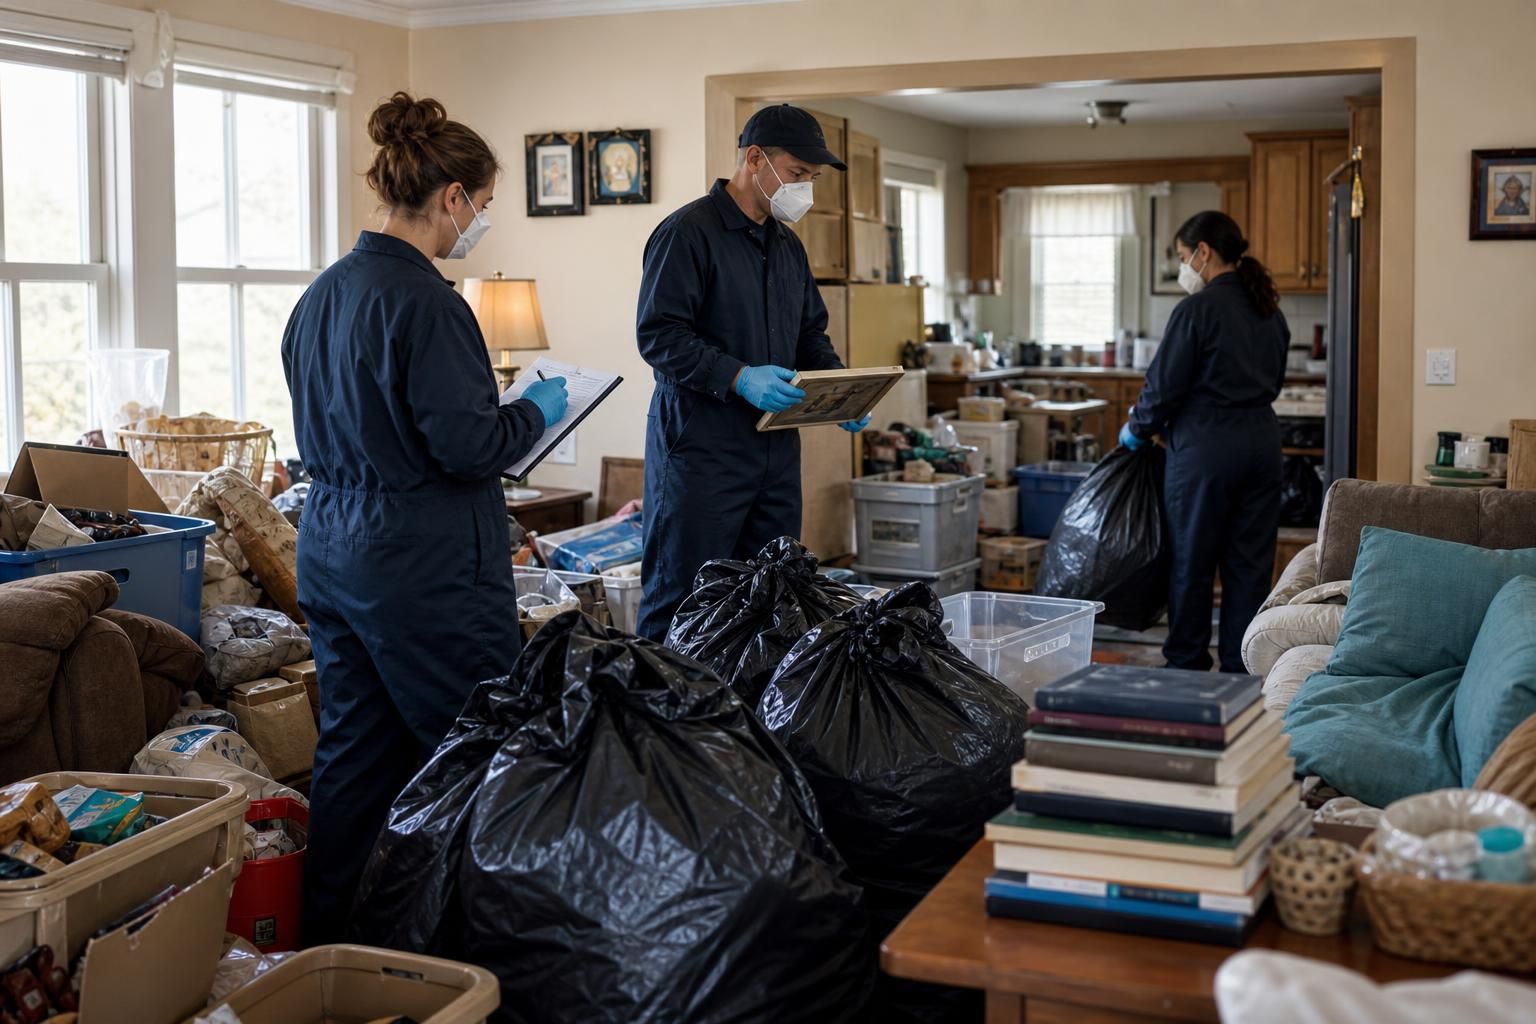
Documenting early and clearly can help if you need to file a claim. Start with wide photos of the room, then close-ups of the ceiling leak area, any water dripping, and any damaged belongings. Take pictures before you move items, then again after you have done reasonable mitigation like placing buckets and towels. Keep a simple timeline: when you noticed the leak, what the weather was, what fixtures were in use, and what steps you took to reduce damage.
Save any receipts related to emergency mitigation or temporary supplies, and write down who you called and when. If you later open the ceiling, photograph wet insulation, damaged drywall, and the source area if it is visible. Avoid discarding damaged materials until you are sure they are not needed for inspection. Clear documentation supports your account of what happened and shows that you acted promptly to limit further loss.
Conclusion
Knowing what to do when your ceiling is leaking comes down to three priorities: stay safe, stop or contain the water, and dry the structure thoroughly. Turn off power near wet fixtures, relieve pressure if the ceiling is bulging, and protect your floors and belongings from spreading water. Then focus on identifying the source, whether it is a roof issue, a plumbing line, or water leaking from ceiling under bathroom use. Over the next day or two, keep airflow and dehumidification going and watch for lingering dampness or early stage mold on ceiling from roof leak. Your next practical step is to arrange the right help, a plumber for plumbing causes, and a restoration pro when drying and material removal are needed, while documenting everything as you go.
Knowing what to do when your ceiling is leaking comes down to three priorities: stay safe, stop or contain the water, and dry the structure thoroughly. Turn off power near wet fixtures, as discussed in the context of whether you should turn off electricity after a water leak, relieve pressure if the ceiling is bulging, and protect your floors and belongings from spreading water. Then focus on identifying the source, whether it is a roof issue, a plumbing line, or water leaking from ceiling under bathroom use. Over the next day or two, keep airflow and dehumidification going and watch for lingering dampness or early stage mold on ceiling from roof leak. Your next practical step is to arrange the right help, a plumber for plumbing causes, and a restoration pro when drying and material removal are needed, while documenting everything as you go.