Ceiling stains and sagging drywall are stressful because they usually mean water is still getting in or it got in recently. And with ceiling water damage repair, the order you do things matters: stop the source, dry everything out, then repair and repaint. If you jump straight to patching, you’ll often see the stain come back, or the drywall will soften and fail again.
In this guide, you’ll learn how to tell what kind of damage you’re dealing with, when DIY is realistic, how to repair water damaged ceiling sections step by step, and what drives ceiling water damage repair cost. You’ll also get clear “call-a-pro” triggers so you’re not guessing.
Best for: Homeowners with a small, contained stain and a confirmed leak that’s already been fixed and dried.
Not ideal when: The ceiling is sagging, actively dripping, smells musty, or the area keeps growing after drying.
Good first step if: You can safely access the area, shut off water if needed, and document damage before cleanup.
Call a pro if: There’s suspected mold, electrical involvement, a ceiling bulge, or a hidden leak you can’t locate.
Quick Summary
- Confirm the leak source is fixed before you patch anything, or the stain and softness usually return.
- Use texture, softness, and sagging to gauge whether you need a spot repair or a full drywall section replacement.
- Drying time matters: repair too early and you’ll trap moisture behind paint and joint compound.
- Stain-blocking primer is what stops the “ghost ring” from bleeding back through fresh paint.
- Costs swing based on access, how much drywall is replaced, and whether drying and mold containment are needed.
How to Tell if Your Ceiling Has Water Damage
Ceiling water damage shows as discoloration, texture changes, or sagging. The key is separating an old, stable stain from active moisture.
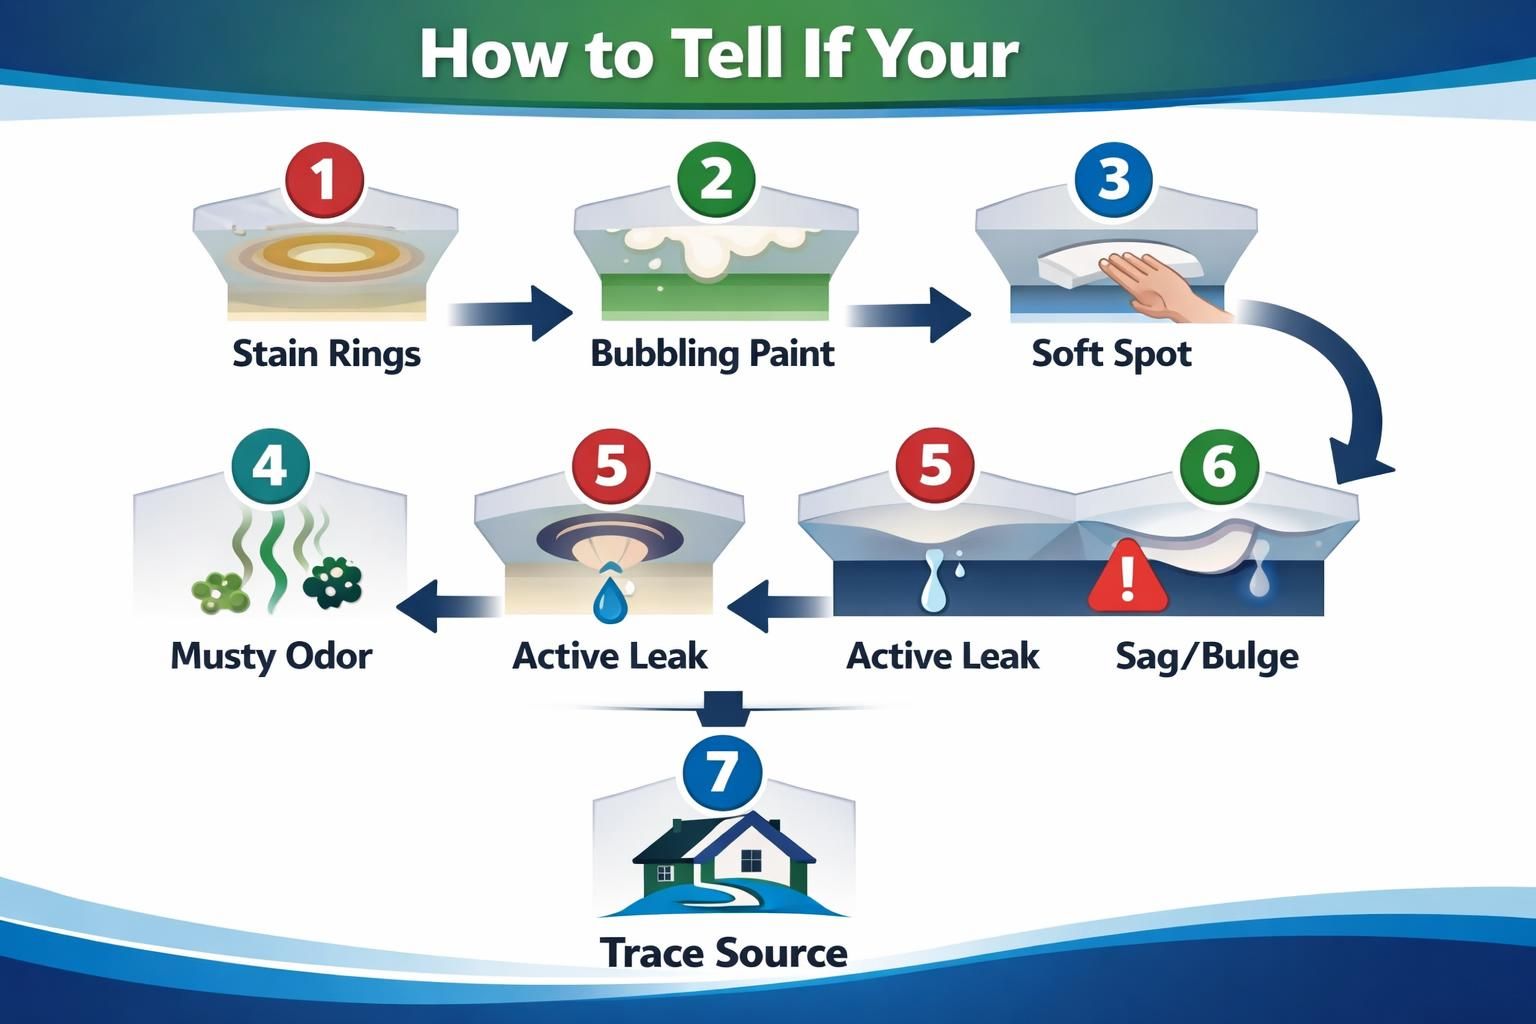
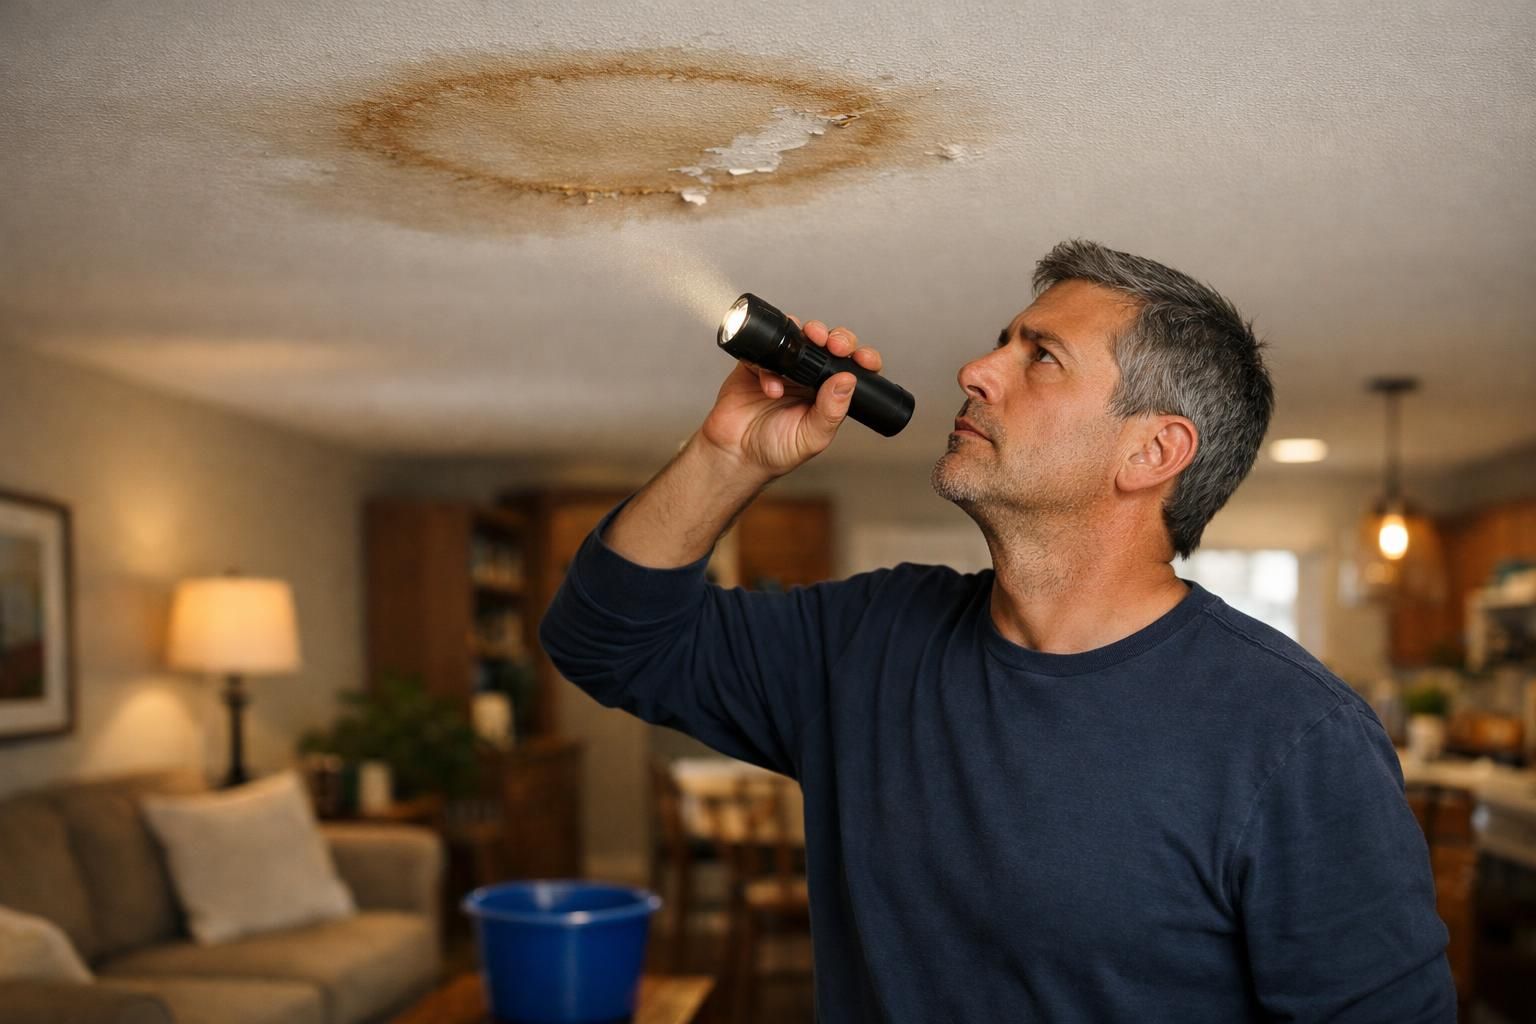
Under normal light, look for yellow or brown rings, streaks, or blotches, plus bubbling paint, peeling seams, or texture that looks warped. If it’s below a bathroom, laundry, or roof valley, assume it’s more than cosmetic until proven otherwise. Check adjacent walls and corners, since leaks often travel and show up nearby. For gypsum behavior, see drywall water damage signs.
Do a gentle touch test. Sound drywall feels firm; damaged areas can feel spongy, powdery, or crumbly. Bulges may indicate trapped water.
Signs it’s active: the stain grows after rain or fixture use, the surface feels cool or damp, there’s a musty odor, paint wrinkles, or the ceiling turns wavy or begins to sag. The visible spot may be offset from the source.
Can You Repair a Water Damaged Ceiling Yourself
You can repair a water damaged ceiling yourself if the leak is fixed, the area is fully dry, and the drywall is still sound. DIY fits small, reachable stains or localized softness you can cut out and patch without disturbing wiring or dealing with widespread sagging.
DIY-friendly typically means no active dripping, no bulging, and a damage zone small enough to remove cleanly. Flat ceilings are easier. Popcorn, knockdown, and custom swirls can be harder to match than the patch, so plan for texture work or a broader repaint.
DIY becomes risky when the ceiling bows, when water may be contaminated (overflow, drain backup, sewage), or when damage is near a light, fan, or smoke detector. Treat wet ceiling wiring as dangerous until power is off and everything is verified dry.
Reality checks: Can you confirm the source, dry the cavity and framing, and accept the texture match? If you’re still hunting the source, find the leak source can help.
Step-by-Step Ceiling Water Damage Repair
A reliable ceiling water damage repair follows a consistent order: stop the water, dry fully, remove compromised material, rebuild, then prime and paint. Skipping steps is why stains return and patches crack.
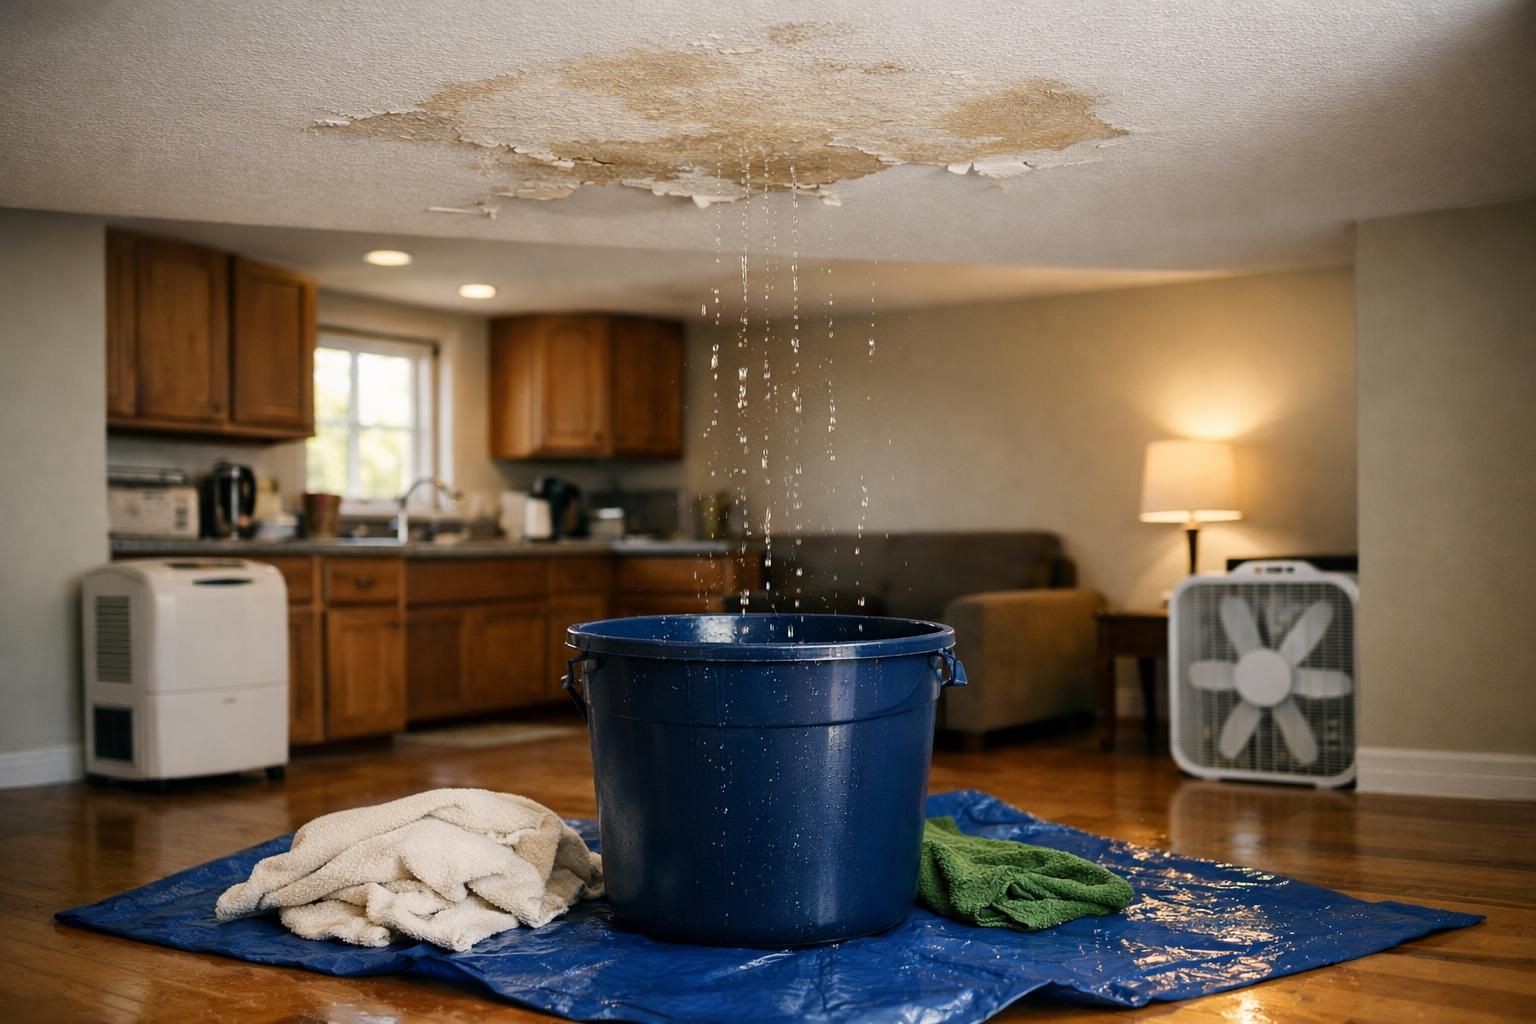
Confirm the moisture problem is over by running the fixture or checking the roof area after rain. Protect the room with drop cloths and plastic, and place a bucket under the spot.
Workflow for most drywall ceilings:
- Safety: Shut off power to nearby fixtures at the breaker, and wear eye protection plus a respirator for sanding.
- Assess: Mark damage and extend a few inches past staining or softness.
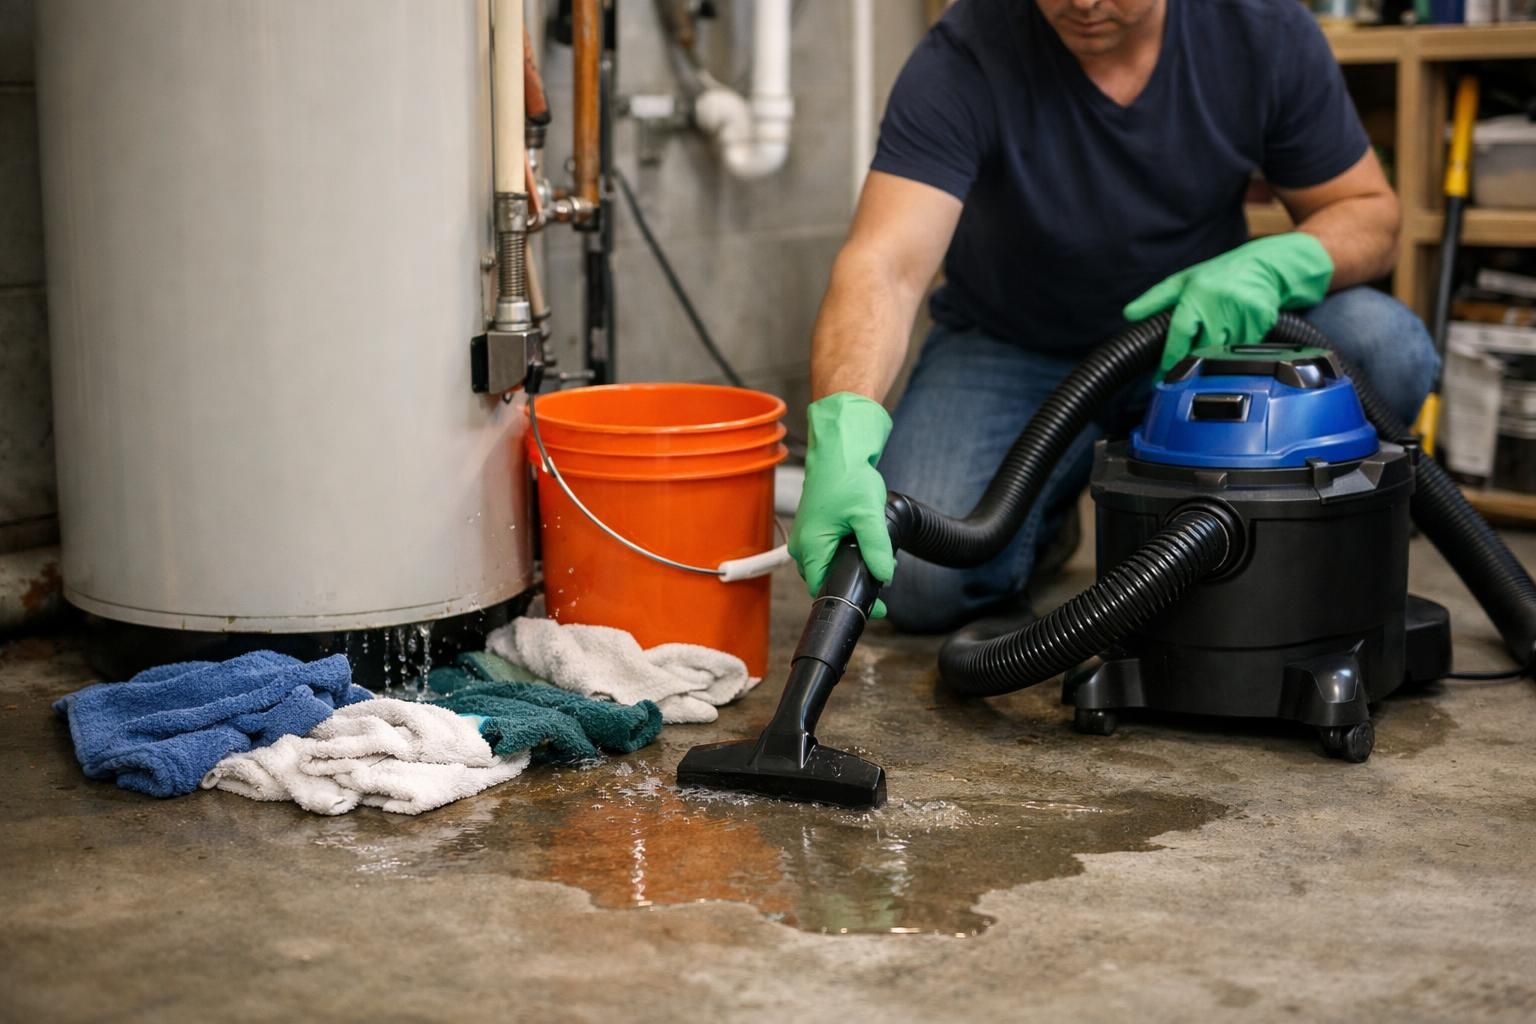
- Dry: Use fans and dehumidification; vent the cavity with an inspection hole if needed.
- Remove: Cut out swollen or crumbling drywall to firm edges.
- Inspect: Check framing and insulation; replace insulation that’s wet and matted.
- Patch: Add backing, install drywall, tape, and apply compound in thin coats.
- Finish: Sand, match texture, stain-block, and repaint.
Drying and Dehumidifying so the Stain Doesn’t Come Back
Drying prevents recurring stains and musty odor. “Dry to the touch” isn’t enough because moisture can linger in insulation or framing.
Use airflow and dehumidification, and don’t close a wet cavity too soon. For scope clarity, water mitigation vs restoration helps.
Cutting and Patching Drywall Without Creating a Visible Hump
Make clean square or rectangular cuts so backing and taping are straightforward. If you don’t land on a joist, add backing strips behind the existing drywall.
Use multiple thin coats of joint compound and feather wide. Most bad repairs show because the edge is abrupt and ceiling light highlights the ridge.
Texture Matching and Paint Strategy
Texture matching is where many ceiling repairs fall apart. Smooth ceilings mainly show sanding marks and sheen changes, while textured ceilings show pattern and density differences.
Practice on scrap first and let it dry before judging. Repaint beyond the patch, often the whole ceiling plane, to avoid flashing. Always use a stain-blocking primer before ceiling paint or the ring can bleed through again.
Ceiling Water Damage Repair Cost
Ceiling water damage repair cost depends on scope, access, and whether drying or contamination control is needed. Sealing and painting a small, dry stain is very different from replacing a sagging section with wet insulation.
To get accurate bids, define the job clearly: size of the damaged area, whether it’s soft or sagging, and whether the leak source is already fixed.
Common cost drivers include: demolition and disposal, ceiling height or stairwell access, texture matching and blending time, primer and paint needs (sometimes repainting the whole ceiling for uniform sheen), drying equipment and days on site, mold suspicion and containment, and complexity around lights, fans, vents, or registers.
If the ceiling damage is part of a broader event, consider total recovery tasks, not just the patch. restoration cost factors explains what typically moves pricing.
One nuance: the “fix” isn’t the ceiling if the leak continues, so confirm the source and dryness before finish work.
When to Call a Professional
Call a professional when there’s structural weakness, likely mold or contamination, electrical risk, or you can’t confirm the leak source fast. In these cases, the risk of collapse and hidden moisture usually outweighs DIY savings.
Red flags include sagging drywall, a soft pillow feel, or a bulge that suggests pooled water above the ceiling. If a light, fan, or wiring is in or near the damaged area, don’t guess about wet junction boxes or insulation.
Get help if you notice: active dripping or a stain that grows after showers, laundry, or rain; widespread sagging between framing; persistent musty odor after basic drying; water from an overflow or drain backup; damage affecting multiple rooms or tracking in a long line; or a source hidden behind tile, walls, or roof details you can’t access.
FAQs
How to Repair Water Damaged Ceiling if the Stain is Dry?
If the stain is dry and the drywall is firm, seal it with stain-blocking primer and repaint. Confirm the leak is fixed first. If the paper is bubbled or soft, cut out and patch.
Can I Just Paint Over a Water Stain on the Ceiling?
You can, but normal ceiling paint won’t block bleed-through. Apply a stain-blocking primer, let it cure, then repaint. If you skip primer, a faint ring often returns even after extra coats.
How Long Should I Wait Before Repairing After a Leak?
Wait until the cavity and drywall are fully dry, not just surface-dry. Time depends on volume of water and insulation saturation. Fans and dehumidifiers help, but sealing damp materials can trap moisture and odors.
Is a Sagging Ceiling Always an Emergency?
A sagging ceiling is high priority because it can mean trapped water or weakened drywall that may fail suddenly. Keep people clear underneath, shut off suspect plumbing water, and consider professional draining and opening.
Do I Need to Replace Insulation After Ceiling Water Damage?
Replace insulation if it’s wet, compressed, or dirty, since it dries slowly and holds odor. Slightly damp insulation may be salvageable with thorough airflow drying. The water source and saturation level decide.
Conclusion
The best ceiling water damage repair is the one you only have to do once, which means fixing the leak, drying completely, and then rebuilding the surface with solid patching and stain-blocking primer. If your ceiling is firm and the damage is localized, DIY can be realistic with patience and careful finishing. But if there’s sagging, electrical risk, suspected mold, or you can’t confirm the source, bring in a pro before you patch. Your next step should be simple: verify the leak is solved, then choose repair or replacement based on what the drywall feels like today.