Water damage is one of those problems that starts small, then gets expensive fast if you miss what’s happening behind walls or under floors. That’s why water damage restoration cost is less about a single “average” number and more about scope: how much water, what type of water, how long it sat, and what materials got soaked. In this guide, you’ll get a practical way to think about typical price ranges, per square foot models, and the biggest levers that swing a quote up or down. You’ll also learn what “restoration” usually includes (and what it doesn’t), plus how insurance commonly treats different causes.
Best for: Homeowners who need a realistic budget range and want to understand why two restoration quotes can be wildly different.
Not ideal when: You’re dealing with obvious sewage backup, storm flooding, or structural damage where safe scope comes before cost.
Good first step if: You can stop the water source, document everything, and want a moisture inspection to define the real affected area.
Call a pro if: Water reached electrical areas, you smell sewage, ceilings are sagging, or you suspect hidden moisture or mold growth.
Quick Summary
- Most quotes are built from labor cost plus equipment rental (per day) plus tear-out, cleaning, and monitoring visits.
- Clean water is usually simpler; gray water and black water add containment, sanitizing, and disposal steps that raise the bill.
- Damage class (Class 1 to Class 4) is a big pricing driver because it changes drying difficulty and time on equipment.
- “Restoration” often stops at drying and cleaning; rebuild items like drywall, flooring, and cabinets may be separate.
- Fast response can shrink the affected square footage and reduce demolition, which often matters more than any single line item.
Average Water Damage Restoration Cost Range
Average costs vary because restoration is priced by on-site scope, not a flat “per incident” fee. A small clean-water leak caught early may only need extraction, a couple of air movers, and a short drying run. A delayed loss that soaked insulation or hardwood can require structural drying, demolition/tear-out, and return visits for monitoring.
Most contractors assess the damage, then bill for labor, equipment days, materials, and disposal. Local rates matter, so identical scopes can price differently by region.
Think in three expectation buckets:
- Minor: contained area, limited saturation, short timeline.
- Moderate: multiple materials affected, longer dehumidification, some tear-out.
- Major: large or hard-to-dry assemblies, contaminated water, rebuild coordination.
In the first 24 hours, best cost control is stopping spread and starting safe drying. dry out a room fast can help.
Most quotes are built from labor cost plus equipment rental (per day) plus tear-out, cleaning, and monitoring visits. Clean water is usually simpler; gray water and black water add containment, sanitizing, and disposal steps that raise the bill, especially during dishwasher leak water damage cleanup. Damage class (Class 1 to Class 4) is a big pricing driver because it changes drying difficulty and time on equipment. “Restoration” often stops at drying and cleaning; rebuild items like drywall, flooring, and cabinets may be separate. Fast response can shrink the affected square footage and reduce demolition, which often matters more than any single line item.
Cost Per Square Foot (Clean Vs. Gray Vs. Black Water)
Per-square-foot pricing is common, but water category changes both the scope and what counts as “affected.” Clean water (water category: clean water) from a supply line is usually simpler to dry and may allow more salvage. Gray water (water category: gray water), like a washer overflow or dishwasher discharge, typically requires added cleaning, disinfection, and removal of more porous materials. Black water (water category: black water), including sewage or floodwater, often means containment, aggressive tear-out, specialized cleaning, and higher disposal costs.
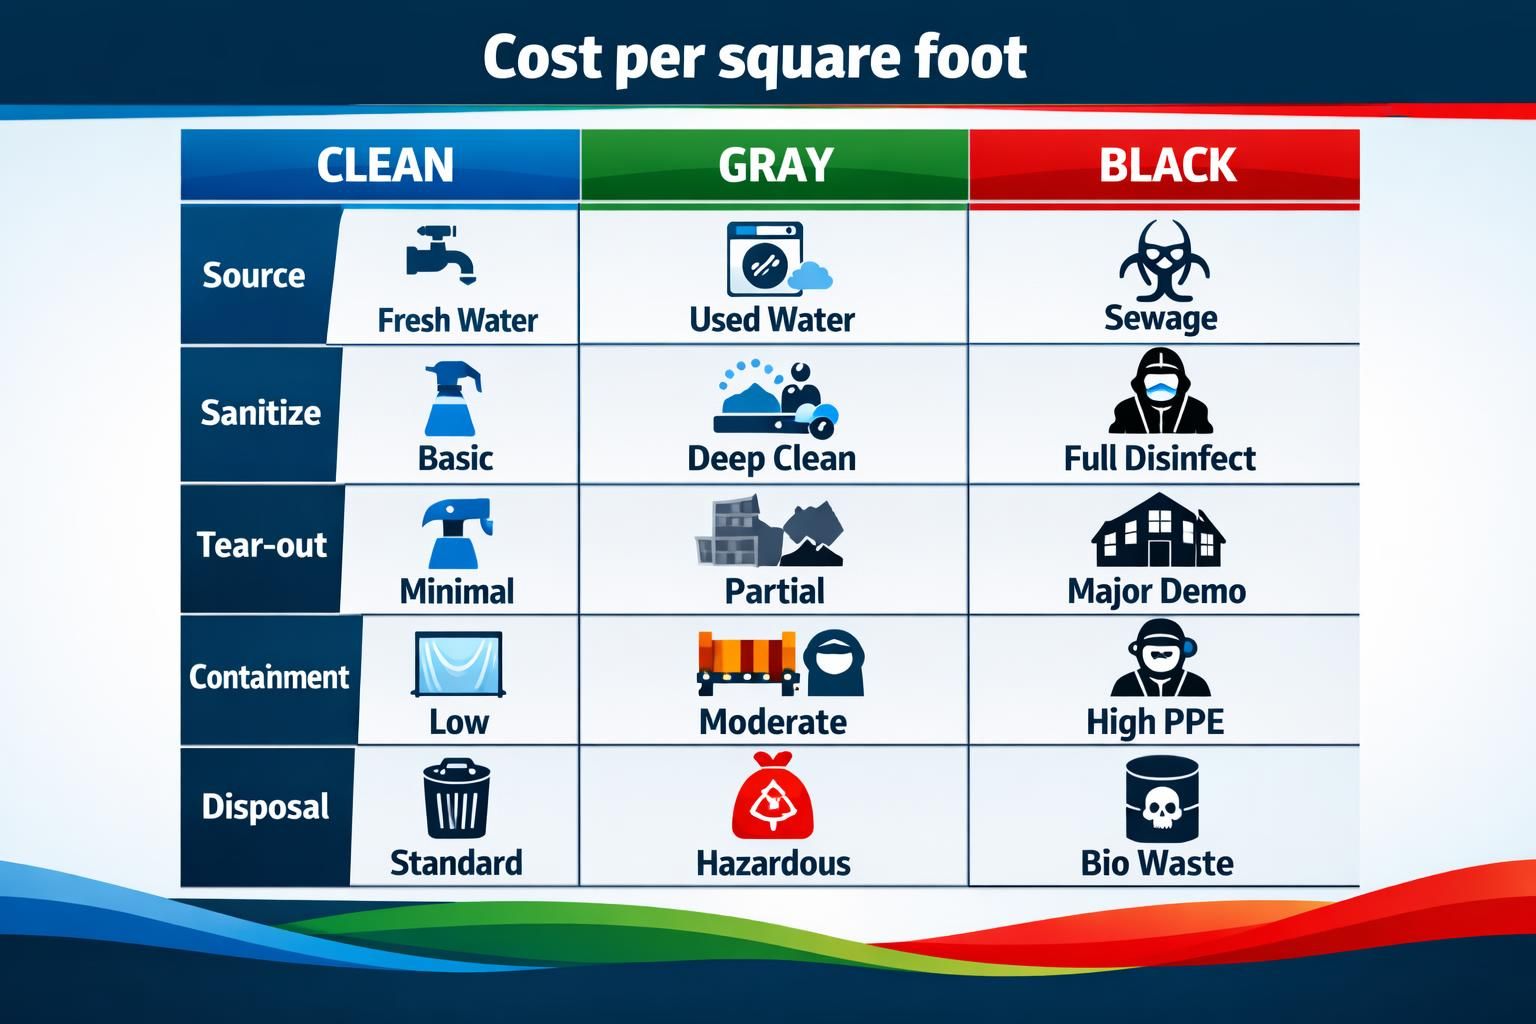
In practice, equal-sized rooms can price very differently because contaminated water pushes more demolition and stricter safety controls, not just drying. The longer it sits, the more it wicks into drywall, baseboards, and subfloor seams, expanding the billable footprint.
If the source was an appliance leak, document it (photos, timestamps, shutoff actions). refrigerator line leak help covers what to capture.
Cost by Severity/class of Damage
Damage class (Class 1 through Class 4) drives cost because it predicts drying difficulty, equipment load, and project duration. Class measures how far water spread and how deeply materials absorbed it, not whether the water is clean or contaminated.
Practical overview:
- Damage class (Class 1): small area, minimal absorption, fastest drying.
- Damage class (Class 2): larger area, wicking into framing/subfloor, more air movers and dehumidification.
- Damage class (Class 3): walls/ceilings/floors saturated, insulation likely wet, more tear-out plus structural drying.
- Damage class (Class 4): hard-to-dry materials (plaster, dense wood, masonry), specialized methods and longer runs.
Higher classes often mean more equipment days and repeated moisture checks, even if surfaces look “mostly dry.” To verify the class, ask what readings were taken, where, and what dry standard they’re using to close the job.

Cost by Area of the Home (Basement, Kitchen, Bathroom, Ceiling, Floors)
Where water hits matters because some areas hide moisture and some finishes fail fast. Basements often involve standing water and porous materials, so you may need pumps, longer dehumidification, and deeper drying. Kitchens can get expensive because water slips under cabinets and into toe-kicks, trapping moisture that forces selective removal. Bathrooms add tight clearances, many plumbing penetrations, and higher gray-water risk from overflows.
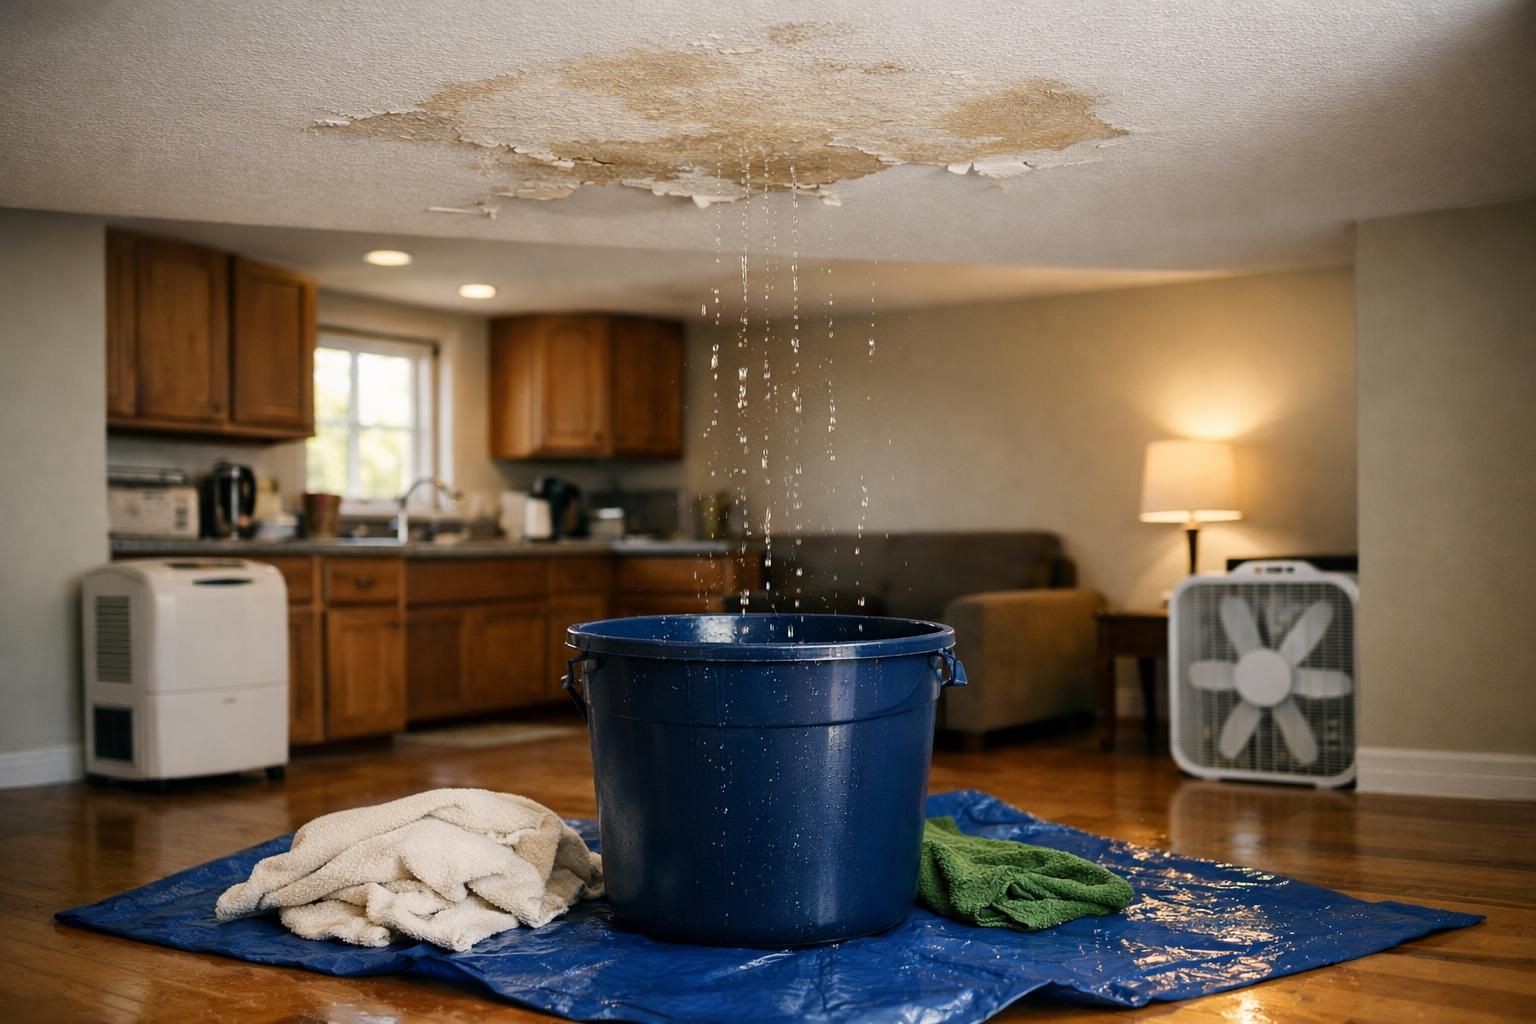
Ceilings and floors can swing totals quickly. A small ceiling stain can mask soaked drywall, sagging, and wet insulation above. For immediate safety steps when you notice dripping or staining, handle a leaking ceiling is a solid checklist. Flooring issues include cupped hardwood, ruined carpet pad, and wet subfloors that may delaminate or require structural drying. Roof leaks can also travel along framing, making the wet area larger than it looks.
What’s Included in “Restoration” Vs. Repairs/rebuild
“Restoration” usually means getting the structure clean, dry, and stable again, while repairs/rebuild means putting everything back the way it looked. That split is a common source of sticker shock, because you might assume one invoice covers everything.
“Restoration” usually means getting the structure clean, dry, and stable again, while repairs/rebuild means putting everything back the way it looked. That split is a common source of sticker shock, because you might assume one invoice covers everything related to understanding water damage.
Water damage restoration (process) often includes:
- Damage assessment and moisture inspection (mapping wet areas)
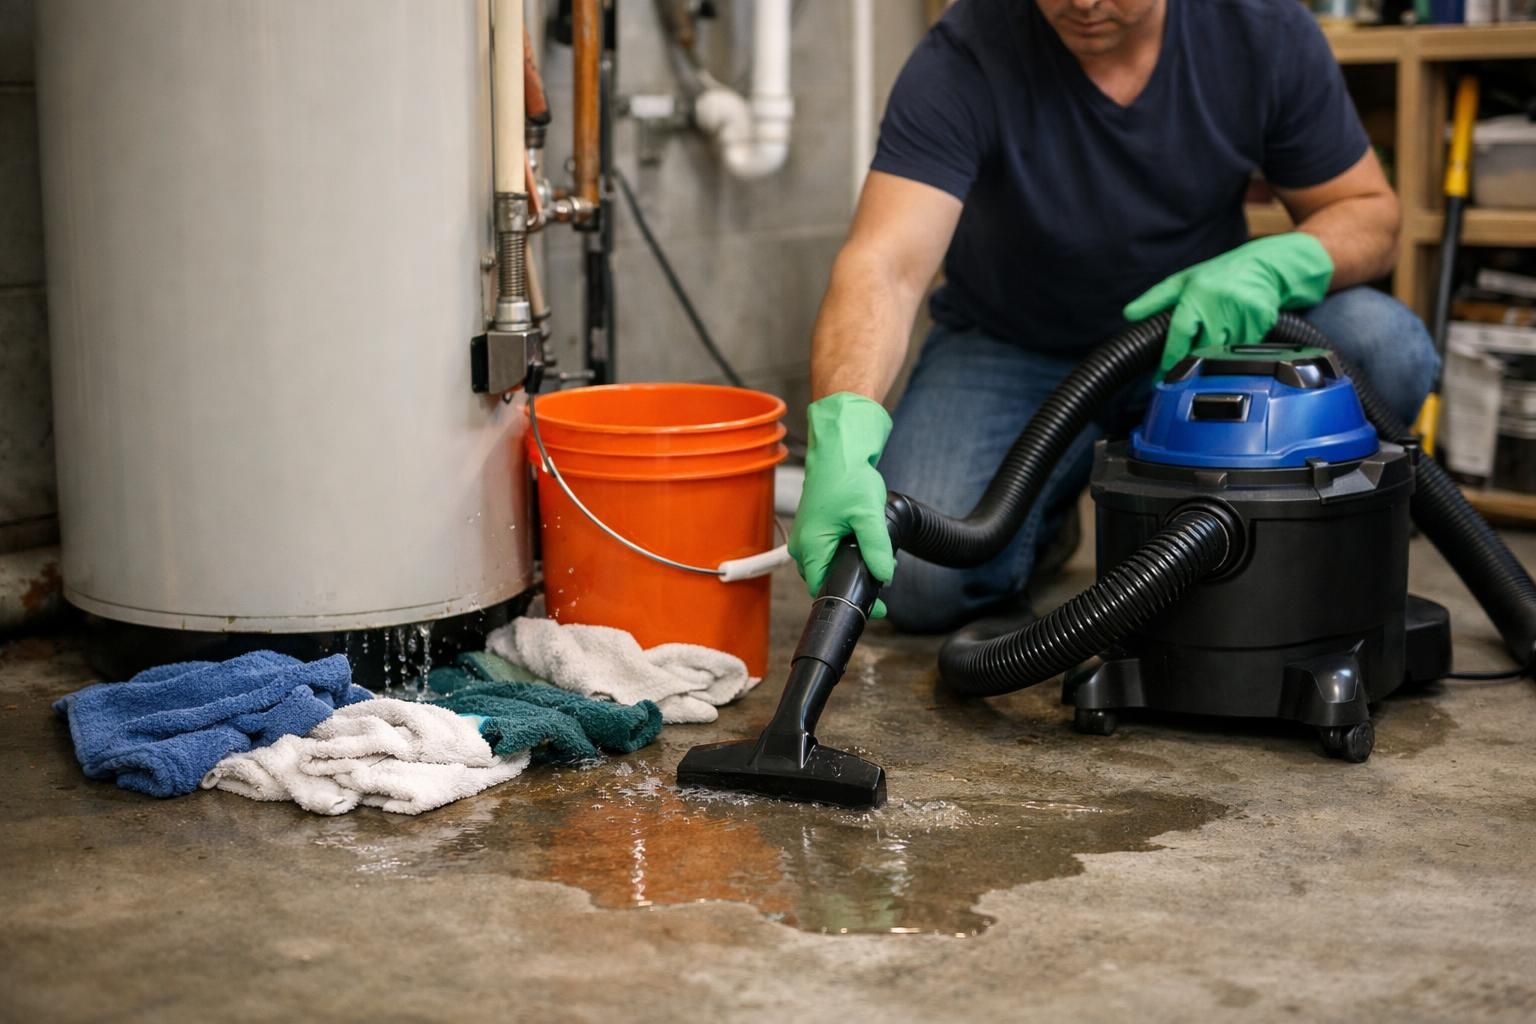
- Water extraction (process) using a wet/dry vacuum or water extraction pump
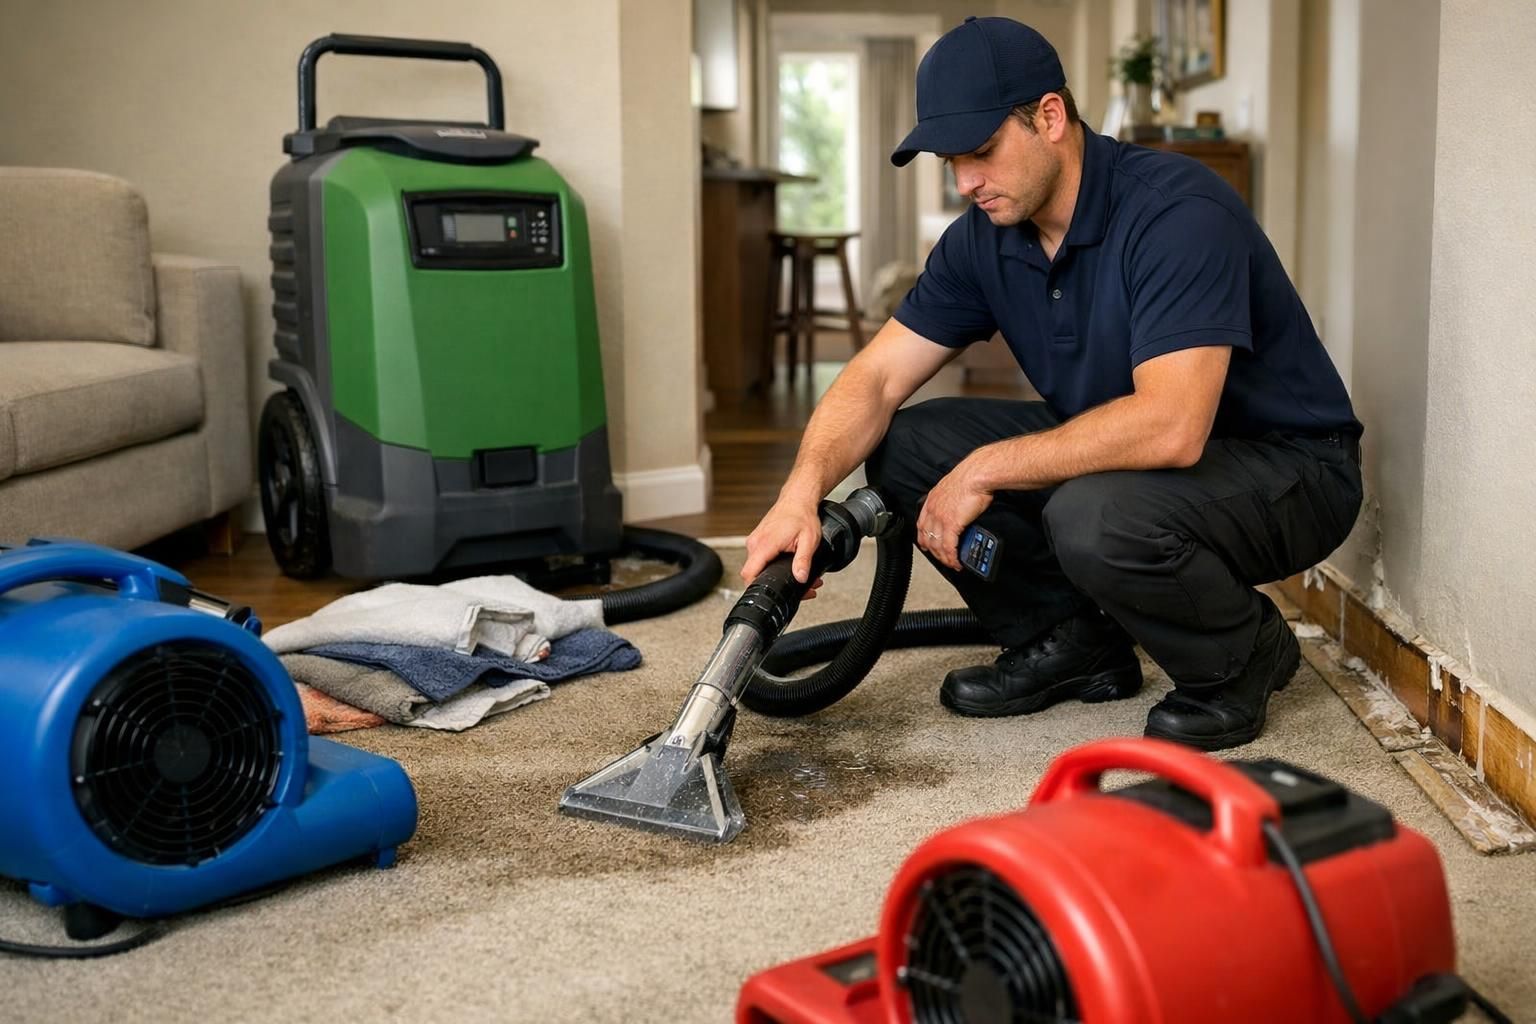
- Drying (process) and structural drying with air mover and dehumidifier setup
- Cleaning and sanitizing (process), plus odor control/deodorization when needed
- Demolition/tear-out of unsalvageable materials and disposal
- Monitoring visits to track moisture meter readings and adjust equipment
Repairs/rebuild typically includes replacing drywall, painting, reinstalling flooring, resetting baseboards, cabinet repairs, and sometimes electrical or HVAC work. Some companies do both under one project, others separate mitigation from reconstruction.
So when you hear terms like water mitigation (process), water remediation (process), and restoration, ask how they’re defining each phase and where the handoff occurs. If you want a deeper primer on what a full service scope can look like, water restoration process overview breaks the phases down clearly.
Factors That Raise the Price (Time, Hidden Moisture, Materials, Access, Emergency Service)
The biggest price increases come from time since loss, hidden moisture, and the difficulty of drying or removing affected materials. The longer water sits (hours/days), the more it wicks into drywall, insulation, and flooring seams, increasing affected square footage and the chance of mold growth. And once microbial risk enters the picture, scopes get stricter: containment, additional cleaning, and sometimes separate mold remediation.
Common “quote inflators” you can actually watch for:
- washing machine overflow water damage cleanup
If you’re trying to reduce scope, the best move is stopping spread early. Turning off the right valve and avoiding risky electrical contact matters, so turn off electricity guidance is worth skimming if water is near outlets or a panel.
Insurance and Claims: What’s Usually Covered (and What Isn’t)
Homeowners insurance often covers sudden, accidental water damage (like a burst pipe), but it commonly excludes flooding and maintenance-related seepage. The coverage question isn’t just “is there water,” it’s “what caused it” and “was it sudden.”
What’s typically in-bounds:
- Sudden pipe failures, supply line breaks, accidental overflows (depending on the policy)
- Necessary water mitigation to prevent further damage
- Tear-out that’s required to access wet materials, if covered
What’s often excluded or limited:
- Flood damage from outside (usually needs separate flood coverage)
- Long-term leaks, repeated seepage, or unresolved maintenance issues
- Mold growth beyond limited endorsements, especially if drying was delayed
To keep your insurance claim clean, document the source, the first visible damage, and every step you took to prevent spread. For apartment situations with shared responsibility, tenant water damage steps can help you avoid missed documentation.
How to Get an Accurate Quote (and How to Lower Your Bill)
An accurate quote comes from a moisture map, not just visible stains. A solid contractor should explain what they measured, what equipment they’ll deploy, and what “done” means for dryness, cleanliness, and safety.
During an estimate, expect checks for:
- Source and category of water, and whether it’s fully stopped.
- Affected square footage and migration paths.
- Materials impacted (drywall, flooring, insulation, cabinets, subfloor).
- Equipment plan (air movers, dehumidifiers, containment) and monitoring frequency.
- Tear-out vs. salvageable areas, plus disposal needs.
To lower the bill, reduce secondary damage: stop the source quickly, move valuables, lift furniture legs, and take clear photos before any cleanup or demolition. Ask for separate line items for mitigation versus rebuild so you can compare bids cleanly. If it’s active, steps after a burst pipe helps prevent spread.
Conclusion
The most useful way to think about water damage restoration cost is as a scope problem: water category, damage class, time since loss, and the materials that got saturated will set the real range. If you act quickly, document well, and insist on a clear moisture inspection with an itemized estimate/quote, you’ll avoid paying for guesswork or missed wet areas. Your next step is simple: stop the source, prioritize safety, and get a written scope that separates restoration from repairs so you know exactly what you’re paying for.
Delayed response: more demolition, longer equipment runtime, more monitoring visits Hidden moisture: water behind cabinets, under tile, inside wall cavities, under hardwood flooring Hard-to-dry assemblies: plaster, dense wood, multiple flooring layers, masonry Access constraints: tight crawlspaces, finished basements, packed storage rooms Emergency service: after-hours mobilization and faster turnaround expectations Source complications: burst pipe in a wall, roof leak that spread across framing, sewage backup requiring high-level sanitation can lead to challenges in how to stop water damage from spreading.