
Water issues can go from annoying to overwhelming in minutes, especially when you are not sure what you are allowed to touch or who should handle repairs. This what to do after water damage in apartment (tenant guide) walks you through practical, tenant-safe steps to reduce loss, protect your health, and create a clear paper trail for your landlord and insurance. You will learn how to prioritize safety, stop further damage when possible, document everything, and start basic drying while you wait for maintenance or a restoration crew. You will also get a plain-English view of who typically pays for what, and how to prevent water damage and mold in apartment spaces from becoming a longer-term problem.
- Prioritize safety first: electricity, contaminated water, and ceilings can make a wet area dangerous
- Stop the water source if you can, then notify maintenance, your landlord, and possibly neighbors right away
- Document thoroughly with photos, a timeline, and written communication to avoid disputes later
- Start simple drying steps that do not involve opening walls or using risky equipment
- Understand the difference between building repairs (often landlord) and personal property (often renter)
- Act quickly to reduce the chance of mold, especially after water damage in apartment ceiling or walls
Quick steps to protect yourself and your belongings
The first minutes matter, but safety is the priority. Avoid standing water near outlets, power strips, appliances, or any area where electricity could be involved. If water is pooling near electrical sources and you can do so safely, turn off the affected circuit at the breaker, then stay out of the wet area until you are sure it is safe. If the water might be contaminated (for example, sewage backup or toilet overflow), limit contact and keep kids and pets away.
Next, protect your belongings with quick, low-risk moves. Pick up items from the floor, especially paper goods, electronics, shoes, and anything that can wick moisture. If you can relocate items to a dry room, do it. If moving furniture is difficult, use towels, aluminum foil, or plastic under legs to prevent staining and swelling. Open closet doors and cabinet doors near the wet area to reduce trapped humidity, and start a simple photo log before you throw anything away.
Stop the source and notify the right people (maintenance, landlord, neighbors)
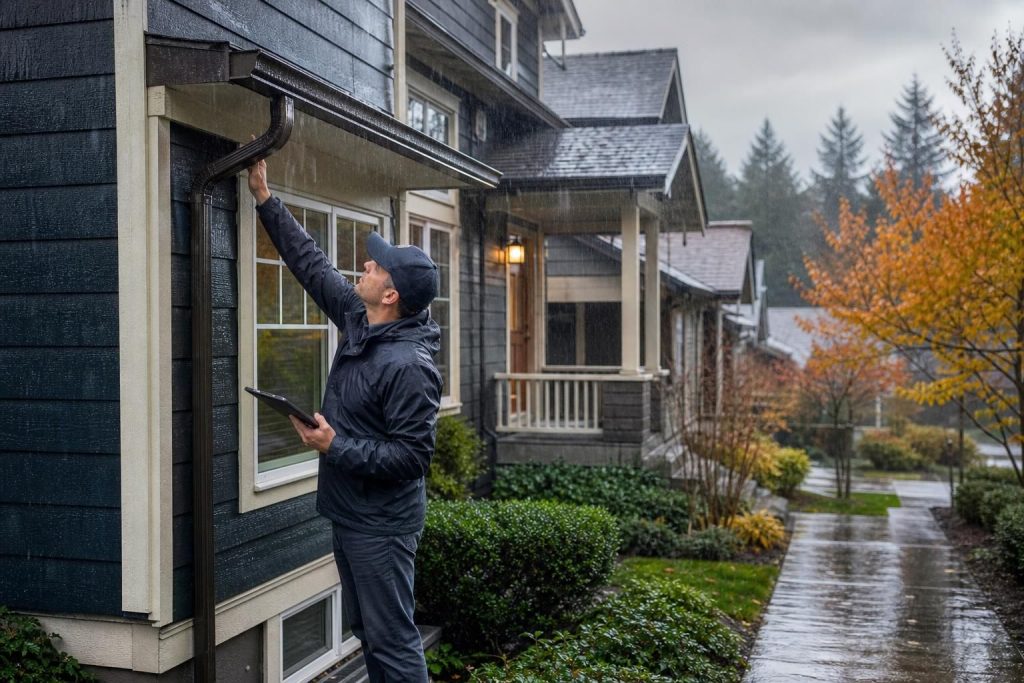
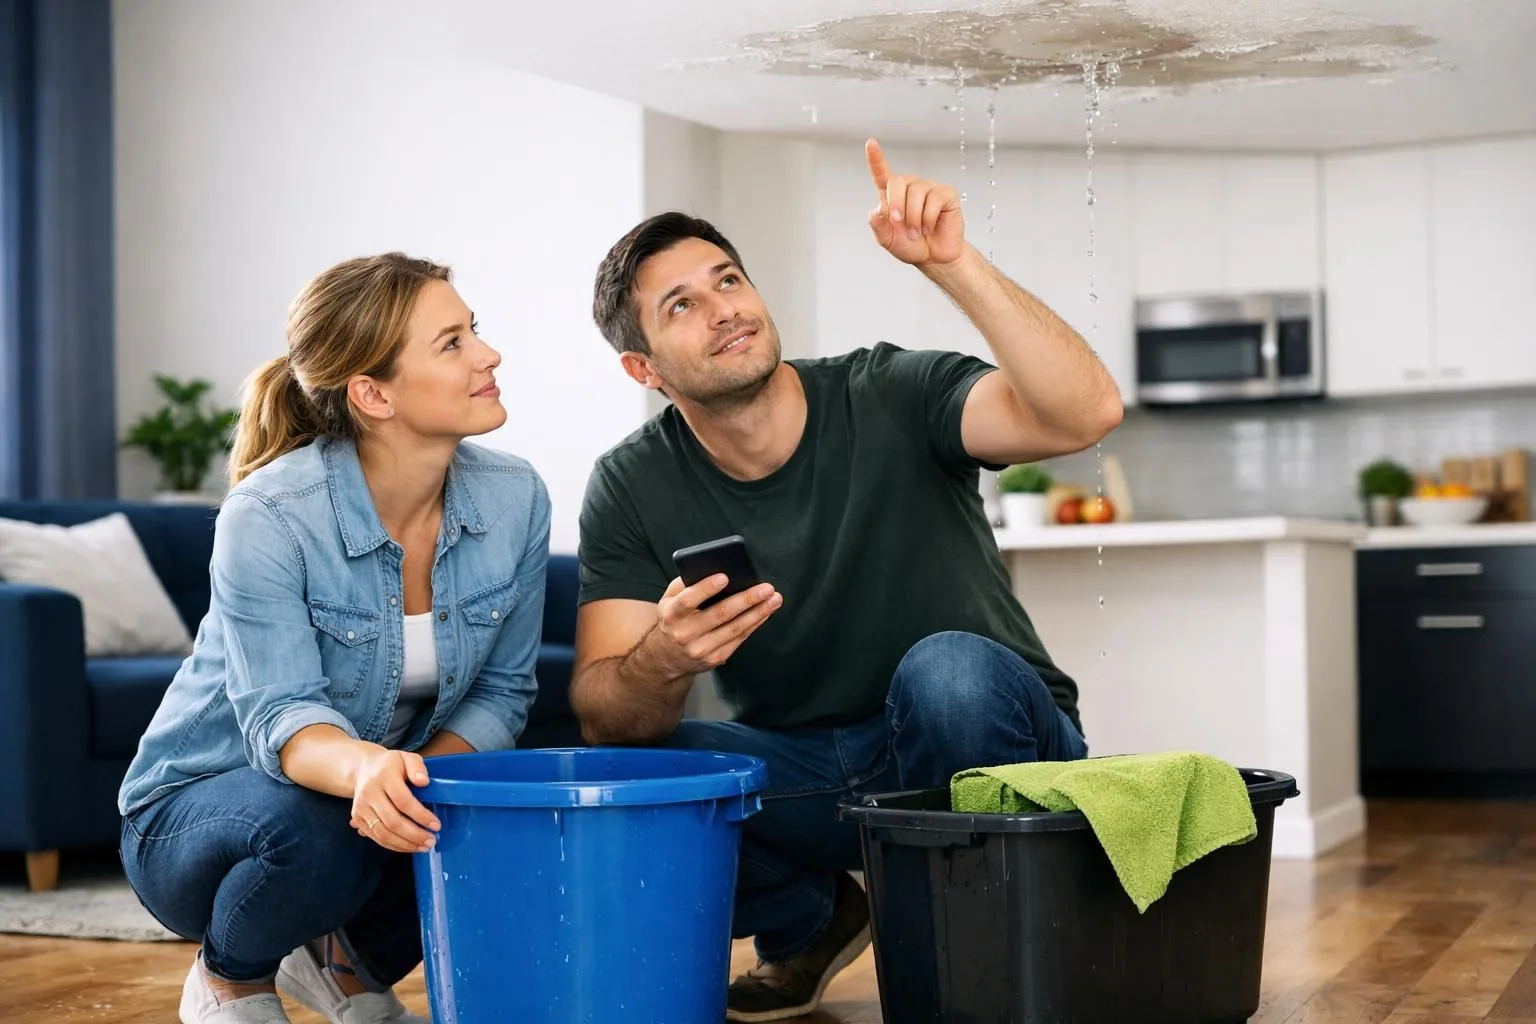
If the source is inside your unit and you can reach it safely, stop it. That might mean shutting off the valve under a sink, turning off the toilet supply line, or switching off a leaking appliance. If you cannot identify the source, or the water seems to be coming from above, do not start pulling fixtures apart. Water damage in apartment ceiling areas can signal an upstairs leak or building pipe issue, and ceilings can become unstable when saturated.
Notify the right people immediately and in the right order. Call emergency maintenance first if your building has it, then contact your landlord or property manager. If the leak is likely affecting neighbors, notify them too, especially the unit below you if you are on an upper floor. Keep your message simple: what happened, where, whether the water is ongoing, and whether electricity is at risk. After the initial call, follow up in writing (text or email) so there is a clear record of when you reported the issue and what you were told.
What to document (photos, timelines, communication)
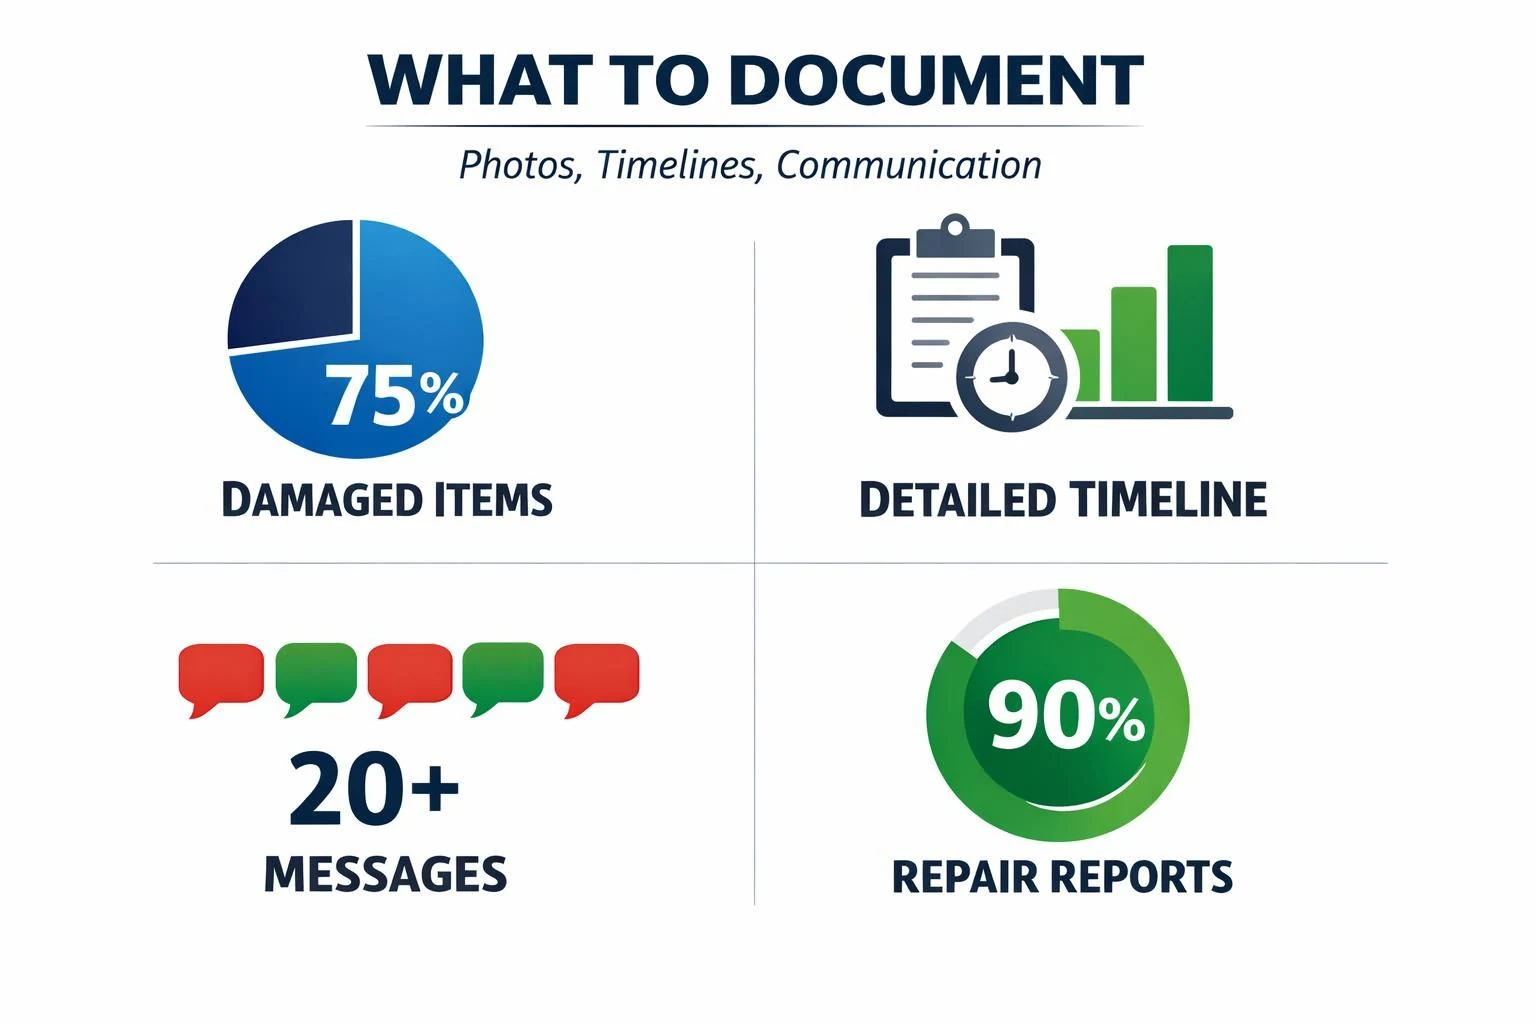
Documentation protects you, helps speed repairs, and makes insurance conversations smoother. Take wide shots that show the full room, then close-ups of the source area and damaged items. Photograph water lines, dripping points, bubbling paint, warped flooring, and any visible staining. For water damage in apartment walls, capture the edge where wall meets floor, baseboards, and any swelling or soft spots. For water damage in apartment ceiling areas, include images that show sagging, cracks, or discoloration from multiple angles.
Create a simple timeline while details are fresh. Include when you first noticed the problem, what you did, whom you called, and when maintenance responded. Save all communication with your landlord, maintenance, neighbors, and insurance. If you speak by phone, write a short follow-up message summarizing the call, such as what actions were promised and expected timeframes. Also keep a list of damaged personal property with approximate age and condition, and do not discard items until you have adequate photos and you know what your insurer may require.
Drying steps you can do safely while you wait for help
You can often reduce secondary damage by drying what you can access without dismantling the unit. Start by blotting and extracting surface water with towels, mops, and a wet-dry vacuum only if it is safe and the water is clean. Remove wet rugs, bath mats, and removable fabric items and dry them elsewhere. If the water source is unknown, or the water could be contaminated, focus on ventilation and keep contact minimal.
Increase airflow and reduce humidity. Open windows if outdoor air is drier, and run fans to move air across wet surfaces (aim across, not directly into a soaked wall cavity). If you have a portable dehumidifier, run it continuously and empty it regularly. Separate wet items so air can circulate, and avoid stacking damp belongings in closets. Do not use high heat on unknown wet areas, and do not attempt to open walls, lift flooring, or drill holes, since that can create safety hazards and disputes about damage.
Notify the right people immediately and in the right order. Call emergency maintenance first if your building has it, then contact your landlord or property manager. If the leak is likely affecting neighbors, notify them too, especially the unit below you if you are on an upper floor. Keep your message simple: what happened, where, whether the water is ongoing, and whether electricity is at risk to help stop water damage from spreading. After the initial call, follow up in writing (text or email) so there is a clear record of when you reported the issue and what you were told.
Useful tenant-safe drying actions:
- Move items off wet floors and place them on plastic bins or dry towels
- Use fans for airflow and a dehumidifier to pull moisture from the air
- Lift curtains off wet areas and remove damp cushions to dry separately
- Wipe non-porous surfaces with mild soap and water, then dry thoroughly
- Keep doors open to reduce trapped humidity, unless you are isolating a contaminated area
Who pays for what: common renter vs landlord responsibilities
Payment questions can get stressful, so separate building components from personal belongings. In many rentals, the landlord is responsible for repairs to the structure and systems: plumbing behind walls, the roof, shared pipes, and remediation needed to return the unit to a livable condition. That often includes fixing the leak, repairing drywall, addressing water damage in apartment walls, and restoring affected finishes that are part of the unit.
Tenants typically handle their personal property losses and may be responsible for damage caused by tenant negligence, such as failing to report a leak promptly or misusing plumbing. If you caused the overflow, you could be asked to pay for some repairs, depending on your lease and local rules. If the problem is clearly building-related, your goal is to show you reported it quickly and took reasonable steps to prevent further harm. When in doubt, ask for the repair plan in writing and keep discussions focused on facts, not blame.
Renters insurance basics (what it may cover and what it won’t)
Renters insurance commonly helps with personal property that is damaged by covered water events, and it may also provide liability coverage if you accidentally cause damage to others. Coverage often depends on the type of water incident. Some policies may cover sudden, accidental events like a burst pipe or an overflow that occurs unexpectedly, while excluding flood-related losses or repeated seepage that happens over time. Your deductible and policy limits also affect what you will actually receive.
Create a simple timeline while details are fresh. Include when you first noticed the problem, what you did, whom you called, and when maintenance responded. Save all communication with your landlord, maintenance, neighbors, and insurance. If you speak by phone, write a short follow-up message summarizing the call, such as what actions were promised and expected timeframes. Also keep a list of damaged personal property with approximate age and condition, and do not discard items until you have adequate photos and you know what to do after a burst pipe.
It is important to understand the difference between your stuff and the building. Renters insurance usually does not pay to repair the landlord’s walls, ceilings, or flooring that belong to the property, though it may cover your belongings that were ruined when water damage in apartment ceiling areas dripped onto furniture or electronics. If you have to temporarily leave the unit, some policies may help with additional living expenses, but rules vary. Call your insurer early, describe what happened plainly, and ask what documentation they need and whether mitigation steps (like dehumidifiers) are reimbursable.
When to call a restoration pro (and how to choose one)
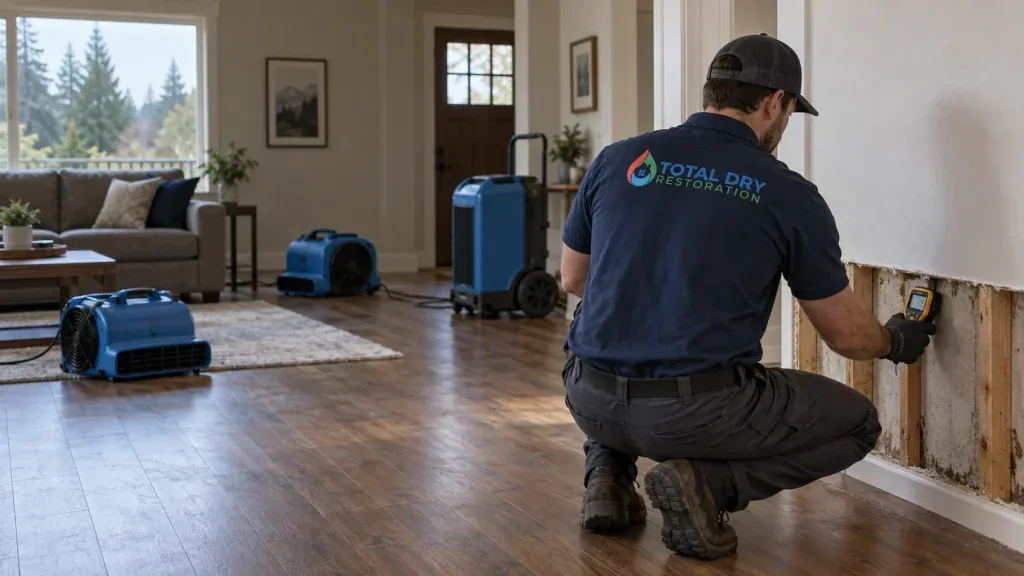
Some situations are beyond tenant DIY. Call for professional help if water has been present long enough that materials feel swollen or musty, if you see sagging drywall, or if the source could be contaminated. If you have water damage and mold in apartment areas, or you suspect hidden moisture behind walls or under flooring, a restoration professional can use moisture meters and controlled drying equipment to reduce the chance of long-term odor and deterioration.
When choosing a company, focus on clear scope and communication. Ask what steps they plan to take: inspection, water extraction, drying setup, monitoring, and what materials might need removal. Confirm they will document moisture readings and provide a written summary you can share with the landlord or insurance. Avoid anyone who pressures you to sign broad authorizations before explaining costs and responsibilities. If your landlord is coordinating the work, you can still ask for a basic schedule, access needs, and what you should move or protect before the crew arrives.
When choosing a company for water damage restoration, focus on clear scope and communication. Ask what steps they plan to take: inspection, water extraction, drying setup, monitoring, and what materials might need removal. Confirm they will document moisture readings and provide a written summary you can share with the landlord or insurance. Avoid anyone who pressures you to sign broad authorizations before explaining costs and responsibilities. If your landlord is coordinating the work, you can still ask for a basic schedule, access needs, and what you should move or protect before the crew arrives.
Preventing mold after apartment water damage
Mold prevention is mostly about speed, dryness, and follow-through. Mold can start when moisture stays trapped in porous materials, especially drywall, insulation, carpet padding, and wood trim. After water damage in apartment spaces, aim to keep indoor humidity low and airflow consistent until everything is truly dry, not just dry to the touch. Musty smells, recurring dampness, or paint that keeps bubbling can be clues that moisture is still present.
Mold prevention is mostly about speed, dryness, and follow-through. Mold can start when moisture stays trapped in porous materials, especially drywall, insulation, carpet padding, and wood trim. After water damage in apartment spaces, aim to keep indoor humidity low and airflow consistent until everything is truly dry, not just dry to the touch. Musty smells, recurring dampness, or paint that keeps bubbling can be clues that untreated mold is still present.
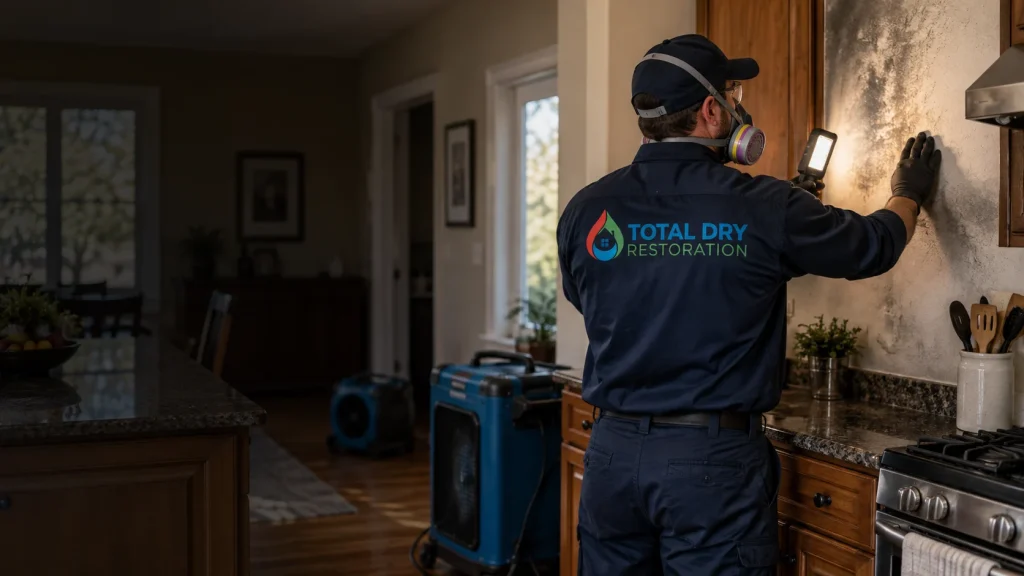
Be cautious with cleanup products and expectations. For small, surface-level dampness on non-porous materials, cleaning and thorough drying may be enough. For water damage in apartment walls or ceilings, mold risk often depends on how much water entered the cavity and how long it stayed there. If you see visible growth, experience worsening odors, or have respiratory sensitivity, push for a professional assessment and a clear remediation plan. Continue documenting conditions with dated photos, and request confirmation when repairs are complete, including what was dried, replaced, and sealed.
Conclusion
Dealing with a leak is stressful, but a calm, structured response can limit loss and protect your rights. Start with safety, stop the water if you can, and notify maintenance and your landlord immediately. Document the damage and your communications, then begin basic drying steps that do not create risk or cross repair boundaries. Clarify who is responsible for building repairs versus personal property, and contact your insurer early if your belongings were affected. Most importantly, stay focused on preventing moisture from lingering, since water damage and mold in apartment conditions can escalate quickly. Use this what to do after water damage in apartment (tenant guide) as your checklist, then take the next practical step: send a written summary to your landlord and keep monitoring the area until it is fully dry and repaired.
Dealing with a leak is stressful, but a calm, structured response can limit loss and protect your rights. Start with safety, stop the water if you can, and notify maintenance and your landlord immediately. Document the damage and your communications, then begin basic drying steps that do not create risk or cross repair boundaries. Clarify who is responsible for building repairs versus personal property, and contact your insurer early if your belongings were affected. Most importantly, stay focused on preventing moisture from lingering, since water damage and mold in apartment conditions can escalate quickly, and you should consider whether to turn off electricity after a water leak. Use this what to do after water damage in apartment (tenant guide) as your checklist, then take the next practical step: send a written summary to your landlord and keep monitoring the…
If you manage the property, use the property-manager water-damage response checklist for resident communication, access coordination, damage records, and the drying-to-repair handoff.