
A leaking water heater can go from a small puddle to soaked floors, damaged drywall, and lingering odors surprisingly fast. Water heater leak water damage cleanup is most effective when you act early, work safely, and dry materials thoroughly enough to prevent hidden moisture from turning into long-term issues. In this guide, you will learn what to do in the first minutes, how to shut down power or gas safely, and how to stop the leak at common failure points like the supply connections, drain valve, or the tank itself. You will also learn practical drying steps, what typically needs to be replaced, and how to document water heater leak damage for insurance or for your landlord in an apartment.
- Shut off water and power or gas before touching the unit or standing water near it
- Stop the leak source first, then remove water and start drying right away
- Check adjacent rooms, lower levels, and wall cavities for hidden spread
- Use airflow and dehumidification, not just towels, to prevent mold and swelling
- Photograph everything, keep receipts, and record timelines for claims or disputes
Quick steps to take immediately
Start by identifying whether the water is clean (from a supply line or tank) or contaminated (from a drain line tied into other plumbing). Most water heater leaks are clean water, but it can still ruin flooring and wick into walls. If the leak is active, prioritize shutting off the water supply to the heater and stopping the source before you focus on drying.
Next, limit the spread. Move items off the floor, pull rugs up and out, and place towels or a shallow tray to redirect drips. If you are in an apartment water heater leak and damage situation, notify maintenance or the property manager immediately. Water can travel into neighboring units and ceilings below, so early communication helps protect everyone and creates a clear record of what happened.
Safety first: electricity or gas shutoff and hot water hazards
Treat every leak area as a potential electrical hazard. If water is near an electric water heater, outlets, extension cords, or a nearby furnace, avoid stepping in pooled water until power is addressed. If you can reach the breaker safely without walking through water, turn off the circuit to the water heater. If you are unsure, shut off the main power and call for help.
For gas water heaters, turn the control knob to the off position and close the gas shutoff valve if you can do so safely. Also be mindful of hot water. Leaks can be scalding, and metal components around the heater can be hot. Let the unit cool before handling valves or hoses, wear gloves, and keep children and pets away from the work zone. When in doubt, prioritize safety and call a licensed plumber.
Stop the water heater leak (supply, valve, tank, or drain pan)
Once power or gas is off, shut off the cold water supply to the water heater. The shutoff valve is typically on the cold inlet line above the unit. Turn it clockwise until it stops. If that valve fails or won’t budge, you may need to shut off the home’s main water valve to stop water flow.
Then locate the leak source. Common points include the supply connections, the temperature and pressure relief valve discharge pipe, the drain valve near the bottom, or the tank seam itself. Dry the exterior with a towel and watch for fresh water to appear to pinpoint the origin. A drip from a fitting may be tightened carefully, but avoid forcing old valves.
If the water is coming from the tank body, the heater likely needs replacement. In that case, keep the water supply off and plan for controlled draining once it is safe. If there is a drain pan, check whether it is overflowing due to a clogged drain line or excessive leakage. A pan can buy time, but it is not a fix for an active tank failure.
Remove water and protect nearby materials
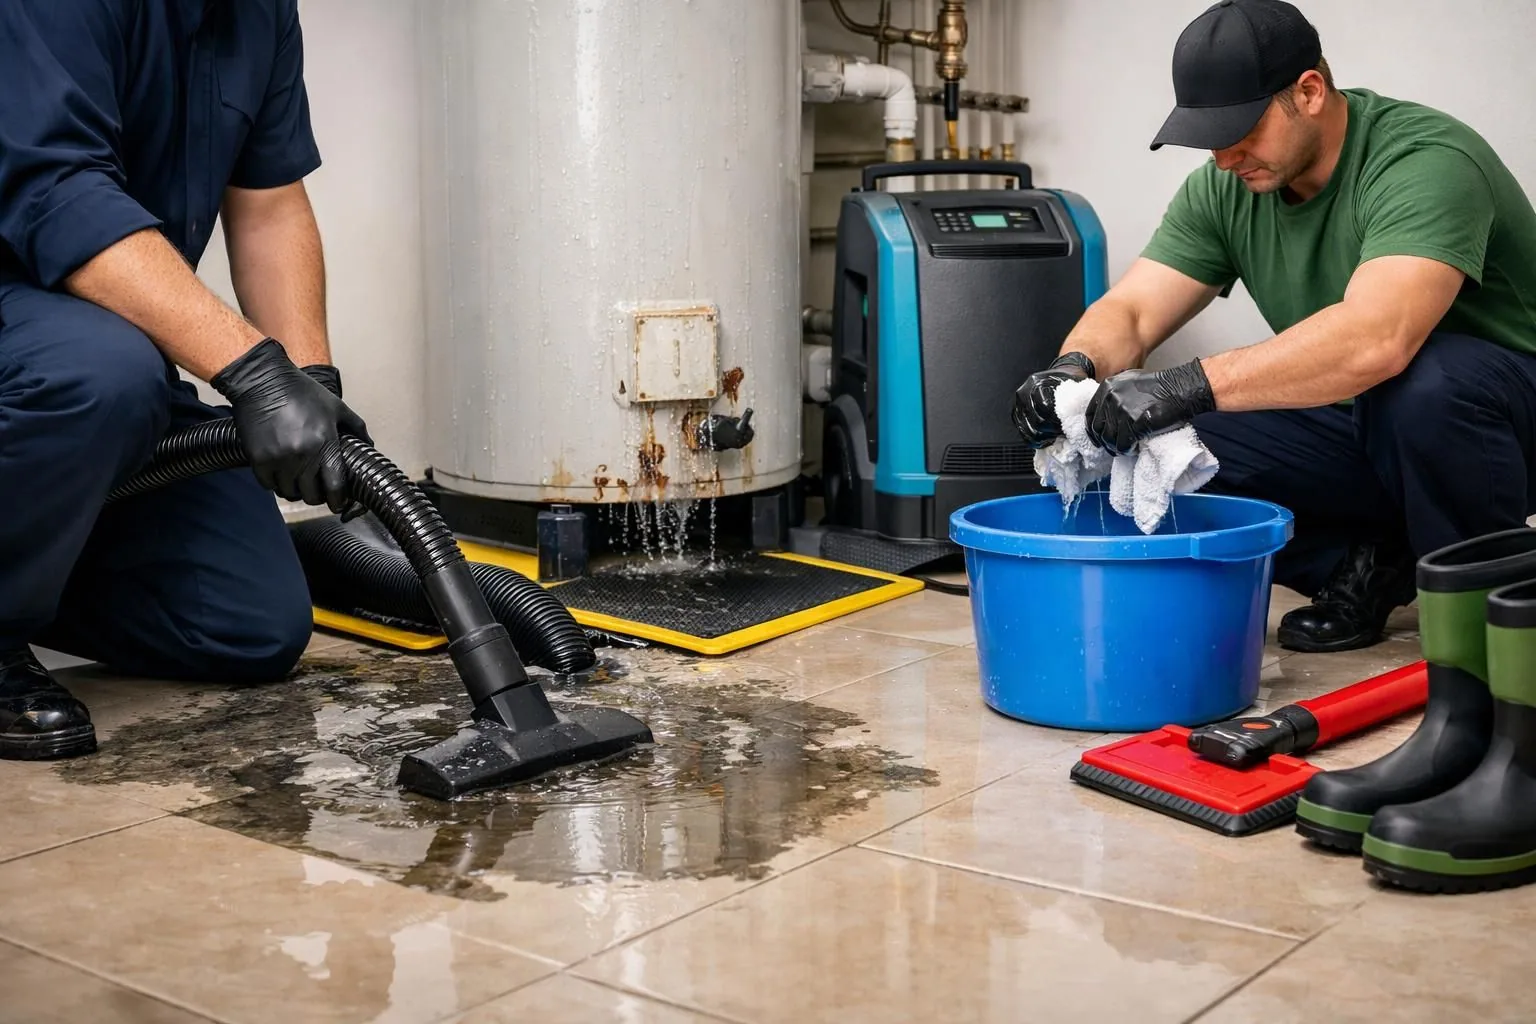
With the leak controlled, shift to removing water quickly. Standing water seeps into subfloors and lower drywall edges, and it can travel under cabinets. Use towels for small amounts, but a wet vacuum is more effective for puddles. If water spread is significant, focus first on the lowest points where it collects.
For gas water heaters, turn the control knob to the off position and close the gas shutoff valve if you can do so safely. Also be mindful of hot water. Leaks can be scalding, and metal components around the heater can be hot. Let the unit cool before handling valves or hoses, wear gloves, and keep children and pets away from the work zone. When in doubt, prioritize safety and consider whether you should turn off electricity after a water leak.
Protect materials that can stain or swell. Lift furniture legs off wet carpet or hard flooring using small blocks. Remove items from lower shelves, especially paper goods and textiles. If you have water heater leak drywall damage, wipe the wall surface and check the bottom edge for softness, bubbling paint, or crumbling. Prompt action reduces the chance that moisture remains trapped behind finishes.
- Blot and extract water rather than rubbing it into porous surfaces
- Pull area rugs up and hang them to dry away from the wet floor
- Open cabinet doors and remove toe-kick panels if accessible
- Start airflow early with fans aimed across, not directly into, wet surfaces
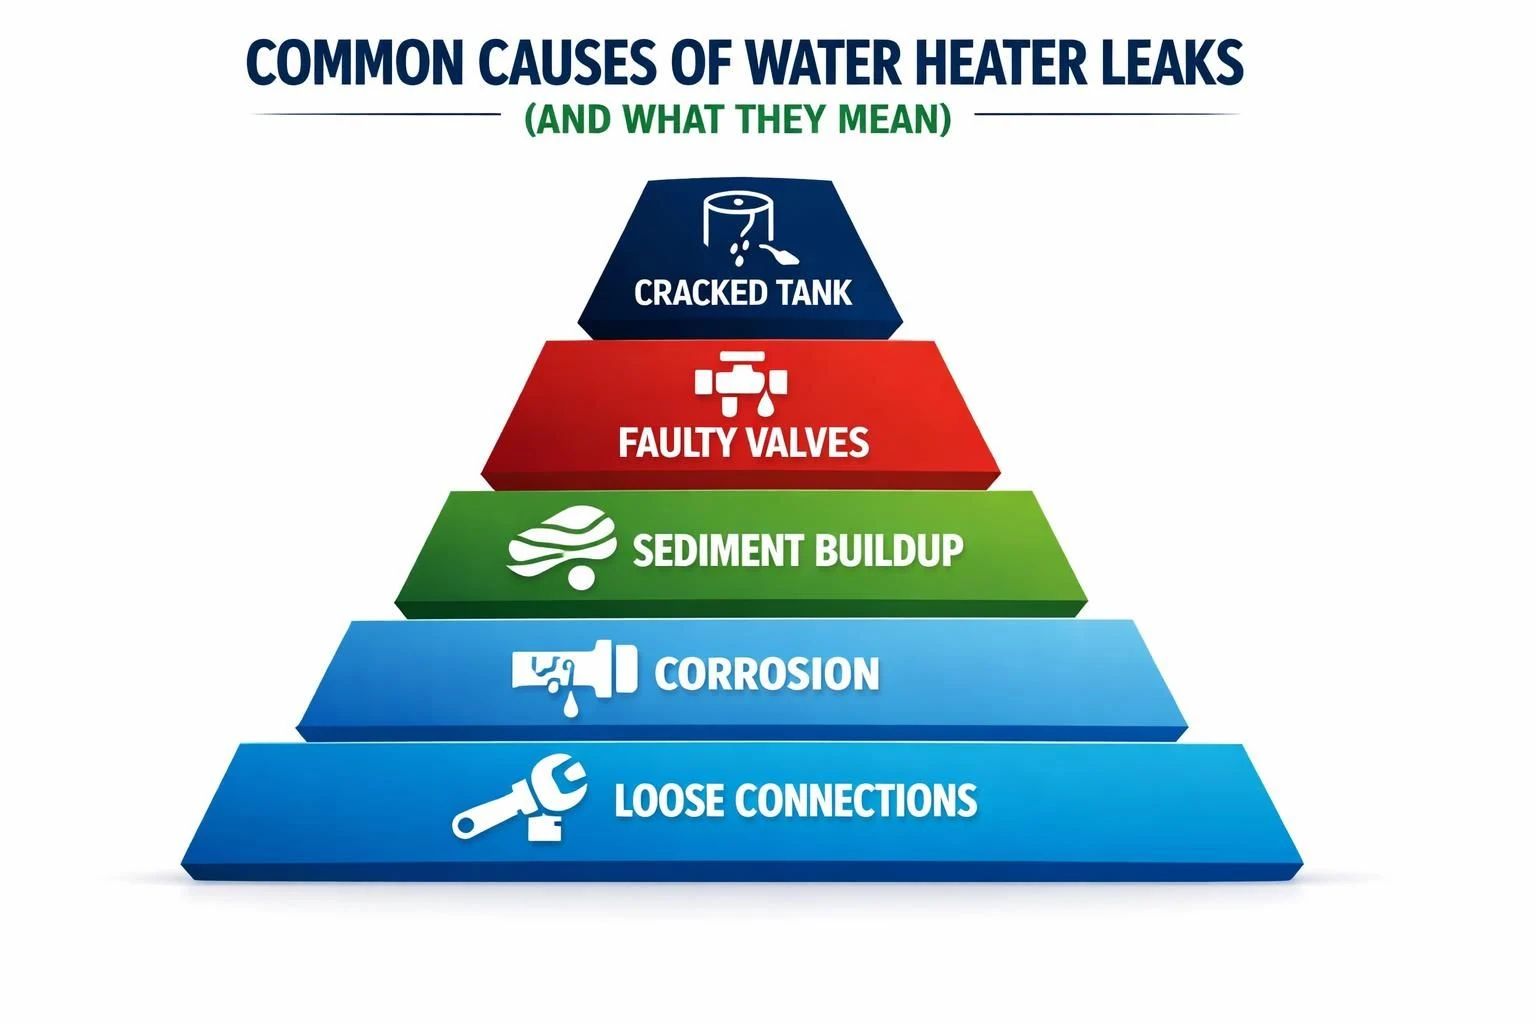
Common causes of water heater leaks (and what they mean)
Many leaks come from connections rather than the tank. Loose or corroded supply fittings can drip and gradually soak nearby materials. A failing shutoff valve can also seep, making it appear as though the heater is leaking. Drain valves may drip from sediment buildup or a worn seal, especially after they have been opened and closed.
Other leaks indicate higher risk. Water around the temperature and pressure relief valve line may mean the valve is discharging due to pressure or temperature issues, or the valve itself is failing. Moisture at the bottom seam, rust streaks, or a steady flow from the tank often suggests internal corrosion and impending tank failure. In any water heater leak damage scenario, understanding the source helps you decide whether a simple repair is reasonable or whether replacement is the safer path.
Drying steps to prevent hidden damage and mold
Drying is not just surface-level. Even after the floor looks dry, moisture can remain in grout lines, subflooring, drywall, and insulation. Start by increasing ventilation: open windows when outdoor humidity is lower than indoors, and run bathroom or kitchen exhaust fans if they vent outside. Use portable fans to move air across wet areas.
Dehumidification is often the missing step in DIY cleanup. A dehumidifier helps pull moisture out of the air, which speeds drying inside porous materials. Run it continuously and empty it as needed. Remove wet items that trap moisture, such as soaked cardboard, boxes, and thick mats. If you smell mustiness, notice persistent dampness, or see swelling, assume moisture is still present and continue drying efforts.
What to check behind cabinets, under flooring, and in walls
Water migrates to hidden spaces, especially from a slow leak. Check under sink cabinets, behind laundry walls, and inside adjacent closets. Feel the bottom corners of drywall and the base of door trim for softness. If you have access to the back of a cabinet or an open underside, look for darkened wood, warped particleboard, or damp insulation.
Water migrates to hidden spaces, especially from a slow leak. Check under sink cabinets, behind laundry walls, and inside adjacent closets for guidance on what to do after a water leak in the wall. Feel the bottom corners of drywall and the base of door trim for softness. If you have access to the back of a cabinet or an open underside, look for darkened wood, warped particleboard, or damp insulation.
On hard flooring, look for cupping, buckling, or gaps opening between boards. On tile, water can travel underneath without obvious surface changes, so pay attention to grout lines and any hollow sounds when lightly tapped. If you suspect water heater leak drywall damage, the key is to identify where water wicked upward. Drywall often absorbs from the bottom edge and can hold moisture in the paper facing, which increases the risk of odor and deterioration if left wet.
When to remove baseboards, toe kicks, or flooring edges
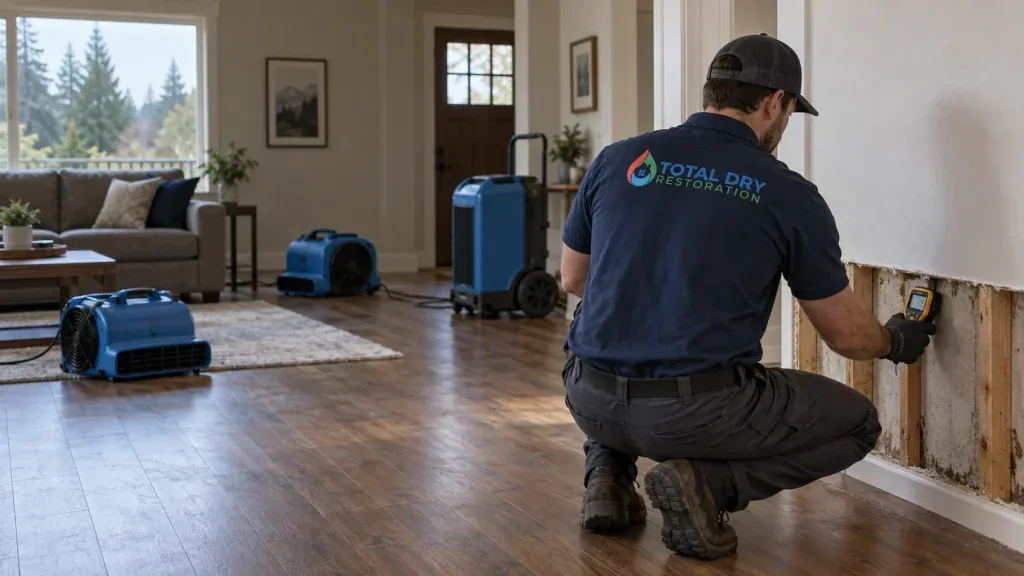
Remove trim strategically when it helps drying. Baseboards can trap moisture against drywall and prevent airflow at the wall base. If the wall edge feels damp or the baseboard is swollen, gently remove it to allow air circulation and to inspect the drywall behind. Label pieces so they can be reinstalled if they remain in good condition.
Toe kicks under cabinets often hide pooled water. If water reached cabinets, pull the toe kick off if it is designed to be removable. For flooring, you may need to loosen edges or transition strips if water is clearly trapped underneath and drying is stalled. Avoid unnecessary demolition, but do not leave saturated materials sealed in place. Trapped moisture is a common reason minor leaks turn into prolonged cleanup and repairs.
What materials are usually salvageable vs replaceable
Some materials recover well if dried quickly, while others deteriorate once saturated. Solid wood furniture may be salvageable if it is dried slowly and evenly, but composite wood products swell and crumble. Painted drywall can sometimes be dried if only lightly damp and caught early, but drywall that is soft, sagging, or swollen at the bottom usually needs removal to a dry line.
Protect materials that can stain or swell. Lift furniture legs off wet carpet or hard flooring using small blocks. Remove items from lower shelves, especially paper goods and textiles. If you have water heater leak drywall damage, wipe the wall surface and check the bottom edge for softness, bubbling paint, or crumbling to stop water damage from spreading. Prompt action reduces the chance that moisture remains trapped behind finishes.
Flooring varies. Tile and sealed concrete often tolerate water exposure better than laminate or engineered products that have fiber cores. Carpet can sometimes be saved if the water is clean and extraction begins quickly, but padding often holds moisture and odors and may need replacement. In an apartment water heater leak and damage event, replacement decisions may depend on building standards and who is responsible, but the general rule is simple: if it cannot be dried thoroughly, it should be removed.
When to call a restoration pro
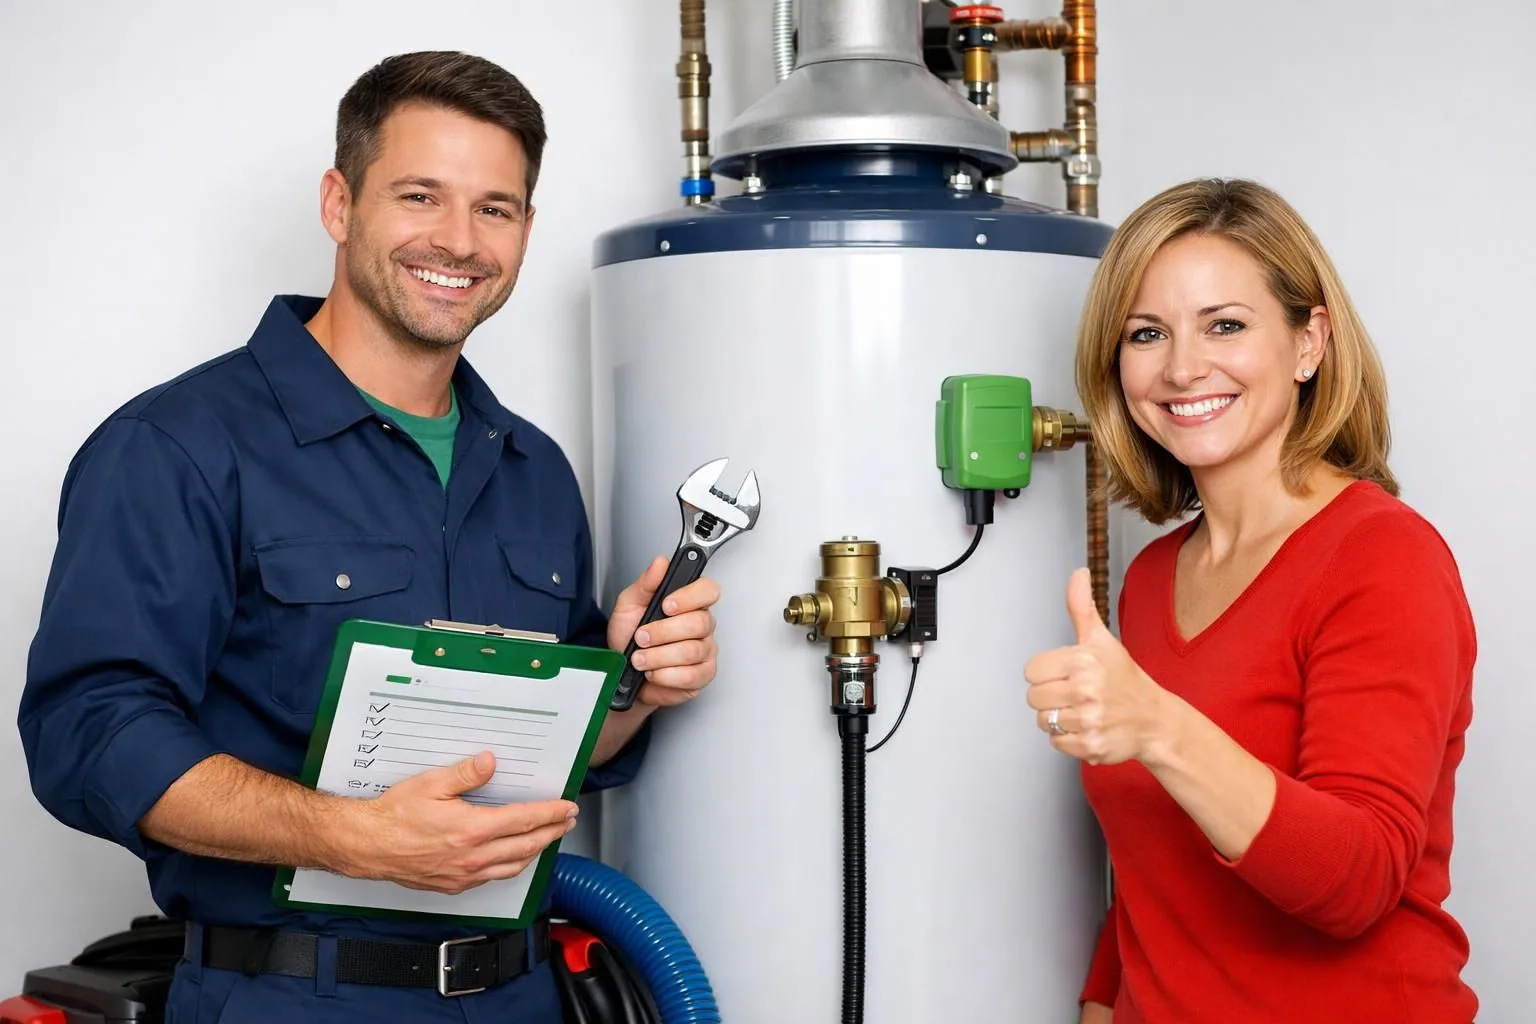
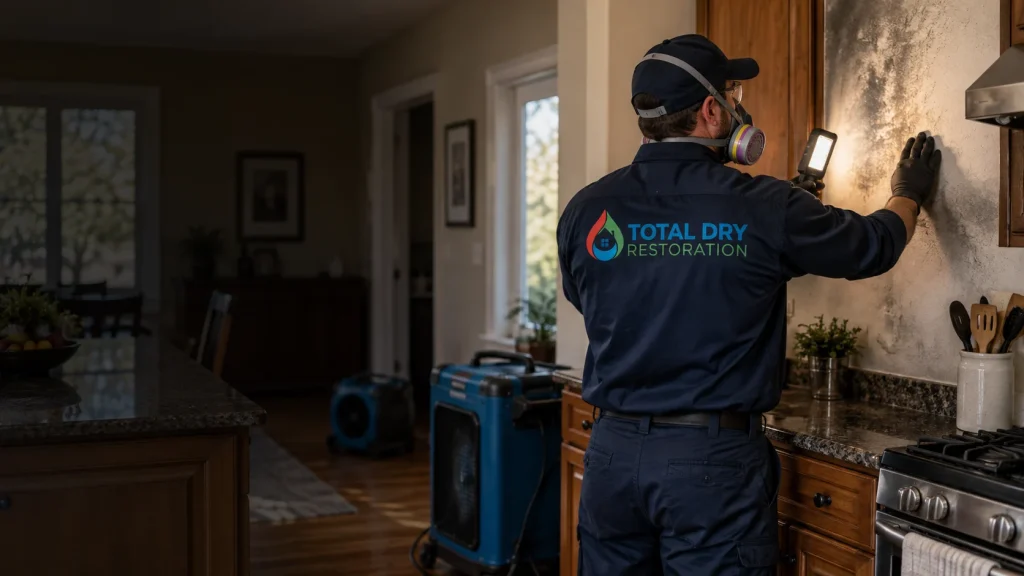
Call a restoration professional when water spread is extensive, when moisture entered wall cavities or ceilings, or when you cannot keep humidity under control. If water reached electrical components, if the leak continued unnoticed for a long time, or if you see signs of microbial growth, professional drying and containment may be safer and faster. Pros have tools to detect moisture in materials and can set up controlled airflow and dehumidification.
Call a restoration professional when water spread is extensive, when moisture entered wall cavities or ceilings, or when you cannot keep humidity under control. If water reached electrical components, if the leak continued unnoticed for a long time, or if you see signs of microbial growth, knowing what to do after water damage in an apartment may lead to safer and faster professional drying and containment. Pros have tools to detect moisture in materials and can set up controlled airflow and dehumidification.
Also consider calling a pro if the affected area includes multiple rooms, stairs, or shared walls in a multi-unit building. Apartment water heater leak and damage situations can escalate quickly due to water traveling into neighboring units. If your cleanup efforts are not reducing dampness within a day, or materials are swelling and staining, it is a sign that hidden moisture remains and professional assessment is warranted.
Prevention tips to avoid the same leak again
Prevention starts with regular visual checks. Look for small drips at supply connections, moisture in the drain pan, and rust streaks on the tank. Test the shutoff valve periodically so it works when needed, and keep the area around the heater clear so you can spot water early. If your heater sits in a location where leaks would be especially damaging, consider adding a drain pan with a proper drain connection when feasible.
Simple upgrades can also reduce risk. Flexible supply lines and properly fitted connectors can help prevent slow drips, and a leak alarm near the heater can alert you early. Keep temperature settings reasonable to reduce stress on components, and address unusual noises or intermittent relief valve discharge promptly. Preventing water heater leak damage is often about catching small problems before they become material-saturating leaks.
Other leaks indicate higher risk. Water around the temperature and pressure relief valve line may mean the valve is discharging due to pressure or temperature issues, or the valve itself is failing. Moisture at the bottom seam, rust streaks, or a steady flow from the tank often suggests internal corrosion and impending tank failure. In any water heater leak damage scenario, understanding the source helps you decide whether a simple repair is reasonable or whether water damage restoration is the safer path.
What to document for insurance
Document as if you will need to explain the timeline later. Start with wide photos showing the water heater location and the spread of water, then take close-ups of the leak source and any damaged materials. Capture water lines on walls, swollen baseboards, buckled flooring, and any water that reached adjacent areas. If you are in a rental, document communications with the property manager and note when you reported the issue.
Keep a simple log. Write down when you first noticed water, when you shut off the supply, and any actions taken, such as using a wet vacuum or running a dehumidifier. Save receipts for fans, dehumidifier rentals, or materials used. For water heater leak drywall damage, photograph the wall edge before and after removing trim. Clear documentation helps support cleanup costs and clarifies whether the damage resulted from a sudden leak versus a long-term maintenance issue.
Conclusion
Effective water heater leak water damage cleanup comes down to a safe shutdown, quick leak control, fast water removal, and thorough drying that reaches hidden spaces. Start by shutting off power or gas and the cold-water supply, then isolate the leak source and prevent spread to nearby rooms or units. After extraction, focus on airflow and dehumidification, and inspect behind cabinets, along wall bases, and under flooring where moisture lingers. If materials cannot be dried fully or the leak affected walls, ceilings, or electrical areas, bring in a qualified restoration professional. Your next step is to document everything and schedule a plumbing evaluation so the same failure does not happen again.