A wall can look fine on the surface and still hide a lot of moisture in the cavity, around insulation, or along wood studs. That’s why the question how long to dry a wall after leak doesn’t have one perfect answer. Drying time depends on the wall material, how far the water traveled, your indoor humidity, and how quickly you get airflow and dehumidification going. In this guide, you’ll get realistic drying ranges, the variables that stretch them out, and a practical DIY checklist to speed things up without creating bigger problems like trapped water or mold growth.
Best for: Homeowners dealing with a small clean-water leak who can start drying within hours and monitor moisture over days.
Not ideal when: The leak involved gray water or black water, or you can’t verify the source is fully fixed and contained.
Good first step if: You can safely shut off power if needed, stop the water, then start airflow and dehumidification immediately.
Call a pro if: The wall cavity is soaked, insulation is wet, you smell mildew odor, or moisture keeps returning after drying attempts.
Quick Summary
-
Most walls need days, not hours, to dry fully, especially inside the wall cavity.
-
Drywall usually dries faster than plaster, while masonry can hold moisture longer than it looks.
-
Airflow plus dehumidification beats “just heat,” which can drive moisture deeper or create condensation elsewhere.
-
Confirm dryness before patching, priming, or painting, or you’ll risk bubbling/peeling paint and recurring stains.
-
If water reached insulation or you suspect hidden moisture, you may need selective drywall cutting or removal.
Typical Drying Time for a Wall After a Leak (Realistic Ranges)
Most walls dry in 3 to 7 days after the leak is fixed if you run fans and a dehumidifier. Surface wetting may dry faster. Moisture in insulation or at the bottom plate can stretch drying to 1 to 3+ weeks. Hidden moisture migrates behind paint, into drywall paper, and along studs even when the surface feels normal.
Early action matters most: stabilize humidity and airflow on day one.
Drywall vs Plaster vs Masonry
Drywall typically dries the quickest, but it also loses integrity faster when it’s saturated, especially at seams and the bottom edge. Plaster can tolerate brief wetting yet still hold moisture in thicker layers, so it may feel dry while staying damp underneath. Masonry (brick, concrete, block) often dries slowly because it wicks water deep into pores, and salts or stains can appear later as it dries.
What Affects How Long a Wall Takes to Dry
Drying time depends on how much water is in the wall and how easily it can evaporate and be removed. Room humidity, temperature, and airflow matter, but so do cavity conditions: wet insulation, vapor barriers, and multiple paint layers that slow drying. Water type also changes the plan: clean water may be dried and monitored, while gray/black water often requires removal and disinfection.
For a first-day process, use what to do in the first 24 hours.
Humidity, Temperature, and Airflow
Drying speeds up with low humidity and steady airflow. A dehumidifier lowers room humidity so evaporation doesn’t stall. Heat helps only with dehumidification or ventilation; otherwise warm, wet air can re-condense. A hygrometer lets you verify the room is actually improving.
How Soaked it is (Surface Wet vs Inside the Cavity)
Surface wet can usually dry from the room side with fans and a dehumidifier. Cavity wetting is harder: water sits on the bottom plate, soaks insulation, and spreads behind baseboards. Expect delayed stains, bubbling paint, and warping
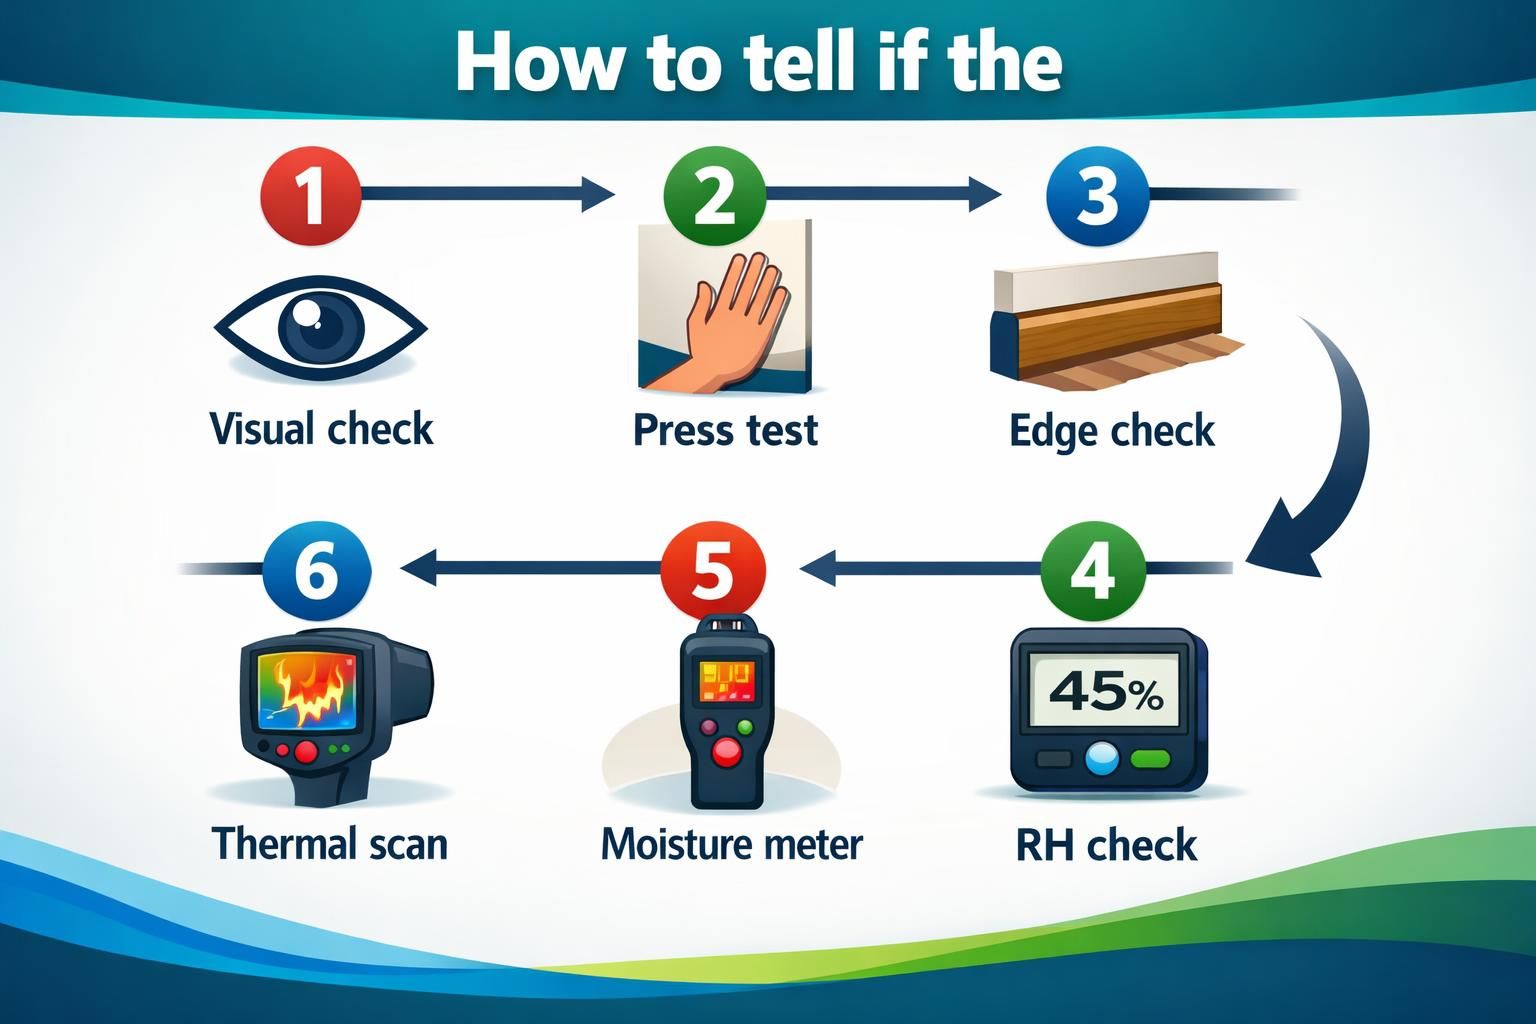
How to Tell if the Wall is Actually Dry (Not Just “Dry to the Touch”)
A wall is dry when moisture is back near its normal baseline, not when paint feels dry. Heat can dry the surface while the drywall core, studs, or insulation stay damp. Look for stability: no cool damp patches, no new stains, and no rising moisture trend over 24 to 48 hours.
Before patching or repainting, avoid sealing in hidden moisture. For monitoring and containment, use prevent water damage from spreading.
Simple Checks vs Moisture Meters and Thermal Imaging
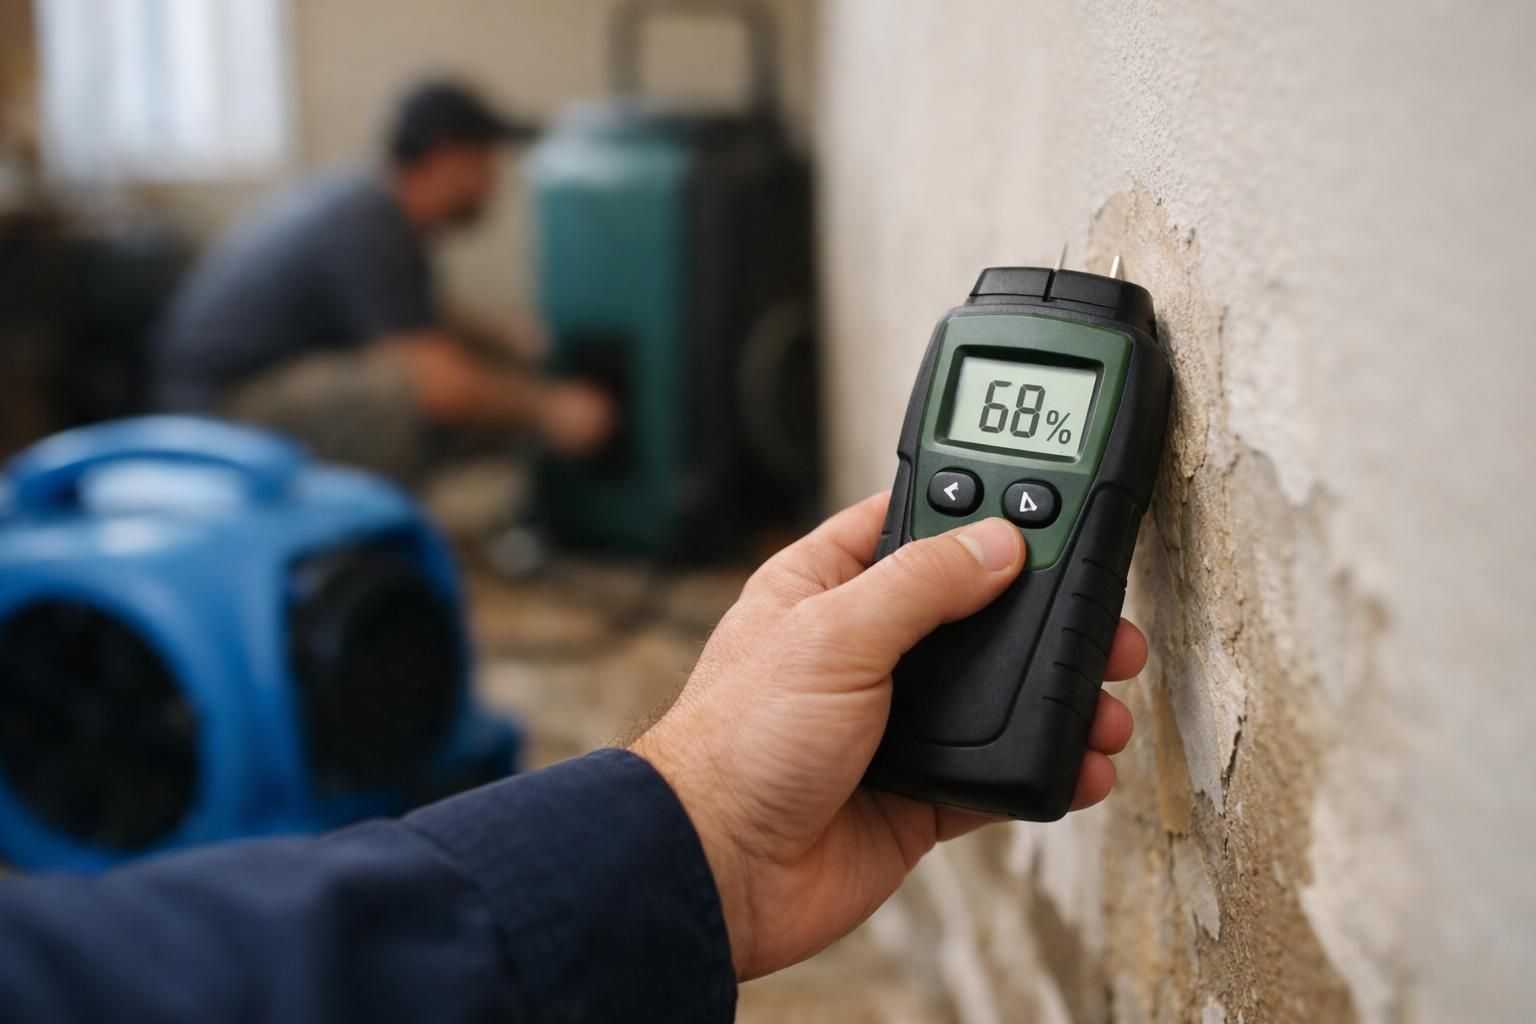
For minor leaks, press for softness, smell for mildew, and watch for returning stains. Moisture meters are more reliable: compare to a known-dry spot and track trends. Thermal imaging can flag likely damp areas, but needs confirmation because air leaks can mimic moisture.
Steps to Dry a Wall Correctly (DIY Checklist)
Dry a wall by stopping the source, extracting water, then controlling air until symptoms and readings stabilize. Confirm the leak is fixed. If water was near wiring, shut off the breaker and follow decide whether to shut off power. Start drying immediately.
Checklist:
-
Stop water and verify it won’t restart.
-
Clear items so air can circulate.
-
Run a dehumidifier continuously.
-
Aim fans across the wall surface.
-
Open doors for airflow unless containing odors.
-
Monitor daily for smell, stains, and softness.
Ventilation, Fans, Dehumidifiers, and Removing Baseboards
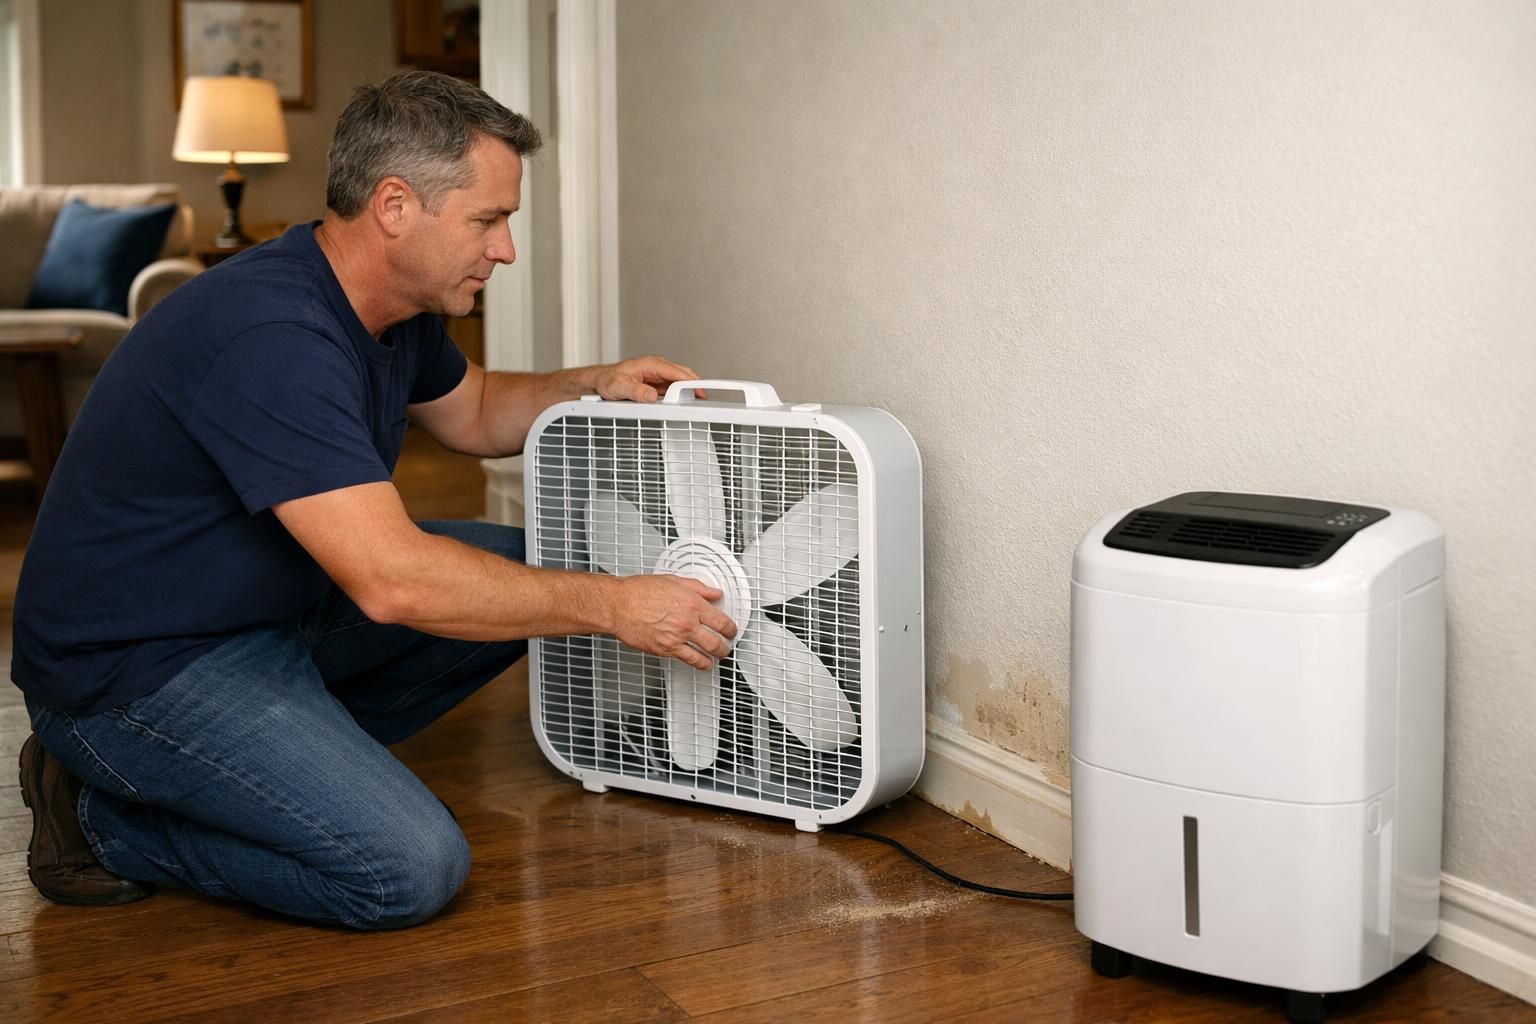
Fans and ventilation move air, but a dehumidifier removes moisture. Position fans to sweep across the wall, not blast into it. Removing baseboards can vent the wall cavity at the bottom, where water collects. If trim hides pooled water, small access openings may be needed for drainage and airflow.
When You Must Open the Wall or Replace Drywall/insulation
Open the wall when moisture is trapped in the cavity, insulation is wet, or drywall has lost strength. Small clean-water wetting can sometimes dry in place, but saturated drywall swells, softens, and fails at the paper face, and insulation holds water for days. With gray or black water, contamination drives removal, disinfection, and safe disposal, not patience.
If water traveled down from above, plan the response first using handle an active ceiling leak to avoid chasing spread.
Signs of Trapped Water, Swelling, Softness, or Odor
Trapped water shows up as persistent cool spots, swelling or warping/swelling near seams, and baseboards that separate or bow. Drywall that dents easily, feels “mushy,” or sheds paper is telling you the core is still compromised. And odor matters: a mildew odor that returns after you’ve been running fans usually means moisture is still present or mold growth has started somewhere you can’t see.
Mold Risk Timeline and What to Do if It’s Been Wet >48 Hours
If materials stay wet over 48 hours, assume higher mold risk and move beyond surface drying. Inspect deeper, increase dehumidification, and consider opening the wall to check insulation and the bottom plate. Don’t paint or seal to “hide” dampness; those steps come after drying and repair.
If contamination is possible or you see suspect growth, use PPE and containment, and review recognize the risks of untreated mold before disturbing materials.
When to Call a Professional (and What Pros Do Differently)
Call a professional if you can’t confirm the wall is drying, contamination is possible, or the affected area is large enough that DIY will be slow. Pros don’t just use bigger fans. They map moisture, control airflow and pressure, and dry cavities so water isn’t trapped behind paint or vapor barriers. They may remove baseboards cleanly, use targeted structural drying, and choose weep holes or selective demolition when needed. For recurring in-wall leaks, see what to do after a wall leak.
FAQ
How Long Can Moisture Stay Trapped Inside Walls?
Moisture can stay trapped for weeks if insulation is wet, airflow is blocked, or a vapor barrier and multiple paint layers slow evaporation. It’s also common when water collects at the bottom of the wall cavity with no path to escape. That’s why monitoring beats guessing.
Does the Type of Water (Clean vs Gray vs Black) Change What You Should Do?
Yes. Clean water incidents may be candidates for drying and monitoring if handled quickly. Gray water (used water) and black water (sewage or floodwater) usually require removal of porous materials and disinfection/sanitizing, because “dry” doesn’t mean “safe.”
Do Dehumidifiers Actually Speed up Drying Walls?
They do, because they lower humidity so the wall can keep releasing moisture instead of reaching a stall point. Fans move wet air off the surface, but a dehumidifier actually removes water from the air. Pairing both is the most reliable DIY combo.
How Do I Confirm the Wall is Dry Before Priming or Painting?
Confirm with consistent readings and stability, not one good moment. Compare the affected area to a nearby dry area with a moisture meter if possible, and recheck 24 hours later. Visually, make sure stains aren’t growing and paint isn’t bubbling/peeling.
When Do You Have to Replace Drywall Instead of Drying It?
Replace drywall when it’s swollen, soft, crumbly, delaminating, or contaminated by gray water or black water. If the bottom edge wicked water and stayed wet, it often won’t regain strength. Wet insulation behind it is another common trigger for removal.
Conclusion
A realistic answer to how long to dry a wall after leak is usually several days, and sometimes longer when conditions are unfavorable. Drying time depends on several variables: the extent of the water exposure, the wall materials (drywall, plaster, wood), whether insulation or wall cavities are wet, indoor humidity and temperature, and how quickly you can remove standing water and improve air circulation. Using dehumidifiers, fans, and raising the heat will speed drying, while closed windows, cold weather, saturated insulation, or hidden moisture behind paint or wallpaper will prolong it. Monitor progress by feeling the wall, checking for damp smell or discoloration, and, if available, using a moisture meter; if moisture persists after a week or you detect mold growth or structural softening, call a professional for remediation. Prompt action reduces mold risk and further damage, so combine immediate mitigation with regular checks until readings and appearance confirm the wall is fully dry.