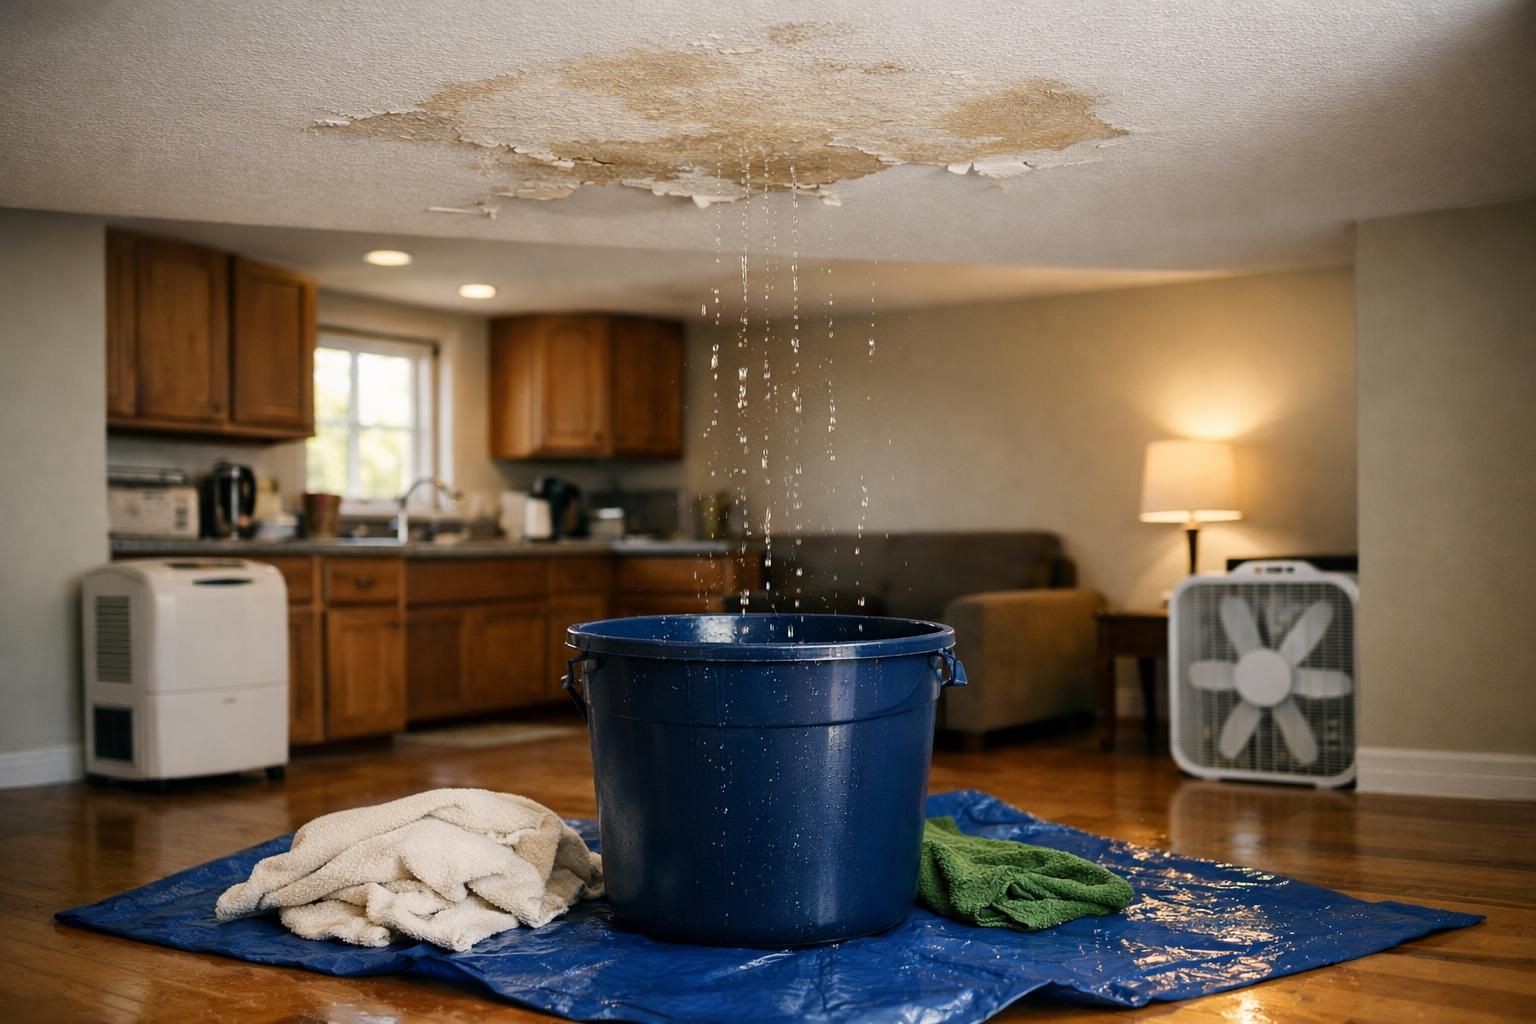
A leak can soak materials fast and the first day often determines how much damage you end up repairing. This guide covers how to dry a room after a water leak (first 24 hours) with practical, safety-first steps you can start immediately. You will learn how to stop the source, remove water, and set up airflow and dehumidification so moisture leaves the room instead of spreading into walls, ceilings, and floors. You will also learn what to lift or open up, how to check real dryness (not just what feels dry), and how to reduce mold risk during the critical first 48 hours.
- Act fast: water that sits can wick into drywall, wood, and insulation.
- Prioritize safety: electricity, slip hazards, and contaminated water change the plan.
- Remove standing water first, then focus on evaporation and moisture capture.
- Create a drying path: airflow across wet surfaces plus a place for humid air to go.
- Use dehumidifiers strategically; placement matters more than people think.
- Verify drying with measurements and inspection, not touch alone.
Quick steps for the first 24 hours
Start with a simple sequence: stop the water, make the area safe, extract water, then dry and verify. The biggest mistake is turning on random fans while water is still pooled or while humid air has nowhere to exit, which can push moisture into adjacent rooms and cavities.
In the first 24 hours, your goal is to prevent further wetting and begin controlled drying. You are not aiming for perfection immediately, but you do want to reduce moisture load quickly so porous materials do not stay damp. If you keep the process organized, you will also make better decisions about what needs to be removed versus saved.
- Shut off the water source if plumbing-related, and contain drips with buckets or towels.
- Turn off power to affected areas if outlets, cords, or fixtures got wet.
- Photograph conditions before moving items if you may need documentation later.
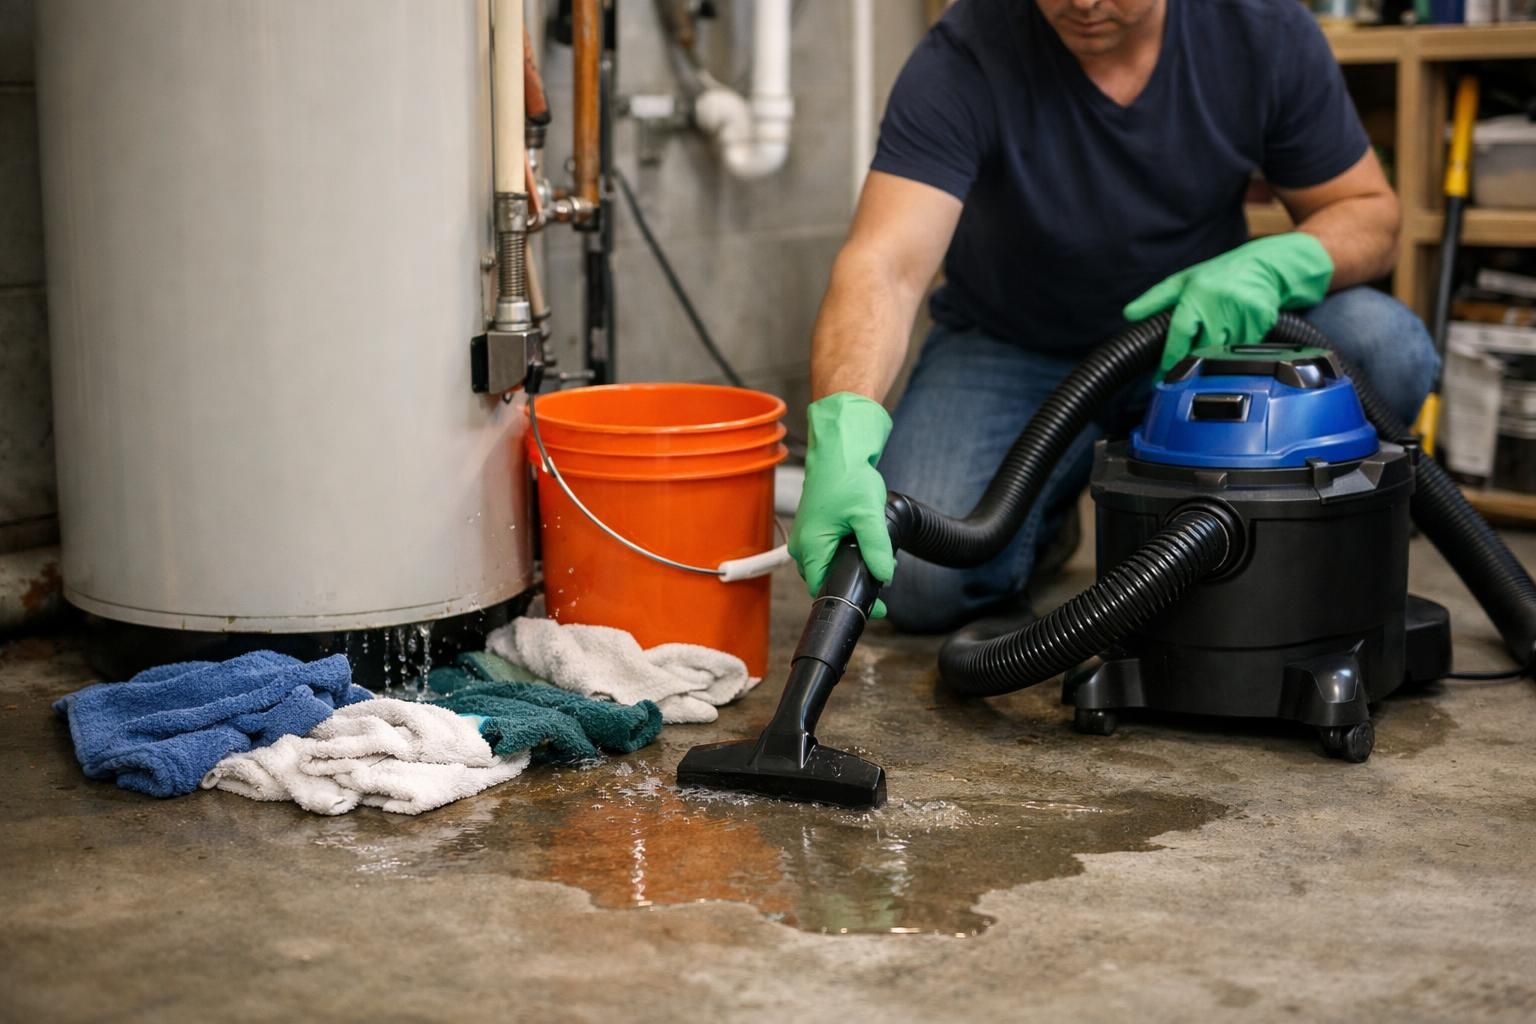
- Extract standing water, then blot and towel-dry remaining surface moisture.
- Move wet contents out, separate damp items for drying, and discard unsalvageable items.
- Start airflow and dehumidification, then check progress every few hours.
Stop the source and make the area safe
Start with a simple sequence: stop the water, make the area safe, extract water, then dry and verify. The biggest mistake is turning on random fans while water is still pooled or while humid air has nowhere to exit, which can push moisture into adjacent rooms and cavities during water damage restoration.
Before you think about drying, stop the leak. If it is a supply line, shut off the nearest valve, or use the main shutoff if needed. For roof leaks, use temporary containment such as tarps, buckets, and towels while you plan repair. For appliance leaks, stop the cycle, close valves, and disconnect power if safe to do so.
In the first 24 hours, your goal is to prevent further wetting and begin controlled drying. You are not aiming for perfection immediately, but you do want to reduce moisture load quickly so porous materials do not stay damp. If you keep the process organized, you will also make better decisions about what needs to be removed versus saved to prevent mold remediation.
Safety is not optional. Water and electricity are a dangerous mix, and wet flooring can cause slips and falls. If water reached outlets, light fixtures, or breaker panels, switch off power to that area at the breaker before entering. Also consider what type of water you are dealing with. Clean water from a supply line is different from water that has contacted sewage, chemicals, or floodwater. If it is potentially contaminated, limit exposure, wear gloves, and consider professional help sooner.
Remove standing water and wet contents
Shut off the water source if plumbing-related, and contain drips with buckets or towels. Turn off power to affected areas if outlets, cords, or fixtures got wet. Photograph conditions before moving items if you may need documentation later. Extract standing water, then blot and towel-dry remaining surface moisture to stop water damage from spreading. Move wet contents out, separate damp items for drying, and discard unsalvageable items. Start airflow and dehumidification, then check progress every few hours.
Water left on surfaces slows everything down because evaporation must work through a thick layer of moisture. Start with extraction. If you have a wet/dry vacuum, use it for hard floors and low-pile carpet. For larger volumes, a pump may be needed, but avoid pumping unknown water outdoors if contamination is possible.
Next, remove wet contents to reduce humidity and prevent staining, warping, and odor. Lift items off the floor and relocate them to a dry, ventilated space. Separate materials that can bleed dye or rust. For furniture, place foil or plastic under legs to prevent transfer to damp flooring, but avoid sealing wet surfaces under plastic for long periods because that can trap moisture.
If you are dealing with wood surfaces, act gently but promptly. For how to dry wood floor after water leak situations, wipe up water immediately, then focus on steady airflow and dehumidification. Avoid aggressive heat or prolonged wet towels on wood, which can worsen cupping or finish damage. Remove area rugs and mats quickly so moisture does not remain trapped against the wood.
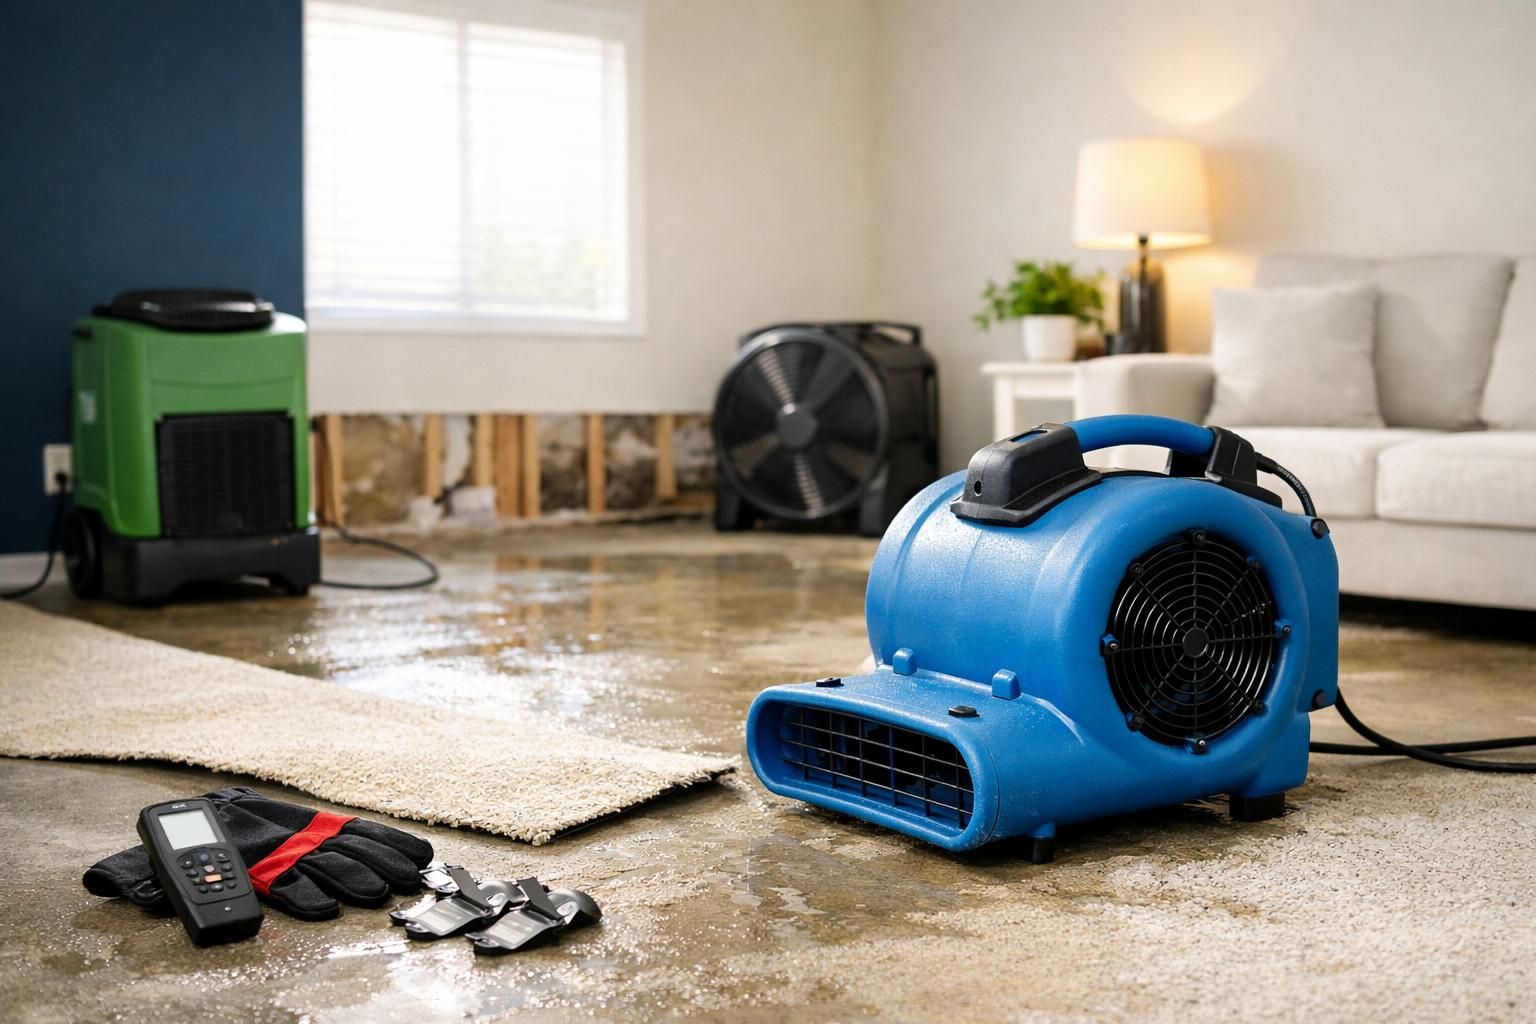
Set up airflow correctly (fans, doors, vents)

Airflow works best when it moves across wet surfaces and carries moisture away. Random fan placement often just stirs humid air. Aim fans so they skim across the floor, walls, or other wet materials rather than blasting directly into corners. If the room is very wet, start with fewer fans positioned intentionally, then adjust as you see what areas remain damp.
You also need an air path. If outdoor humidity is lower than indoor humidity, opening a window slightly can help, especially early on. If outdoor air is humid, keep windows closed and rely more on dehumidification. Keep interior doors open if you are using the home HVAC to circulate air, but close off unaffected rooms if you are trying to contain moisture and prevent damp air from migrating.
Fans and ventilation do’s and don’ts
Fans speed evaporation, but evaporation without moisture removal can raise humidity and slow drying elsewhere. Use fans with a plan: direct airflow along wet surfaces and toward the dehumidifier intake if possible. Reposition fans every few hours based on what is drying fastest.
Do:
- Point fans to create a circular flow around the room perimeter
- Angle airflow across damp walls and along baseboards where wicking occurs
- Use exhaust fans in bathrooms or kitchens if the wet area connects and the air is not contaminated
- Check filters and vents if you use HVAC so you are not restricting airflow
Don’t:
- Blow air into wall cavities through outlet covers unless power is off and you understand the risk
- Aim fans at visibly bowed drywall, which can spread moisture deeper if cavities are saturated
- Rely on heat alone; it can drive moisture into materials if humidity is not controlled
Dehumidifiers: when they help and where to place them
A dehumidifier helps most when you have a closed drying environment. It captures moisture that fans evaporate off surfaces. If you run fans without a dehumidifier in a closed room, the air can become saturated and evaporation slows. If you run a dehumidifier without airflow, the air near wet surfaces can stay stagnant, also slowing drying. The combination is what works.
Place the dehumidifier where air can circulate freely, typically near the center of the room or slightly toward the wettest area. Keep it a short distance away from walls and furniture so intake and exhaust are not blocked. Close windows and exterior doors when outdoor air is humid. Empty the bucket frequently or use a drain hose if available and safe. If you have multiple affected rooms, focus on isolating one zone at a time rather than under-powering the entire house.
Common placement mistakes that slow drying
The most common mistake is tucking the unit into a corner or closet. Dehumidifiers need room to breathe. Another mistake is running it with windows open in humid weather, which can cause the unit to fight endless incoming moisture.
Also avoid placing a dehumidifier directly on a wet wood floor without protection. Use a stable tray or waterproof mat so condensate or vibration does not mark the finish. Finally, do not assume colder air is always better. Warmer air can hold more moisture, which can help evaporation, but only if you are actively removing that moisture. A modest, controlled temperature with steady dehumidification is usually safer than blasting heat.
What to lift, remove, or open up (carpet, baseboards, drywall)
Some materials can dry in place; others trap moisture and become a mold risk. Carpet and padding are big examples. Surface drying a carpet does not mean the pad underneath is drying. If water soaked through, you may need to lift the carpet edge to assess the pad. In many cases, the pad holds water like a sponge and slows everything down.
Walls and ceilings can also hide moisture. For drying out walls after water leak events, the key question is whether moisture entered the cavity. Drywall can look fine while insulation behind it is wet. Baseboards can trap moisture at the wall-to-floor edge, and water often wicks upward there first.
Ceiling and wall cavities: what you can safely do
If you need to dry out ceiling after water leak issues, start by stopping the source above and checking for sagging, staining, or soft spots. A ceiling that is bulging or dripping can be heavy and may fail. If you suspect pooling above drywall, keep people out from under it and consider professional assessment.
For smaller, controlled leaks where the surface is damp but not saturated, you can promote drying by increasing airflow and dehumidification. Remove wet insulation only if you can access it safely and you are confident power is off where needed. For dry ceiling after water leak efforts, avoid simply painting or sealing stains early, since trapped moisture can lead to peeling and odors. When in doubt, controlled openings in strategic locations can vent cavities, but this is also where a restoration professional can prevent unnecessary demolition.
How to tell if things are actually dry (not just “feels dry”)
Touch is unreliable. Many materials feel dry on the surface while still holding moisture inside, especially drywall, wood, and subflooring. Real drying verification combines inspection, time, and measurement. Look for ongoing signs like cool spots, musty odor, discoloration that keeps spreading, or baseboards that remain damp at the bottom edge.
A moisture meter can be very helpful. Pin-type meters can check wood and some building materials, while pinless meters can scan broader areas. You are looking for consistency: the affected area should read similar to nearby unaffected areas made of the same material. If readings remain elevated after steady drying, moisture may be trapped in cavities, under floors, or behind finishes, and you may need to open up or call a pro.
Mold prevention while drying (first 48 hours)
Point fans to create a circular flow around the room perimeter Angle airflow across damp walls and along baseboards where wicking occurs Use exhaust fans in bathrooms or kitchens if the wet area connects and the air is not contaminated Check filters and vents if you use HVAC so you are not restricting airflow, especially if you are considering whether to turn off electricity after a water leak.
Mold risk rises when materials stay damp, especially in warm, poorly ventilated spaces. The best mold prevention is fast, thorough drying combined with removing materials that cannot dry quickly. During drying out house after water leak situations, try to control where humid air goes. Containment can help keep odors and spores from spreading if contamination is suspected.
Cleanable hard surfaces can usually be wiped and dried. Porous items like paper goods, some particleboard furniture, and insulation may not be worth saving if they stayed wet. If you use cleaning products, ensure good ventilation and never mix chemicals. Avoid fogging or heavy chemical use as a substitute for drying. If you smell mustiness that persists even as surfaces appear dry, that is a signal to inspect hidden spaces.
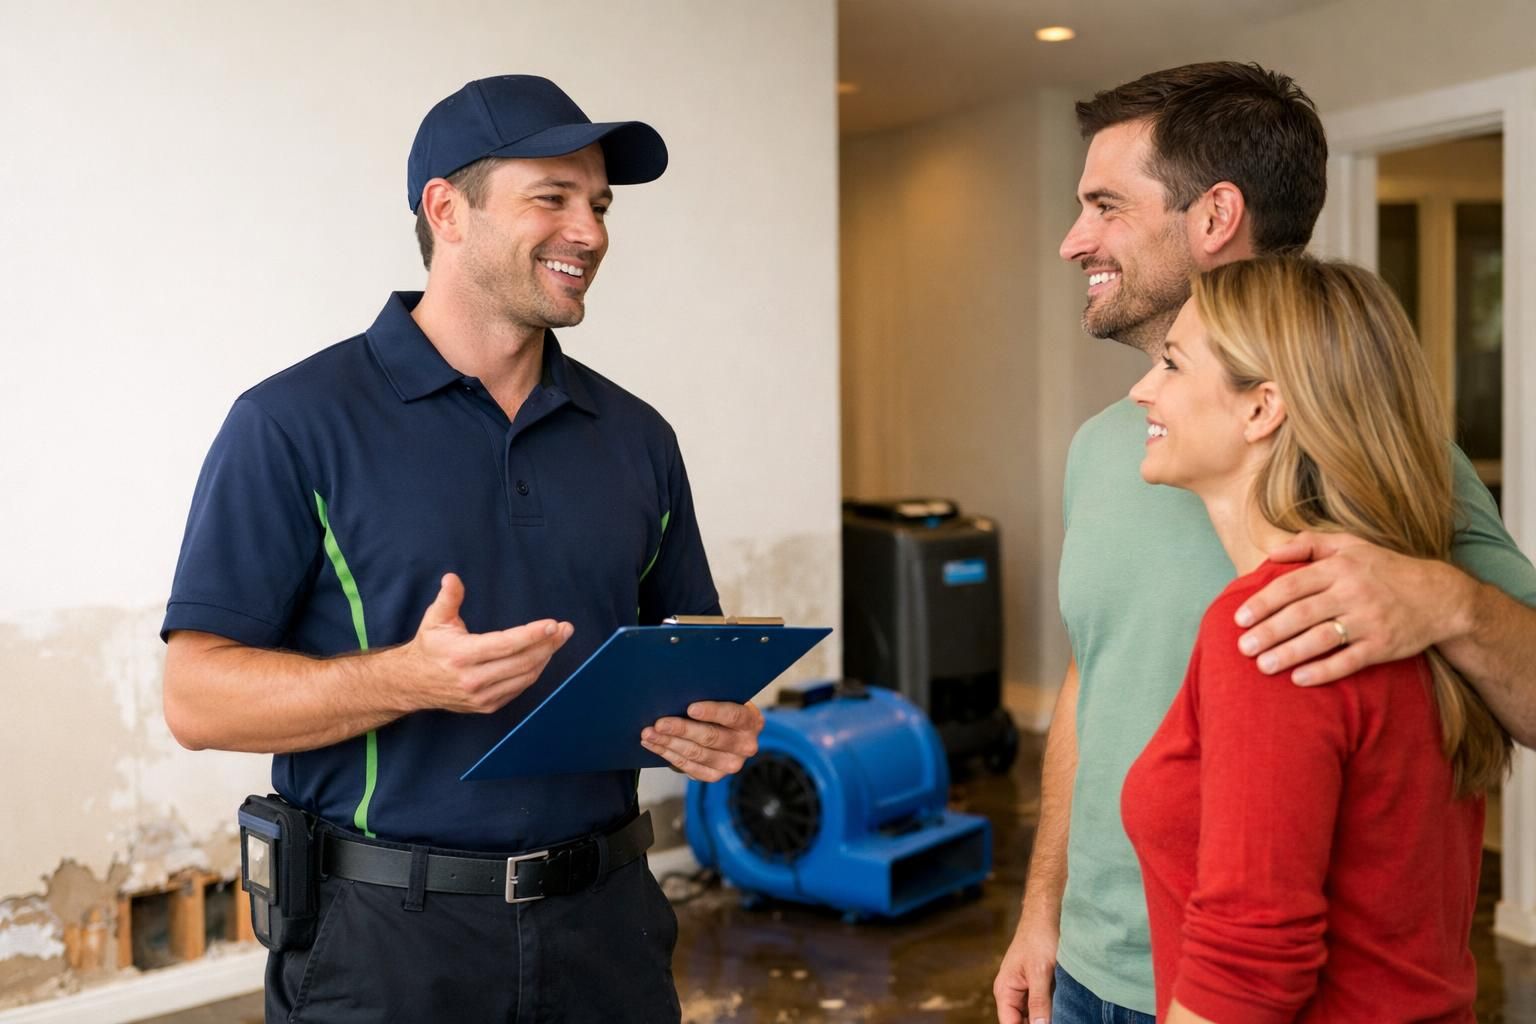
When to call a restoration pro
Call a restoration pro if water is contaminated, if the leak affected electrical systems, or if large areas of flooring, walls, or ceilings are involved. Also call if you cannot extract water effectively, if the humidity stays high despite fans and a dehumidifier, or if you suspect water got under tile, into subflooring, or into wall insulation. These situations often require specialty drying equipment and targeted moisture mapping.
You should also get help if the ceiling is sagging, if drywall is crumbling, or if you see extensive swelling of wood. For how to dry a room after a water leak (first 24 hours) challenges where progress is minimal after a day of steady effort, professional assessment can prevent long-term problems like hidden mold, lingering odors, or structural warping. If you do bring in a pro, keep notes on what happened and what you have already done so they can plan the most efficient next steps.
Conclusion
The first day after a leak is about control: stop the source, remove standing water, and set up a drying system that moves moisture out rather than around. Use fans to push air across wet surfaces, add a dehumidifier to capture what evaporates, and make smart choices about what to lift or open so moisture is not trapped in pads, cavities, or under flooring. Verify dryness with inspection and measurements, not just how it feels. If conditions are widespread, contaminated, or not improving, bring in help quickly. With a clear plan, how to dry a room after a water leak (first 24 hours) becomes manageable and can reduce repairs later.
The first day after a leak is about control: stop the source, remove standing water, and set up a drying system that moves moisture out rather than around. Use fans to push air across wet surfaces, add a dehumidifier to capture what evaporates, and make smart choices about what to lift or open so moisture is not trapped in pads, cavities, or under flooring. Verify dryness with inspection and measurements, not just how it feels. If conditions are widespread, contaminated, or not improving, bring in help quickly. With a clear plan, what to do after a water leak in wall becomes manageable and can reduce repairs later.