
Sprinkler system leak water damage gets bad fast because the supply can keep feeding the leak while moisture spreads through ceilings, walls, and floors. You can usually limit damage if you act in the right order: safety, stop the flow, protect contents, then dry correctly so materials don’t swell and hidden spaces don’t stay wet. Use the steps below for commercial spaces and multi-unit properties.
Best for: Building owners and facility teams who need a clear first-response checklist for sprinkler-related water leaks.
Not ideal when: Water is near energized electrical panels, elevator equipment, or there’s ceiling collapse risk from saturated assemblies.
Good first step if: You can safely identify the sprinkler type, isolate the water source, and start protecting floors, inventory, and electronics.
Call a pro if: You can’t stop the flow quickly, water reached hidden cavities, or the leak involves a fire protection sprinkler system.
Quick Summary
- Treat safety as step one: electricity, slip hazards, and ceiling stability can change quickly.
- Identify whether it’s a fire sprinkler leak or an irrigation line issue because the shutoffs and rules differ.
- Stop the water before you spend time drying; drying a space that’s still leaking wastes time.
- Remove standing water immediately to prevent spread into adjacent rooms and lower levels.
- Drying works best as a system: extraction first, then airflow and dehumidification, then verification.
Quick Steps to Take Immediately
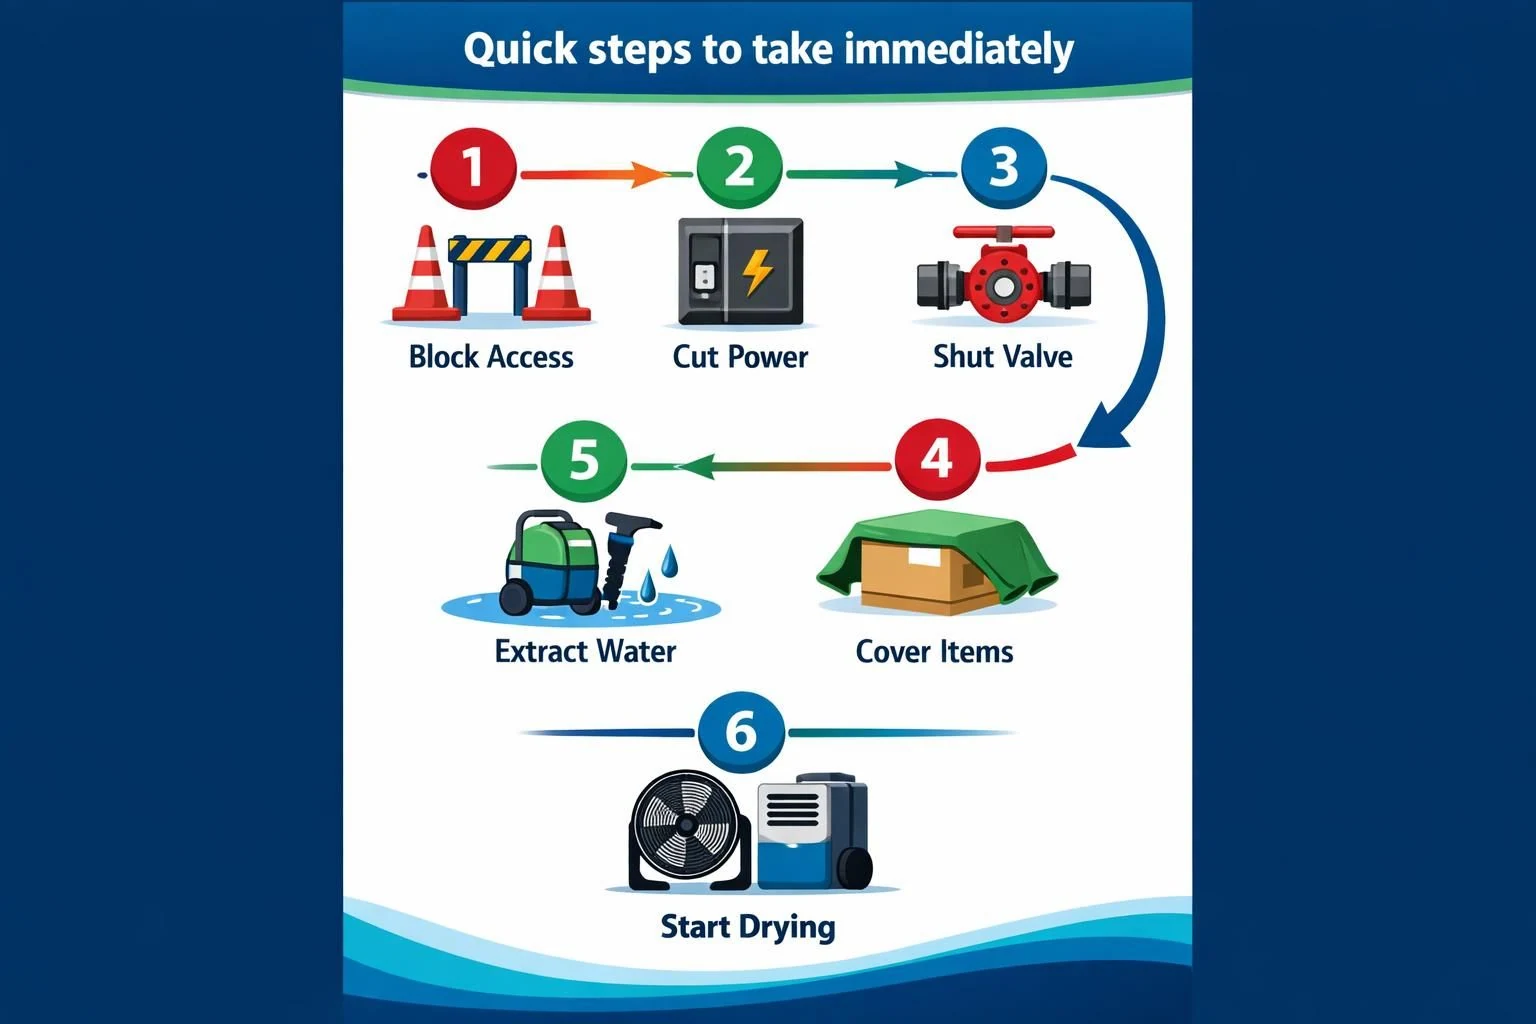
In the first minutes, control the source and contain spread before materials absorb more water. If you only do two things quickly, stop the flow (if safe) and protect anything water can ruin.
Do a fast scan: where is the water originating, where is it traveling next, and what will be damaged first. Ceiling leaks can travel along framing and show up far from the failure point, so check seams, light fixtures, diffusers, penetrations, and drip paths.
A reliable order of operations is:
- Keep people out of the wet area and mark slick floors.
- Kill power to affected zones if water is near outlets, lights, or equipment.
- Shut off the correct valve (system-dependent).
- Move or cover contents and electronics.
- Start water removal with mops, wet vacs, or extraction.
- Begin drying only after the leak is confirmed stopped.
In multi-room or multi-tenant situations, assign one person to source control and one to contents protection so progress happens in parallel.
Safety First: Electricity
Electricity is the first hazard because even small water exposure around energized equipment can cause shock or fire. If water is near outlets, light fixtures, power strips, or appliances, keep people out and shut off power to the affected circuits at the breaker only if you can do it without standing in water.
Do not touch wet cords, unplug devices, or open electrical panels if there’s any chance they’re wet. For commercial spaces, coordinate with maintenance or an electrician to safely isolate panels, elevator controls, and IT/server equipment before cleanup continues.
Safety First: Electricity, Slip Hazards, and System Safety
Assume conditions are worse than they look until verified. Water near electricity is a serious risk, especially when dripping into fixtures or onto power strips, and it may be farther from the visible leak than you expect.
If water is near electrical panels, elevator controls, server racks, or hardwired equipment, isolate the area and coordinate a controlled shutdown. At the same time, treat floors as hazardous: tile, sealed concrete, and polished surfaces become slick with a thin film of water, so block access and place warning signs.
Look up as well. Saturated ceiling tiles, gypsum board, and insulation get heavy and can fail suddenly. If you see sagging tiles, bowed grid, or fast-spreading staining, keep people out from underneath and treat it as a potential collapse zone until assessed.
If you’re unsure about power decisions, use this checklist: turning off electricity safely.
Stop the Water (who to Call and Which Shutoffs Matter)
Stopping the water means finding the correct shutoff and involving the right people fast. With sprinkler-related leaks, you may be dealing with valves that affect life safety coverage, not just convenience plumbing.
If it’s fire sprinkler leak water damage, call your fire sprinkler contractor or fire protection company immediately, plus building management if you’re in a multi-tenant property. If it’s irrigation, you’re typically calling a landscaper/irrigation technician or a plumber depending on where the break is located.
While you’re waiting, locate the valve that controls the leaking section. Look for labeled riser rooms, sprinkler control valves, zone valves, and backflow devices. In many buildings, the shutoff is not near the water you’re seeing.
A practical approach:
- Confirm sprinkler type (fire protection vs irrigation).
- Identify the likely leak zone (ceiling area, riser room, exterior run).
- Close the smallest isolation valve that stops the flow.
- Notify stakeholders if any life safety coverage is impaired.
- Document the time the system was shut down and who authorized it.
If there’s a monitoring/alarm company, valve closure may trigger a supervisory alarm that must be managed, not ignored.
Fire Sprinkler vs Irrigation Sprinkler: Why the Response Differs
Fire sprinkler systems are regulated life safety infrastructure. Shutting a fire sprinkler control valve can take an area out of service and may require a fire watch or other temporary measures based on your building, insurer, and local rules.
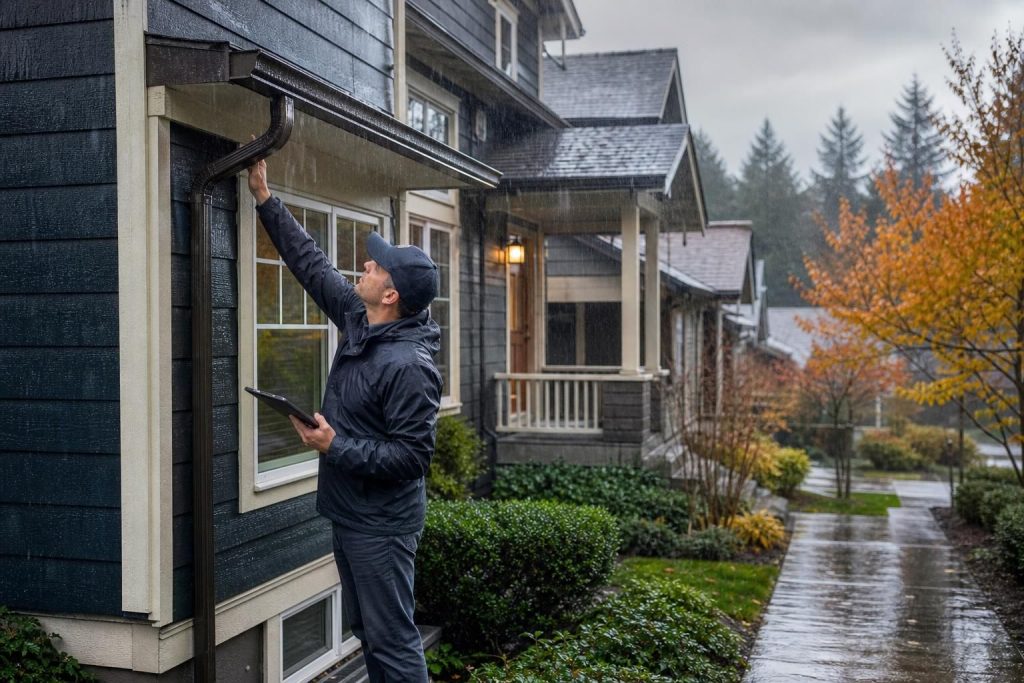
Irrigation systems are simpler from a compliance standpoint, but they can still flood quickly, undermine soils, and seep into basements. Their shutoffs are usually at the backflow preventer, zone manifold, or exterior main, while fire systems are controlled at the riser with supervised valves.
In practice, fire systems require faster coordination and careful documentation, while irrigation incidents require rapid isolation and a check for ongoing saturation near the building envelope.
What Not to Do (avoid Damaging Sprinkler Heads and Piping)
Do not twist, hang on, or “straighten” sprinkler heads to stop dripping. You can trigger discharge or damage the seal, turning a small leak into a full-flow event.
Avoid these mistakes:
- Don’t clamp or tape fire sprinkler pipes as a “temporary patch.”
- Don’t remove ceiling tiles right next to a suspect head before water is controlled.
- Don’t use open-flame or high-heat devices near sprinkler heads.
- Don’t paint, cap, or cover sprinkler heads to stop dripping.
- Don’t assume the closest valve is the correct valve.
If you need access above a ceiling, open tiles carefully and in a controlled way, starting away from the drip path and working inward while watching for pooled water.
Remove Standing Water and Protect Contents Fast
Standing water spreads into adjacent rooms and lower levels through seams, thresholds, and penetrations. Even minor surface water can end up under flooring or inside wall cavities, where drying takes much longer.
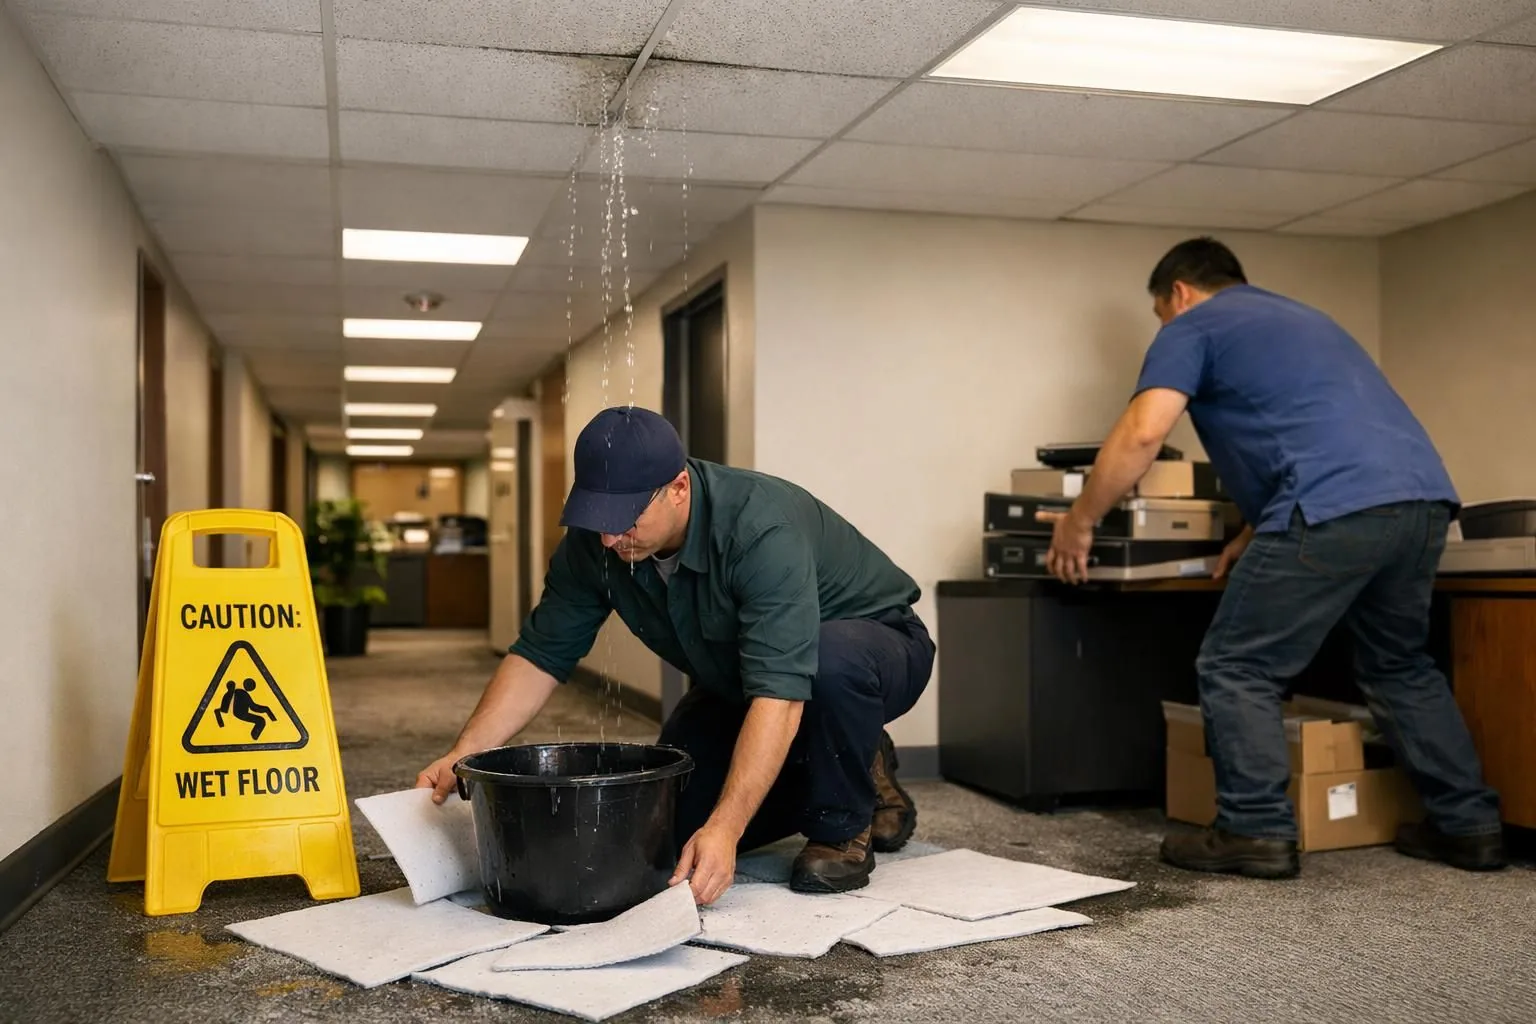
Use what you have: squeegees, mops, wet vacs, absorbent pads, and containers under active drip points. In commercial spaces, prioritize inventory, paper records, electronics, upholstery, and base-of-wall materials that fail quickly.
A simple triage sequence:
- Unplug and elevate electronics only after power is safely managed.
- Move items off floors and lower shelves.
- Cover immovable equipment with plastic (keep vents as clear as possible).
- Pull rugs or mats that trap moisture underneath.
- Place drip containment under active leak points.
For a straightforward containment plan, see: stop water from spreading.
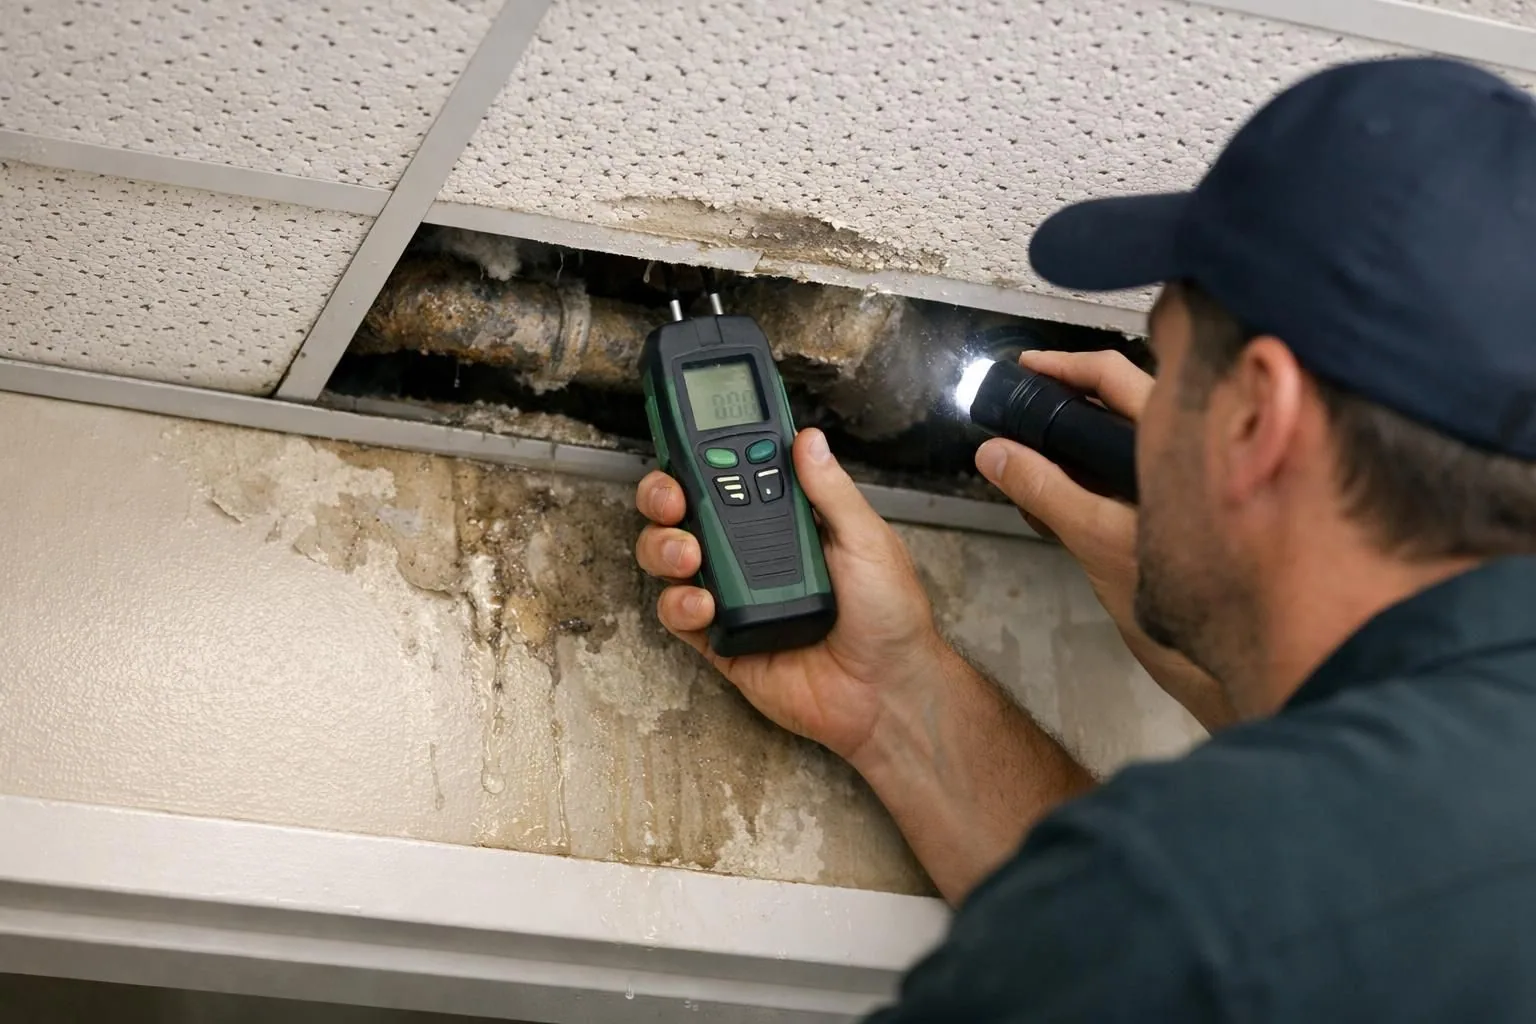
Check for Hidden Water Above Ceilings and Behind Walls
Hidden moisture is why “it looks dry now” becomes staining, odor, or warped finishes later. Water can travel along pipes, conduit, and framing, then pool on top of tiles or inside soffits.
Verify instead of guessing. Remove a few ceiling tiles in safe areas to look for pooling, and check around diffusers, sprinkler branch lines, and low points. If available, use a moisture meter or thermal camera to map the wet zone and avoid unnecessary demolition.
Pay extra attention to:
- Wall bases and the bottom 12 inches of drywall.
- Areas around lights, speakers, and access panels.
- Shared walls between suites or offices.
- Staining that expands after the leak is believed stopped.
If you can’t track the water path, use: signs you can’t see.
Drying Setup: Extraction
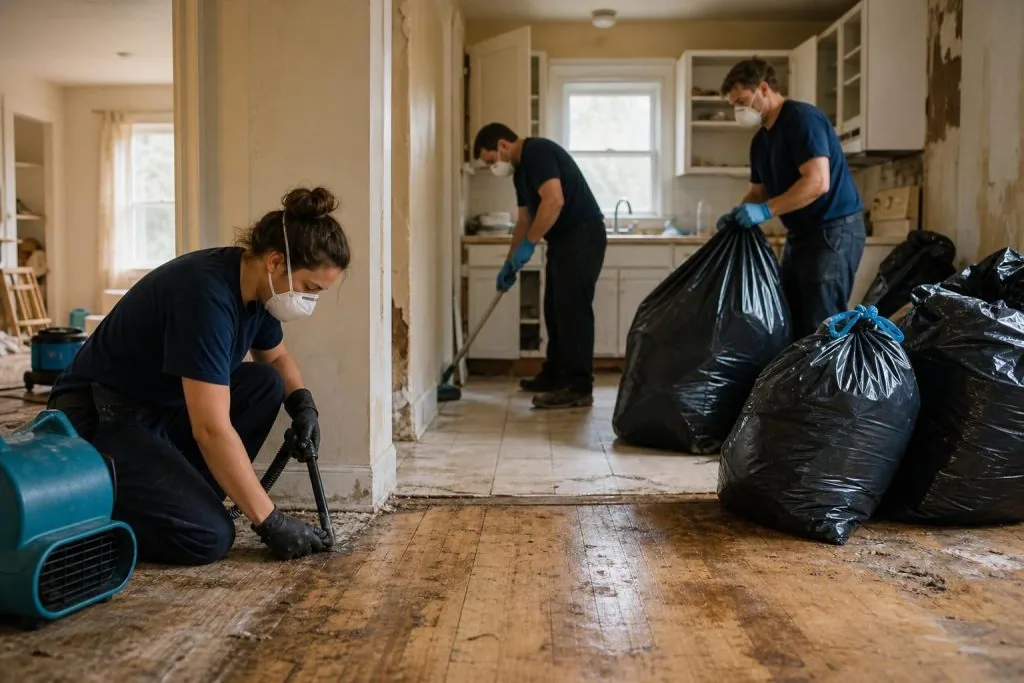
Extraction is the fastest way to reduce sprinkler system leak water damage because it removes liquid water before it wicks deeper. Pull up items that trap water (mats, rugs, removable carpet tiles) and use a wet vacuum, sump pump, or portable extractor on low spots and seams. Focus on thresholds, edges, and transitions where water hides. If water traveled under flooring, targeted extraction through access points may be needed to prevent swelling and delamination. Dispose of saturated absorbents promptly so they don’t re-release moisture.
Drying Setup: Extraction, Airflow, and Dehumidification
Drying works when it’s a controlled moisture-removal process, not just adding fans. Extraction comes first, because airflow over standing water mostly increases humidity.
After extraction, position air movers to move air across wet surfaces, not directly into cavities you haven’t assessed. Add dehumidifiers to pull moisture from the air so evaporation continues. For ceiling cavities, avoid trapping wet insulation without an exit path.
A solid baseline:
- Extract water from floors and low points.
- Remove soaked porous items that won’t dry in place.
- Create consistent airflow patterns across wet surfaces.
- Run dehumidifiers continuously and manage doors/windows.
- Re-check moisture daily and adjust equipment placement.
For the professional sequence, see: restoration drying sequence.
What Materials Can Usually Be Saved vs Replaced
Many materials can be saved if dried quickly and if they haven’t warped, delaminated, or developed contamination. The key is not just what looks wet, but what stays wet inside assemblies.
Often salvageable with proper drying and cleaning:
- Solid wood framing (once exposed and dried).
- Hard surfaces like tile and sealed concrete.
- Some carpet tiles if removed, cleaned, and fully dried promptly.
- Non-paper-faced insulation only if it can be thoroughly dried in place.
Often better to replace:
- Ceiling tiles that sag or stain.
- Swollen MDF, particleboard, and laminated cabinet panels.
- Drywall that’s soft, crumbling, or wicked water high up.
- Wet insulation trapped behind vapor barriers or in closed cavities.
For ceilings, read before patching: fixing ceiling damage.
When to Bring in Restoration Pros (and Fire Protection Pros)
Bring in restoration pros when hidden cavities are involved, the area is large, multiple rooms are affected, or materials will trap moisture. Drying only what you see often leads to warped flooring, peeling paint, and persistent humidity.
Fire protection pros are non-negotiable for fire sprinkler leaks. They isolate, repair, test, and return the system to service, which is the compliance and safety priority even if water damage feels urgent.
Escalate when:
- You can’t stop the leak quickly.
- Water reached electrical infrastructure or critical equipment.
- The ceiling is holding pooled water.
- Musty odors appear within a day or two.
- You need insurance-grade documentation.
For what emergency teams do first, see: emergency restoration response.
Documentation for Insurance and Building Reports
Documentation should be simple and immediate: what happened, what you did, and what was affected. Early photos and short notes are more useful than a long recap later.
Capture:
- Photos/videos of the source, leak path, and affected materials.
- A room-by-room list of damaged finishes and contents.
- Dates/times: discovery, shutoff, extraction, drying start.
- Vendor names and who authorized shutoffs or repairs.
- System status notes, especially for fire sprinklers.
Keep receipts for mitigation supplies and emergency calls. If you need help organizing next steps, use: water damage insurance basics.
Prevention and Maintenance to Avoid Repeat Leaks
Many leaks are preventable with routine attention. Bumped heads, corrosion, poorly protected piping, and neglected valve rooms commonly precede failures.
Practical prevention:
- Keep sprinkler heads clear of storage and impact risks.
- Investigate ceiling staining early instead of painting over it.
- Keep valve rooms accessible, labeled, and free of storage.
- For irrigation, winterize and inspect backflow and zone valves seasonally.
- After any leak, identify the failure cause to prevent a repeat.
If you’ve had one leak, do a walkthrough for unsupported piping, frequent impact zones, and recurring condensation points.
Conclusion
If you’re dealing with sprinkler system leak water damage, the winning sequence is: stay safe, stop the water the right way, remove standing water, then dry with a plan and verify hidden moisture. Don’t improvise with sprinkler heads or fire system valves, and don’t assume a ceiling stain tells the full story. Next, confirm the system type, isolate the leak, and document conditions before cleanup and repairs move forward.