
The mold remediation process is the step-by-step work used to find mold, stop it from spreading, remove contaminated materials, dry the area, and make sure the moisture problem is controlled. Think of it like fixing a leak and cleaning the mess, not just wiping a stain off a wall. If the source of moisture stays active, mold can come back.
In this guide, you’ll learn what happens during mold remediation from the first inspection through containment, removal, drying, verification, and basic repairs. You’ll also see how crews decide what can be cleaned, what needs to be removed, and how you can prepare before work starts.
Best for: Homeowners who want to understand the cleanup sequence before a mold remediation crew arrives. Not ideal when: You only need to wipe a tiny surface spot caused by short-term condensation. Good first step if: You see mold and also notice damp drywall, musty odor, staining, or recent water damage. Call a pro if: Mold covers building materials, keeps returning, or appears after a leak, flood, or hidden moisture problem.
Quick Summary
- Mold remediation means controlling moisture, containing the work area, removing mold-damaged materials, cleaning surfaces, and drying the space.
- Containment helps keep dust and mold particles from moving into nearby rooms during removal.
- Porous materials, like drywall or insulation, are often removed when contaminated.
- Hard, non-porous surfaces may be cleaned if they’re still in good condition.
- The job ends when the area is dry, cleaned, checked, and ready for repairs or normal use.
Quick Answer
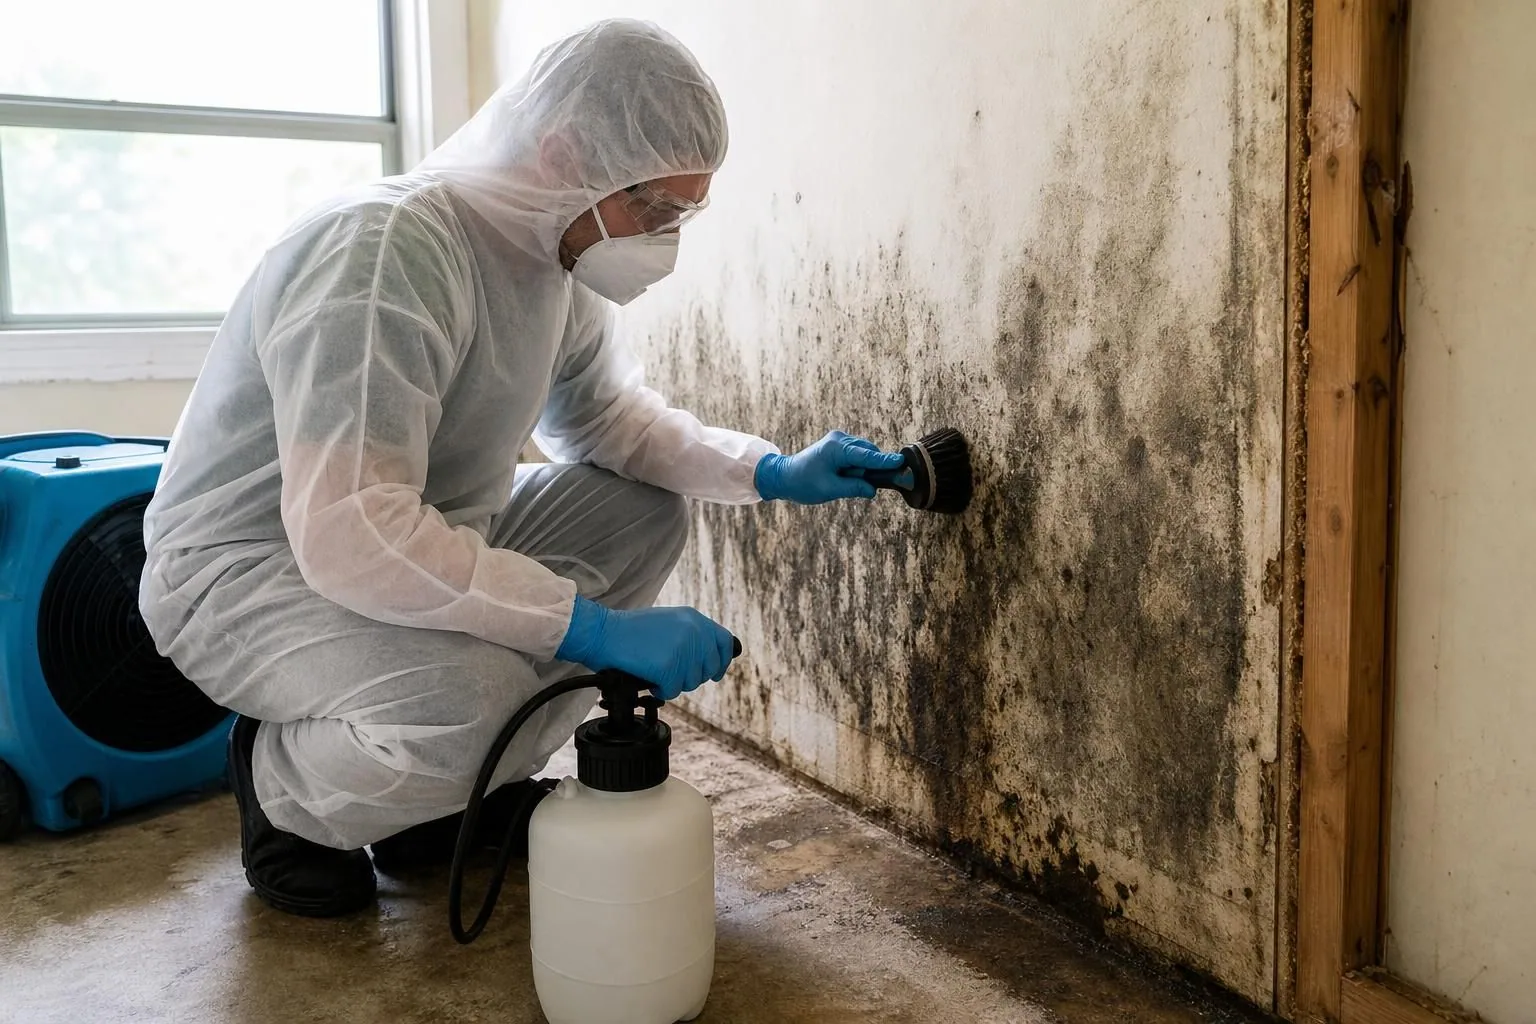
Mold remediation usually follows a clear order: inspect, contain, remove, clean, dry, verify, and repair. Each step serves a purpose. Inspection finds the moisture source. Containment isolates the work area. Removal takes out unsalvageable materials. Cleaning treats surfaces that can remain. Drying helps stop the problem from returning.
Basic process:
- Inspect the area and find the moisture source.
- Set up containment.
- Control airflow if needed.
- Remove damaged materials.
- Clean salvageable surfaces.
- Dry and verify the structure.
- Repair removed materials.
If mold appeared after a leak, expect the crew to follow the water path, not just the visible stain. See mold after water damage.
Inspection and Moisture Source Identification
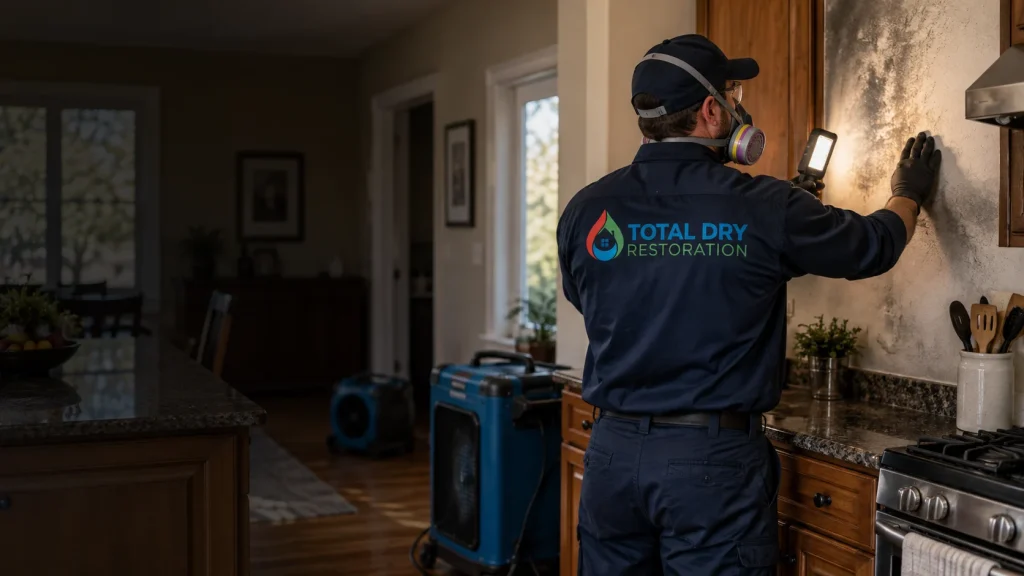
Inspection identifies visible mold, hidden moisture, and the cause of growth. Cleanup without moisture control will fail.
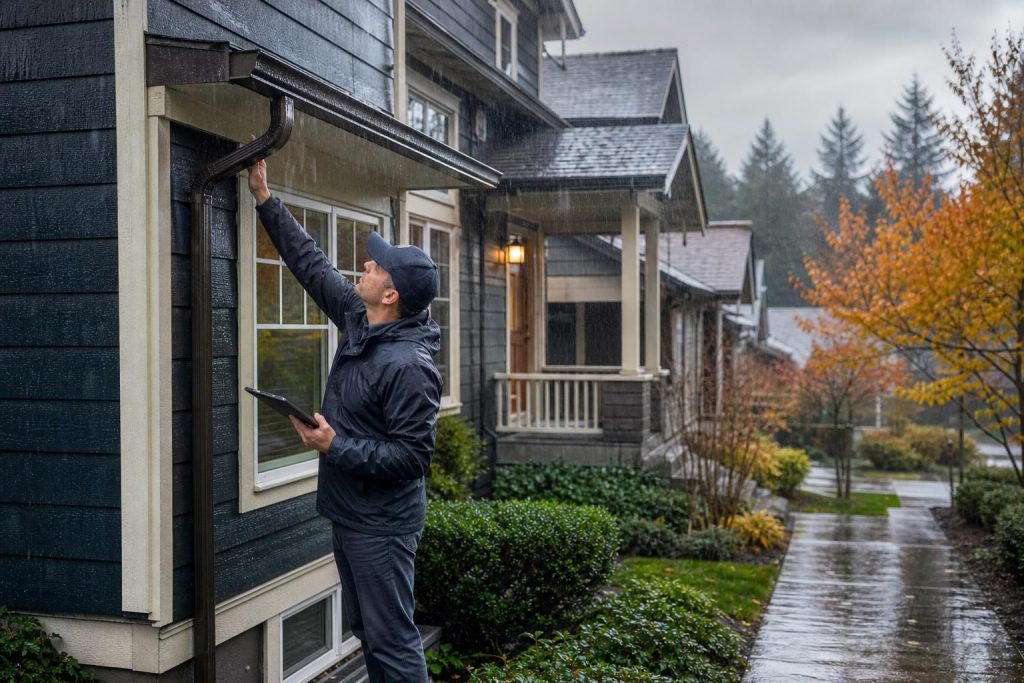
Show the crew any stains, odors, bubbling paint, soft drywall, warped trim, or past leaks. Small clues matter. A musty baseboard can point to damp wall material. Staining under a sink can suggest a slow drip. Repeated bathroom growth may mean poor drying or a hidden leak.
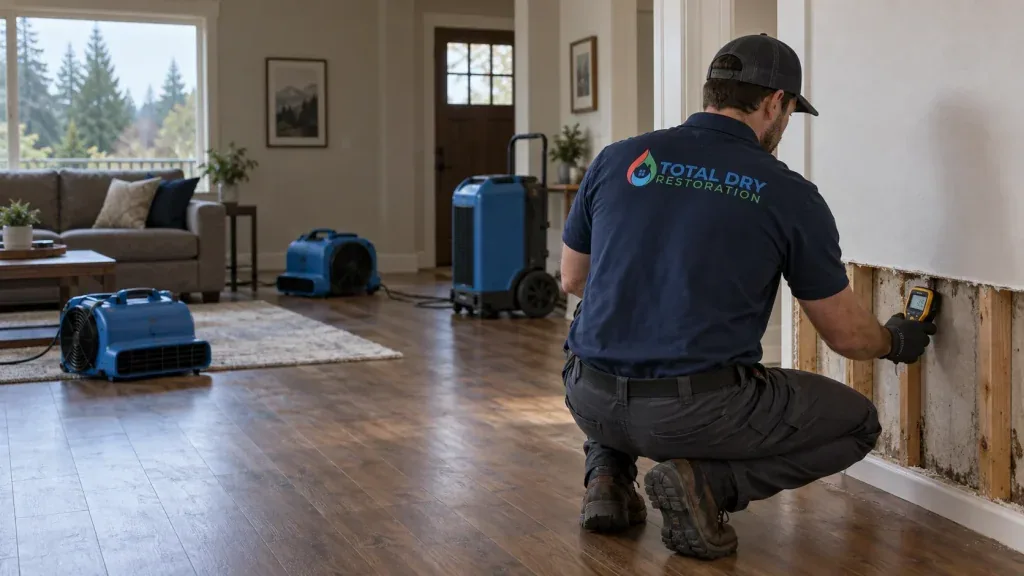
Technicians may use moisture meters and inspect nearby rooms, ceilings, cabinets, flooring edges, or wall cavities. The goal is to map the affected area before work begins, not tear everything apart.
If mold is tied to a larger water problem, cleanup may overlap with the water damage restoration process. The structure must be dried and the water path addressed first.
Avoid painting over mold, spraying bleach and assuming it is solved, ignoring damp materials that look fine, moving items into clean rooms without checking them, or starting repairs before drying is confirmed. A careful inspection may feel slow, but it sets the right boundaries for effective remediation.
Containment and Air Control
Containment and air control keep dust, debris, and mold particles from spreading into cleaner parts of the home. Containment is a temporary barrier system around the work zone.
Crews may use plastic sheeting, tape, zipper doors, and sealed openings. In small jobs, containment may cover a doorway and nearby vents. Larger jobs may require floor-to-ceiling barriers, blocked registers, protected walkways, and controlled entry points.
Air control manages how air moves during removal. A crew may use a filtered HEPA air machine to capture very small particles while work is underway.
This setup can look dramatic, but the reason is simple. Disturbing moldy drywall, insulation, trim, dust, and debris can spread contamination without proper isolation.
For a broader service overview, review professional mold remediation.
During containment, do not open barriers, aim fans at the work area, or walk through the zone without permission. Ask the crew where you can safely enter and whether nearby rooms must stay closed.
Material Removal vs Cleaning
The decision to remove or clean a material depends on what it’s made of, how much mold is present, and whether the material can be dried and cleaned fully. This is one of the biggest decision points in the mold remediation process.
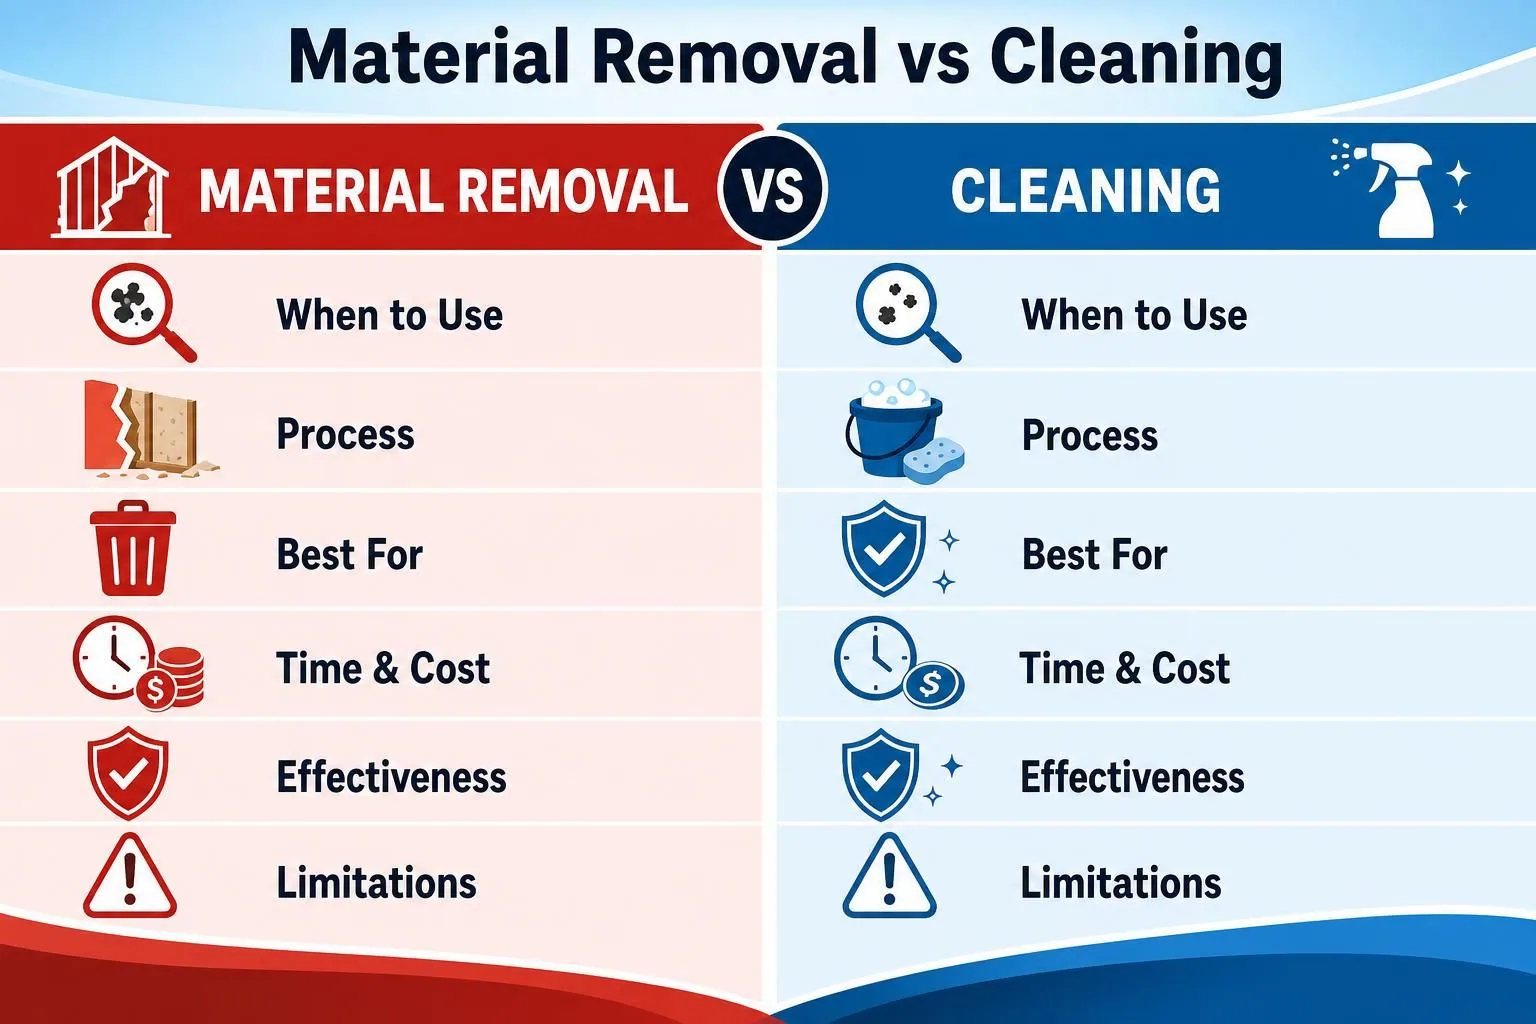
Porous materials have tiny spaces that can absorb moisture and contamination. Drywall, insulation, carpet padding, ceiling tiles, and some pressed wood products are common examples. If mold has grown into these materials, surface wiping may not be enough. The affected section may need to be cut out and removed.
Non-porous materials are harder and less absorbent. Examples include glass, metal, tile, and some sealed surfaces. These can often be cleaned if they’re not damaged. Semi-porous materials, like wood framing, sit in the middle. They may need cleaning, sanding, or other surface treatment depending on condition.
| Material type | Common examples | Usual remediation decision | Homeowner note |
|---|---|---|---|
| Porous | Drywall, insulation, carpet pad | Often removed if contaminated | Don’t judge by surface appearance only |
| Non-porous | Glass, metal, tile | Often cleaned if intact | Cleaning still needs containment |
| Semi-porous | Wood framing, subfloor | Depends on condition and moisture | Drying and verification matter |
Use this simple way to understand the choice: if mold is sitting on a cleanable surface, cleaning may work. If mold and moisture are inside the material, removal is more likely.
Here’s a practical scenario. A bathroom vanity leak wets the cabinet floor, nearby drywall, and tile floor. The tile may be cleaned because it’s hard and non-porous. The wet drywall behind the vanity may be removed if mold has grown into it. The wood framing behind the drywall may be cleaned and dried if it’s still structurally sound. The cabinet may be removed or cleaned depending on how much water it absorbed and where mold is growing.
Crews also bag and dispose of removed materials carefully. That’s not just for neatness. It helps keep debris from being carried through the house. In larger jobs, workers may remove baseboards, cut drywall sections, pull insulation, clean exposed framing, and keep the containment sealed throughout the messy phase.
A common homeowner mistake is asking for everything to be “sprayed” instead of removed. Sprays don’t fix soaked drywall or wet insulation. Another mistake is removing materials before containment is set. That can spread dust into areas that weren’t part of the original problem.
Drying, Verification, and Repairs
Drying, verification, and repairs finish the job by making sure the area is clean, dry, and ready to rebuild. Removal addresses contamination, but drying addresses the condition that allowed mold growth.
After cleaning and demolition, crews may use air movers and dehumidifiers to pull moisture from materials and the air. The setup depends on the room, material type, and moisture readings.
Verification is the final check before repairs. It may include visual review, moisture readings, debris removal, and confirmation that materials are dry enough for rebuilding. Some jobs may also include third-party testing.
Repairs should wait until drying and verification are complete. Do not install new drywall, trim, or finishes over damp materials. The original source, whether a sink leak, roof leak, plumbing failure, or appliance overflow, should be fixed first.
A job is not truly finished when mold is removed. It is finished when the area is dry, verified, and repaired.
How Homeowners Can Prepare
Homeowners can prepare by clearing access, protecting belongings, sharing leak history, and asking what will be contained. You do not need to be an expert. You just need to make the area easier and safer to reach.
Before the crew arrives, move small personal items away from the affected area and leave large furniture unless asked. Point out past leaks, stains, odors, or repairs. Keep pets and children away. Ask where equipment will go, which rooms or vents should stay closed, and whether you need to be home the whole time.
Do not throw away suspected moldy items before inspection unless necessary. The crew may need to see the damage pattern. Do not cut drywall or pull carpet before containment is set.
FAQs
Mold remediation questions usually come down to sequence, access, safety precautions, and when the room can be used again. The answers depend on the size of the affected area, the materials involved, and whether the moisture source has been fixed.
Use these answers as a plain-English overview, not a promise that every project will look exactly the same. A small bathroom job and a large contained room can both follow the same basic process, but the amount of removal, drying, and repair can be very different.
Is Mold Remediation the Same as Mold Removal?
Mold remediation is broader than mold removal. Mold removal usually means taking away visible mold or contaminated materials. Remediation includes finding the moisture source, setting up containment, removing or cleaning affected materials, drying the area, and checking that the space is ready for repair or use.
Can I Stay Home During Mold Remediation?
Sometimes, yes. It depends on the work area, containment, equipment, and how much of the home is affected. Ask the crew which rooms will be off limits.
Why Does the Crew Remove Drywall Instead of Just Cleaning It?
Drywall is porous, which means moisture and mold can move below the surface. If mold has grown into the paper facing or gypsum core, surface cleaning may not reach the affected material. Removing the damaged section lets the crew clean and dry what’s behind it.
What Does Mold Containment Do?
Mold containment separates the affected work area from the rest of the home. Crews use barriers and controlled airflow to reduce the movement of dust and debris during removal. It’s especially useful when cutting drywall, removing insulation, or cleaning a room with widespread visible growth.
When is the Remediation Job Finished?
The job is finished when contaminated materials are removed, salvageable surfaces are cleaned, the moisture source is controlled, and the area is dry enough for repair or normal use. Verification may include moisture readings, visual review, or added testing. In short, the process is complete only when removal, cleaning, drying, verification, and needed repairs are all properly finished.