Frozen pipe water damage cleanup goes a lot smoother when you treat it like a short, focused checklist instead of a panic project. Your job in the first hour is simple: stop more water from entering the house, make the space safe, and start drying before moisture gets comfortable inside walls and floors. After that, you can shift into detective mode and figure out where the break happened, what actually got wet, and which materials can be saved. So what does this mean in practice? It means you’ll make a few decisive moves, then slow down and do the careful part.
Best for: Homeowners who can safely shut off water and start basic drying while waiting for plumbing or restoration help.
Not ideal when: Water is near electrical panels, ceilings are sagging, or you suspect a widespread freeze across multiple lines.
Good first step if: You’ve got an active leak or pooling water and need to prevent more damage in the next 10 minutes.
Call a pro if: You can’t find the shutoff, the leak continues after shutting off, or materials are staying wet after drying attempts.
Quick Summary
- Shut off water fast, then open faucets to drain pressure so the leak slows down instead of pulsing.
- Treat electricity and slip hazards as part of cleanup, not a separate task you “get to later.”
- Thaw only when you’re confident the water is off and you’re not forcing heat into a closed, pressurized line.
- Remove standing water immediately and switch to air movement and dehumidification to keep drying consistent.
- Assume there’s hidden moisture in walls and floors until you confirm otherwise with careful checks.
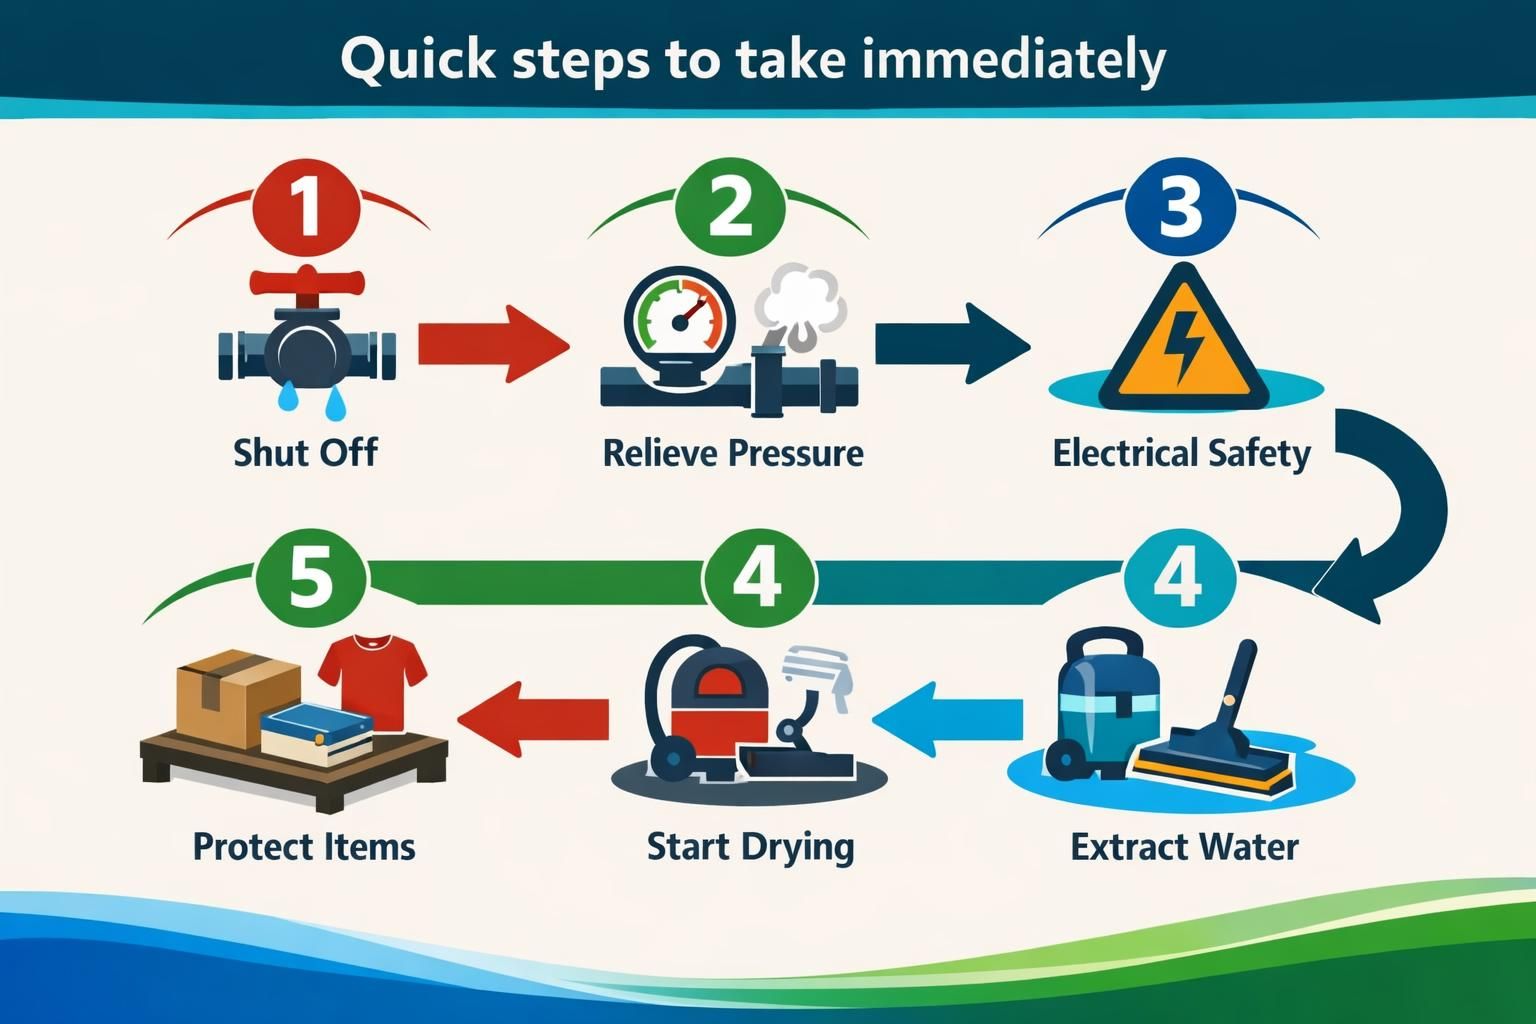
Quick Steps to Take Immediately
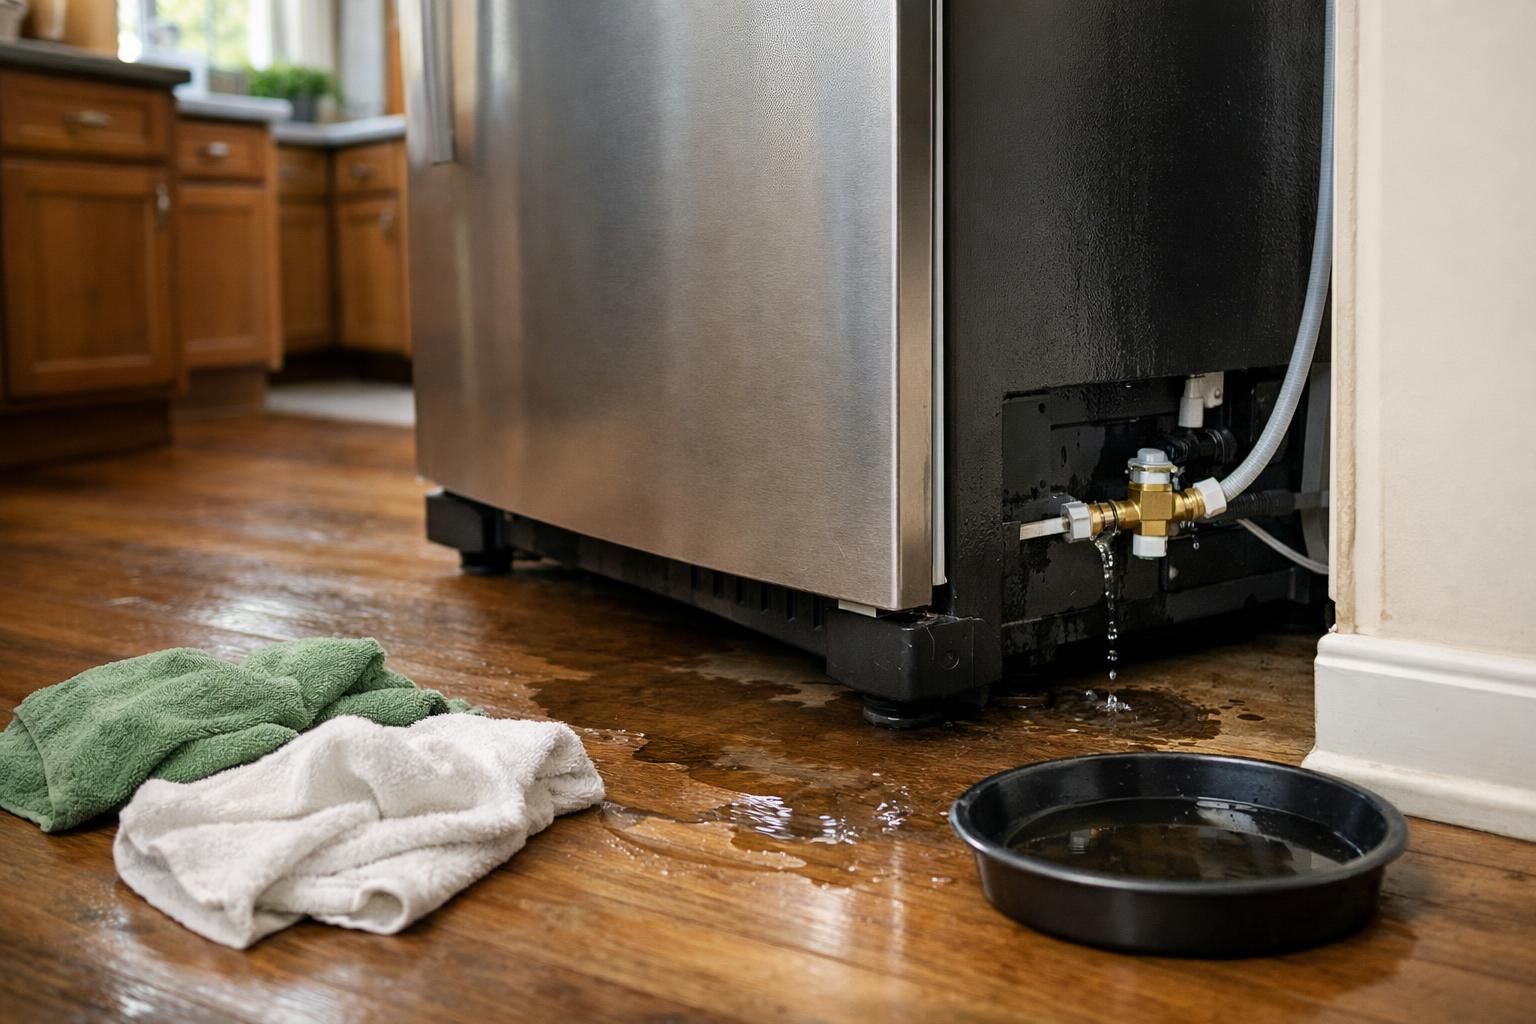
Act fast: stop the water, make the area safe, remove standing water, then begin controlled drying. After a freeze burst, water can travel behind baseboards and under flooring even when the puddle looks small.
If you hear hissing, see water running, or the level is rising, go to the main shutoff. If it seems to have stopped because it refroze, treat it as unstable.
First-hour checklist:
- Shut off the main water valve and, if possible, the water heater supply
- Open hot and cold faucets to relieve pressure
- Address electrical safety if water is near outlets or appliances
- Move rugs and soft items to stop wicking
- Extract water with towels or a wet/dry vac
- Set up fans and a dehumidifier after extraction
For spread control, see stop water from spreading.
Safety First: Electricity
Treat any wet area as potentially energized until you’ve confirmed power is off and water hasn’t reached wiring, outlets, or appliances. For frozen pipe water damage cleanup, this means you pause extraction and moving items if water is near outlets, cords, baseboard heaters, or the electrical panel area. If you can reach the breaker panel without stepping in water, shut off the affected circuits (or the main) before you touch anything electrical. If you can’t safely access the panel or you see sparking, buzzing, or a burning smell, back out and call for professional help before continuing.
Safety First: Electricity, Heaters, and Slip Hazards
Assume water and electricity may be in contact. Water can run behind baseboards into outlets, under appliances, and into wall or ceiling cavities.
If water is near outlets, cords, power strips, or the panel area, don’t wade in to unplug anything. Shut power off at the breaker only if you can reach it without stepping in wet areas. If you can’t, stop and get help. Use turn off electricity after a leak.
Avoid high heat or flames. Space heaters can overload circuits and dry unevenly. Prevent slips with traction shoes, clear paths, and towels in traffic areas.
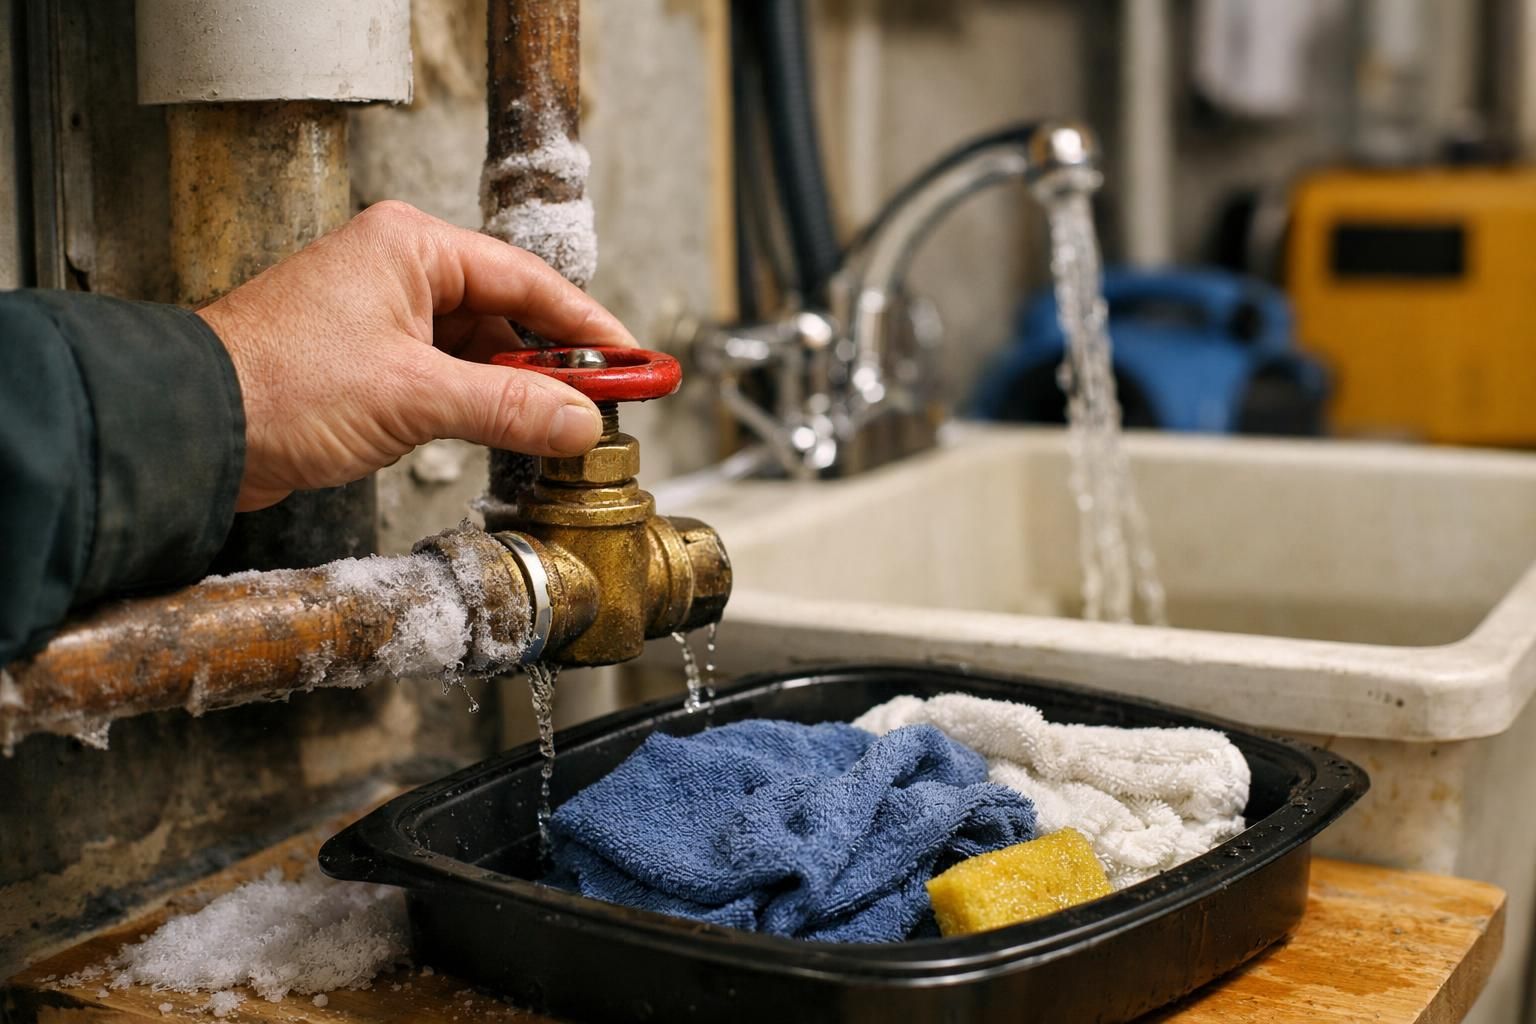
Stop the Water and Relieve Pressure
Stopping the water source limits damage. Even a small split can release a lot once an ice plug melts, and pressure surges can worsen cracks.
Use a local shutoff if it’s obvious, but don’t waste time searching during an active leak. Go to the main shutoff to regain control, then relieve pressure by opening faucets.
If water keeps flowing at the same rate after shutoff, you may be on the wrong valve, the valve may have failed, or water is draining from upper lines. That’s your cue to call a plumber quickly.
Shut Off the Main and Open Faucets to Drain Lines
Shut off the main valve, then open the lowest faucets to drain lines and relieve pressure. Open several cold taps, then hot taps, to confirm the system is isolated. On a well, shut off pump power if you can to prevent it from turning on while lines are open.
Locating the Break (and Why It’s Often Not Where You Think)
Visible water is often downstream from the break. Gravity and framing cavities can move water sideways or down before it appears, so an upstairs split may show as a first-floor ceiling stain.
Find the highest point with clear wetness, then follow bulging drywall, warped trim, bubbling paint, or cold damp sections. Check common freeze zones: exterior walls, garages, crawlspaces, and cabinet bases on outside-facing walls. Stay cautious when restoring pressure, because multiple small splits can exist.
Safe Thawing Basics (and What to Avoid)
Thaw gradually with the water off so you don’t melt an ice plug and immediately flood through a split. Control matters more than speed.
Use gentle, even heat: hair dryer on low, a heating pad, or warm towels you rotate. Start near the faucet end and work toward the colder section so meltwater can exit.
Avoid open flames, blasting heat into closed cabinets, turning water back on before finding the break, and ignoring wet insulation. If access is limited, call a plumber.
Remove Standing Water and Start Drying Right Away
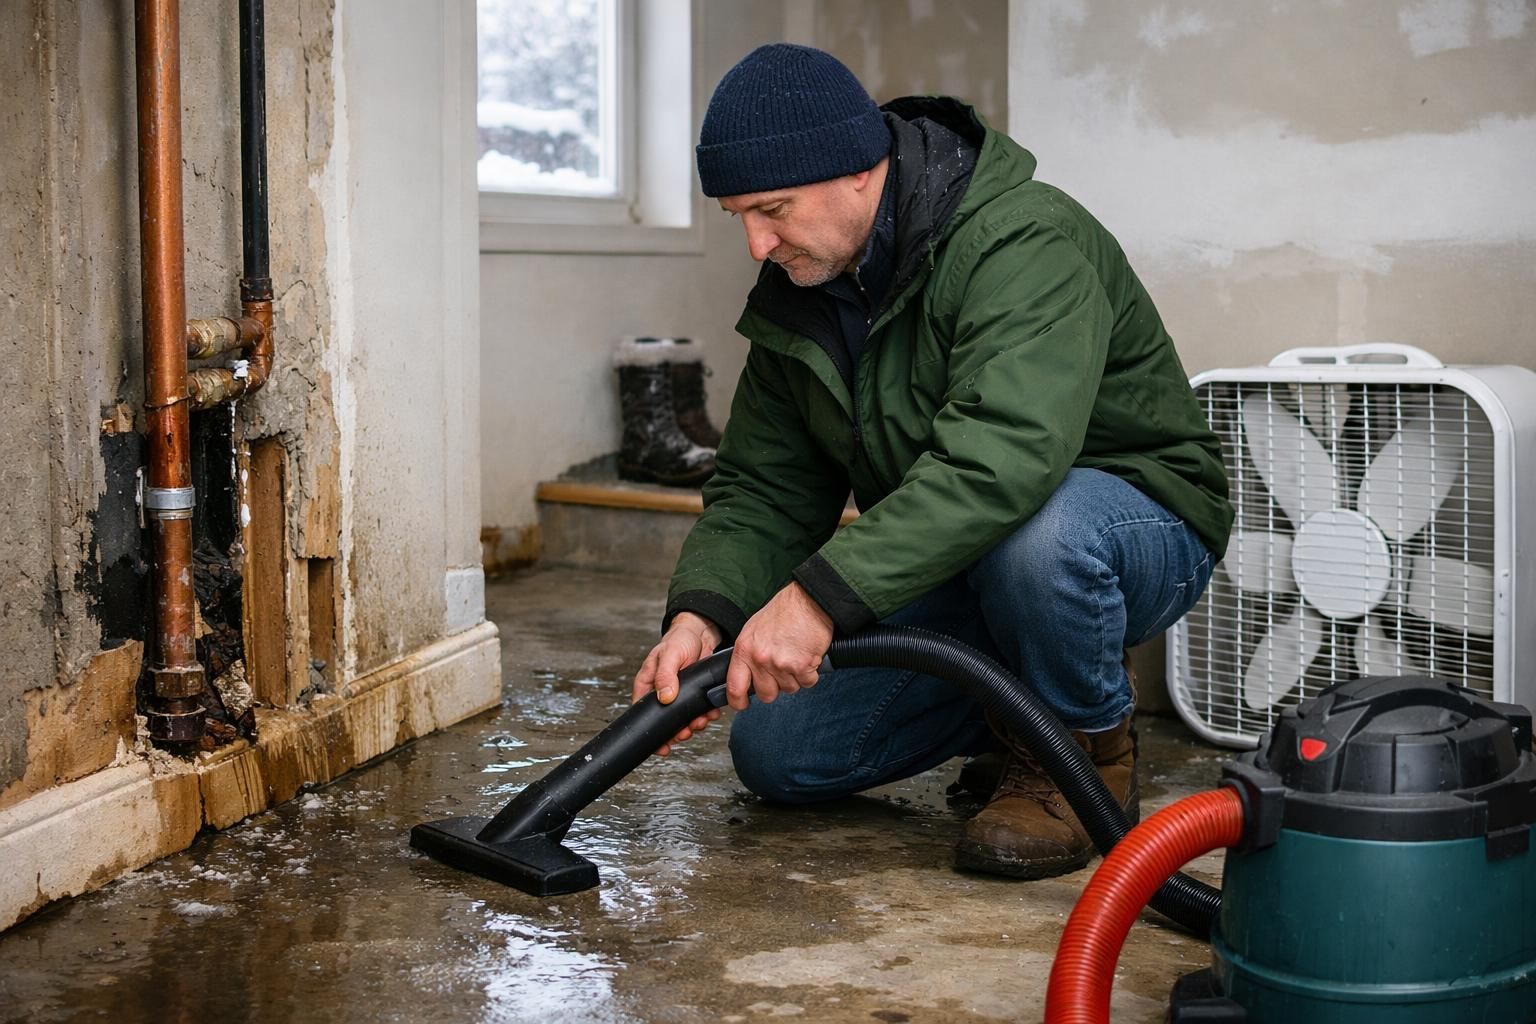
Remove standing water immediately to reduce absorption into subfloors, baseboards, and drywall edges. Extract first, then dry. Towels help, but a wet/dry vacuum is faster for seams, corners, and carpet edges. Once surfaces aren’t wet, add airflow and dehumidification. Open cabinet doors and create air paths under toe-kicks if possible.
Fans speed evaporation; a dehumidifier removes moisture from the air so drying continues. Keep doors mostly closed to concentrate drying in the affected room, unless you’re deliberately managing airflow across multiple areas.
For what pros typically do next, see water restoration process.
Check Walls
Assume water entered wall cavities until you confirm otherwise. Inspect the bottom 12–24 inches of drywall for softness, swelling, crumbling, bubbling paint, or separating baseboards. Check corners, exterior walls, and behind fixtures because colder areas dry slower. If a wall feels spongy, bows, or stays cool/damp after a day of drying, open a small access area or have a pro verify moisture so insulation and framing don’t stay wet.
Check Walls, Insulation, and Floors for Hidden Moisture
Hidden moisture can cause swelling, odors, and staining days later. Drywall wicks upward, insulation holds water against framing, and engineered floors trap moisture between layers.
Check non-destructively first: feel baseboards for softness, press drywall near the floor for sponginess, and look for bubbling paint or a tide line. Focus on corners and exterior walls because they dry slower. Also check beyond the obvious area: thresholds, under vanities, and near registers.
For warning signs and next steps, use signs of hidden damage.
When Materials Need to Be Opened or Removed
Open or remove materials when water is trapped where surface drying can’t reach, or when products will deform or hold contaminants if left damp. This is usually targeted access, not a full gut.
Drywall often needs a controlled bottom cut for airflow and to check insulation. Wet insulation rarely dries in place and keeps studs damp. Flooring varies: solid hardwood may recover with careful drying, while laminate, MDF trim, and some underlayments swell permanently.
Open things when materials are swollen, odors persist after a day, wetness entered ceilings/exterior walls, or moisture is trapped under built-ins. See mitigation vs restoration.
When to Call a Plumber vs a Restoration Team
Call a plumber to stop the leak, repair the line, and confirm the system can be safely pressurized. Call a restoration team to dry structure and contents, detect hidden moisture, and prevent secondary damage like warping and odors.
Plumber first if the leak is active, the break location is unknown, shutoffs aren’t accessible, or multiple fixtures are affected. Restoration first if water is off but materials are saturated or water reached lower levels. Call both quickly for ceiling leaks, HVAC involvement, or multiple rooms. For urgent drying, see emergency restoration help.
Prevention: Insulation
Insulation helps keep pipe temperatures above freezing, especially in exterior walls, crawlspaces, basements, and other unheated areas where cold air can reach plumbing.
Prevention: Insulation, Heat, and Winterizing Tips
Prevent freezes by keeping pipes warm and reducing drafts so cold snaps don’t become pressurized failures. Focus on exterior walls, crawlspaces, attics, garages, and pipes under cabinets on outside-facing walls. Insulate exposed runs, seal draft paths, and open interior doors on very cold nights for better heat circulation. If you travel, keep the thermostat steady.
Winterizing routine:
- Disconnect and drain hoses; shut off exterior lines if possible
- Add pipe insulation and seal penetrations
- Let a small stream run during extreme cold if freezing is common
- Know the main shutoff location in advance
Recurring freezing may require rerouting or added shutoffs.
Conclusion
Frozen pipe water damage cleanup is really a sequence: stop the water, keep the area safe, extract standing water, then dry aggressively while you check for hidden moisture. Once you’ve stabilized things, you can make smarter calls about opening materials and who to bring in first. Your next practical step is to document what happened, keep drying consistent for the next couple of days, and only restore water pressure when the pipe repair is confirmed and the area is ready.