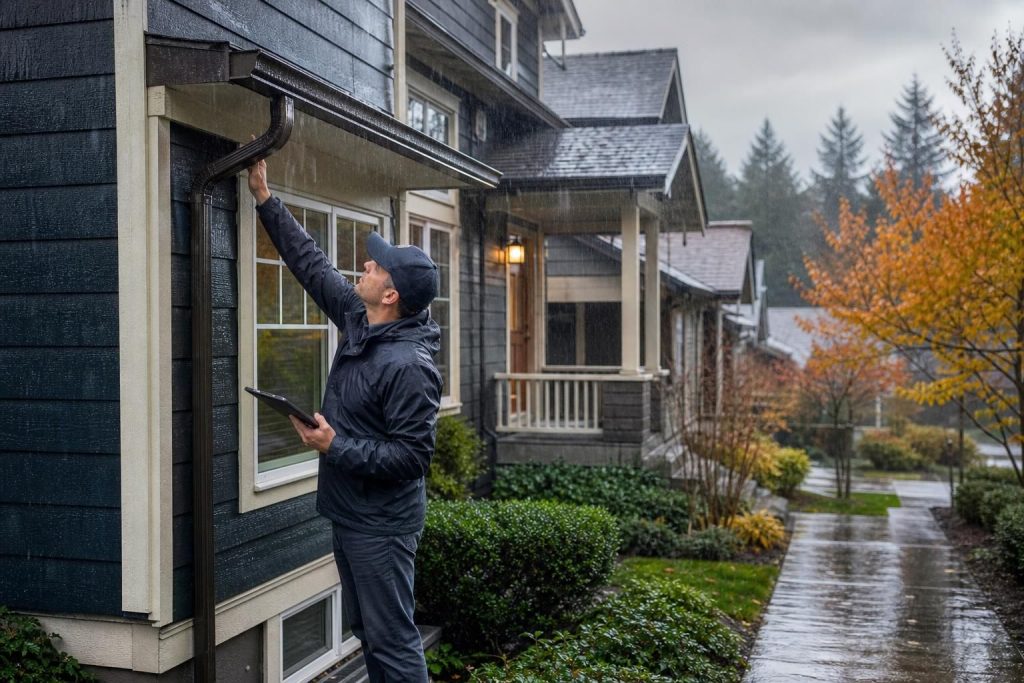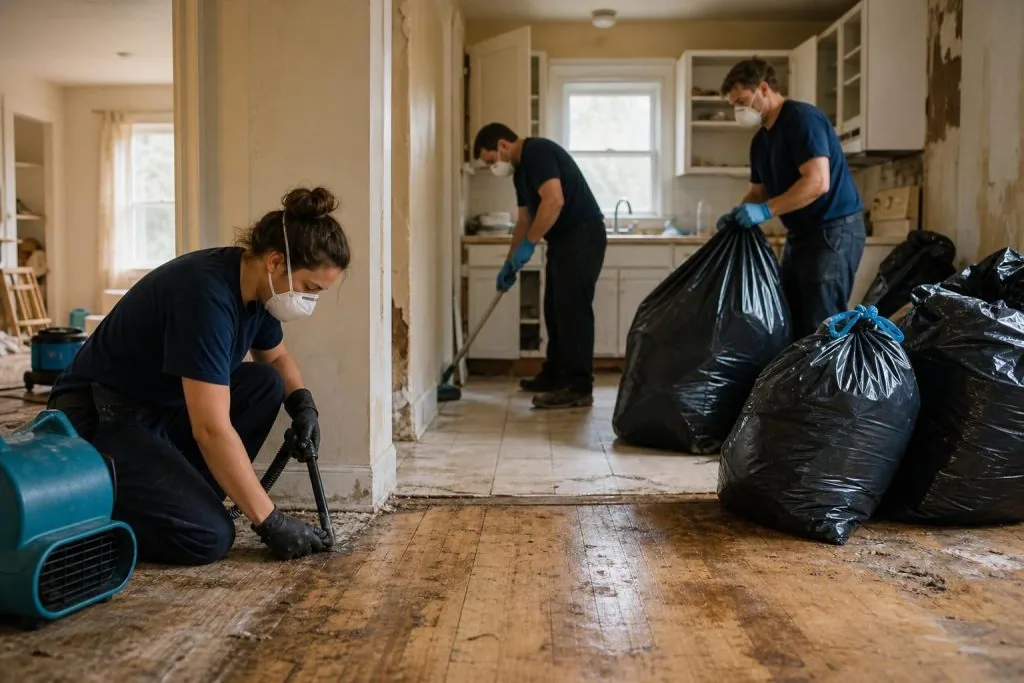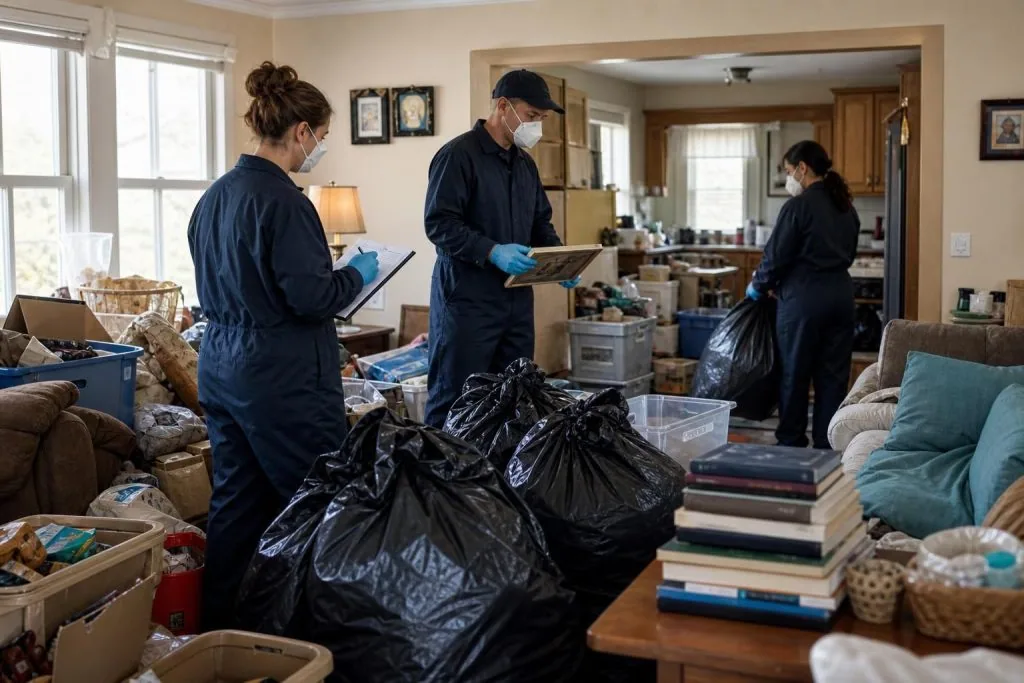

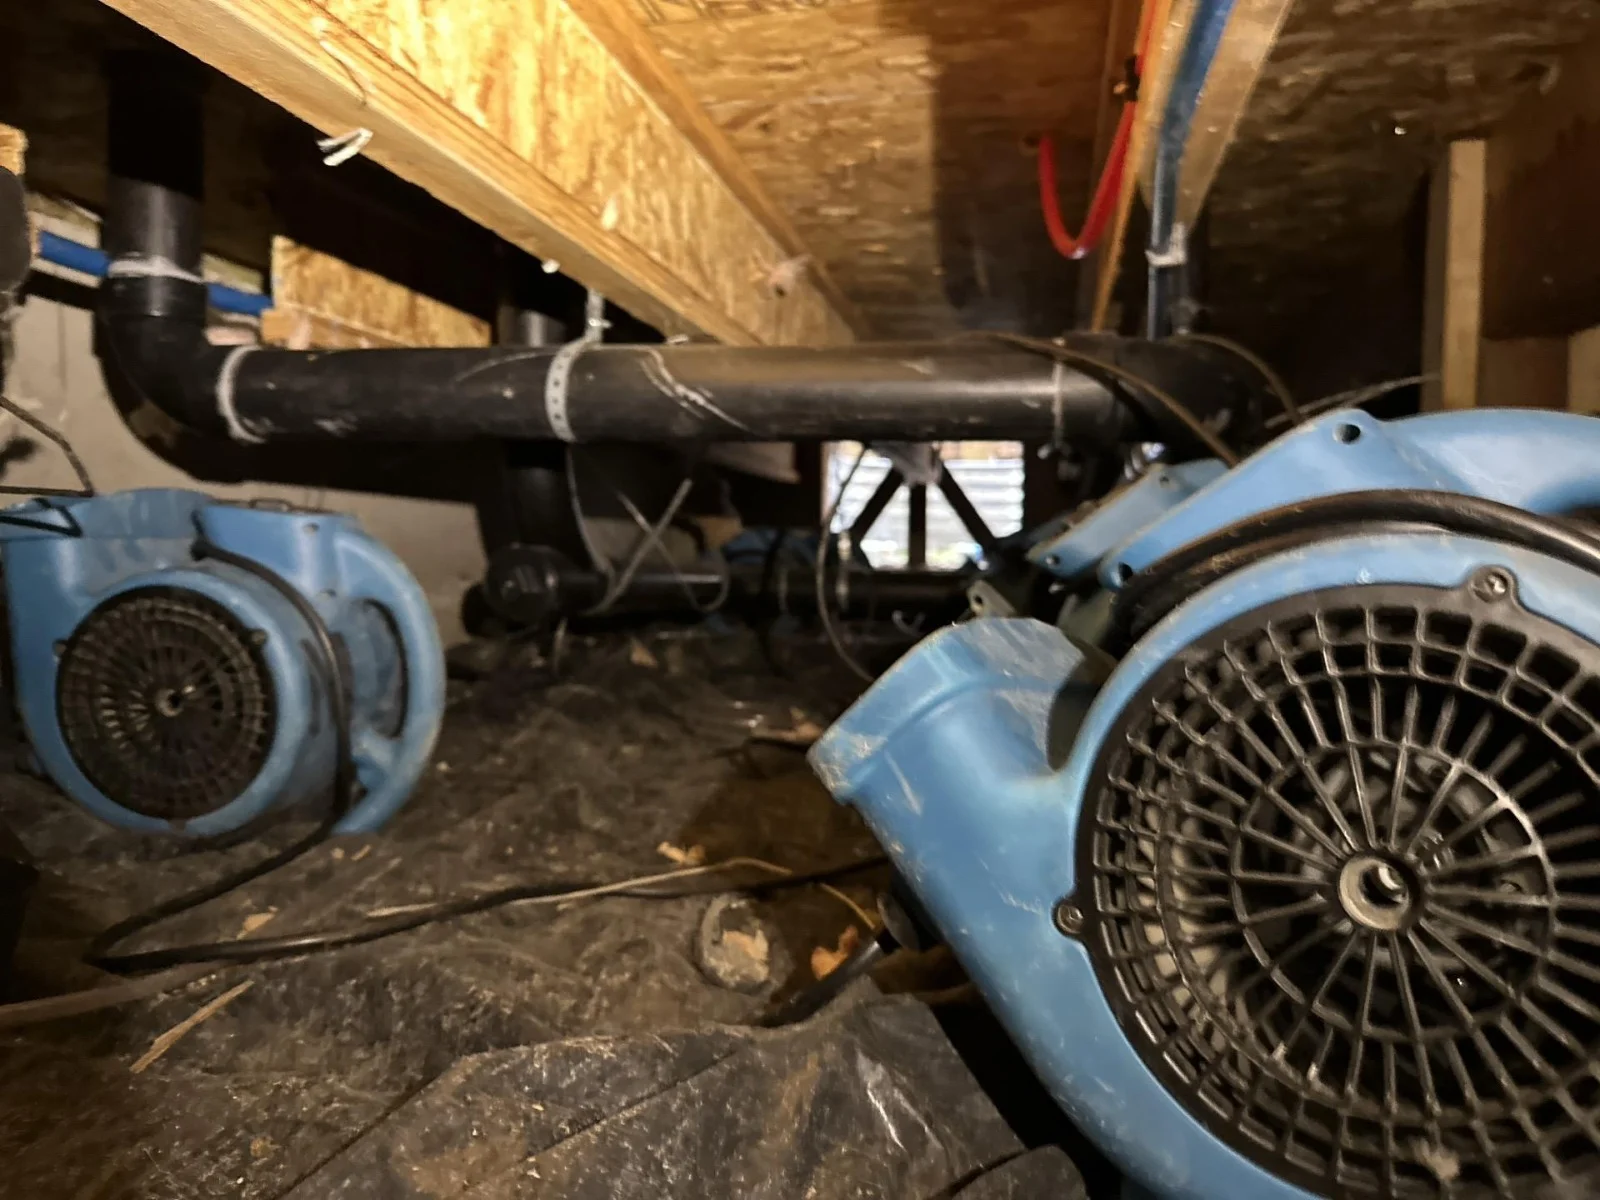
Finding water under your house is stressful, but the first move is simple: stop the leak, stay safe, and check how far the moisture spread. Crawl space water damage after a pipe leak can look minor from above while damp soil, soaked insulation, or a wet subfloor keeps moisture trapped below. That hidden dampness is where mold risk and wood damage can start.
This guide walks you through what to check first, how to dry a wet crawl space, when insulation or subfloor materials may be affected, and when plumbing repair alone isn’t enough. You’ll also learn how to compare the crawl space conditions with the floors inside your home so you don’t miss early warning signs.
Use the steps below when you’ve found a crawl space water leak and need a safe inspection and drying plan. Pause if there’s sewage, electrical danger, major structural movement, or heavy mold growth in the crawl space. If the leak has been stopped and you can inspect from the access opening without entering unsafe conditions, start there. Get expert help if water remains, odors increase, flooring feels soft, or mold-like growth appears after basic drying steps.
Quick Answer
The right first response to crawl space water damage after a pipe leak is to shut off the water, confirm the area is safe, remove standing water, dry the crawl space, and inspect the subfloor and insulation. Don’t crawl in until you’ve checked for electrical hazards, sagging materials, strong odors, or contaminated water.
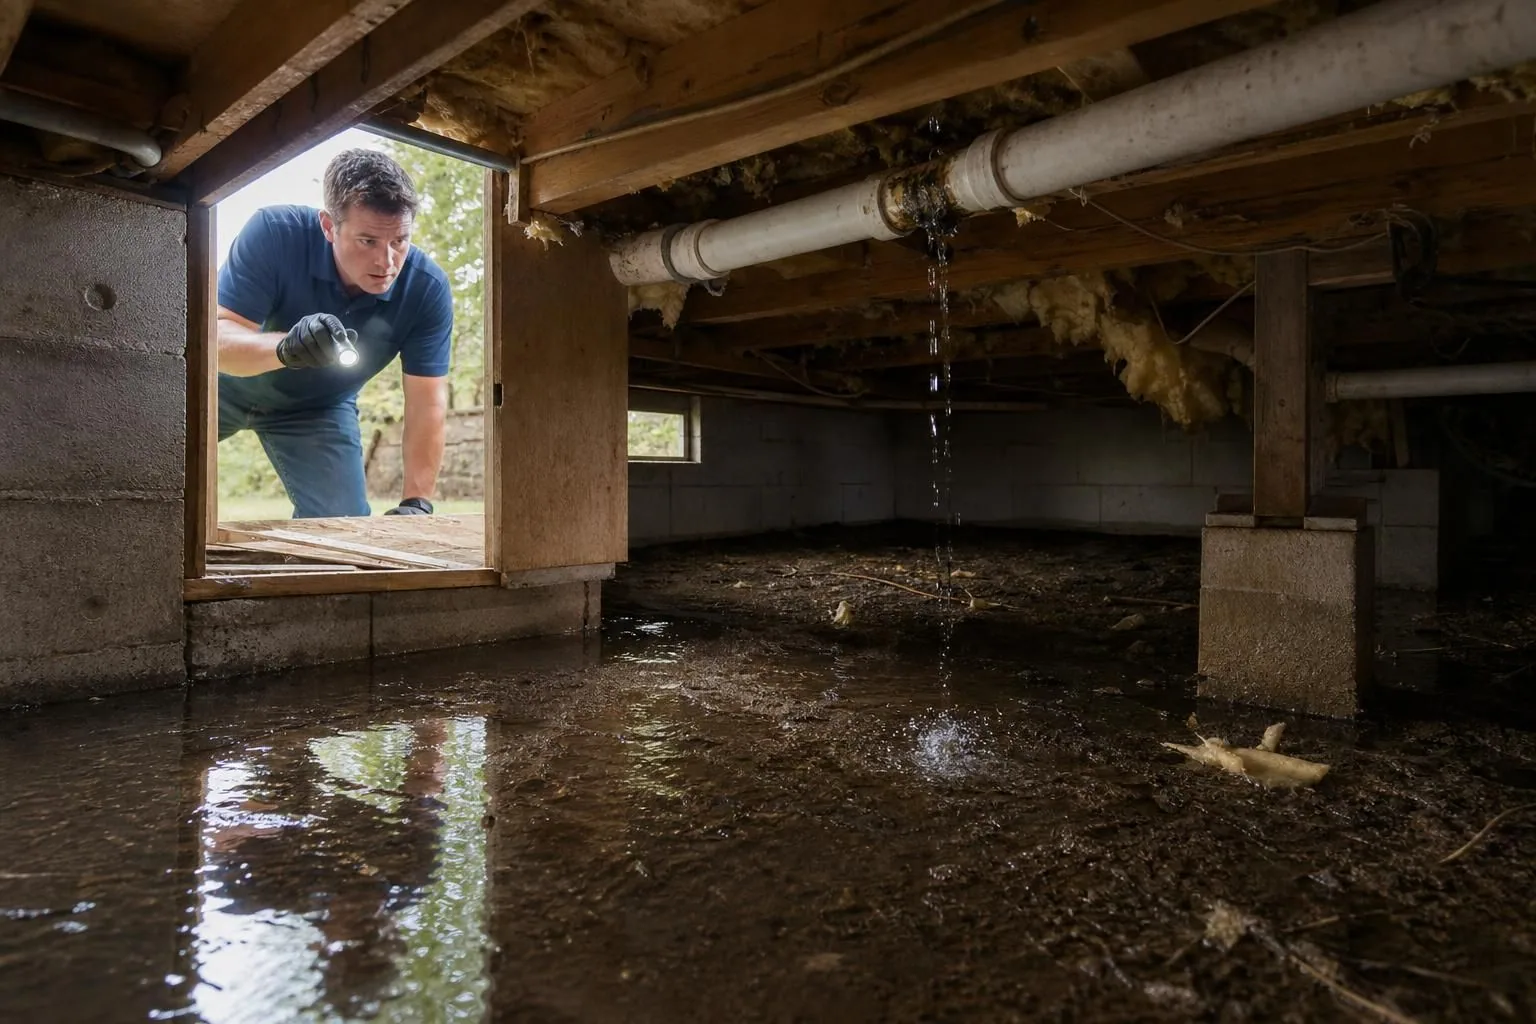
Think of the crawl space like a damp storage box under your house. If the lid stays closed and wet items remain inside, moisture hangs around. That’s why drying the air, soil surface, wood, and insulation matters.
| Severity | What you may see | First action | Extra concern |
|---|---|---|---|
| Light dampness | Damp soil or small wet patch | Ventilate and monitor | Hidden humidity |
| Moderate leak | Wet insulation or musty odor | Remove wet materials if needed | Mold risk |
| Serious damage | Standing water or soft floors | Get professional drying help | Subfloor damage |
Start with what you can see and smell. A small pipe leak might leave damp soil and one patch of wet insulation with no visible floor damage. Standing water, musty odor, or a wet subfloor is a bigger warning.
Why Crawl Spaces Hold Moisture After a Leak
Crawl spaces hold moisture after a leak because they are enclosed, shaded, and often poorly ventilated. Water can soak soil, insulation, wood framing, and vapor barriers before you notice anything inside the house.
A vapor barrier is a plastic sheet over crawl space soil that slows ground moisture. If water sits on top of it, puddles can linger instead of soaking away. If water gets under it, the soil may stay damp much longer.
Humidity means moisture in the air. In a crawl space, humid air can hit cooler pipes, ducts, or wood and turn into condensation. So even after the leak is fixed, damp spots may still appear.
For example, a pipe may drip for days, leave no standing water, but still create humidity and condensation. That matters because wood and insulation can remain damp even when the ground looks dry.
Signs the Subfloor or Insulation Was Affected
The subfloor or insulation was affected if you see wet, sagging, stained, musty, or softened materials near the leak. The subfloor is the wood layer under your finished flooring that supports what you walk on.
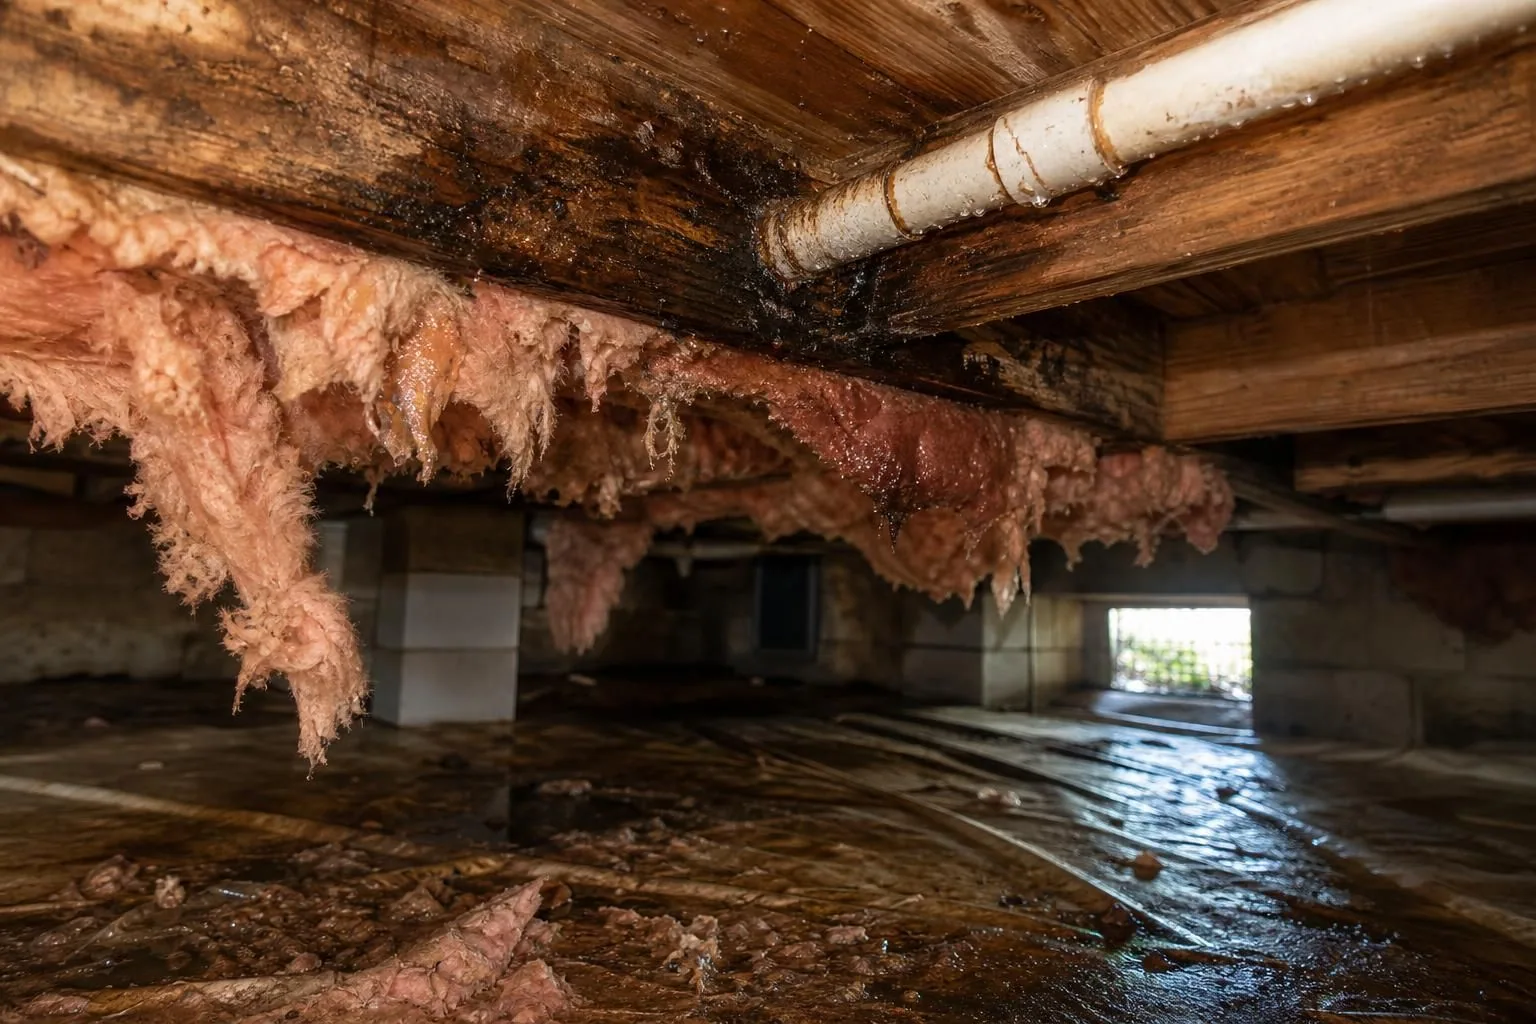
Check from below first if it is safe. Shine a flashlight upward. Look for dark staining, swollen wood edges, water beads, loose fasteners, or patches that differ from nearby dry areas. If you suspect a water damaged subfloor, compare the crawl space view with the floor directly above.
Insulation can reveal damage too. Fiberglass insulation, the fluffy material between floor joists, may sag when wet. Floor joists are the beams that support the floor. Wet insulation can hold moisture against wood like a soaked towel.
- Insulation hanging lower than nearby sections
- Brown water staining on insulation facing
- Musty smell near one bay between joists
- Soft, cupped, or uneven flooring above
- Baseboards or flooring gaps that recently changed
- Cold or damp-feeling floor spots inside
A common case is simple: the pipe gets repaired, but the crawl space still shows sagging insulation and the floor above feels soft. The leak is fixed, but the moisture damage still needs attention.
Safety Checks Before Entering the Crawl Space
Only enter a crawl space after confirming there’s no electrical hazard, contaminated water, structural instability, or air-quality risk. If anything seems unsafe, inspect from the opening and wait for trained help.
- Shut off the water supply. Turn off the nearest valve if you know it. Otherwise, use the main shutoff to stop more water from entering.
- Turn off power to affected areas if water is near wiring. If outlets, wiring, junction boxes, or equipment may be wet, do not enter. Call an electrician or other qualified professional.
- Look before you crawl. Open the access door and use a flashlight. Check for standing water, hanging insulation, damaged ducts, pests, sharp debris, or sagging wood.
- Smell the air. A musty odor can mean trapped moisture or early mold. A sewage, chemical, or rotten smell is a stop sign.
- Wear basic protection. Use gloves, eye protection, long sleeves, sturdy shoes, and a respirator-style mask if dust or odor is present. A cloth mask will not block many crawl space particles.
- Keep someone nearby.
Do not crawl under a house alone. Tight spaces make it harder to move quickly if you feel dizzy, get stuck, or find a hazard.
A common mistake is rushing in because the leak looks small. Hidden wiring, slippery plastic, and wet wood can still make the area dangerous.
Drying, Dehumidification, and Mold Prevention
Crawl space drying works best when you remove standing water first, create airflow, lower humidity, and remove materials that cannot dry in place. Drying only the surface will not fix trapped moisture.
Start with removal. Use a wet vacuum or pump for standing water if conditions are safe. Do not use household electrical tools in wet areas unless they are rated for that use and connected safely. After water is gone, pull back soaked vapor barrier sections if water is trapped underneath.
Next, dry the air and materials. Fans move air across surfaces. A dehumidifier removes moisture from the air. Together, they help wet wood, insulation, and framing dry more fully. For broader cleanup, water damage restoration can include moisture testing, drying equipment, and material removal.
- Stop and repair the leak.
- Remove standing water.
- Remove soaked debris.
- Check insulation and wood.
- Ventilate or dehumidify the space.
- Recheck moisture-prone areas.
- Watch for odor or discoloration.
Mold grows when organic materials stay damp. If musty smell, discoloration, or recurring dampness remains after drying, do not ignore it.
When Restoration and Plumbing Both Matter
Restoration and plumbing both matter when the pipe is fixed but the crawl space still has moisture, damaged materials, mold concerns, or affected flooring above. Plumbing stops the water source. Restoration addresses what the water already touched.
A plumber repairs the leaking pipe, valve, connector, or supply line. But once water spreads into insulation, wood framing, duct areas, or soil, you also have a moisture cleanup problem. Those are related issues, but they are not the same job.
- Call plumbing when water is still leaking or the repair is not confirmed.
- Call restoration when standing water, damp wood, wet insulation, or odor remains.
- Call mold help when growth, staining, or musty smell keeps returning.
- Check floors above when materials directly below them are wet.
If mold-like discoloration appears on joists or the musty smell returns after drying, mold remediation may be needed to handle affected materials safely.
Example: the leak is repaired and standing water is gone, but humidity stays high and pipes keep sweating. That is now a drying and moisture-control issue.
FAQs
These questions cover the most common decisions after a pipe leak leaves water in a crawl space. The key is to match your next step to what you can actually confirm: water level, odor, insulation condition, wood condition, and floor changes above.
If you’re unsure, don’t guess from one sign alone. A dry-looking patch of soil doesn’t prove the subfloor is dry. And a fixed pipe doesn’t prove the crawl space is safe from mold or material damage.
Can I Dry a Crawl Space Myself After a Pipe Leak?
You can dry a small, safe crawl space leak yourself if the pipe is repaired, there’s no electrical risk, no contaminated water, and only light dampness. Remove small puddles, improve airflow, and use dehumidification. Don’t enter if there’s standing water near wiring, strong odor, visible mold-like growth, or soft flooring above.
How Long Does Crawl Space Drying Take?
Crawl space drying time depends on how much water leaked, what got wet, and how enclosed the space is. Damp soil may improve faster than wet insulation or wood. Instead of relying on a set number of days, track progress by smell, visible dampness, condensation, and whether materials feel dry and stable.
Does Wet Insulation Always Need to Be Replaced?
Wet insulation doesn’t always need replacement, but sagging, dirty, compressed, or musty insulation usually shouldn’t stay in place. Insulation that holds water against wood can slow drying and raise mold risk. If only a small clean area got lightly damp, it may dry. If it’s soaked, removal is often safer.
What Are Early Mold Warning Signs in a Wet Crawl Space?
Early mold warning signs include musty odor, fuzzy or spotty discoloration, recurring dampness, and stains that spread after the leak is fixed. You may also notice odor inside rooms above the crawl space. Don’t scrub random growth without a plan, because disturbing it can spread particles through the air.
Should I Check the Floors Inside the House Too?
Yes, check the floors above the wet crawl space because subfloor damage may show from inside. Walk slowly over the area. Look for soft spots, cupping, buckling, new gaps, or flooring that feels spongy. Also check baseboards and nearby walls for swelling or staining, especially directly above the leak.
Crawl space water damage after a pipe leak is manageable when you follow the right order: stop the leak, check safety, remove water, dry the space, inspect insulation and subfloor materials, and keep watching for odor or recurring dampness. The main decision is whether you’re seeing light moisture that’s improving or damage that keeps showing up after the pipe is repaired.
Your next step is to inspect from the crawl space opening with a flashlight, then compare that area with the floors above it. If you find standing water, sagging insulation, soft flooring, or mold-like growth, don’t treat it as a simple plumbing issue. Get the moisture problem handled before it spreads.