A drain overflow bathtub setup is one of those parts you don’t think about until you’re staring at water creeping toward the rim. It’s not just a cover plate, it’s a built-in “escape route” that redirects rising water into the drain plumbing. If you’re replacing a corroded overflow plate, swapping a stopper style, or buying a new waste and overflow kit for a remodel, the details matter: tub type, rough-in alignment, and the exact overflow opening height. Here’s how the system works, what to measure, and how to choose a kit that won’t leak.
Best for: Homeowners replacing a worn overflow plate or updating a waste and overflow kit during a bathroom refresh or retrofit.
Not ideal when: Your tub has cracks, shifting, or damaged drain rough-in alignment that a new trim kit can’t correct.
Good first step if: You want to confirm overflow drain size and tub compatibility before ordering finishes like polished chrome or brushed nickel.
Call a pro if: You see active leaking behind the wall, persistent foul odor, or signs of water damage near the tub or ceiling below.
Quick Summary
- A bathtub overflow drain routes excess tub water through an overflow elbow and into the same drain line as the main drain shoe.
- Traditional overflows use a front overflow plate; integral designs use a hidden channel or slot at the tub wall.
- Most issues come down to fitment, gasket compression, or misalignment at the tee fitting and slip nuts.
- Measure drain-to-overflow spacing, pipe diameter, and tub thickness before buying a waste and overflow kit.
- If you’re unsure, look for a specification sheet and installation diagram so you can match parts before you open the wall.
What a Drain Overflow in a Bathtub Does
A bathtub overflow drain prevents water from rising above the overflow opening by diverting it into the drain plumbing before the tub spills over. Water enters behind the overflow cover, runs through the overflow elbow and overflow pipe, then ties into a tee fitting that shares the line with the drain shoe and P-trap.
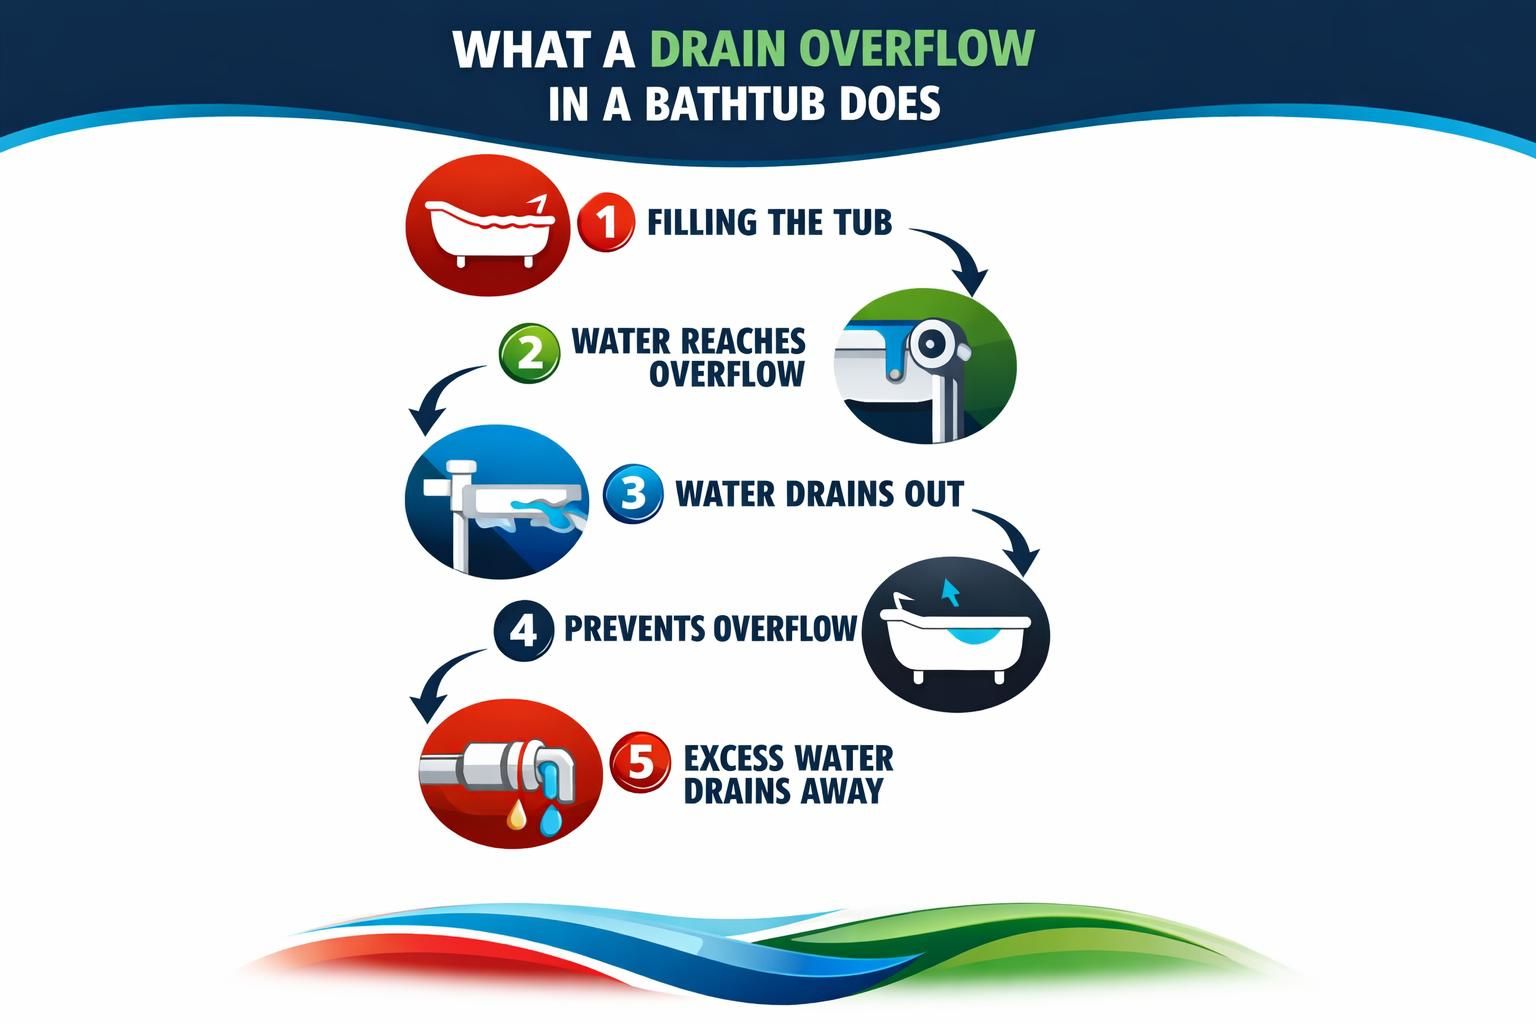
It also helps keep a stable trap seal (water seal) in the P-trap by routing water where it belongs instead of letting it wander into the framing.
Why it Matters (and What it Won’t Prevent)
It’s a backup path, not a miracle worker. If the tub drain is blocked and the overflow is clogged too, you can still end up with a spill and hidden water damage.
A bathtub overflow drain routes excess tub water through an overflow elbow and into the same drain line as the main drain shoe. Traditional overflows use a front overflow plate; integral designs use a hidden channel or slot at the tub wall. Most issues come down to fitment, gasket compression, or misalignment at the tee fitting and slip nuts. Measure drain-to-overflow spacing, pipe diameter, and tub thickness before buying a waste and overflow kit. If you’re unsure, look for a specification sheet and installation diagram so you can match parts before you address a water leak in the wall.
Types of Bathtub Drain Overflow Systems
The main types are traditional overflow, integral overflow, and side-drain overflow system designs, and the “right” one is mostly dictated by your tub’s geometry. Traditional kits are the most common for alcove tubs, while newer soaking tub and freestanding bathtub models may use hidden channels or higher deep soak drain placement.
Before you buy, compare the tub’s built-in overflow style to the kit, not just the trim finish. If you’re already dealing with moisture issues around the bathroom, it’s worth skimming understanding water damage spread so you know what early signs to watch for.
Traditional (Front Overflow Plate)
A bathtub overflow drain prevents water from rising above the overflow opening by diverting it into the drain plumbing before the tub spills over, which can help avoid costly water damage restoration. Water enters behind the overflow cover, runs through the overflow elbow and overflow pipe, then ties into a tee fitting that shares the line with the drain shoe and P-trap.
This uses a visible overflow plate screwed into the tub’s overflow opening, with a gasket sealing the backside. It’s the easiest to service later, and it’s the most common retrofit.
Integral/hidden Channel and Slot Overflows
An integral overflow hides the water path behind a molded channel or slot near the tub rim. It looks cleaner, but ordering the wrong matching drain trim or height can create annoying fitment surprises.
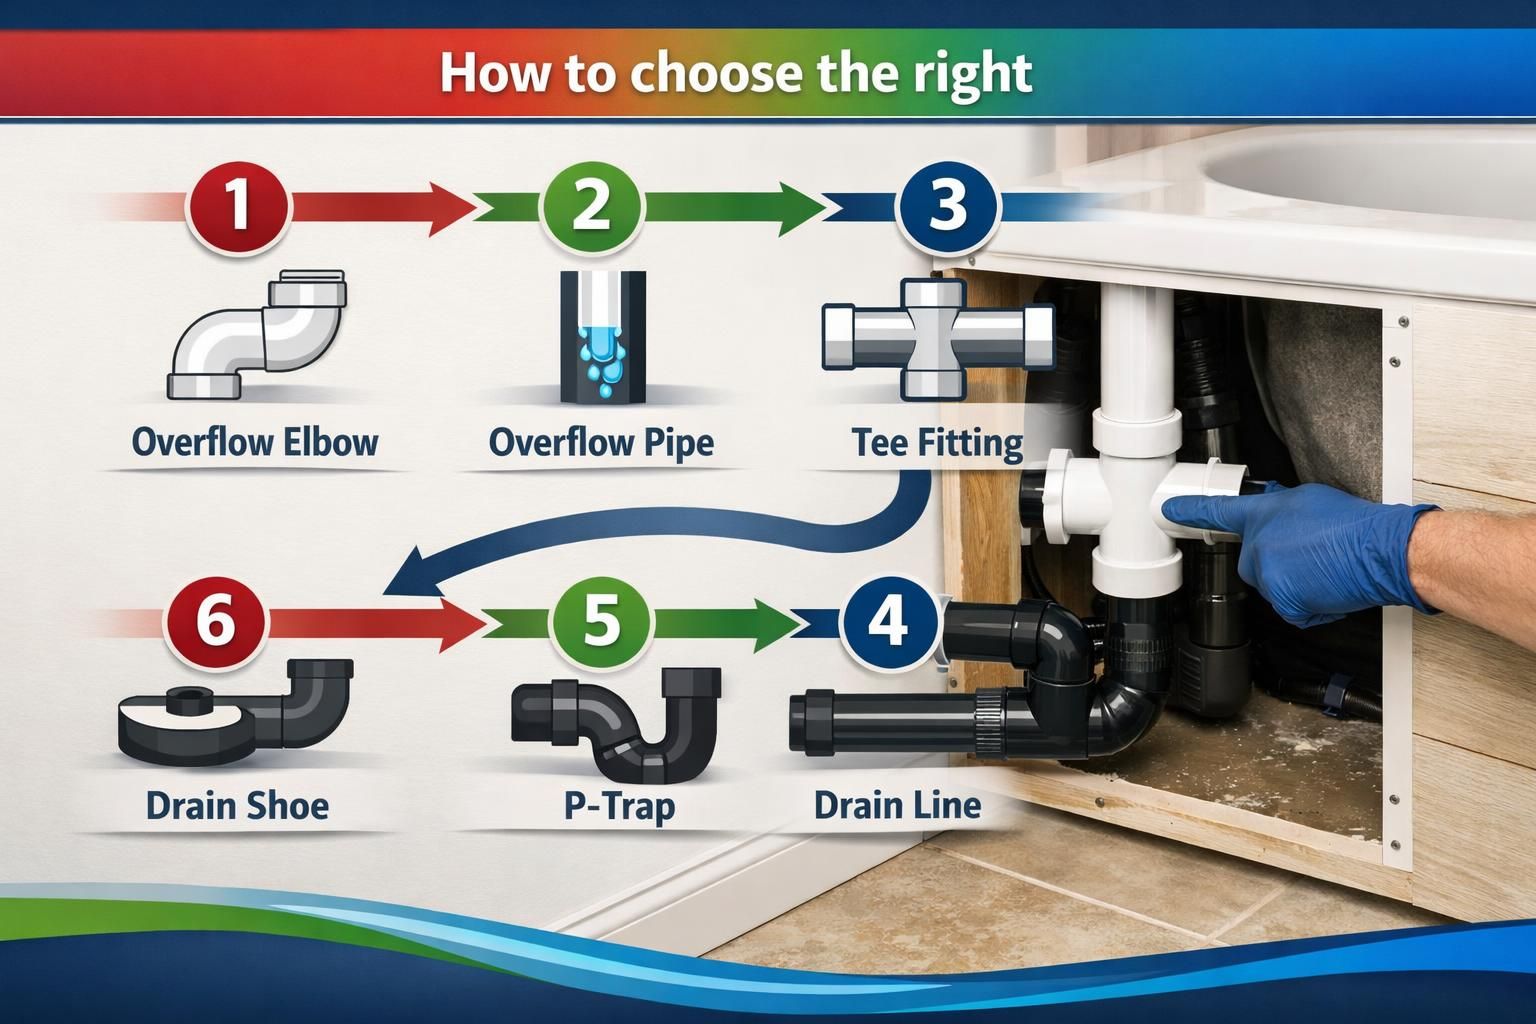
Parts of a Bathtub Drain and Overflow Kit
A typical waste and overflow kit includes the tub drain flange (often with a drain strainer), the drain shoe, a tailpiece, an overflow elbow, an overflow pipe, a tee fitting, washers, slip nuts, and sealing pieces like a rubber gasket and O-ring. The overflow cover or overflow plate is the visible trim, but the gaskets do the real work.
If you’re shopping online, look for installation instructions, an installation diagram, and a specification sheet. Those documents save you from guessing at drain rough-in offsets and overflow drain size.
Common Stopper Styles (Toe-touch, Lift-and-turn, Trip Lever, Pop-up)
Toe-touch and lift-and-turn stoppers are simple and trim-focused. Trip lever setups link the overflow plate to an internal mechanism, while a pop-up stopper is usually a cleaner, less fussy upgrade when you want fewer moving parts.
Toe-touch and lift-and-turn stoppers are simple and trim-focused. Trip lever setups link the overflow plate to an internal mechanism, while a pop-up stopper is usually a cleaner, less fussy upgrade when you want fewer moving parts to prevent issues like dishwasher leak water damage cleanup.
Bathtub Drain Overflow Sizes and Fitment
Fitment comes down to matching the tub’s drain-to-overflow distance and the plumbing diameter the kit is designed for. Even if the visible trim looks universal, the behind-the-wall geometry might not be. If the tee fitting lands too high or low, you’ll fight alignment, stress the joints, and invite a leak.
Fitment comes down to matching the tub’s drain-to-overflow distance and the plumbing diameter the kit is designed for. Even if the visible trim looks universal, the behind-the-wall geometry might not be. If the tee fitting lands too high or low, you’ll fight alignment, stress the joints, and invite an emergency water damage restoration.
Also consider tub wall thickness at the overflow opening. A kit that can’t clamp properly won’t compress the gasket evenly, especially on thicker acrylic or cast surfaces.
The main types are traditional overflow, integral overflow, and side-drain overflow system designs, and the “right” one is mostly dictated by your tub’s geometry. Traditional kits are the most common for alcove tubs, while newer soaking tub and freestanding bathtub models may use hidden channels or higher deep soak drain placement, which can help you understand how to stop water damage from spreading.
Standard Dimensions to Measure Before You Buy
Measure center-to-center from tub drain to overflow opening, confirm the pipe diameter, and note tub thickness at both openings. Then sanity-check against the manufacturer’s specification sheet and diagram.
How to Choose the Right Drain Overflow for Your Bathtub
The right choice is the kit that matches your tub style, rough-in layout, and preferred stopper, while giving you durable seals and accessible service points. If you’re only changing the overflow cover, confirm screw spacing and whether the existing overflow elbow is still sound before you assume it’s “just trim.”
And don’t ignore customer reviews and product Q&A, especially around real-world fitment. It’s also smart to confirm shipping and returns so you’re not stuck if the kit doesn’t match your tub.
Alcove vs Drop-in vs Freestanding Compatibility
Alcove tubs usually pair with traditional overflow kits and common stopper styles. Drop-in and freestanding bathtub installs often need specific integral overflow or side-drain overflow system parts, and some soaking tub setups use a higher deep soak drain configuration.
Finish, Material, and Durability Considerations
Pick a finish that matches your other hardware, like polished chrome finish or brushed nickel finish, but prioritize corrosion resistance where your water is hard. Metal trim feels solid, but the long-term win is quality gaskets and threads that won’t strip during maintenance.
Installation Overview and Common Mistakes
A correct install is mostly about clean sealing surfaces, correct gasket orientation, and stress-free alignment before tightening. Use plumber’s putty or silicone sealant only where the instructions call for it, because the
Conclusion
A drain overflow bathtub system is simple in concept but unforgiving about measurements and alignment. Match the tub’s overflow style, confirm drain-to-overflow spacing and pipe diameter, and prioritize gasket quality over flashy trim. If you’re only swapping the overflow plate, make sure the elbow and tee aren’t corroded or misaligned. When leaks, odors, or hidden moisture show up, it’s worth involving a pro before damage spreads.