Water damage hardwood floor situations are one of those problems where the first hour matters more than the first day. Wood reacts fast: it swells, the floor finish can haze, and moisture can creep under planks into the subfloor and adjacent materials. In this guide, you’ll learn the right first moves, how to read early warning signs (before the floor starts “moving”), and how to decide between drying, repair, refinishing, or full replacement. And yes, we’ll cover the big mistakes people make when they panic and try to “speed-dry” hardwood.
Best for: Homeowners dealing with a fresh leak or spill who want to limit warping and avoid unnecessary replacement.
Not ideal when: Water is contaminated, the floor is buckling badly, or electrical safety is uncertain in the wet area.
Good first step if: You can stop the water source shutoff quickly and remove surface water without walking on spongy boards.
Call a pro if: Moisture is trapped under the floor, you smell a musty odor, or the damage keeps spreading after drying.
Quick Summary
-
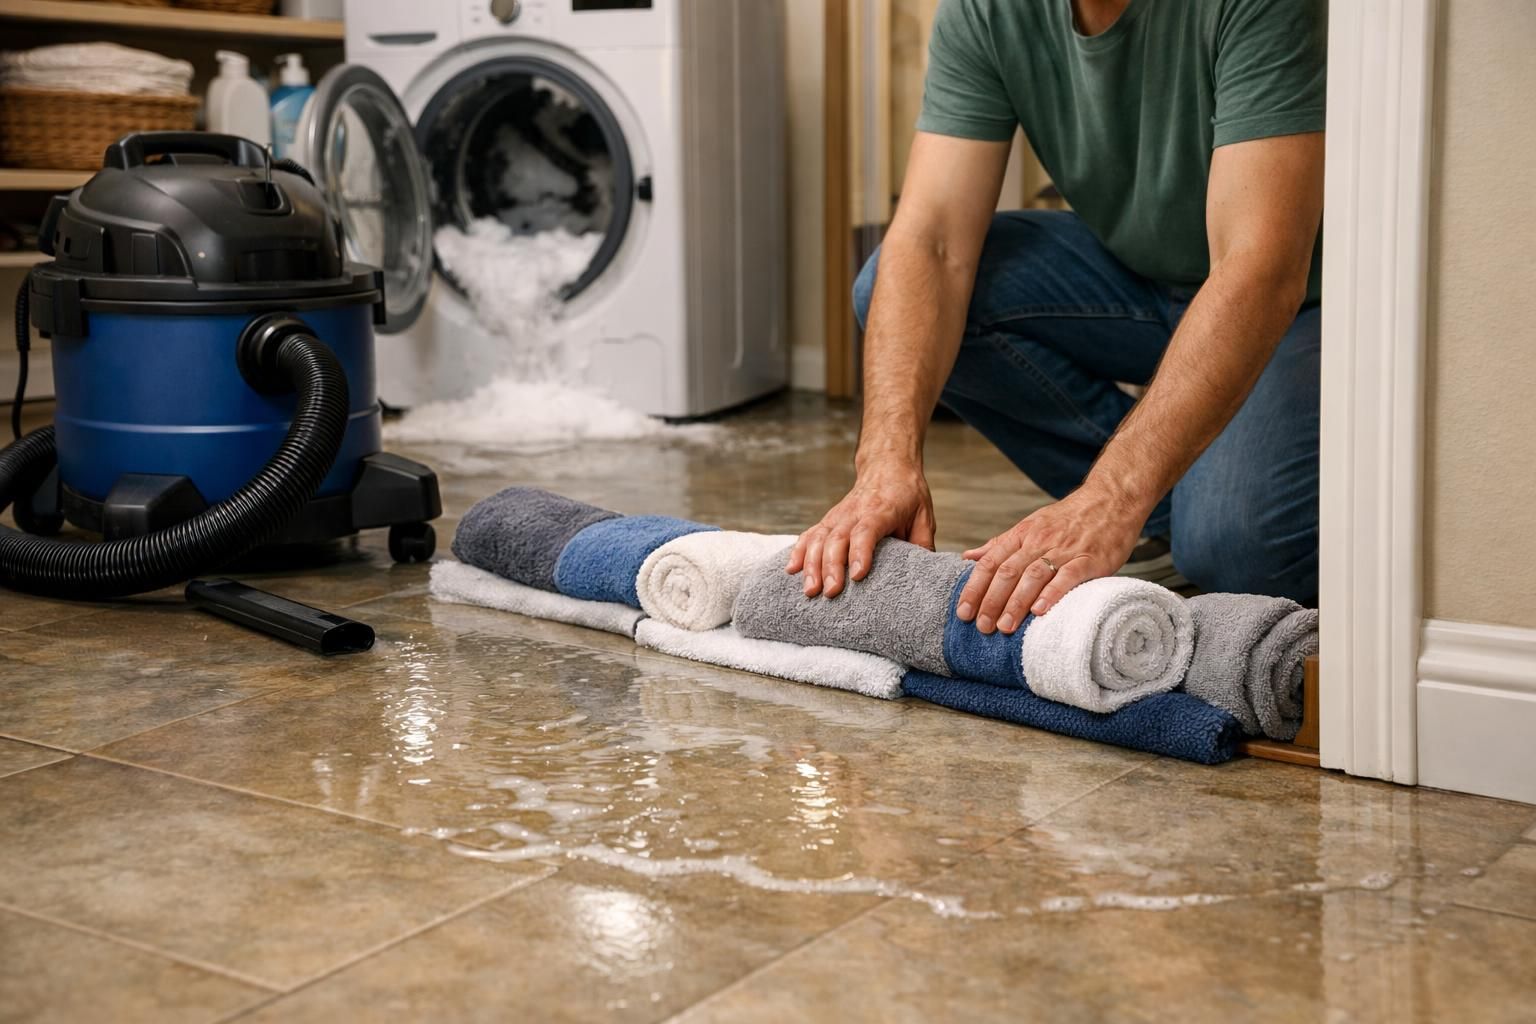
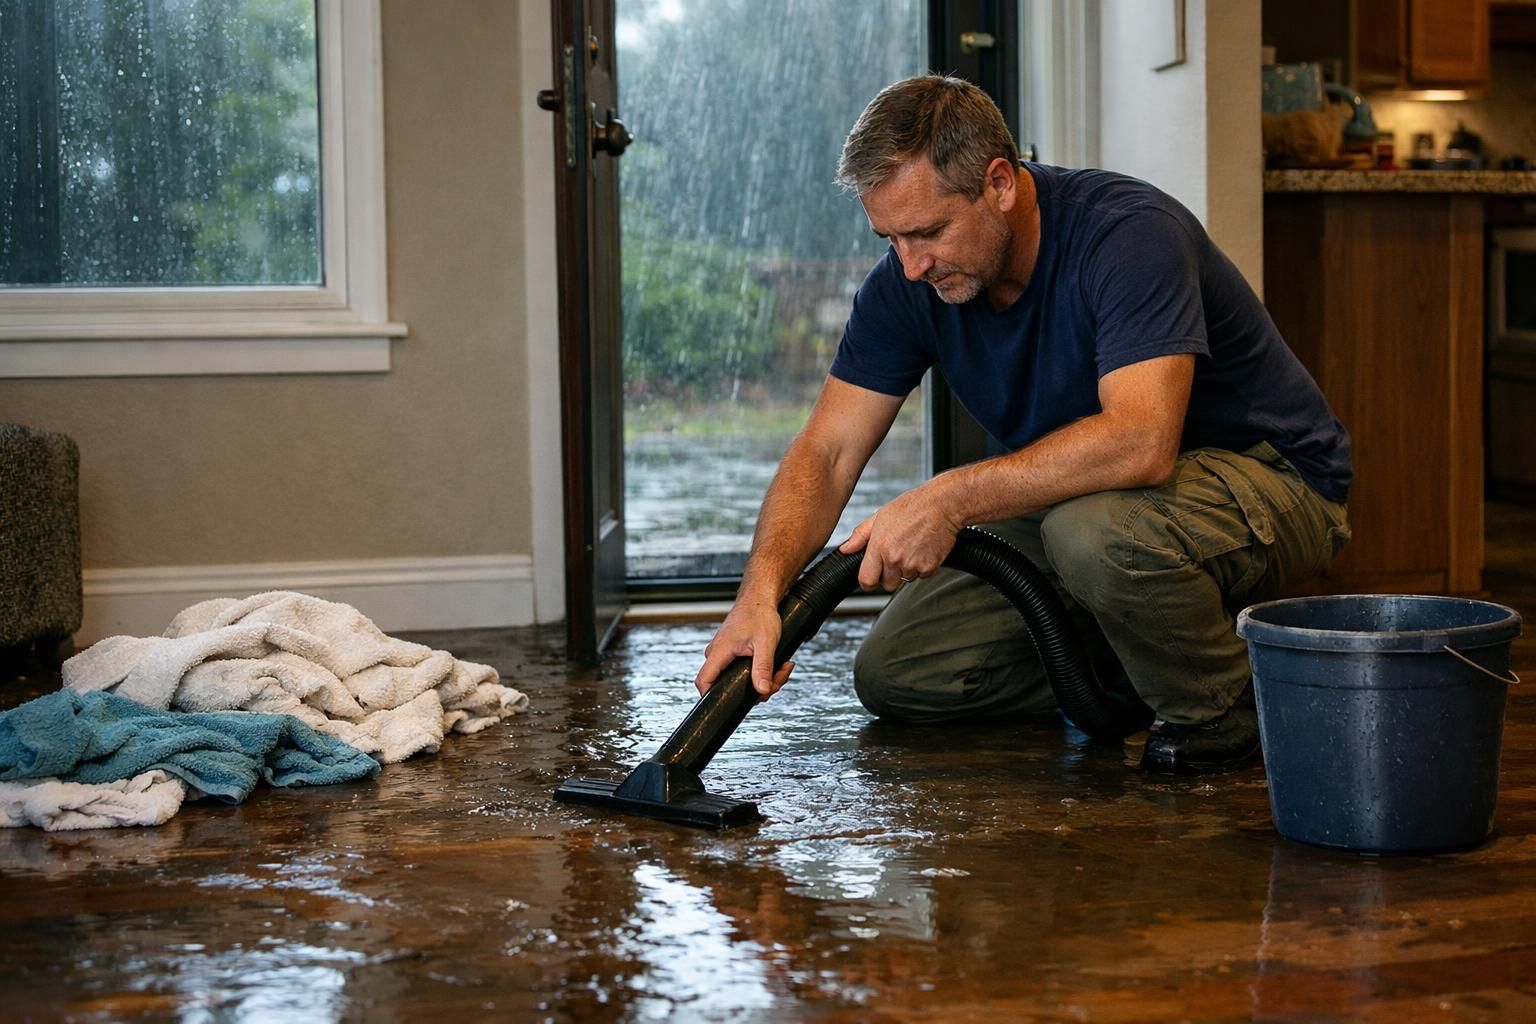
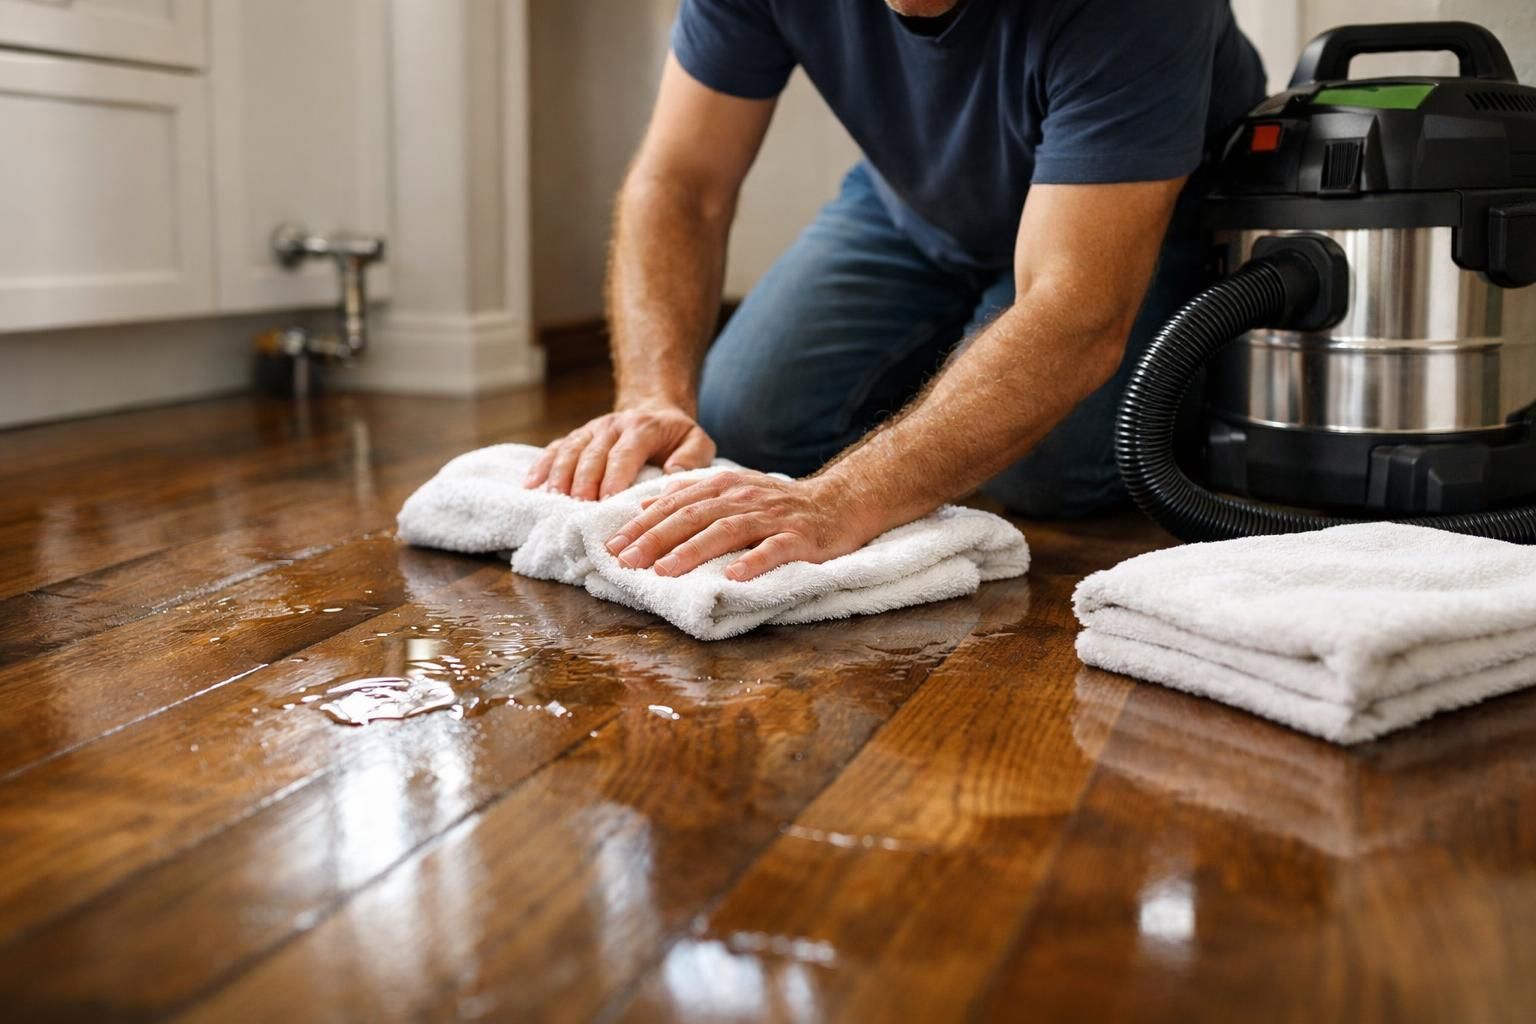
Stop the leak first, then get standing water off the floor fast using towels, a mop, or a wet/dry vacuum.
-
Look for early shape changes in boards; edges lifting usually means moisture has moved below the surface.
-
Controlled drying works: steady airflow plus dehumidification, not blasting heat or using a steam cleaner.
-
If water is dirty or you see mold/mildew signs, treat it like a safety issue, not a weekend project.
-
Repairs range from sanding/refinishing to board replacement, and timing matters because wood must stabilize first.
First Steps: Stop the Water and Protect the Area
Stop the source quickly to limit wicking into seams. Shut off the fixture valve or main, then remove standing water with towels, a mop, or a wet/dry vacuum set for extraction. Avoid smearing dirty water across the grain, and minimize traffic to prevent grit scratches.
![]()
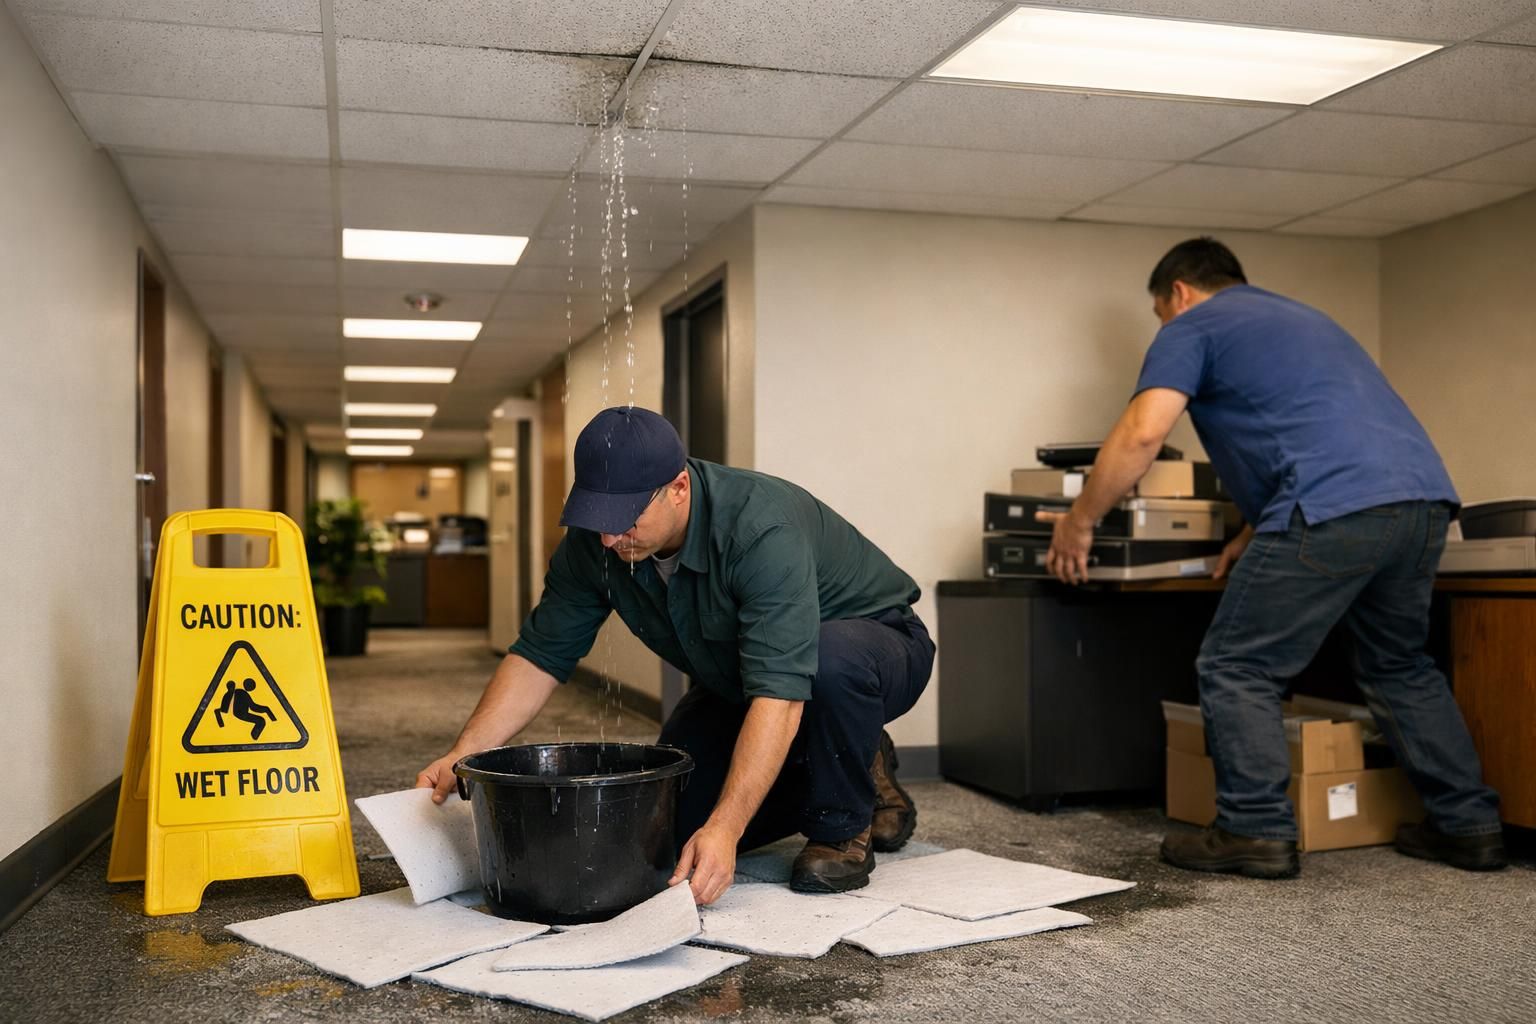
Protect nearby items by pulling up rugs and mats and raising furniture legs on dry blocks or plastic. If the leak is ongoing or widespread, use stop water from spreading to contain it.
Safety Shutoffs and What to Move First
Shut off power to wet-area outlets or nearby circuits if electrical safety is uncertain, especially with soaked baseboards or a wet subfloor. If unsure, see turning off electricity safely.
Move: electronics and cords first, then upholstered items, then wood furniture and dye-bleeders. Avoid heavy pieces if the floor feels soft.
How to Tell if Your Hardwood Floor Has Water Damage
Water damage shows up as shape changes, finish haze/stains, or a different feel underfoot after surface water is gone. Watch timing: some signs appear fast, others after swelling. Check sound (new squeaks/crunch), feel (spongy spots), and smell (musty odor).
Inspect edges and transitions. Swelling near walls, cabinets, or thresholds often signals moisture under the floor. If safe, lift a vent cover or transition strip and look for damp underlayment, dark subfloor, or wet insulation. If an appliance line is involved, see refrigerator line leak signs.
Cupping, Crowning, Buckling, Staining, and Soft Spots
Cupping: edges rise above the center from moisture or uneven drying. Crowning: center rises, often after sanding a cupped floor too early. Buckling: boards lift off the subfloor.
Also note stains, discoloration, finish haze, and soft spots that compress, suggesting weakened wood fibers and fasteners.

Drying Hardwood Floors the Right Way (and What Not to Do)
Dry hardwood with controlled conditions: steady airflow across the surface plus humidity removal, with moderate temperature. Blot and extract first. Then aim fans or air movers across the floor, not straight down into seams, and run a dehumidifier so the wood can release moisture.
Avoid common mistakes. Don’t close the room and wait, and don’t blast heat to “force” drying. Rapid drying can worsen warping, split boards, and stress the finish. For a first-day sequence, follow dry the room correctly.
Fans, Dehumidifiers, and Why Heat/steam Can Backfire
Use fans to create crossflow, and rely on a dehumidifier to remove moisture. Empty the tank often or use a continuous drain.
Avoid steam cleaners on water damaged hardwood floors. Steam forces hot moisture into joints, can soften finishes, and increases cupping, staining, and adhesion failures.
Mold and Contaminated Water: When DIY is Unsafe
DIY is unsafe when the water is contaminated or when mold risk is rising in hidden spaces you can’t fully clean and dry. If the source is a toilet overflow, dishwasher backflow, or floodwater, assume you’ll need proper cleaning solution use, sanitizing, and material decisions, not just drying. Hardwood can sometimes be cleaned on the surface, but moisture under boards plus organic debris is what lets mildew and mold get established.
Repair Options for Water-damaged Hardwood
Hardwood floor repair water damage usually falls into three paths: cosmetic restoration after full drying, targeted board replacement where planks are compromised, or larger tear-out when multiple rows and the subfloor are affected. Choose based on whether boards flatten after drying and whether tongue-and-groove joints still lock tight.
Before repairing, confirm the leak is fixed and moisture isn’t still feeding the floor from below. Repairing too early can trap movement and force a redo.
Common actions include cleaning/sanitizing, drying then refinishing minor cupping, replacing soft or swollen boards, and repairing subfloor damage before new wood goes down.
Sand and Refinish Vs. Board Replacement (Spot Vs. Whole Room)
Sand and refinish fits when boards are intact and mostly flat after drying, but the finish is hazy, stained, or uneven. Replacement is better for buckled planks, delaminated engineered boards, deep-through staining, or softness.
Spot replacement can work, but matching plank size, grain direction, stain tone, and sheen is what makes it blend.
Repair Vs. Replace: a Simple Decision Checklist
Repair works when the floor stabilizes after drying, damage stays localized, and the subfloor is dry. Replace when boards, joints, or the subfloor are compromised.
Checklist:
-
Dry + refinish for light cupping, no soft spots, and a dry subfloor.
-
Replace boards for buckling, persistent seam swelling, or tongues/grooves that won’t seat.
-
Replace sections if rows lift, the subfloor is degraded, or moisture returns.
-
Lean replacement for deep black staining or odor.
-
Don’t sand while cupped; it can crown later.
How Long it Takes to Dry and What “Dry Enough” Means
“Dry enough” means moisture content is back near your home’s normal baseline, not just dry to the touch. Timing depends on water volume, dwell time, finish, airflow, humidity, and whether moisture is trapped underneath.
Cupping can look worse as the top dries faster than the underside. That doesn’t automatically mean failure; it signals you need steady conditions and patience.
If water remains under the floor, you may need selective board removal or access from below to dry the cavity. Pros use targeted air movers and dehumidifier placement, not just more fans.
Conclusion
Water damage hardwood floor problems are most manageable when you act fast, dry in a controlled way, and wait for the wood to stabilize before sanding or locking in repairs. Prioritize safety when electricity, contaminated water, or mold risk is involved, and don’t assume “dry to the touch” means the subfloor is safe. When in doubt, verify moisture levels and get a restoration or flooring pro involved before damage spreads or costs compound.