
Washing machine overflow water damage cleanup can feel manageable for a moment, then you notice water slipping under baseboards, into seams, and toward the next room. The good news is that fast, ordered actions can dramatically limit repairs. This guide gives you a practical playbook to make the area safe, stop the source, remove water quickly, find hidden moisture, dry the right way, and decide what can be saved.
Best for: Homeowners or renters dealing with a fresh, small laundry-room flood where water mostly stayed on hard surfaces and you can act immediately.
Not ideal when: Water reached outlets, soaked walls or ceilings, or sat long enough to cause odors, swelling, or staining.
Good first step if: You’re unsure where the water’s coming from and need to stop the flow and keep it from spreading.
Call a pro if: You suspect sewage/gray water, moisture is trapped under flooring, or you can’t dry the area thoroughly within a day or two.
Quick Summary
- Treat the area like an electrical hazard until you’ve confirmed power and outlets are safe.
- Stop the overflow at the washer valves or main shutoff, then cut power if water is near cords or outlets.
- Extract standing water fast, then lift edges and move absorbent materials out of the wet zone.
- Check for trapped moisture at toe-kicks, wall bottoms, and flooring edges before you start “drying.”
- Use airflow and dehumidification together; heat alone often makes things worse.
- Document the source, the spread, and what you removed or replaced while details are still clear.
Stop the Source (valves
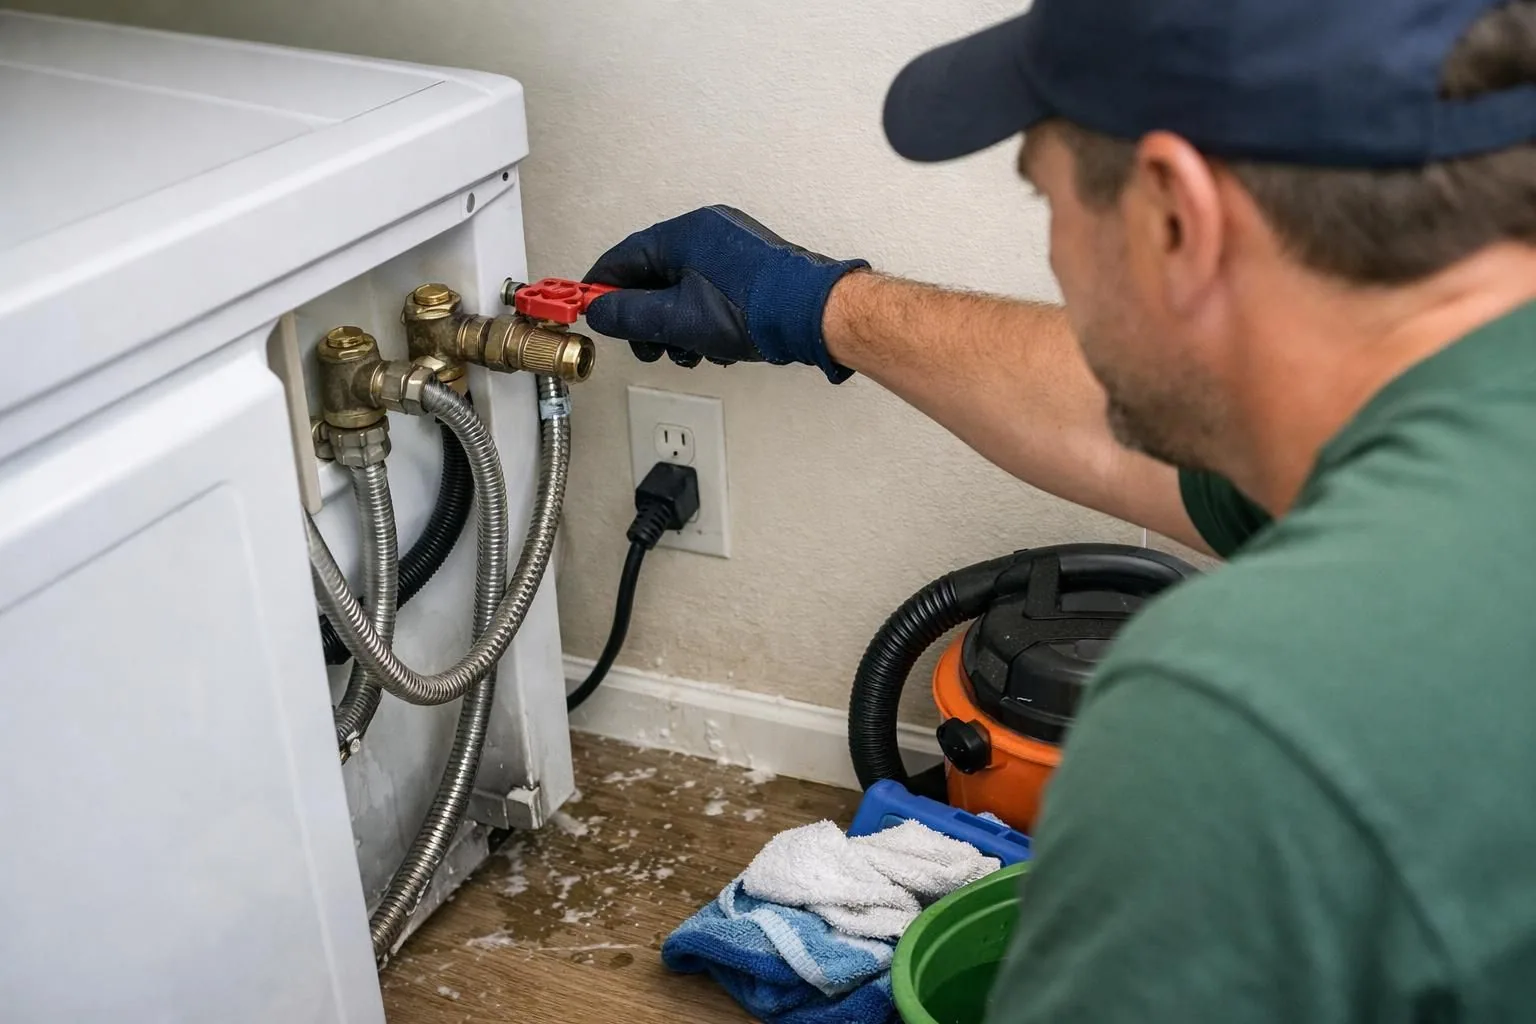
Stopping water at the source is the fastest way to limit washing machine overflow water damage cleanup, because every extra minute increases how far water travels under flooring and into wall bottoms. Pause or cancel the cycle so the washer stops filling or draining, then close the hot and cold shutoff valves behind the unit by turning them clockwise. If the valves are inaccessible or won’t close, shut off the home’s main water supply. After flow stops, keep the door or lid closed and do not run a test rinse/spin until hoses, connections, and the standpipe/drain are confirmed clear.
Quick Steps to Take Immediately
Move in order: make it safe, stop the water, remove standing water, then start controlled drying. That sequence reduces spreading and prevents missed moisture that later causes swelling or odor.
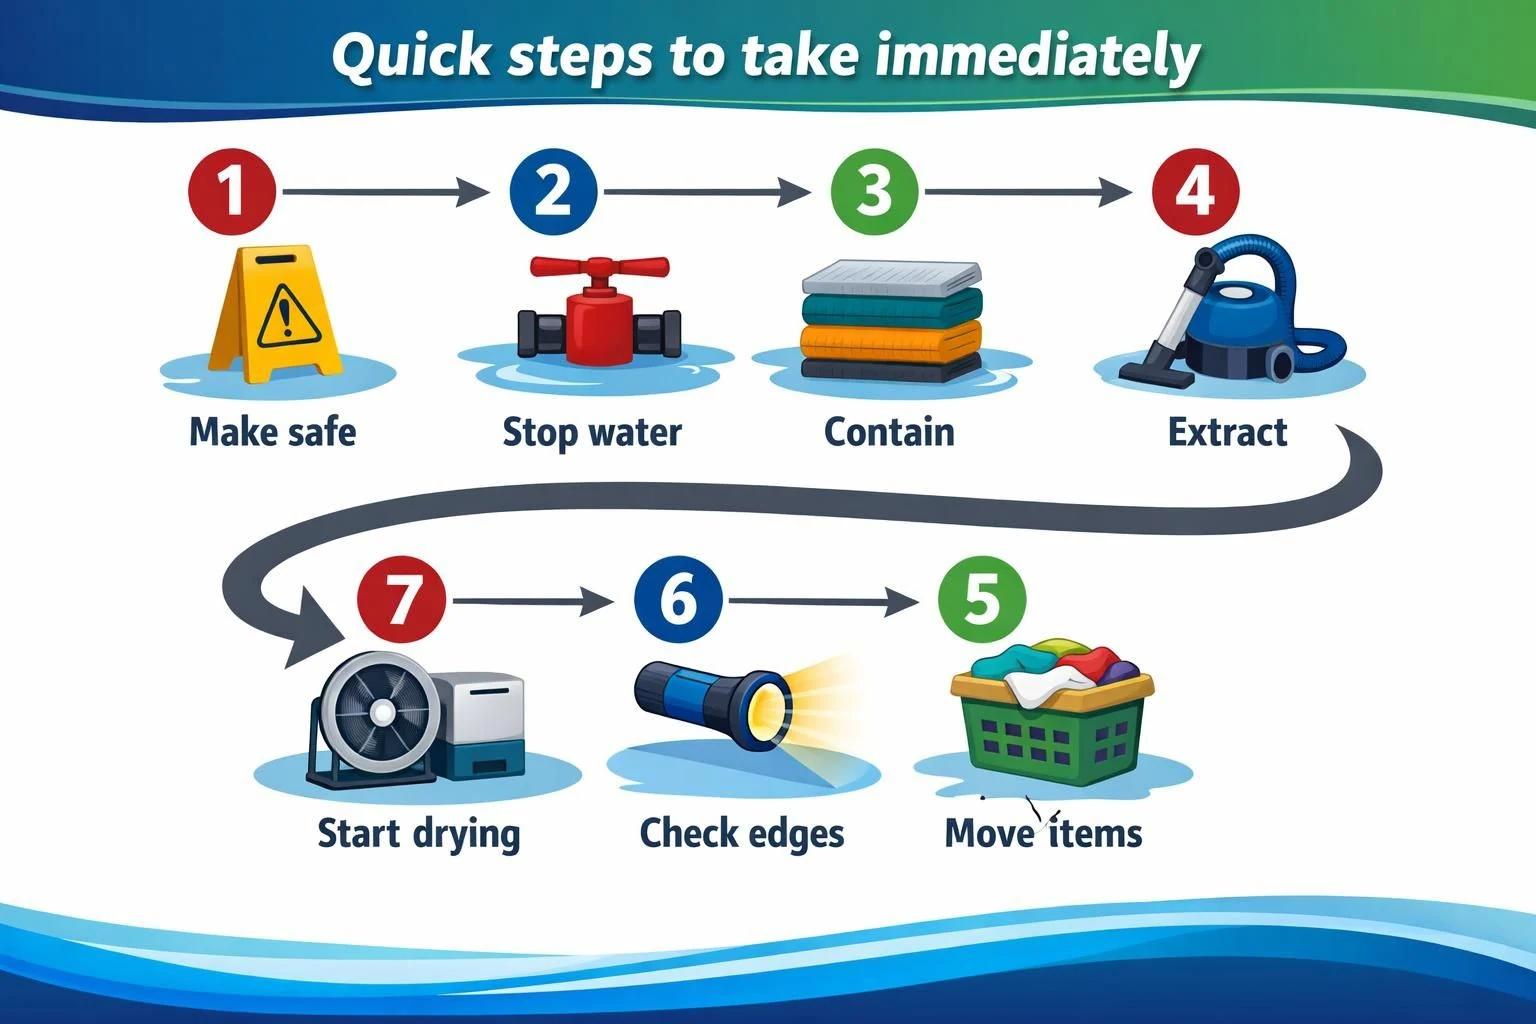
First, clear your path so you are not tracking water out of the room. Remove rugs, baskets, and anything fabric-based and set them in a dry area. If the washer is still running, hit pause/cancel and keep the lid/door shut to avoid splashing.
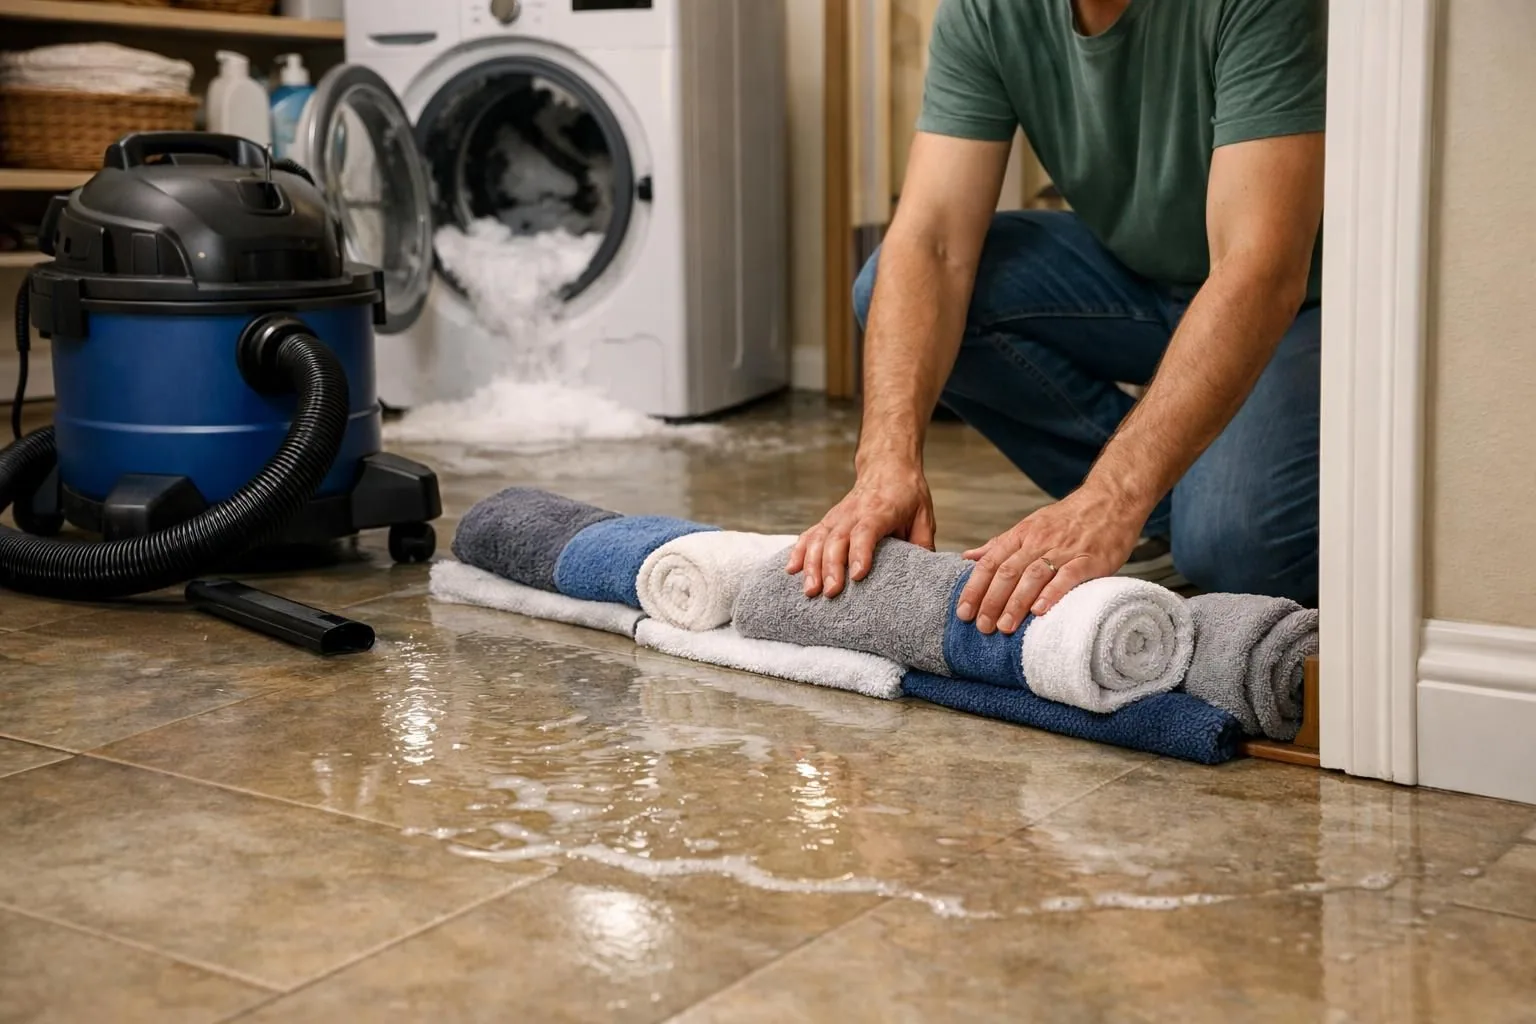
Next, scan for where water is traveling. It runs to low points and along seams: behind the washer, under baseboards, and through thresholds. To slow spread, roll towels into tight “snakes” and press them at doorways and cabinet bases while you set up extraction. If the overflow is tied to a slow drain, review drain overflow first actions later, but focus on triage now.
Safety First: Electricity
Treat the area as a live electrical hazard until proven safe. If water is near the washer plug, a power strip, an outlet, or extension cord, do not step into water to unplug anything. Shut off the laundry circuit at the breaker first, or the main if you cannot identify the circuit. Keep cords out of puddles, avoid using questionable outlets, and do not touch the washer or metal piping while standing on a wet floor. If you are uncertain, wait for a qualified electrician or restoration pro.
Safety First: Electricity, Slipping Hazards, and Water Type
Assume electricity and water are a dangerous mix until you have confirmed otherwise, because the most serious DIY mistake is wading into water near energized cords or outlets. If water is close to a strip, cord, outlet, or the washer plug, step back and plan shutoffs first.
Also treat the floor as a slip hazard. Detergent residue makes tile and vinyl slick, and carrying a wet vac increases fall risk. Wear shoes with traction, keep movements controlled, and keep walkways clear.
Finally, consider water type. Many washer overflows are clean supply water or mildly dirty gray water mixed with detergent and lint. A drain overflow from the standpipe can be worse if it is connected to a clogged line. If there is sewage odor, visible waste, or you are unsure what backed up, avoid direct contact and escalate to professional cleanup. If you are debating power shutoff, use turning off electricity safely.
Stop the Source (valves, Shutoffs, and Power)
Stop damage by stopping flow at the closest reliable control point. Most laundry floods keep growing because the washer is still filling, a hose is still spraying, or the drain is still overflowing during pump-out.
Identify what happened:
- Supply-side leak: burst hose, loose connection, or internal fill issue
- Drain-side overflow: backed-up standpipe, kinked drain line, or slow drain
- Door/tub overflow: over-sudsing, failed seal, or overload splashing out
If you see active spraying, do not reposition the washer while it is running. Shut the valves first, then carefully pull the unit forward to inspect hoses, clamps, and drain-hose placement.
Shut Off Water to the Fixture or Main (if Needed)
Close the washer hot and cold valves first. Turn each clockwise until it stops, but do not force a stuck valve hard enough to break it.
If you cannot stop flow at the laundry valves, shut off the home’s main. Open a nearby faucet briefly to relieve pressure, then reassess connections or wait for a plumber if the valves are damaged. The same isolation approach applies to other appliances, including dishwasher leak cleanup steps.
Turn Off Power to the Affected Area (if Needed)
Turn off power if water is near outlets, if the breaker panel area is wet, or if you cannot confirm what is energized. If you can reach the plug without stepping in water, unplug the washer. Otherwise, turn off the laundry circuit or the main if you are unsure.
Do not run fans if it requires routing cords through wet areas or using outlets that may be compromised. Safety comes before drying speed. For a broader view of what happens after shutoffs, see restoration workflow overview.
Remove Standing Water and Protect Nearby Materials
Remove standing water immediately, because it migrates under flooring and into wall bottoms the longer it sits. Use the fastest safe method available: wet/dry vacuum, a pump for deeper water, or towels if volume is limited.
Work from the least wet area toward the wettest to reduce spreading. If there is carpet nearby, protect the edge right away, because carpet and pad wick water quickly and can soak the subfloor.
After extraction, shift to protection by separating absorbent items from wet surfaces:
- Remove items from cabinet bases and place them on a dry surface
- If the drain hose is still dripping, remove it from the standpipe and drain into a bucket
- Lift furniture legs onto blocks or foil squares to reduce wicking
- Discard soaked cardboard and paper goods that can stain or disintegrate
To contain spread into adjoining rooms, use stop water from spreading.
Check Hidden Water in Cabinets
Cabinets can hold water in toe-kicks and along particleboard bottoms that wick upward. Empty the cabinet base near the washer, then check corners and undersides for dampness, swelling, or soft material. Remove any toe-kick you can to expose the cavity so it can dry. Look for trails behind the cabinet where it meets the wall, and check the cabinet near the doorway where water often sneaks along trim.
Check Hidden Water in Cabinets, Walls, and Flooring Edges
Hidden moisture is why a cleanup that looks “done” can still lead to warped flooring or musty smells. Check underneath, behind, and along edges.
Start with cabinets. Feel bottom edges for swelling, soft spots, or peeling veneer, and remove toe-kicks if possible to dry the void.
Then check walls and trim. Baseboards can hide water wicking into drywall. Press the drywall near the floor; softness, crumbling, cool dampness, blistered paint, or dark trim lines suggest moisture.
Finally, inspect flooring edges and transitions. Seams at vinyl planks, laminate joints, and thresholds are common entry points. Swelling at laminate or engineered wood ends is a sign water got underneath and expanded the core. Use signs you missed water for a detailed checklist.
Drying Setup: Airflow Plus Dehumidification (not Just Heat)
Effective drying combines airflow across wet surfaces with dehumidification that removes moisture from the air. Heat alone can raise humidity and drive moisture deeper into materials.
A practical setup:
- Run a dehumidifier continuously to bring humidity down
- Aim fans to move air across wet surfaces, not directly into wall cavities
- Keep doors open within the affected zone, but avoid open windows in humid weather
- Run HVAC if it is safe and the system is not in a wet area
In practice, you want a steady drying gradient. Empty the dehumidifier bucket often or use a drain hose, and keep airflow consistent. If water entered cabinet bases or under flooring edges, remove toe-kicks or gently open access paths where appropriate so air can reach trapped moisture. For more targeted tactics, use drying a room properly.
What Materials Can Usually Be Saved vs Replaced
Materials that dry quickly without swelling are often salvageable, while porous or engineered materials that trap moisture often need replacement. The key is what is wet below the surface, not what looks fine.
Often salvageable with prompt, thorough drying:
- Solid-surface counters and sealed tile
- Many plastics and painted metal shelving
- Some solid wood if it is not delaminating, dried slowly and evenly
- Washable textiles like towels and some rugs if water was not contaminated
Often replace-or-rebuild candidates:
- Drywall that wicked water upward from the bottom edge
- Wet insulation that holds moisture and dries poorly in place
- Laminate flooring with swollen seams
- Particleboard cabinet bottoms and toe-kicks that balloon and crumble
Be cautious with vinyl plank flooring that looks fine while water sits underneath, creating odor and subfloor risk. If you cannot confirm the subfloor is drying, “saving” the surface may only delay repairs.
When to Call a Water Damage Restoration Pro
Call a pro when you cannot confidently dry the structure. Trapped moisture is what turns a one-day spill into weeks of odor, swelling, or microbial growth.
Common triggers:
- Water traveled into multiple rooms or below the laundry level
- Bubbling paint, crumbling drywall, or swollen baseboards
- Drain overflow with backups, odors, or unknown water quality
- After a day of drying, humidity will not drop or materials still feel damp
- Spongy subfloor, cupping, or movement at flooring edges
Pros can often avoid unnecessary demolition using moisture mapping and targeted drying. For what emergency response includes, see emergency restoration help.
What to Document for Insurance and Repairs
Document early, even if you do not file a claim, because details disappear once cleanup starts. Capture the source, spread, and what you did.
Take photos and short videos before moving too much:
- The overflow point (standpipe, hose, or drum area)
- Wide shots showing where water traveled, including adjacent rooms
- Close-ups of damaged seams, baseboards, and cabinet bases
- Any failed part you removed, photographed with a simple size reference
Write a quick timeline: when you found it, when you shut off water, how you extracted, and what areas you dried. Keep receipts for rentals and materials. For coverage basics, use water damage insurance basics.
Preventing a Repeat Leak
Prevention means fixing the failure point, not just drying the floor. If a hose failed, replace both hoses and route them without kinks. If drainage caused the overflow, address drain capacity and clogs.
Simple prevention steps:
- Install quality braided supply hoses and check for slow seepage
- Secure the drain hose and confirm standpipe height fits your washer
- Clean the pump filter if your model has one
- Avoid overloading and over-sudsing that can force water out
- Consider a drip pan and water alarm, especially upstairs
Make quick inspections routine. A monthly glance behind the washer can catch a minor leak before it becomes a full laundry-room flood.
Conclusion
Washing machine overflow water damage cleanup goes best when you follow the right order: make it safe, stop the source, extract water, then dry using airflow and dehumidification while checking for hidden moisture. If signs point to water under flooring or inside walls, do not gamble, call for help. Your next step is to recheck edges and cabinet bases, then keep drying until everything is truly dry, not just less wet.