A leaking dishwasher can go from a small puddle to swollen cabinets, cupped flooring, and lingering odors faster than most people expect. Dishwasher leak water damage cleanup is about two things: stopping the source and drying thoroughly enough to prevent hidden moisture from turning into long term damage. In this guide, you will learn the immediate actions to take, how to handle common leak points, and the safest way to remove water and dry surrounding materials. You will also get practical guidance on what can usually be saved, when it is time to bring in a professional, and what to document if you plan to file an insurance claim.
- Shut off water to the dishwasher and cut power before touching wet areas
- Mop and extract standing water quickly to reduce swelling and staining
- Check hidden spaces around the dishwasher, cabinets, and flooring edges
- Use airflow and controlled dehumidification, not just heat, to dry thoroughly
- Replace materials that stay swollen, delaminated, or moldy after proper drying
- Document the leak source, affected areas, and your mitigation steps
Quick steps to take immediately
Start by confirming where the water is coming from and how fast it is spreading. If you see active dripping or a growing puddle, prioritize stopping the flow and protecting nearby surfaces. Move rugs, paper goods, and anything that can stain or trap moisture away from the wet zone. If the dishwasher is mid cycle, do not open the door unless you have already addressed power and water safety.
Next, contain the water. Lay towels at the edges of the puddle to keep it from running under cabinets or into adjacent rooms. If you have a wet dry vacuum, use it to remove standing water right away. The faster you act, the better your chances of limiting dishwasher leak water damage to cosmetic issues instead of structural swelling or microbial growth.
Safety first: electricity and slipping hazards
Water and electricity do not mix, and dishwashers often sit near outlets, junction boxes, and under sink wiring. If the floor is wet near electrical components, turn off power at the breaker for the dishwasher circuit and any nearby outlets that could be affected. Avoid stepping into pooled water until you are sure power is off, especially if water has reached behind the appliance.
Start by confirming where the water is coming from and how fast it is spreading. If you see active dripping or a growing puddle, prioritize stopping the flow and protecting nearby surfaces to prevent water damage restoration issues. Move rugs, paper goods, and anything that can stain or trap moisture away from the wet zone. If the dishwasher is mid cycle, do not open the door unless you have already addressed power and water safety.
Slipping is the other immediate hazard. Tile and sealed wood become slick when wet, and soaps in the water can make the surface even more slippery. Wear shoes with grip, keep kids and pets out of the area, and place a towel or non slip mat where you must walk. If you use fans, route cords safely so you do not trip while carrying water or moving the dishwasher.
Stop the dishwasher leak (supply line, drain, door seal)
Stopping the source is essential before you invest time in cleanup. For a dishwasher supply leak water damage situation, shut off the dishwasher’s water supply valve, typically located under the kitchen sink on the hot water line. If you cannot find it or it will not close fully, shut off water to the home at the main valve. Once the water is off, run the dishwasher only after repairs are complete.
Common leak points include the supply line connection, the drain hose, and the door seal. Pull the dishwasher forward carefully if needed, but avoid yanking lines. Look for wetness at fittings and clamps, cracks in hoses, or water trails. Also check for an overfilled tub caused by a stuck float or a drain issue, which can mimic a door leak by pushing water out the front during the cycle.
Remove water and protect nearby materials
Water and electricity do not mix, and dishwashers often sit near outlets, junction boxes, and under sink wiring. If the floor is wet near electrical components, turn off power at the breaker for the dishwasher circuit and any nearby outlets that could be affected to ensure you know whether you should turn off electricity after a water leak. Avoid stepping into pooled water until you are sure power is off, especially if water has reached behind the appliance.
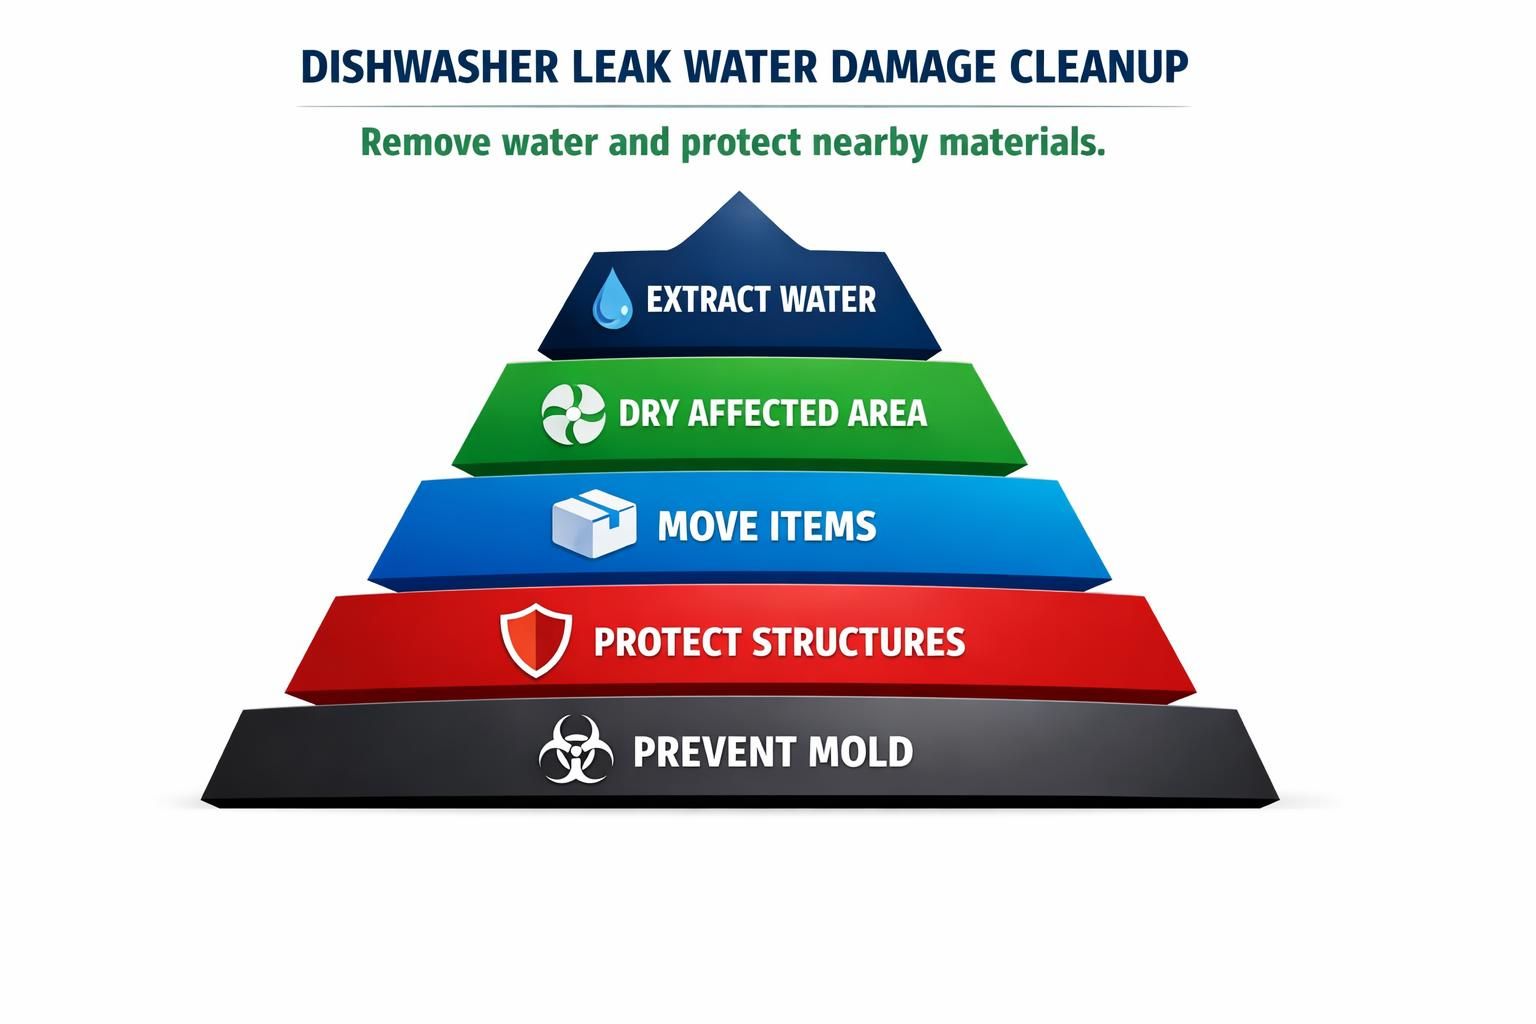
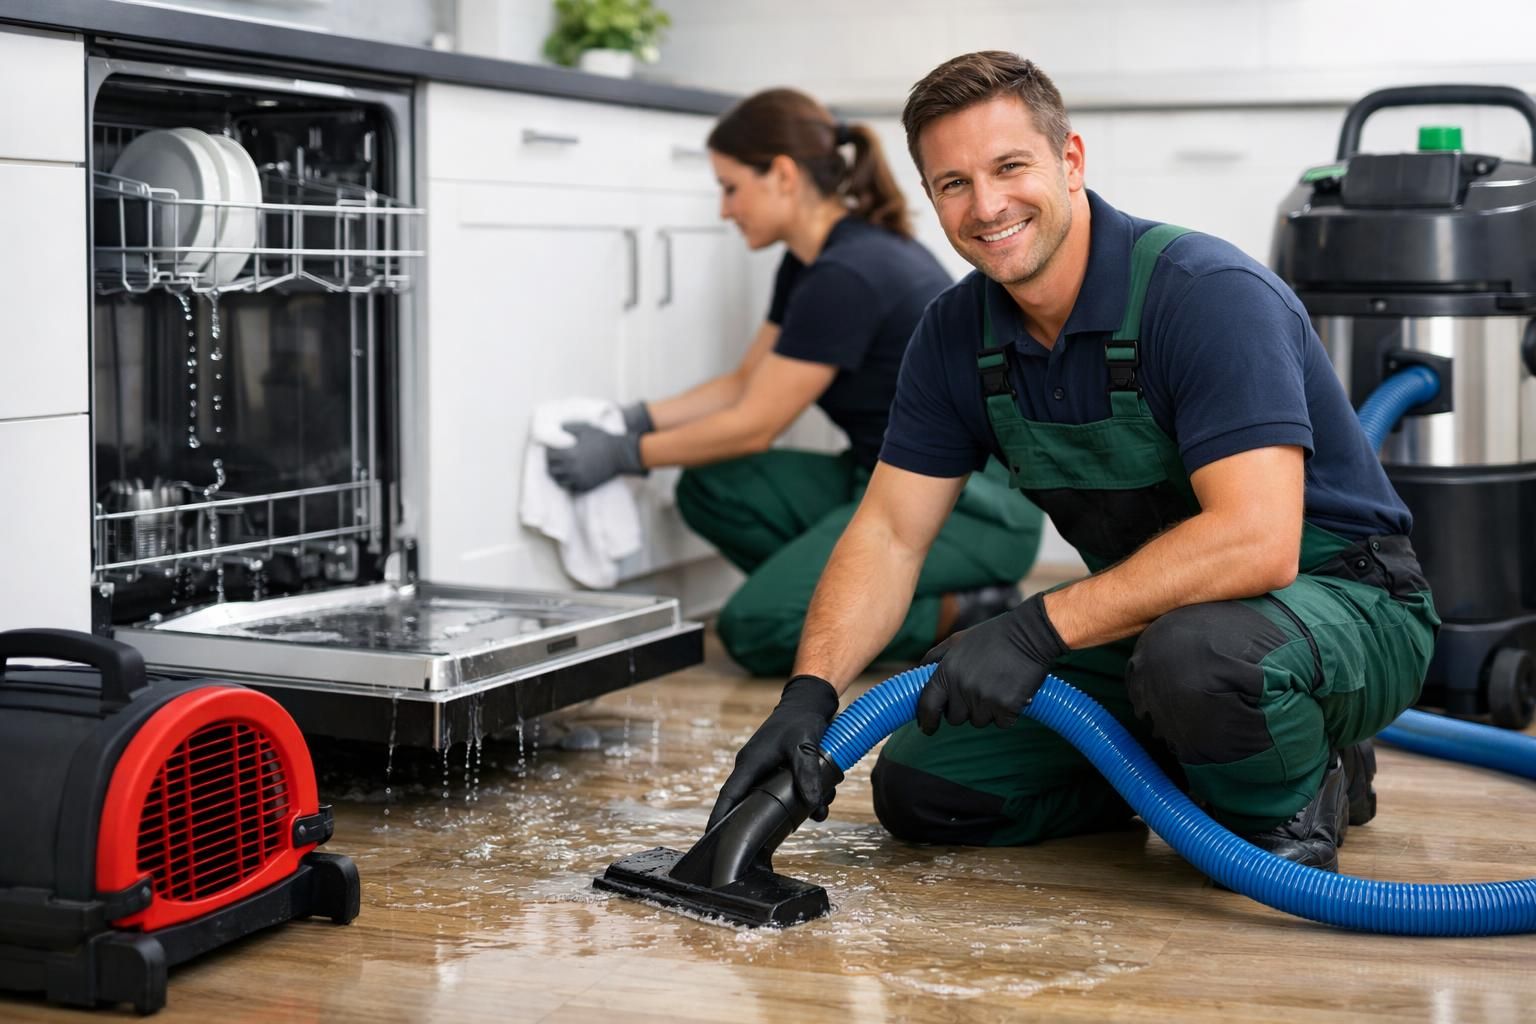
After the leak is stopped, shift to extraction and protection. Remove standing water with a wet dry vacuum, then mop with clean towels to pick up the remaining film. If the water includes soap, wipe again with plain water to reduce residue that can attract dirt and slow drying. If water has moved under a floating floor edge or into a toe kick area, assume there is more moisture than you can see.
Protect materials that can wick water. Pull absorbent mats, cardboard, and stored items out of adjacent cabinets. If cabinet interiors are damp, empty them so air can circulate and so items do not trap moisture against wood. Use simple containment to prevent spreading water damage from leaking dishwasher areas into other rooms:
- Place towels along cabinet bases and door thresholds
- Put a shallow tray or pan under the supply valve area if dripping persists
- Keep cabinet doors open to increase airflow
- Elevate small items off the floor on dry surfaces
Drying steps to prevent hidden damage and mold
Drying is where many cleanups fall short, because the visible puddle disappears while moisture remains under flooring, behind cabinets, and inside wall cavities. Use airflow and dehumidification together. Set a fan to move air across the wet surfaces, not directly into a corner where it just swirls. If you have a dehumidifier, run it in the kitchen with doors closed as much as practical, emptying the tank regularly.
Avoid using high heat alone as a shortcut. Heat can speed evaporation on the surface while leaving moisture trapped in layers, especially in engineered wood, particleboard, and cabinet toe kicks. Instead, aim for steady drying over a couple of days, checking for cool, damp spots and any new warping. If you smell mustiness or see baseboards swelling, treat it as a sign the moisture is not just on the surface.
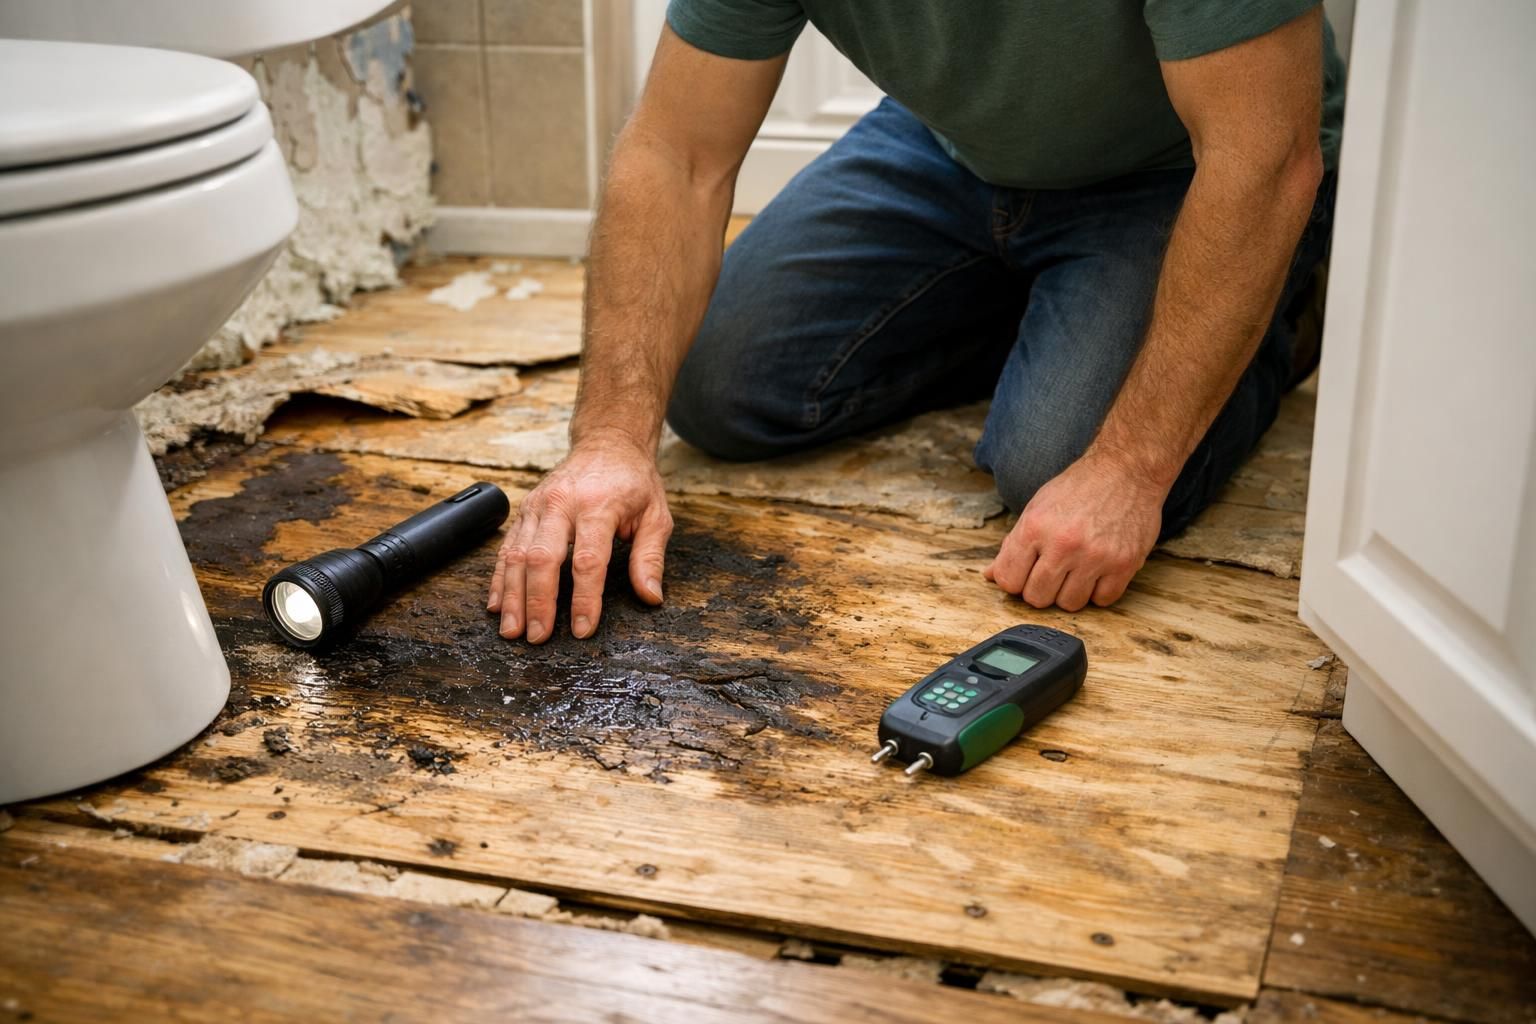
What to check behind cabinets, under flooring, and in walls
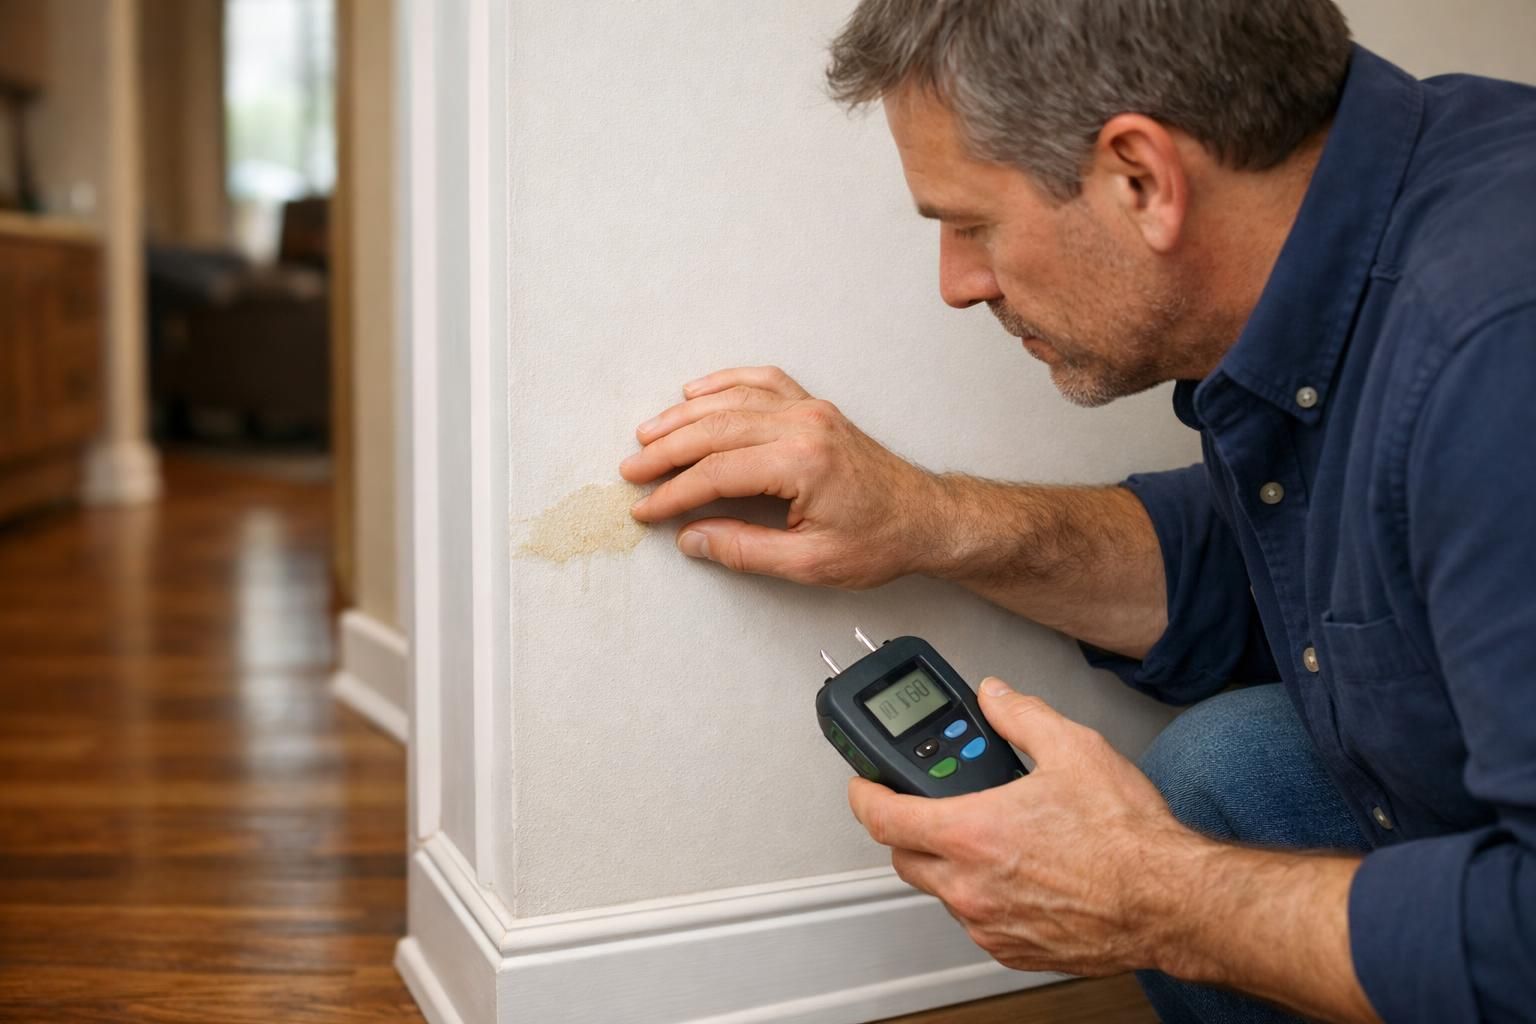
Hidden inspection matters with leaking dishwasher water damage because water follows the easiest path. Look for staining or swelling at the cabinet sides next to the dishwasher and inside the sink base cabinet where supply and drain lines run. Feel for dampness at the toe kick and the subfloor area at the front corners. If flooring feels spongy or sounds hollow when tapped, water may be underneath.
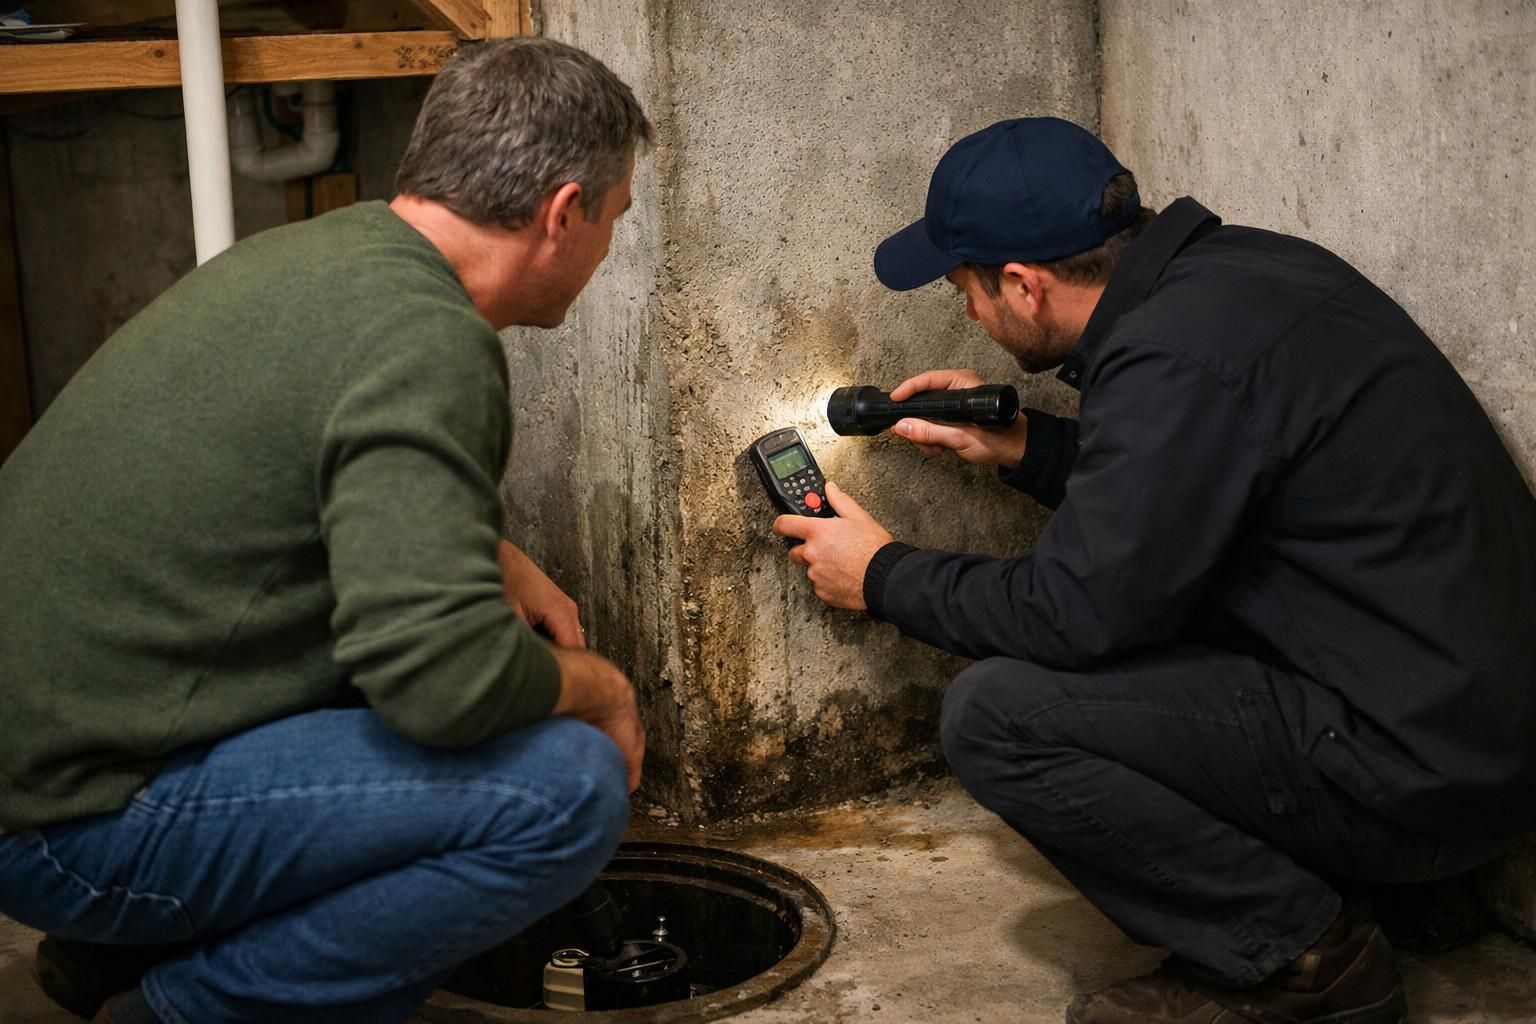
Also check the wall behind the dishwasher if accessible, especially where plumbing penetrations exist. Paint bubbling, soft drywall, or damp baseboard edges can indicate moisture in the wall cavity. If you have access from an adjacent cabinet or a removable panel, use a flashlight to look for damp insulation, darkened wood, or water trails. Any sign of persistent dampness after drying efforts suggests the moisture is trapped and needs more direct access.
When to remove baseboards, toe kicks, or flooring edges
Remove trim and edges when they block drying or hide saturation. Toe kicks often conceal wet subfloor and cabinet bases. If the toe kick is damp, bowed, or staining appears at the bottom seam, removing it can dramatically improve airflow. Baseboards should come off when drywall behind them is wet or when the baseboard itself has swelled, since leaving it in place can trap moisture against the wall.
Flooring edges may need to be loosened if water migrated under a floating floor or into the perimeter gap. Signs include edge swelling, buckling, or a persistent damp feel near the dishwasher. If you remove any piece, label it so you can reinstall it correctly. If materials crumble, delaminate, or show mold growth, replacement is usually the safer path than trying to reinstall compromised trim.
What materials are usually salvageable vs replaceable
Some materials rebound well if dried quickly, while others degrade once they absorb water. Solid wood components may be salvageable if they have not warped significantly and if joints remain tight after drying. Many types of tile floors and grout can handle a one time wetting, though moisture can still travel to the underlayment and subfloor, which should be assessed.
Materials that often require replacement after dishwasher leak water damage include particleboard cabinet bases, MDF toe kicks, and some laminate flooring systems that swell at the seams. Drywall can sometimes be dried if it was only lightly damp, but it should be replaced if it becomes soft, crumbly, or shows visible microbial growth. Underlayment and insulation may also need removal if they stay wet or hold odor. When in doubt, base the decision on whether the material returns to normal shape, strength, and smell after thorough drying.
When to call a restoration pro
Call a professional when the leak has affected areas you cannot access or when drying is not progressing. If water moved under multiple rooms of flooring, reached wall cavities, or soaked cabinets and subflooring, professional equipment and targeted access can prevent long term issues. This is especially important for water damage from leaking dishwasher events that went unnoticed for hours or overnight, because saturation and wicking can spread well beyond the visible puddle.
Call a professional when the leak has affected areas you cannot access or when drying is not progressing. If water moved under multiple rooms of flooring, reached wall cavities, or soaked cabinets and subflooring, professional equipment and targeted access can prevent long term issues. This is especially important for understanding water damage from leaking dishwasher events that went unnoticed for hours or overnight, because saturation and wicking can spread well beyond the visible puddle.
You should also bring in help if you see signs of contamination or persistent odor, or if you have health concerns in the household. A restoration pro can assess moisture levels, set up controlled drying, and advise on what needs removal. If you plan to involve insurance, early professional documentation can also help clarify the scope and cause, especially when the leak source is not obvious.
Prevention tips to avoid the same leak again

Preventing repeat dishwasher leak water damage starts with routine inspection and small upgrades. Check under the sink and at the dishwasher connection points periodically for corrosion, dampness, or mineral buildup. Replace hoses that look brittle, kinked, or worn, and ensure clamps are snug. Avoid pushing the dishwasher back so tightly that it pinches the drain hose or supply line, which can create slow leaks and drainage problems.
Also use good operating habits. Do not overload in a way that blocks the spray arms or causes items to interfere with the door seal. Clean the door gasket and the filter area so debris does not create a pathway for water to escape. Consider adding a drip pan under the dishwasher if your setup allows, and address small puddles immediately, since recurring moisture is what turns minor issues into lasting damage.
What to document for insurance
If you may file a claim, document early and clearly. Take photos and video of the leak source, the standing water, and every affected surface before you move too many items. Then document the mitigation steps you took, such as shutting off water, cutting power, extracting water, and setting up drying. Keep notes on when you first noticed the issue and what you observed, including whether the dishwasher was running.
If you may file a claim, document early and clearly. Take photos and video of the leak source, the standing water, and every affected surface before you move too many items. Then document the mitigation steps you took, such as shutting off water, cutting power, extracting water, and setting up emergency water damage restoration. Keep notes on when you first noticed the issue and what you observed, including whether the dishwasher was running.
Save relevant receipts and records, such as materials purchased for cleanup, replacement parts, or professional assessments. If you remove damaged pieces like toe kicks or baseboards, photograph them before disposal. Clear documentation helps explain the difference between sudden dishwasher leak water damage and long term seepage, and it supports the scope of repairs needed to return the area to pre loss condition.
Conclusion
Dishwasher leak water damage cleanup works best when you treat it as both an emergency stop and a careful drying project. Shut off water and power, extract water quickly, and open up hidden spaces where moisture can linger under cabinets and flooring. Then dry with airflow and dehumidification until materials feel normal and smell clean, not just until the surface looks dry. If damage spreads beyond what you can access or materials are swelling and staying wet, bring in a restoration pro. As your next step, inspect the supply line, drain hose, and door seal so dishwasher leak water damage cleanup does not become a repeat problem.
Dishwasher leak water damage cleanup works best when you treat it as both an emergency stop and a careful drying project. Shut off water and power, extract water quickly, and open up hidden spaces where moisture can linger under cabinets and flooring. Then dry with airflow and dehumidification until materials feel normal and smell clean, not just until the surface looks dry. If damage spreads beyond what you can access or materials are swelling and staying wet, bring in a restoration pro. As your next step, inspect the supply line, drain hose, and door seal so you can stop water damage from spreading and ensure dishwasher leak water damage cleanup does not become a repeat problem.