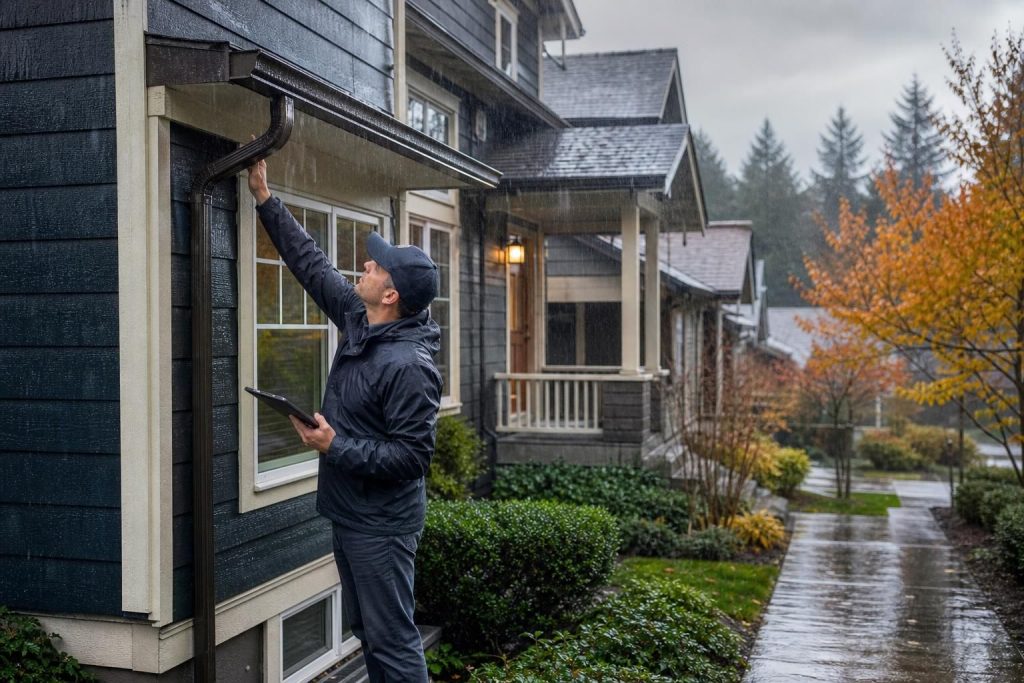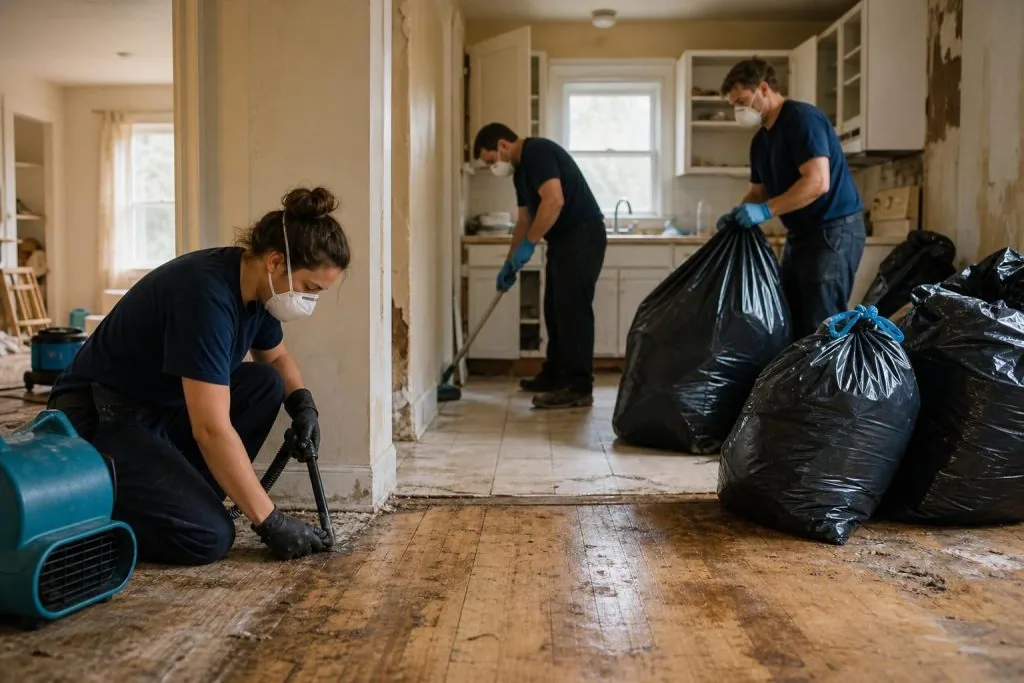

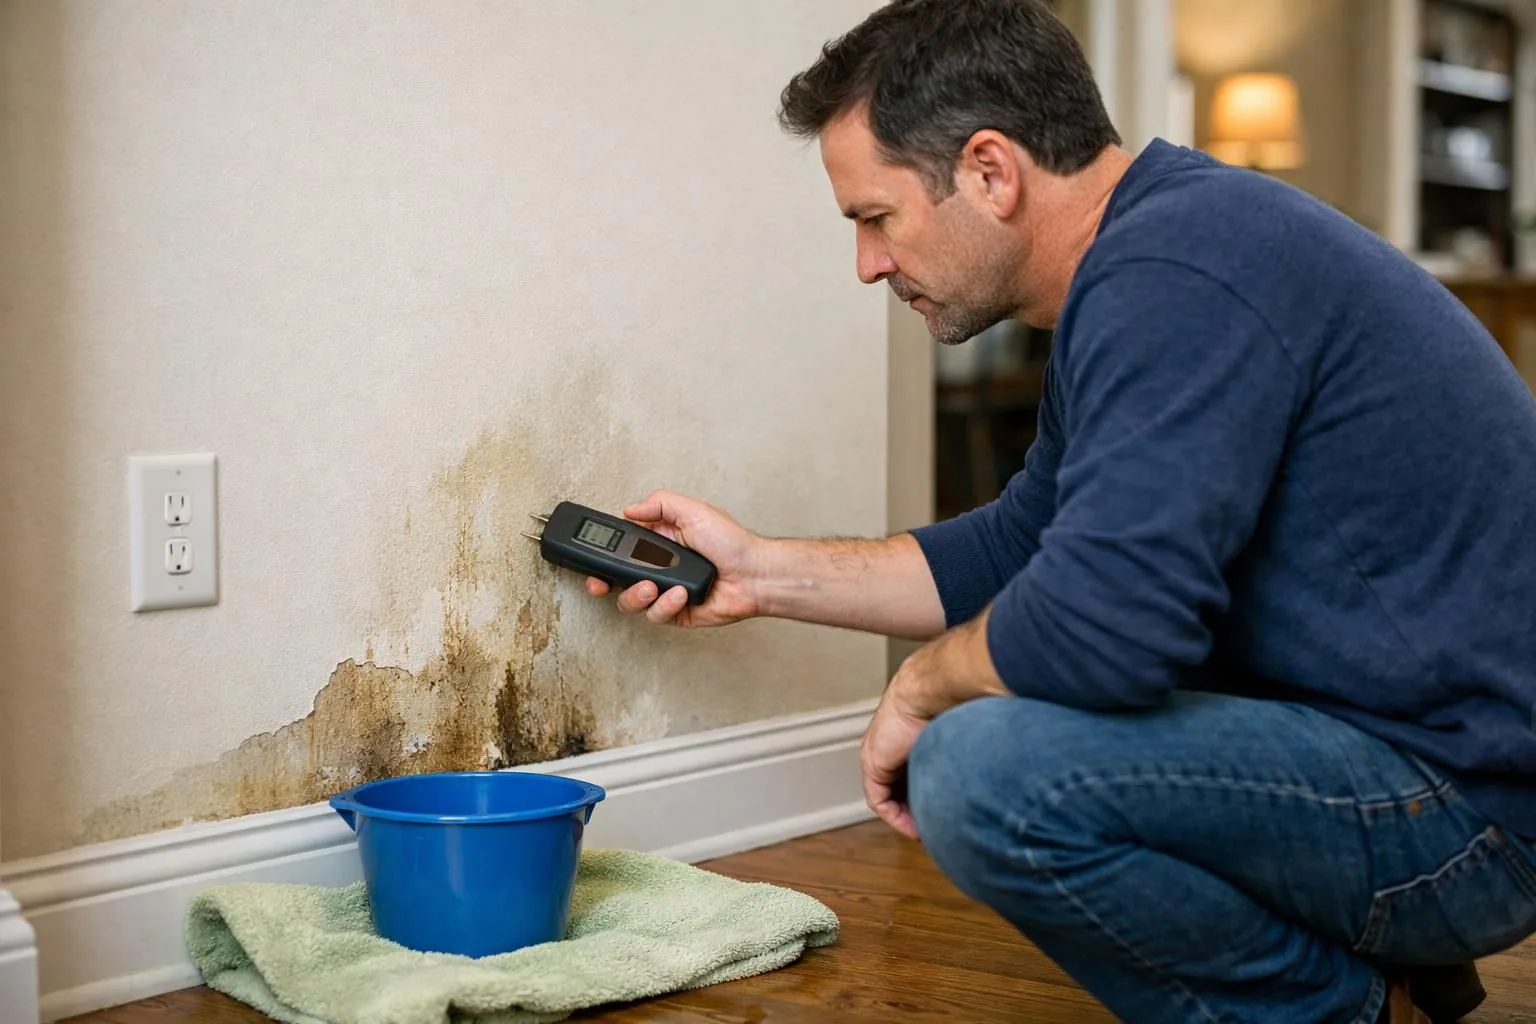
Wet insulation in wall what to do isn’t just a “dry it out and forget it” situation. Once insulation gets wet, it can hold moisture right where you don’t want it: against wood framing, drywall, and fasteners. That’s how a small leak turns into insulation water damage, warped materials, and mold risk. The good news is you can usually get ahead of it if you act fast and stay methodical.
In this guide, you’ll learn what to do in the first hour, how to find the real moisture source, when drying is realistic, and when removal is the only safe call.
Best for: Homeowners who caught moisture early and can access the affected wall section without major demolition.
Not ideal when: The wall has been wet for days, smells musty, or the insulation is saturated and slumping.
Good first step if: You suspect a leak, shut off the water, document the area, and plan a small inspection opening.
Call a pro if: There’s electrical involvement, contaminated water, widespread wet materials, or signs the leak is still active.
Quick Summary
- Treat wet insulation after leak as a wall-system problem: source, materials, and drying all matter.
- Wet fiberglass insulation often dries poorly in-place because it traps moisture against paper-faced drywall and studs.
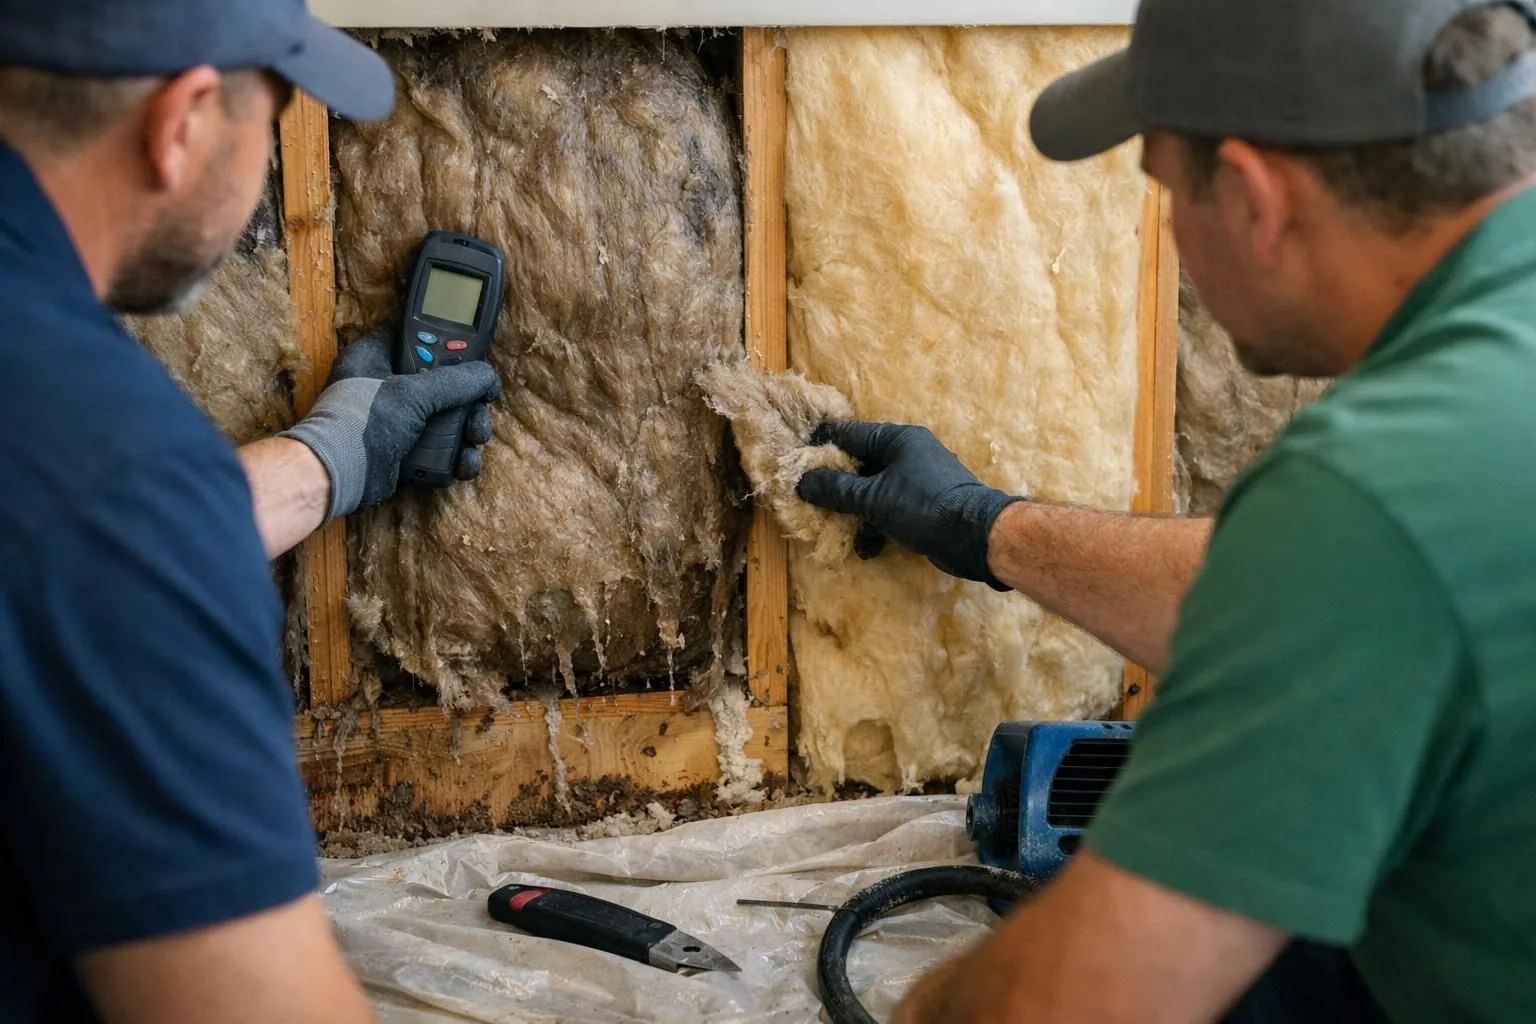
- A small inspection cut usually beats guessing, because you can confirm water in wall cavity and check framing.
- Drying works only with airflow, dehumidification, and verification, not just “waiting it out.”
- Replace insulation once it’s contaminated, sagging, or moldy, and restore air and vapor control layers carefully.
Quick Steps to Take Immediately
Act fast and assume moisture is spreading. Stop the water by shutting off the fixture supply, or the main if unsure. Cover any rain entry to prevent repeat wetting.
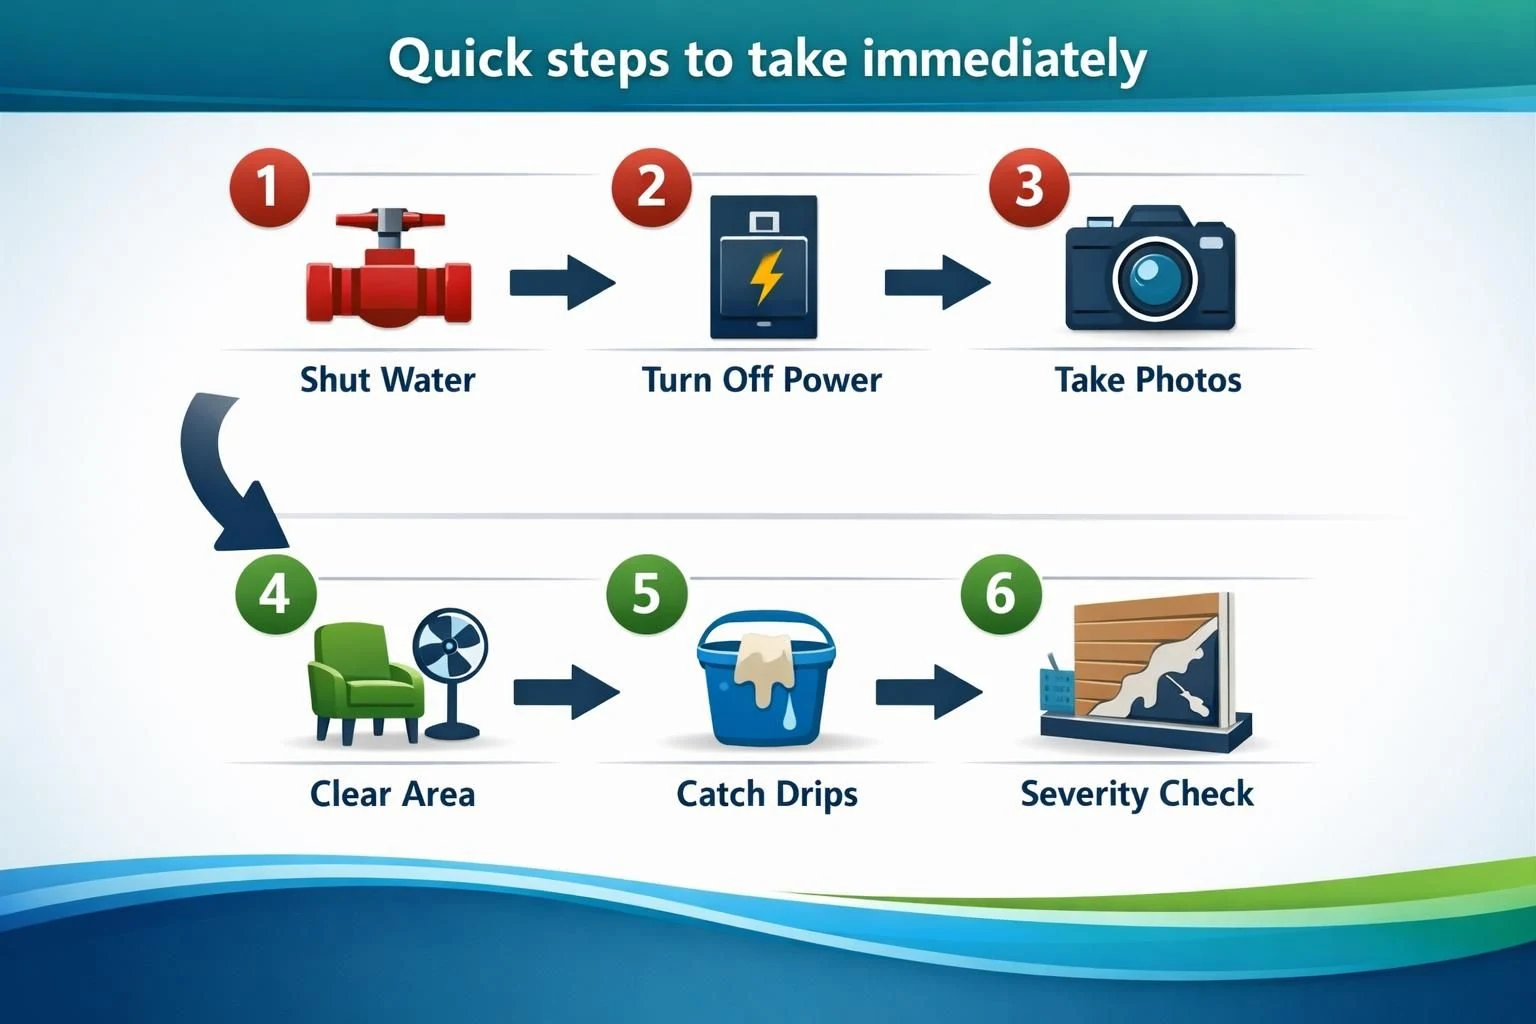
Then limit damage and document: shut off power to that wall if outlets are nearby, photograph stains and bulges, move furniture and rugs back, and catch drips while removing soaked items. Soft or bulging drywall suggests cavity wetness. For steps: stop damage from spreading.
Why Wet Insulation is a Bigger Problem Than it Looks
Wet insulation undermines heat, air, and moisture control at once. Even if paint looks fine, damp insulation can keep studs and sheathing wet long enough for odor, rot, and mold.
Fiberglass loses loft and holds a cold damp layer. Cellulose clumps and settles, leaving gaps. Foam absorbs less, but water can still travel along framing and pool at the bottom plate. Trapped moisture, not a brief splash, drives risk.
Find and Stop the Moisture Source (leak vs Condensation)
The correct fix depends on whether you’re dealing with a one-time leak, a repeating plumbing issue, or condensation that’s happening whenever conditions line up. You have to identify the source before you commit to drying or repairs, because “drying a wall” while it’s still getting wet is a losing game.
Start with the simplest clues. Leaks often show up as localized wetness, staining that follows gravity, or wet spots that get worse when a fixture runs. Condensation is more seasonal or cyclical, often on exterior walls, and may correlate with cold snaps, high indoor humidity, or blocked airflow.
Quick ways to narrow it down:
- Run the suspected fixture (sink, shower, dishwasher) and watch for new dampness
- Check below windows, corners, and behind furniture on exterior walls for cold-surface condensation
- Look for wetness at the bottom plate (baseboard area) which can indicate water traveling down inside the cavity
- Note whether the wet spot grows when HVAC runs, which can point to humid air leakage or duct sweating
Can Wet Insulation Be Dried or Does it Need Removal
Wet insulation can sometimes dry in place, but removal is safer when it’s saturated, dirty, or has been wet long enough to smell. The key is whether you can dry all layers and verify dryness.
If you can open the cavity, move air, and confirm framing is drying, it may be salvageable. Remove insulation if it’s slumped, dripping, staying cold and damp, or shows mold, odor, contamination, or repeat wetting.
Fiberglass vs Cellulose vs Foam: What Changes
Fiberglass often fails when wet: it loses loft, holds water, and dries slowly against drywall. Slight dampness may be salvageable with full ventilation, but saturated batts usually need removal.
Cellulose absorbs water, then clumps and settles as it dries, leaving voids and extending dampness. Spray foam absorbs less, yet water can track along studs and pool at the bottom plate, so open and dry if separation or tracking is suspected.
How Long it Stayed Wet (and Mold Risk)
The longer insulation stays wet, the more removal makes sense. Even without visible mold, a wall that remains damp through multiple day-night cycles often develops odor and persistent moisture in framing.
If you can’t confirm the start time, assume higher risk. If it happened today and you open and dry immediately, you may avoid deeper damage. For guidance: how long to dry a wall.
How to Open the Cavity Safely and Avoid Electrical Risk
Make a small, controlled opening and treat electrical safety as the priority. Turn off the breaker for that wall and verify power is off at nearby outlets and switches with a non-contact tester. If you can’t identify the right breaker, shut off the main.
Use the least invasive access: pull baseboard for low damage, or cut a small opening above staining. Score first and cut slowly, avoiding outlets. If drywall is compromised, use: drywall water damage signs.
Drying the Wall Cavity (airflow
Dry the cavity by giving moisture an exit path and keeping humidity low until materials test dry. Remove or loosen wet insulation so air reaches studs and sheathing, then open the cavity low (and higher if practical) for flow. Aim a fan across the opening while running a dehumidifier in the closed room. Confirm drying with repeated moisture-meter readings on framing.
Drying the Wall Cavity (airflow, Dehumidification, Verification)
Dry the cavity materials, not just the room. After removing or pulling back insulation, maintain continuous airflow and dehumidification.
Create airflow through the cavity, run a dehumidifier with doors closed, and aim fans across openings. HVAC can help but isn’t enough alone. Verify with a pin-type moisture meter on framing over 1–2 days. If readings stall, add access for wet plates, corners, or sheathing.
Replacing Insulation and Restoring Vapor/air Barriers
Replace insulation only after the cavity is dry and the leak is fixed. Match type and thickness, and install without compression or gaps so air can’t re-wet materials.
Restore wall control layers: kraft facing or smart vapor retarder, taped seams, and seals around penetrations. Before closing, check wiring and pipe clearances, seal holes, and avoid trapping moisture behind impermeable patches. For a repair sequence: water damaged wall repair.
When to Call a Restoration Pro
Call a restoration pro if you can’t stop the water, access the cavity safely, or verify drying with measurements. Escalate for large areas, contaminated water, or spread across rooms.
Triggers include water near panels or multiple outlets, suspected sewage or gray water, wetness that returns, or hidden spread into floors or ceilings. For what pros do: restoration process overview.
Conclusion
Wet insulation in wall what to do comes down to three moves: stop the moisture source, get safe access to confirm what’s wet, and dry or remove materials based on what you find, not what you hope. If the insulation is saturated, contaminated, or has been wet long enough to smell musty, removal and a controlled dry-out is typically the cleanest path. When electricity, big spread, or persistent dampness shows up, bring in a pro before you close the wall back up.