Water damage never stays “just a little wet” for long. The longer moisture sits in flooring, drywall, and framing, the more it spreads, the harder it is to dry, and the more likely you’ll end up with odors, warping, or microbial growth. That’s why the water damage restoration process is built around speed, documentation, and controlled drying, not just mopping things up.
In this guide, you’ll walk through each phase crews use on real jobs, what equipment is doing the heavy lifting, and what you can do as a homeowner to keep things moving. You’ll also learn what affects timing, where surprises happen, and when repairs officially start.
Best for: Homeowners dealing with a leak, overflow, or minor flooding who want a clear, step-by-step roadmap of the work.
Not ideal when: You have active electrical hazards, sewage contamination, or structural sagging that makes the area unsafe to enter.
Good first step if: You can stop the water source and safely move valuables while you wait for an assessment.
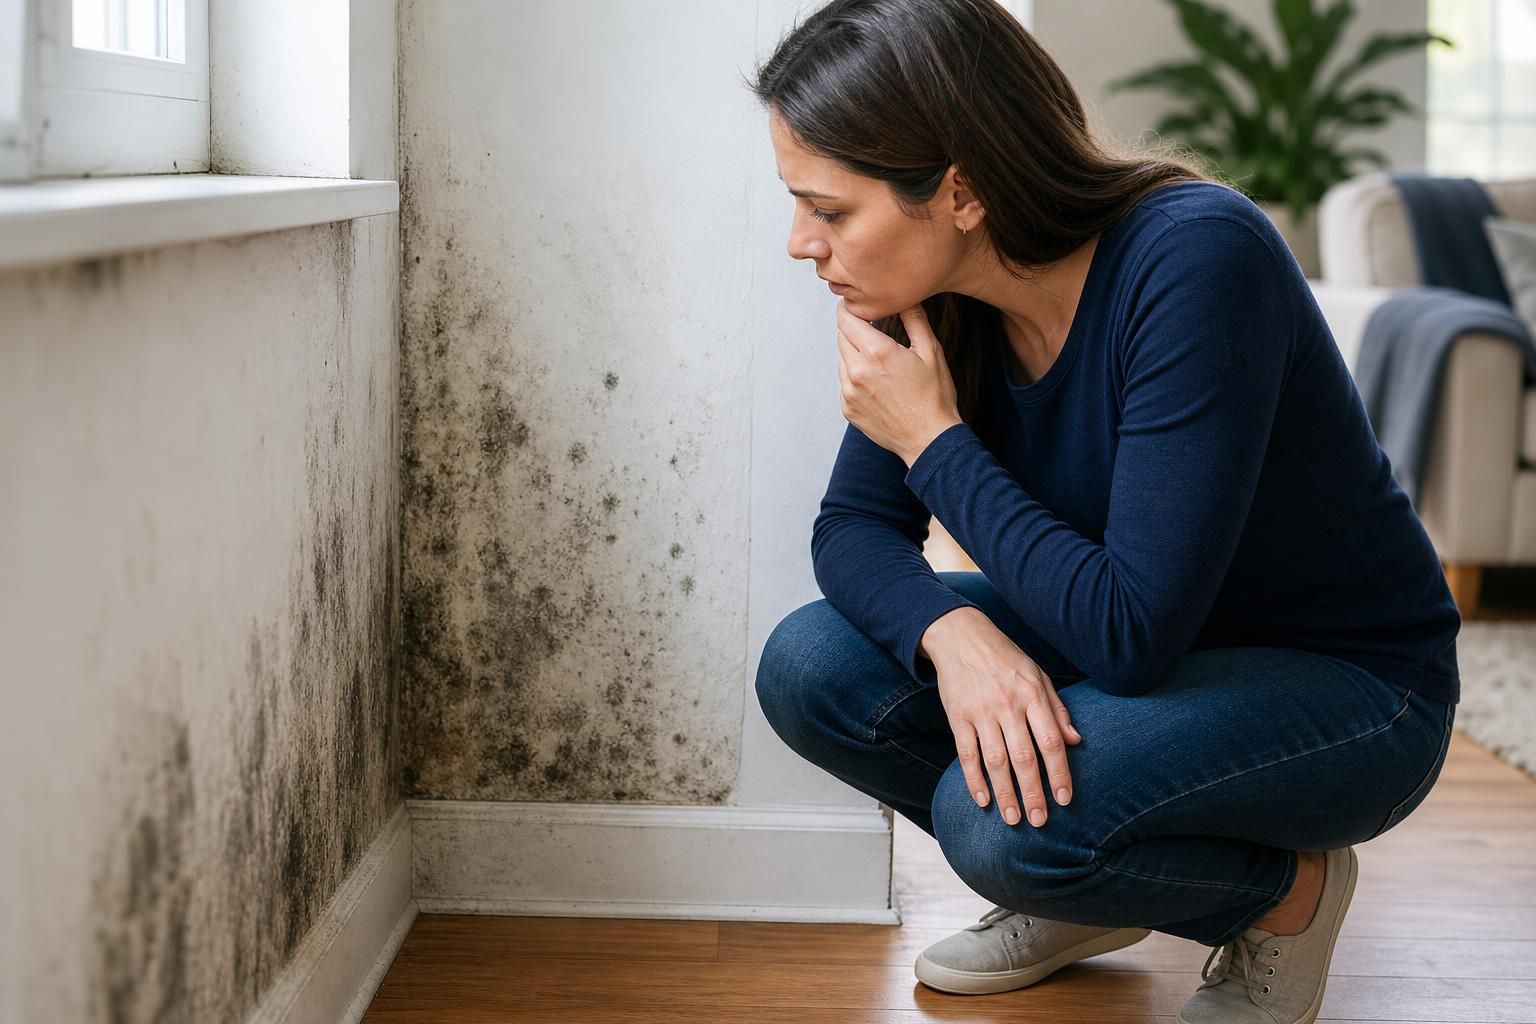
Call a pro if: Water reached drywall, insulation, subflooring, or you smell musty odors that suggest hidden moisture.
Quick Summary
- Restoration starts with safety checks and moisture mapping, not demolition.
- Extraction removes bulk water fast, which makes the rest of the drying plan actually work.
- Drying is controlled with dehumidifiers and airflow, verified by moisture readings, not guesswork.
- Cleaning focuses on contamination level, odor control, and protecting salvageable materials.
- Repairs wait until drying goals are met, then rebuild restores surfaces and finishes.
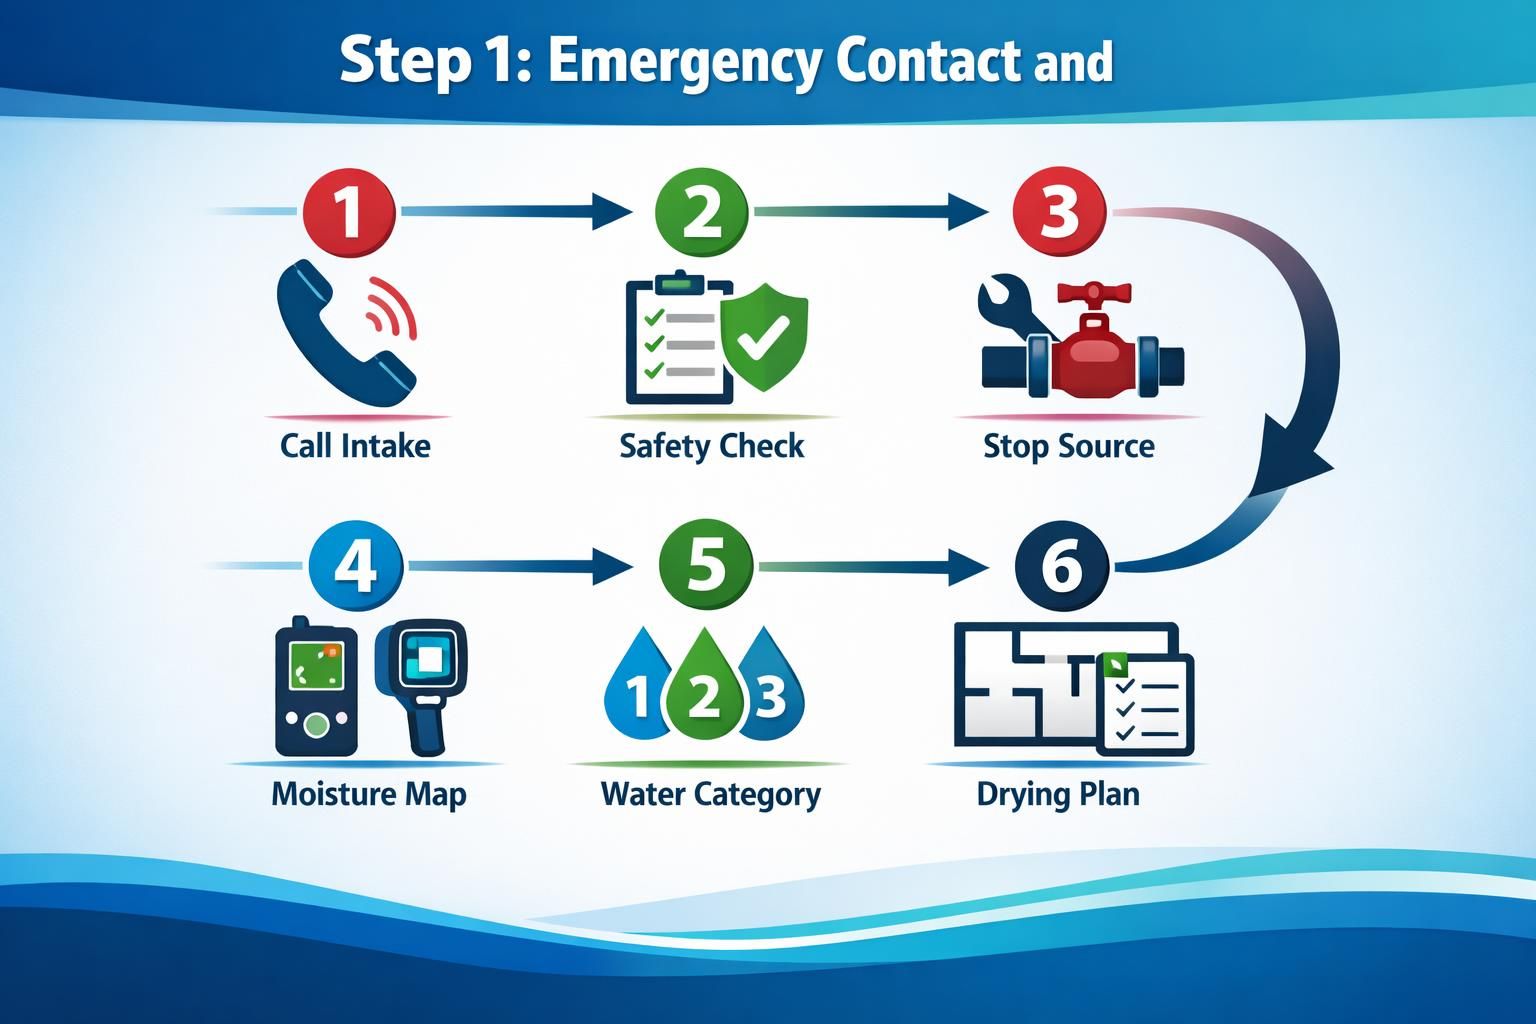
Step 1: Emergency Contact and Assessment
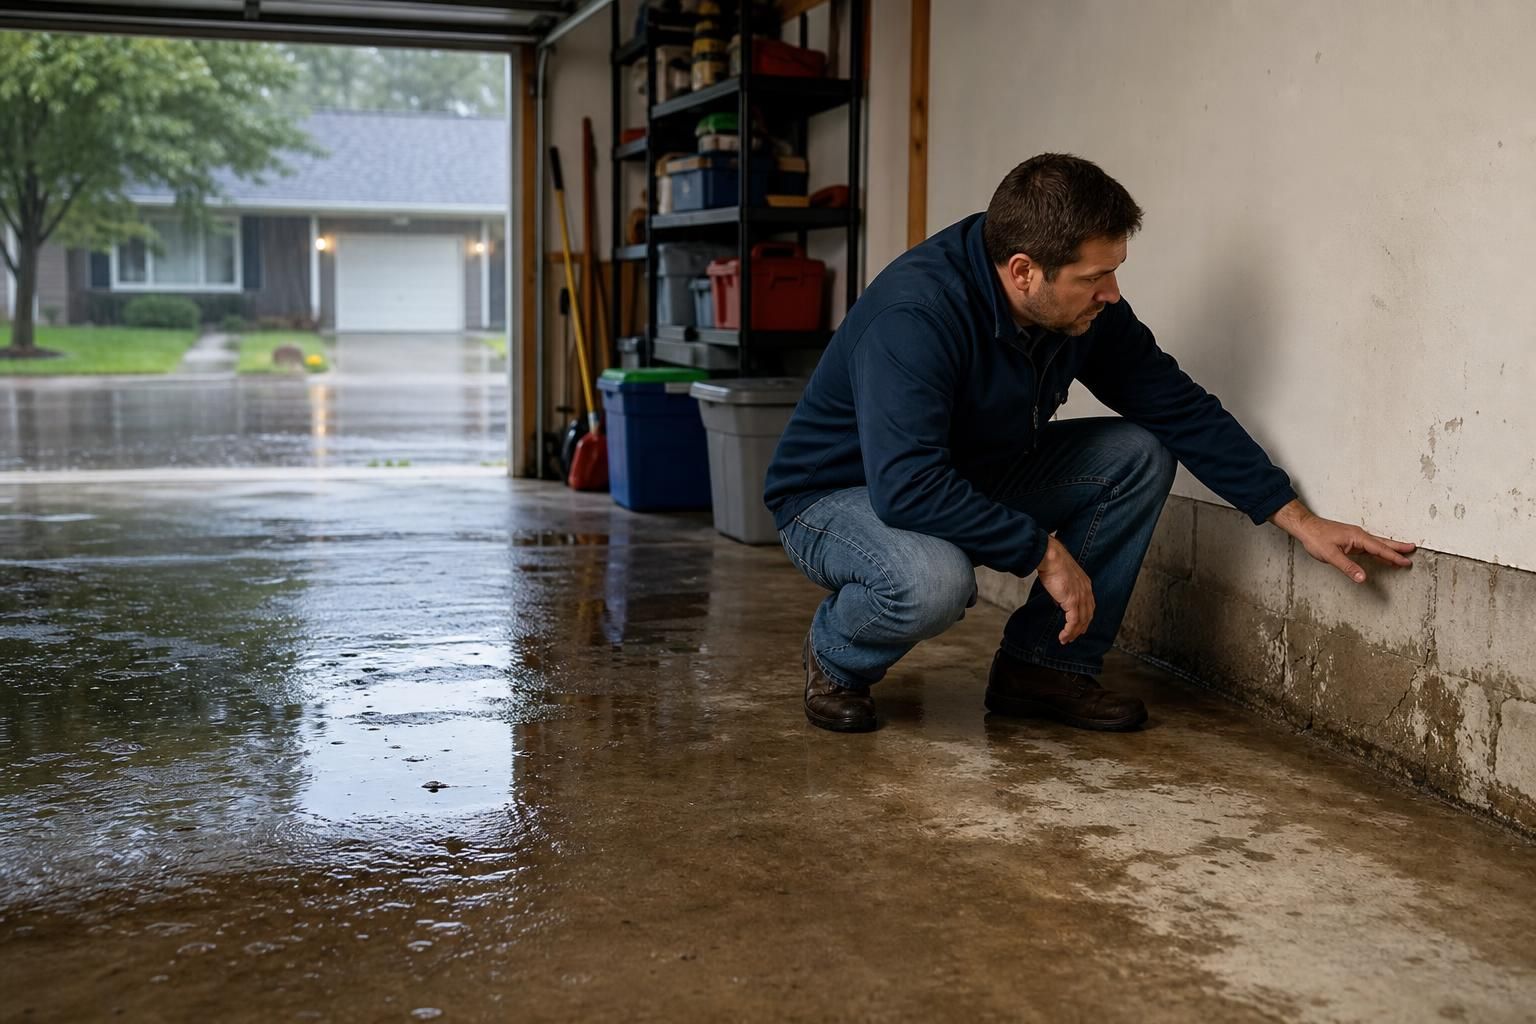
Start with a fast, documented assessment to identify the source, safety risks, and how far moisture spread. Crews may ask repeat-sounding questions to build a timeline: when it began, which rooms were affected, and whether the water is clean, gray, or contaminated. If water is near outlets, the panel, appliances, or ceiling fixtures, power may be shut off before equipment is placed. If the source is active, stopping it comes first, even if that means shutting the main or calling a plumber. Techs verify conditions with moisture meters and sometimes thermal imaging to find wet materials under flooring and inside cavities. More detail is in emergency response basics. While you wait, if safe, shut off water, move valuables, blot puddles, and take photos.
Step 2: Water Extraction
Water extraction removes standing and trapped water so drying equipment can work. If extraction is skipped or rushed, dehumidifiers must pull water from saturated pad, subfloors, and seams, which slows drying and can force removal later.
Pros use submersible pumps for deeper flooding and high-suction extractors for carpet and hard surfaces. Specialized tools may pull water from carpet edges and tight transitions.
Extraction also reflects what’s worth saving. Clean-water carpet may be salvageable, but pad often isn’t. Hardwood and engineered floors are tricky because water can sit under planks, so crews may pull baseboards or create access to move air. For floor-specific red flags, see hardwood floor warning signs.
Common methods include pumping, truck-mounted or portable extraction, weighted mats for some floors, and wet vacuuming or squeegeeing after bulk removal. It can look dry while materials remain wet, so meter checks continue.
Step 3: Drying and Dehumidification
Drying and dehumidification is controlled moisture removal from materials and air until verified targets are met, preventing swelling, cupped floors, and odor. Air movers increase evaporation across wet surfaces. Dehumidifiers pull that moisture from the air so drying doesn’t stall. For isolated damage, crews may hang containment to create a stable drying chamber. Pros don’t call it dry by touch; they measure moisture in affected materials and compare it to an unaffected dry standard in your home. Monitoring typically includes daily checks of temperature, humidity, and moisture content, with equipment adjustments as conditions change. If materials are saturated, contaminated, delaminating, or swelling, drying may shift to removal. See drywall damage decision cues.
Step 4: Cleaning and Sanitizing
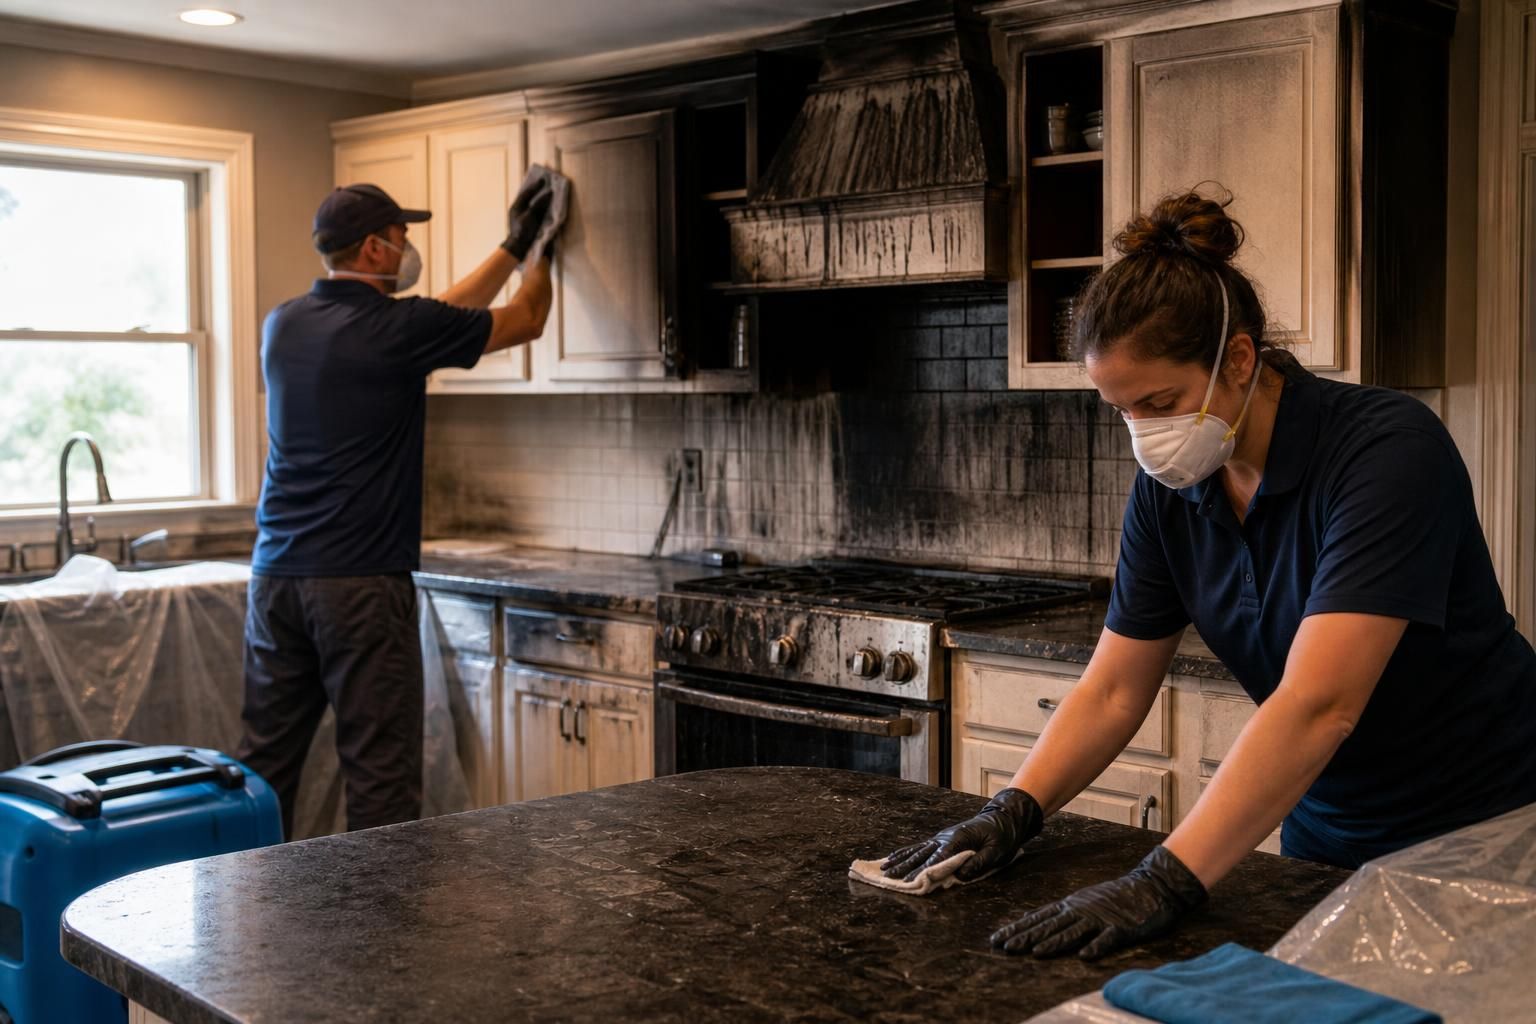
Cleaning and sanitizing removes residue, manages contamination risk, and helps prevent permanent odor. Even clean-water losses can leave behind organics and “wet building” smell once materials warm up.
The approach depends on water category and surfaces. After a supply-line leak, work may focus on dust control, HEPA vacuuming, and targeted disinfection. With gray water or sewage, the job becomes decontamination: removing porous materials, using appropriate disinfectants, and sometimes building containment to limit spread.
Appliance leaks can travel in surprising paths. For example, dishwasher leak cleanup steps explains why water often moves under cabinets and appears later in adjacent rooms.
Most projects include hard-surface cleaning, HEPA vacuuming after drying or demolition, antimicrobial application when appropriate, and odor management matched to the source. Contents may be cleaned on-site or packed out.
Porous items like paper goods, particleboard furniture, and some fabrics are harder to restore once wet. Teams often sort items into clean, restore, or discard, and document decisions to avoid disputes later.
Step 5: Restoration and Repairs
Restoration and repairs is the rebuild phase that returns the home to pre-loss condition after drying goals are confirmed. Typical work includes drywall and insulation replacement, baseboards and trim, paint and texture matching, flooring repair or replacement, and cabinet or vanity rebuilds.
Repairs should not begin until moisture is back to acceptable levels. Closing up wet cavities can trap odor and microbial growth. A solid team can show moisture readings, explain what was removed, and provide a build-back schedule.
Coordination matters. Sometimes mitigation and reconstruction are handled by different companies, so the handoff should include photos, moisture logs, and a clear scope to reduce arguments about what was damaged versus cosmetic.
Common repairs include patching flood cuts, reinstalling trim, refinishing or replacing flooring, rebuilding toe-kicks, and final cleaning with contents reinstallation.
Insurance can affect scope and materials. For a practical overview of what coverage may influence, see water damage insurance basics.
How Long Does the Water Damage Restoration Process Take
Timelines depend on how far water traveled into hidden materials, how quickly extraction began, and what must be removed versus dried in place. A small clean-water leak caught early may move quickly, while wet wall cavities, cabinets, and multiple rooms take longer.
Drying is usually the biggest variable because it’s driven by physics, material thickness, and trapped moisture under finishes. If the source isn’t fixed, drying can’t keep up and the clock resets.
Repairs add time based on material availability, trade scheduling, and whether parts of the home must remain usable during work.
What most often slows the process: late discovery, wet insulation or layered flooring, saturated cabinetry, contaminated water requiring detailed cleaning, and insurance approvals or scope changes.
What helps: quick shutoff, early extraction, clear access (moved furniture and cleared closets), consistent monitoring with documented targets, and fast decisions on what you want to restore versus replace.
What to Expect as a Homeowner
Expect frequent communication, visible equipment, and a home that feels like a jobsite. Air movers are loud, cords and hoses may run through rooms, and crews may ask you to manage doors or HVAC settings to control airflow.
You’ll also make finish decisions: paint matching, trim reuse, flooring repair versus replacement, and cabinet options. Delays often come from changing direction, so ask for tradeoffs and choose a path.
Clarify early: your day-to-day point of contact, which areas are off-limits, what documentation you’ll receive (photos, moisture logs, inventory), what gets removed or protected, and how change orders are handled if hidden damage is found.
Also track the original cause. Mitigation teams stop the damage, but plumbing or appliance repairs may be separate. If you suspect a sink problem, fix a leaking sink can help you decide what to check and when to call a plumber.
FAQs
Do I Need to Leave the House During Restoration?
Often you can stay for small, clean jobs. But noise, limited access, dust, and safety during demolition or contamination may make temporary relocation the better option.
Can I Run My Air Conditioning or Heat While Equipment is Drying?
Usually yes, if it supports the drying plan. Keep the thermostat in the requested range and avoid open windows. Ask before changing settings.
Why Are Parts of Drywall or Baseboards Removed Even if They Look Fine?
Drywall and trim wick water and can hide moisture in cavities. Removing sections creates airflow, exposes wet insulation, and improves moisture checks to avoid sealing in damp materials.
Is DIY Drying With Fans Enough?
Only for a tiny, immediate spill on non-porous surfaces. If water reaches pad, subfloor, insulation, or wall cavities, fans can’t control humidity or verify dryness reliably.
What’s the Difference Between Mitigation and Restoration?
Mitigation stops further damage: extraction, drying, cleaning, and removing unsalvageable materials. Restoration is the rebuild: drywall, paint, trim, and flooring repairs. See mitigation vs restoration explained.
Conclusion
The water damage restoration process works best when it’s treated like a controlled project: assess and document, extract fast, dry to verified targets, clean based on contamination risk, then repair only when the structure is truly ready. Your practical next step is simple: confirm the water source is fixed, get a clear drying plan with monitoring, and ask what materials are being saved versus removed. When you know the sequence, you’ll make better decisions and avoid rushed repairs that create new problems later.