A sink leaking problem feels small until it isn’t. A slow drip under the cabinet can quietly swell particleboard, loosen flooring, and set you up for mold, while a sudden spray can soak everything in minutes. The good news is you can usually track the source with a couple simple tests, then fix it with basic tools and the right replacement parts. In this guide, you’ll learn what to do first to limit damage, the most common leak points for kitchen and bathroom sinks (including sink disposal leaking issues), and step-by-step DIY fixes. You’ll also get clear “wait vs urgent” cues so you know when to stop and call a plumber.
Best for: Homeowners and renters who want to diagnose an under-sink drip and handle straightforward tightening or part swaps safely.
Not ideal when: You can’t stop the flow, see widespread corrosion or cracking, or the cabinet and floor are already soft or swollen.
Good first step if: You’re unsure where the water’s coming from and need a quick test plan before buying parts.
Call a pro if: The shutoff valve fails, the leak is pressurized, sewage odor is present, or water has reached electrical outlets or devices.
Quick Summary
-
Most under-sink leaks come from a loose slip nut, a worn rubber washer, or a failing seal at the drain flange.
-
Diagnosis is faster if you dry everything first, then test one water path at a time (faucet, drain, disposal, dishwasher hose).
-
Condensation can mimic a leak, especially on cold supply lines, so a “wipe and watch” check matters.
-
Many fixes are simple: snug a compression fitting, replace an O-ring, or reseal a strainer basket with plumber’s putty.
-
Recurring leaks often point to misalignment, cabinet shift, or parts that are cracked or corroded and should be replaced.
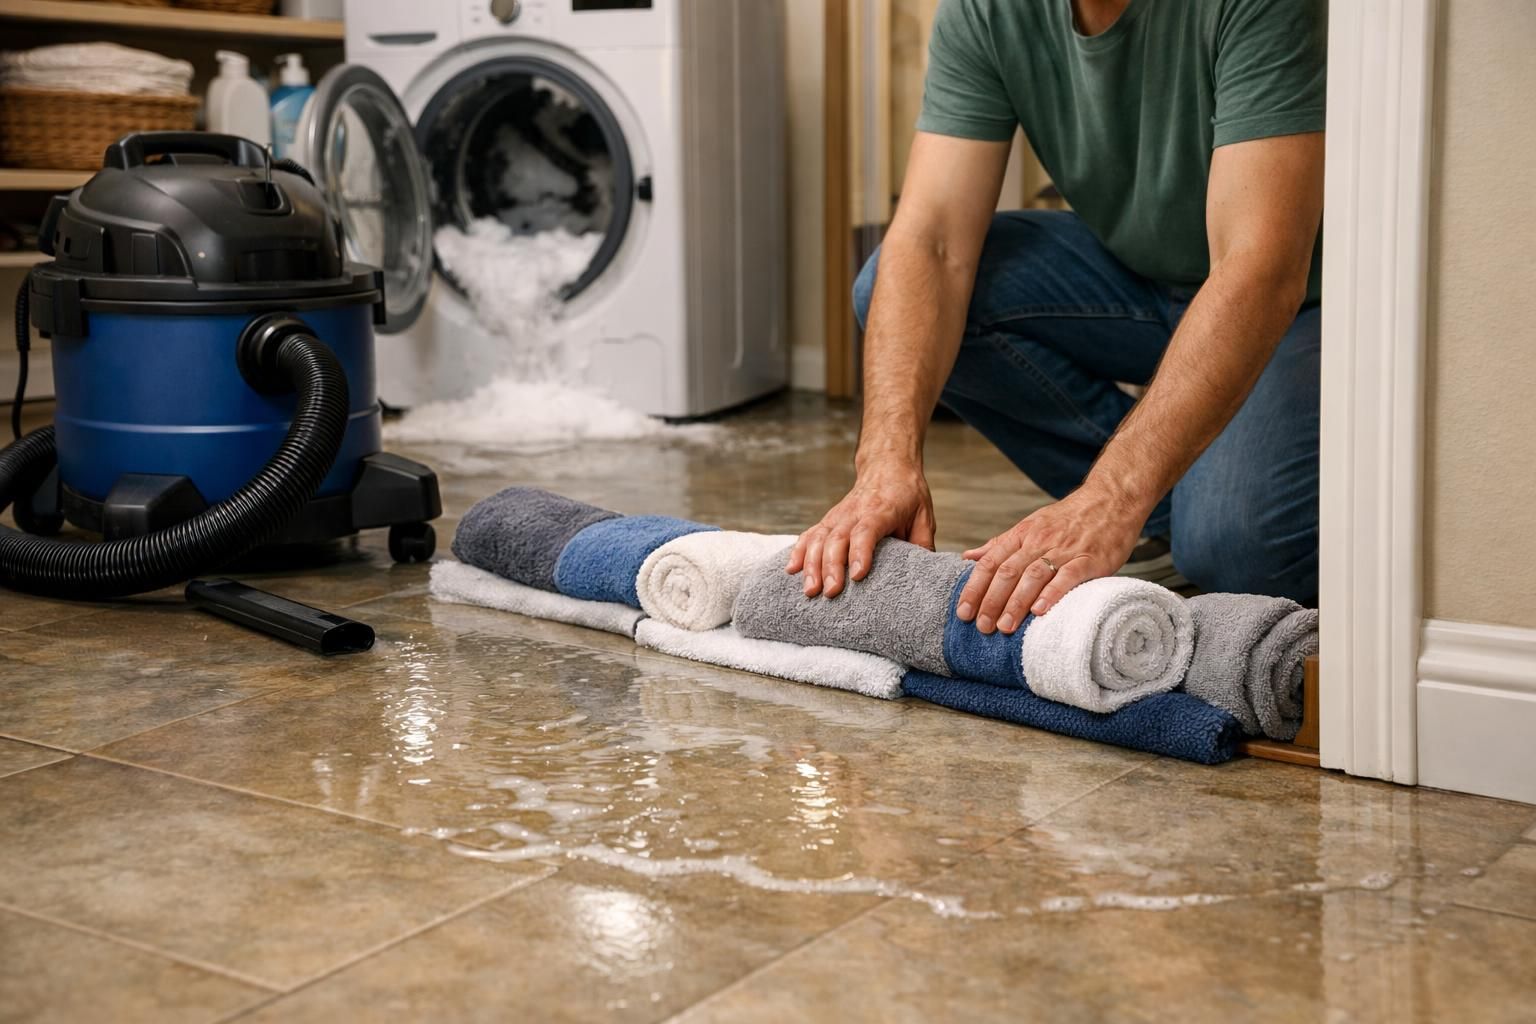
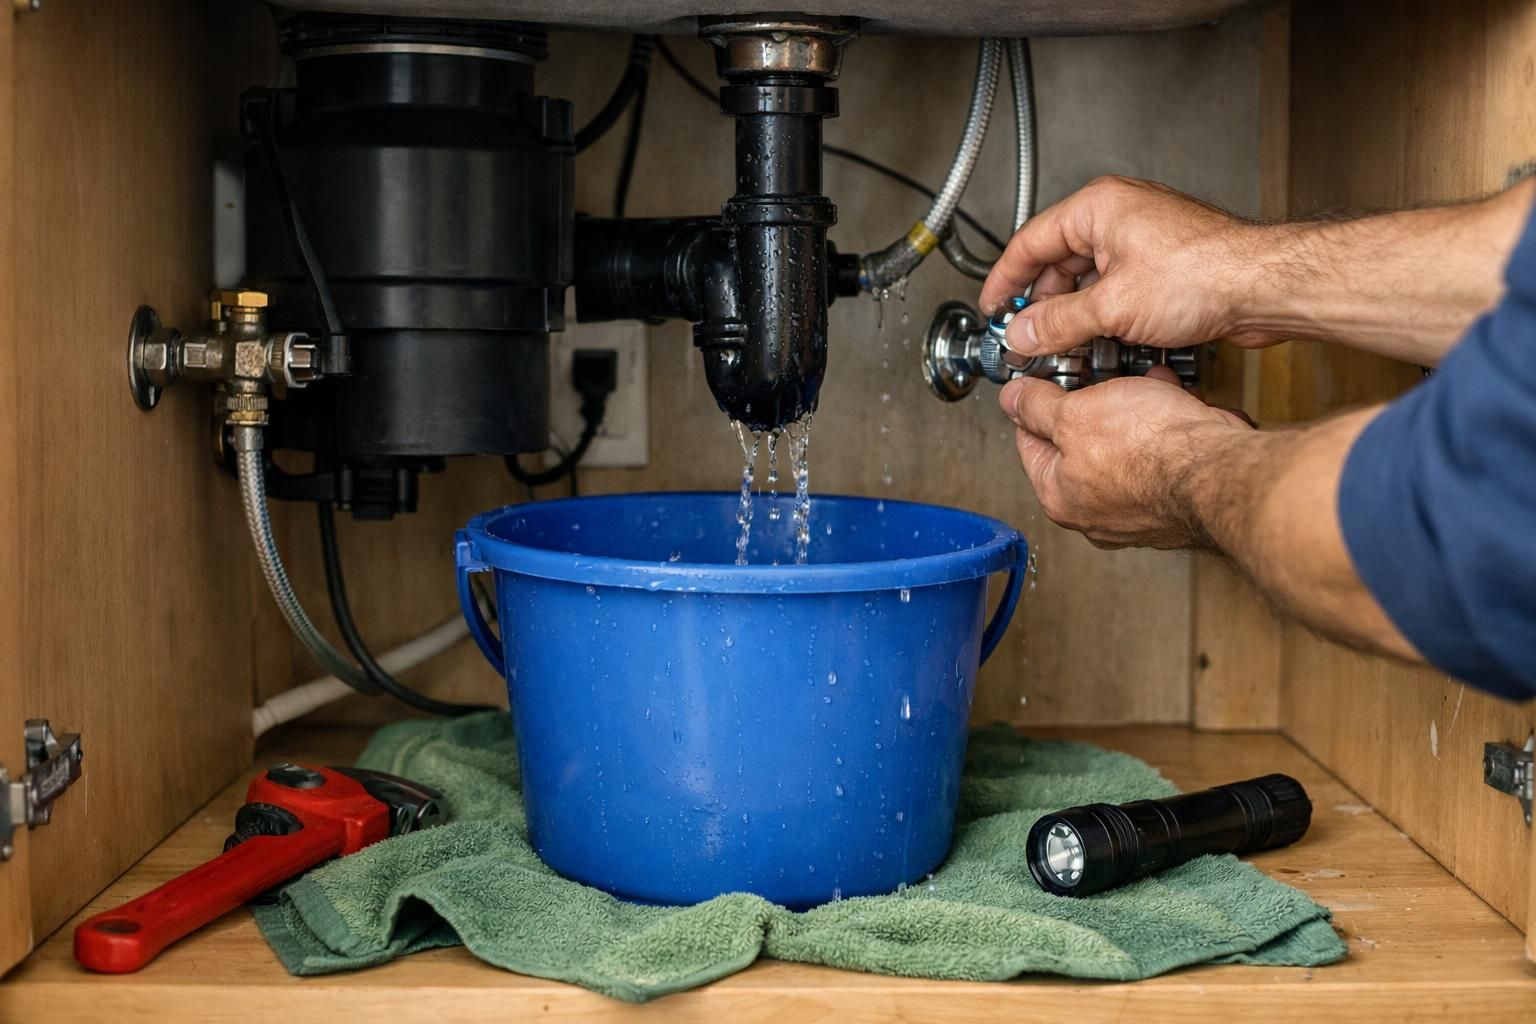
What to Do First (Stop Water and Prevent Damage)
First, stop the water and protect the cabinet before diagnosing. Put a bucket under the drip, stop
Shut Off Valves and Quick Containment
Shut off the hot and cold shutoff valve under the sink by turning each clockwise until it stops. Then open the faucet to relieve pressure and confirm the flow is actually off. If the leak continues with both valves closed, you’re dealing with drain-side water, a failed shutoff valve, or a backflow issue.
Containment is simple but worth doing well:
-
Put a towel around the base of the cabinet and a bucket directly under the drip
-
Wipe standing water so you can see fresh drips clearly
-
Add a small tray or pan under the plumbing to catch residual drips while you test
Where a Sink Can Leak (Common Leak Points)
Most sink leaks come from a few connections, and where water shows up usually points to the culprit. Under a kitchen sink, start at the shutoff valves, supply line connections, and the drain/disposal assembly. In bathrooms, leaks are often at the P-trap, tailpiece, or faucet cartridge and handle area.
Remember there are two systems: pressurized supply and gravity drain. Supply leaks can drip even with the faucet off if valves are open. Drain leaks appear when water runs or backs up. Identifying the system prevents random tightening and speeds diagnosis.
Faucet/handle, Drain, P-trap, Supply Lines, Disposal
The most common leak points are easy to list, but you’ll spot them faster if you know what they look like:
-
Faucet and handle: dripping at the spout, water around the faucet base, or moisture under the deck suggests a cartridge, O-ring, or valve seat issue.
-
Supply lines: drips at the compression fitting or flexible supply hose connection, sometimes leaving mineral streaks.
-
Drain flange/strainer basket: water beads around the sink drain flange and runs down the outside of the drain pipe.
-
P-trap and trap arm: leaks at slip nuts or trap washers, especially after a bump in the cabinet.
-
Garbage disposal: leaks at the disposal mounting ring, discharge gasket, or dishwasher drain hose and clamp.
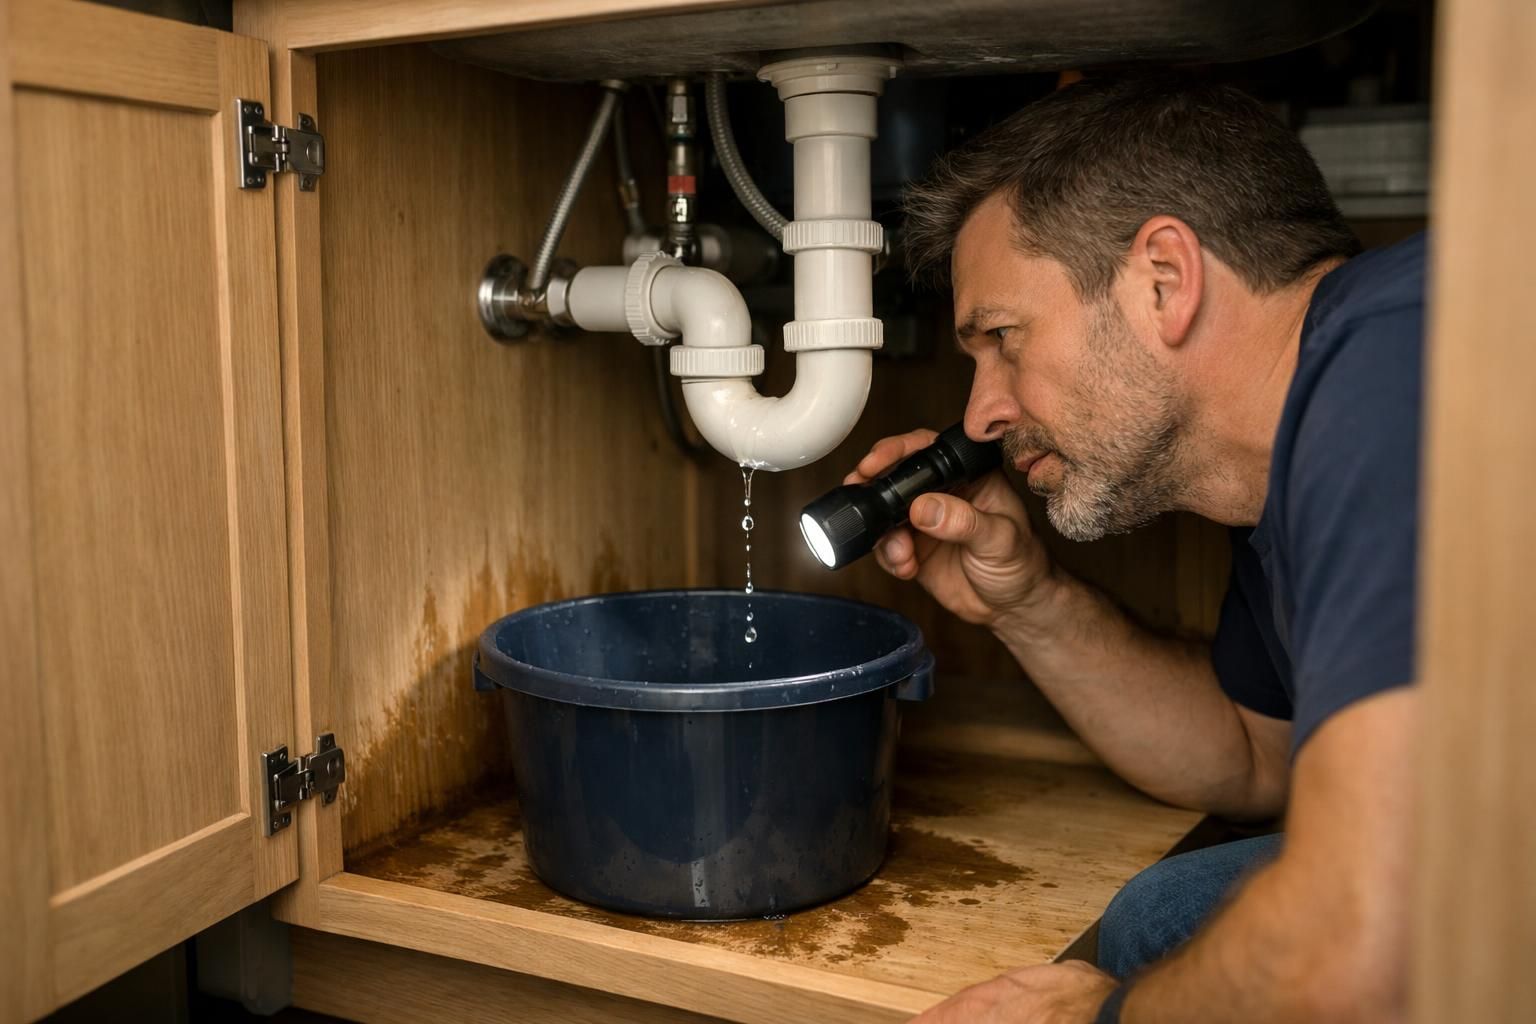
How to Find the Exact Source of the Leak
To locate a leak, start with everything completely dry. Wipe pipes, fittings, and the cabinet floor, then use a flashlight to watch for the first new moisture. Skipping the drying step often leads you to blame the wrong joint.
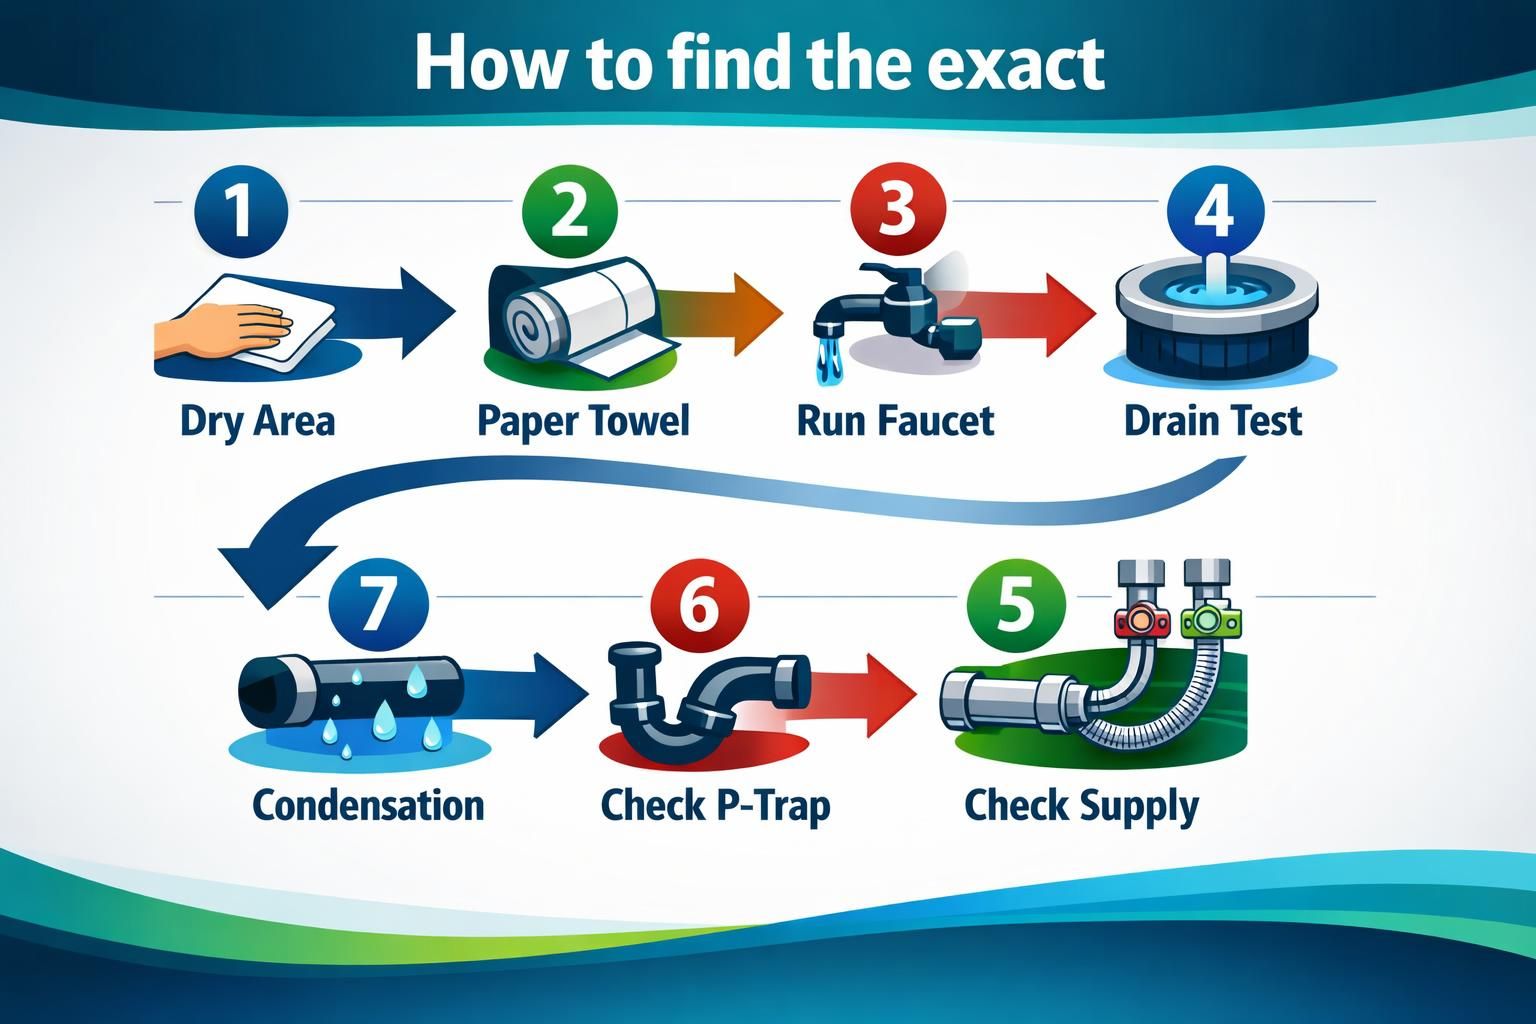
Test in a simple order: supply, then drain, then disposal/dishwasher connections. Turn shutoff valves on with the faucet off. If water appears, it’s a pressurized leak at a valve, supply hose, compression fitting, or faucet inlet. If it stays dry until you run water, suspect the drain flange, tailpiece, P-trap, or trap arm.
Paper Towel + Full-drain Test + Condensation Check
Use a dry paper towel to pinpoint seepage. Wrap it around one joint at a time, then run the exact condition that triggers the leak. If the towel wets at that joint, you’ve found the source.
Do a full-drain test: fill the sink partway and pull the stopper so a surge hits the trap. Surges reveal loose slip nuts and failing drain seals that a trickle can hide.
Also rule out condensation. Dry the cold-water hose, wait a few minutes without running water, and look for uniform sweating along the line (condensation) versus moisture starting at a fitting (leak).
Fixes by Leak Type (Step-by-step DIY)
Most DIY sink leak repairs come down to four moves: tighten a connection, reseal a flange, replace a washer/O-ring, or replace a cracked part. Start with the least invasive fix, because overtightening can split plastic or deform washers. Use an adjustable wrench or channel-lock pliers gently, and support the opposite side to avoid twisting pipes out of alignment.
Have a bucket, towel, flashlight, screwdriver, and (for faucets) a basin wrench. Keep plumber’s putty or silicone (per manufacturer) plus PTFE tape for threads that require it. If leaks happen only during draining or backups, suspect slip joints, gaskets, or flange seals, not pressurized supply fittings.
Tighten, Reseal, Replace Washers/O-rings, Replace P-trap/supply Line
Tighten only when the joint is sound but loose. Snug P-trap slip nuts by hand, then add a cautious quarter-turn with pliers. For compression fittings, tighten in small increments and re-test, since over-torque can deform the ferrule.
Reseal when water runs down the outside of the drain. Remove the strainer, clean off old putty, apply fresh putty or silicone as required, and seat the flange evenly.
Replace washers/O-rings for slow weeping at handles, spouts, or some connections. If the P-trap or supply hose is cracked, brittle, or corroded, replace it.
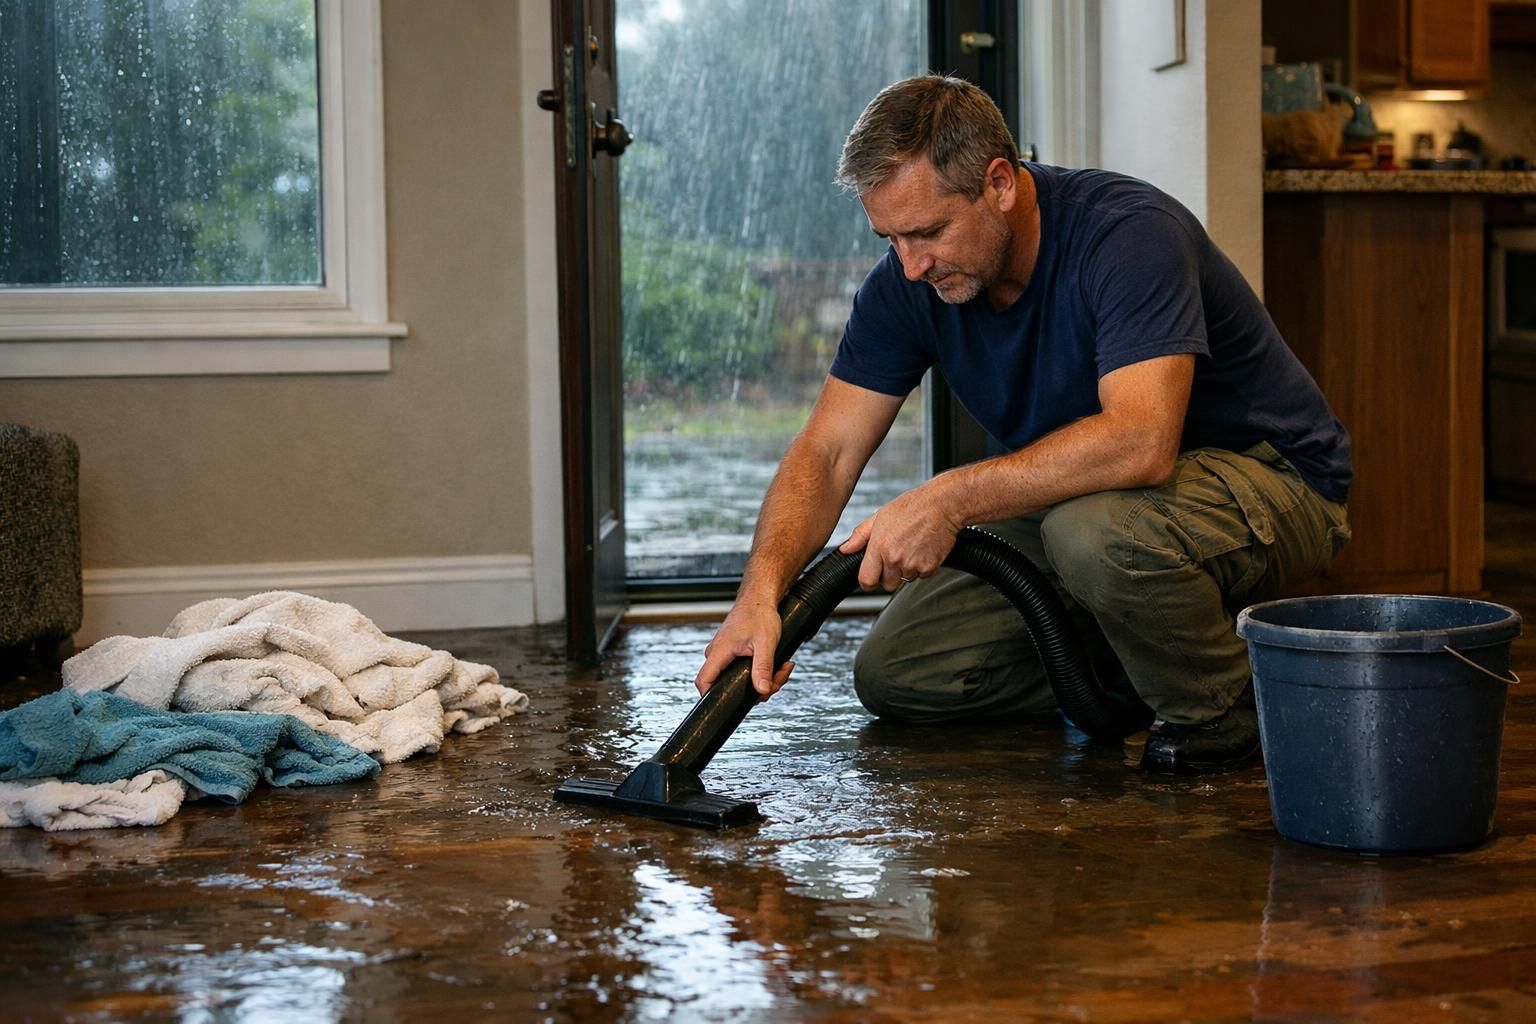
When a Sink Leak is an Emergency (and When it Can Wait)
A sink leak is an emergency when it’s pressurized, pooling fast, or creating electrical or contamination risk. A slow drip into a bucket that stops when you close the shutoff valves can often wait while you get the right washer or gasket. If the shutoff won’t stop flow, the cabinet is filling, or water is spreading beyond the sink base, act immediately.
Moisture damage escalates quickly in particleboard cabinets and subfloors. Swelling, bubbling, softness, or a musty smell means drying matters as much as the plumbing fix. See stop water damage spreading.
Red Flags: Fast Pooling, Cabinet/floor Damage, Sewage Odor, Failed Shutoff
These red flags mean you should stop DIY testing and escalate:
-
Fast pooling or spraying from a supply line or shutoff valve
-
Shutoff won’t close fully, or the valve stem leaks when turned
-
Cabinet base is soft/swollen, or nearby flooring is warping
-
Sewage odor or dirty water at the P-trap (backup or trap issue)
-
Water is reaching the disposal, dishwasher plug, outlet, or wiring
If there’s been a significant soak, drying within the first day matters. Use drying a room after leaks to control moisture and reduce odor or mold risk.
Cost to Fix a Sink Leak (DIY vs Plumber)
DIY is usually cheaper because you mainly pay for parts, but cost depends on how fast you find the source and whether fittings are seized, corroded, or misaligned. A simple under-sink leak from a loose slip nut or worn trap washer may only need basic tools and a new washer. If a shutoff valve fails, a drain pipe is cracked, or a disposal mounting ring is warped, repairs get harder and mistakes get costly.
A plumber’s value is speed plus diagnosis, including spotting high pressure, missing gaskets, or a drain assembly installed out of square. If the leak caused wider damage, costs may shift to drying and restoration. See water damage restoration basics for next steps.
Typical Parts Costs vs Common Pro Repair Ranges
Parts are usually predictable, while labor varies by complexity and access. DIY commonly involves:
-
Rubber washer, trap washer, or gasket replacements
-
New flexible supply hose or water supply line
-
Replacement P-trap, tailpiece, or trap arm section
-
Fresh plumber’s putty, silicone sealant, or PTFE tape
Pro repair ranges are driven by factors like corroded fittings, disposal removal, faucet disassembly, and whether shutoff valves need replacement. You’ll also pay more when a leak has created cabinet damage that must be addressed before plumbing can be secured and aligned again.
How to Prevent Future Sink Leaks
Prevent repeat leaks by catching small seepage early and avoiding habits that ruin seals. Check under the sink monthly: run a hand around slip nuts, feel along supply hoses, and look for mineral tracks or damp spots. Recheck after storing heavy items, since bumps can loosen slip nuts or shift the trap.
Be careful with what goes down the drain. Repeated harsh drain cleaner can soften gaskets and accelerate corrosion, turning minor clogs into recurring leaks. For frequent clogs, use mechanical clearing (like an auger) and improve sink habits instead of relying on chemicals.
Maintenance Checklist and What to Avoid (Overtightening, Harsh Chemicals)
A simple maintenance routine keeps leak under kitchen sink problems from turning into cabinet repairs:
-
Recheck shutoff valve function by turning it off and on gently a couple times a year
-
Inspect compression fittings and supply connections for slow drips
-
Clean disposal splash guards and check the dishwasher drain hose clamp for looseness
-
Keep a small tray under the plumbing so tiny drips are obvious
Avoid these common DIY mistakes:
-
Overtightening slip nuts or compression fittings until plastic cracks or washers deform
-
Mixing mismatched parts (wrong diameter trap washer, wrong cartridge) and forcing them to seal
-
Using harsh chemicals repeatedly instead of clearing clogs mechanically
-
Ignoring cabinet shift or sag that pulls pipes out of alignment and stresses joints
Conclusion
If you’ve got a sink leaking issue, you’ll fix it faster by drying everything first, then testing supply and drain paths. Start by wiping the area completely dry so you can see fresh drips and trace their origin; use paper towels or a cloth and run the faucet briefly to spot whether the leak comes from the faucet body, the supply lines, or the drain assembly. Check the supply side by feeling and observing the shutoff valves, hose connections, and any compression fittings, tighten gently and consider replacing old washers or using plumber’s tape on threaded joints. On the drain side, inspect the tailpiece, P-trap and slip nuts for loose fittings, cracks, or worn gaskets and reassemble or replace parts as needed. If you’ve gone through these steps and the leak persists, shut off the water and call a professional plumber, some leaks require parts or expertise beyond simple DIY fixes.