Window leak water damage gets worse fast because water keeps feeding the same spot until you stop the source and dry what’s already wet. And the tricky part is that the obvious drip isn’t always where the real entry point is. In this guide, you’ll get a practical order of operations: what to do in the first hour, how to tell a true leak from condensation, where to look for hidden moisture, and how to decide whether you can dry it in place or need to open the wall.
Best for: Homeowners dealing with active water intrusion at or below a window who can safely access the area and basic tools.
Not ideal when: Water is entering behind siding or multiple windows, or materials stay wet after drying attempts.
Good first step if: You notice staining, bubbling paint, or damp flooring and want to limit spread before investigating.
Call a pro if: Water is near outlets, you see widespread swelling or odor, or the leak returns with every heavy rain.
Quick Summary
- Stop the water first, then control spread with towels, trays, and gentle airflow instead of sealing moisture in.
- Rule out condensation by checking weather, patterns, and whether moisture is on glass versus inside wall materials.
- Track the likely entry path: flashing, failed sealant, siding gaps, and sill or drainage issues are the usual suspects.
- Hidden moisture is the real risk, especially water damage under window trim and along the sill plate.
- Drying works best with moving air, dehumidification, and repeated moisture checks, not just “waiting it out.”
Quick Steps to Take Immediately
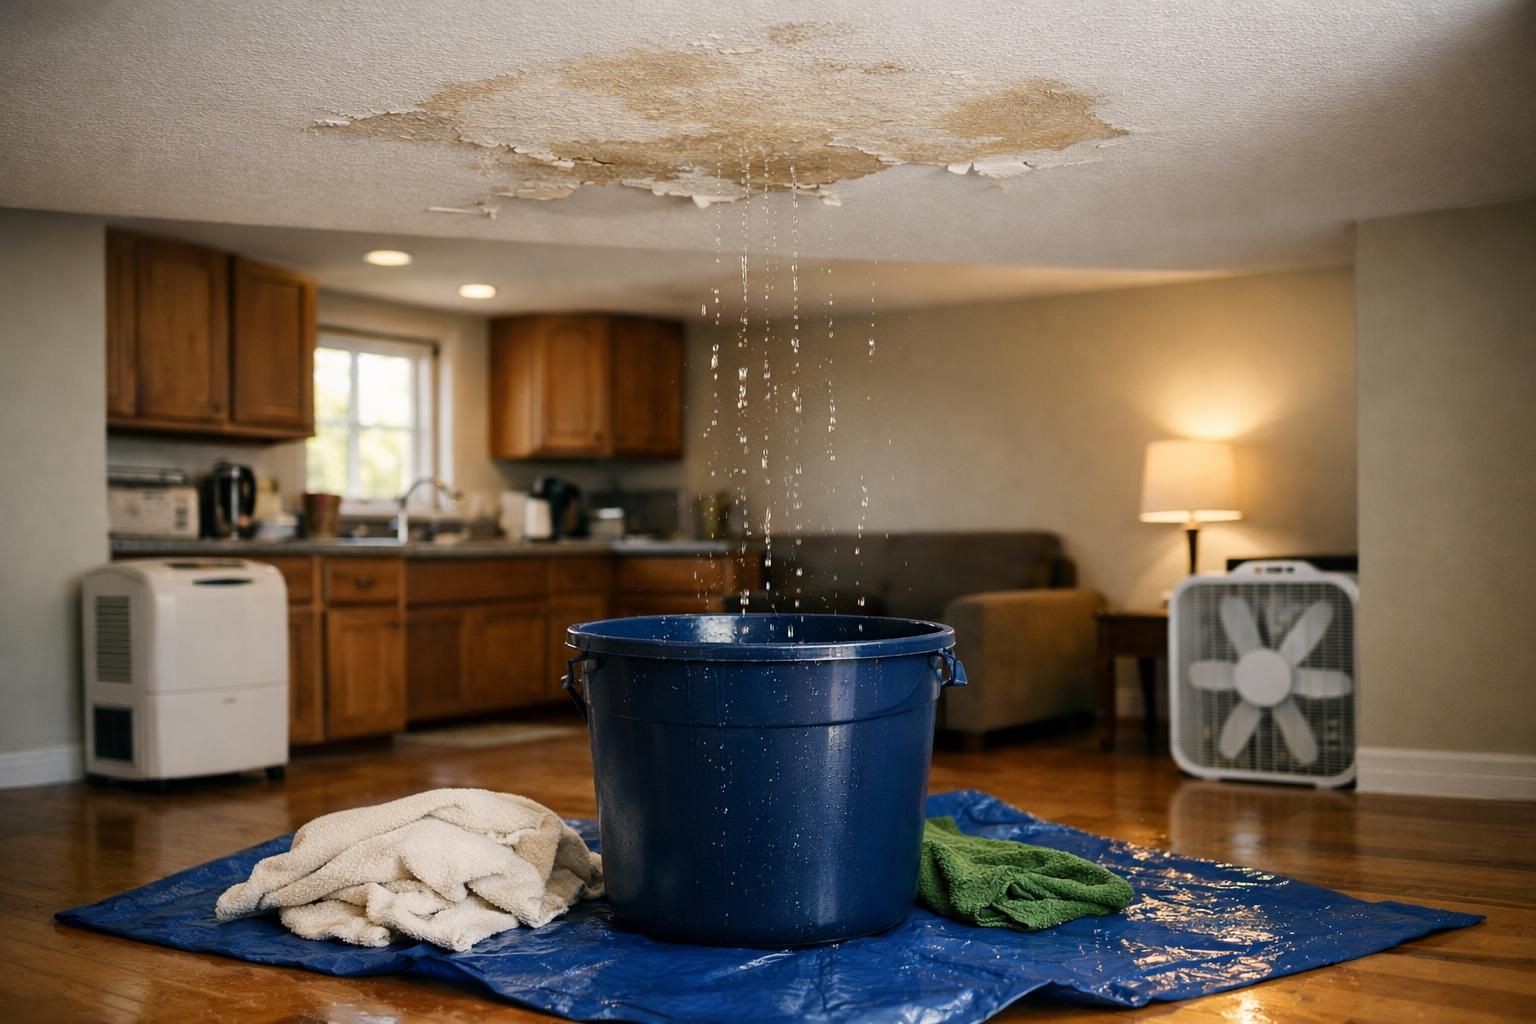
Your first priority is to stop the active leak, protect finishes, and start controlled drying before water wicks deeper into drywall and flooring. If it’s raining, assume more water is coming until you prove otherwise.
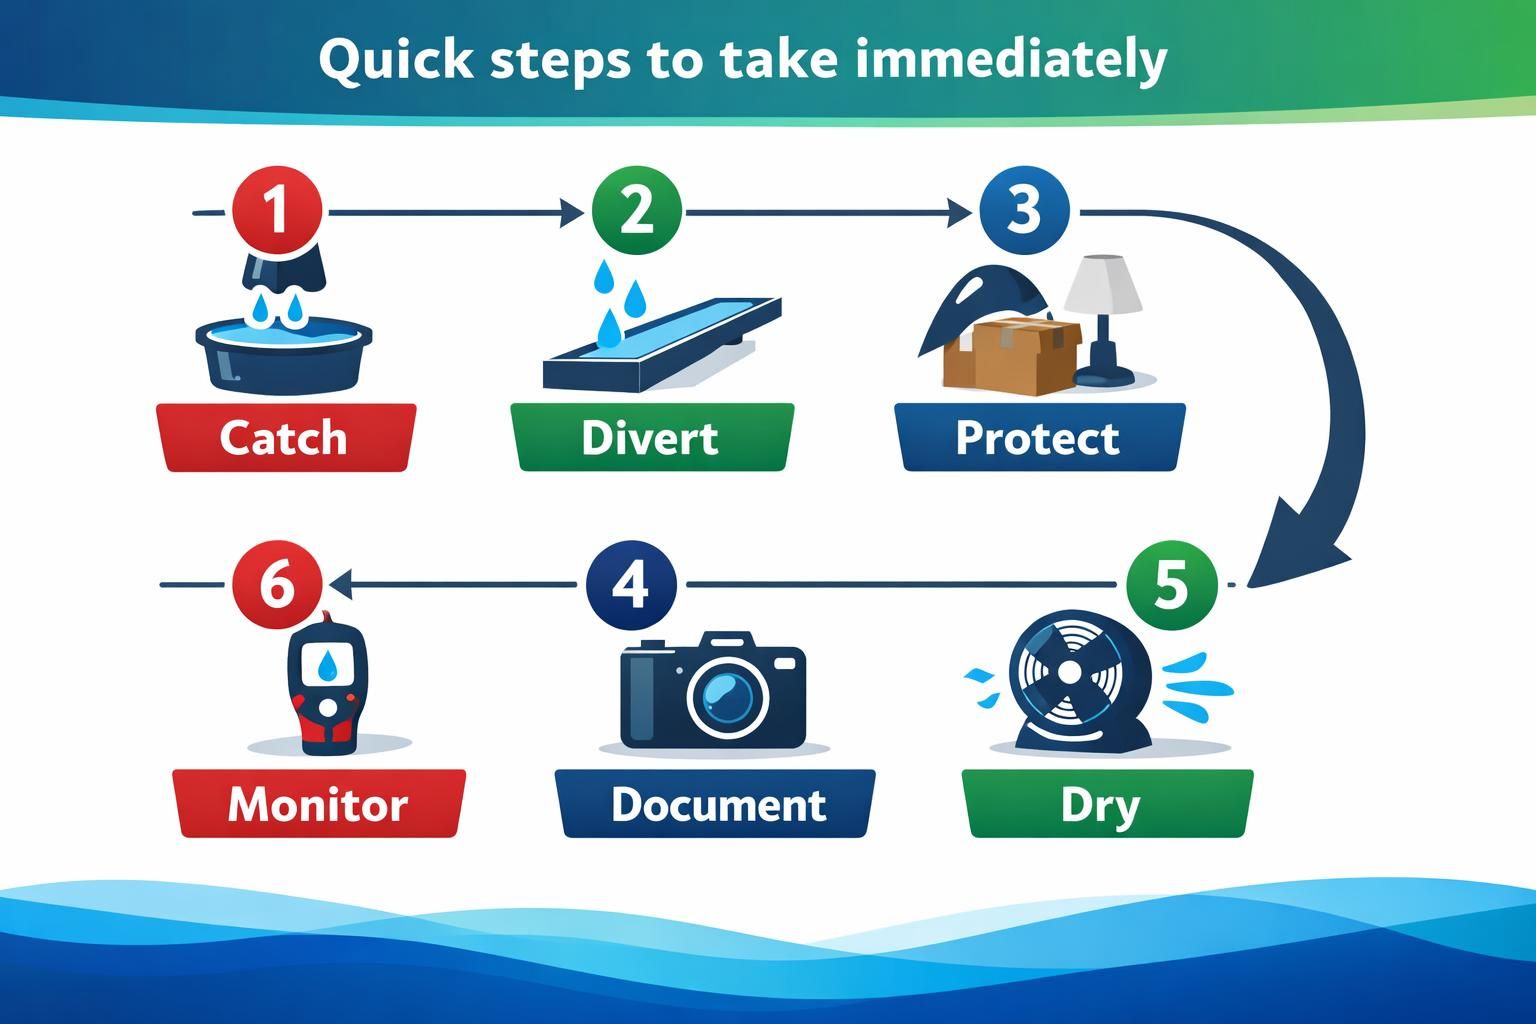
Start with a fast, simple sequence: catch, divert, document, then dry. Use towels to dam water, set a tray or shallow bin under the wettest area, and move rugs or fabric items out of the splash zone. If you can safely do it, pull blinds or curtains away from the wall so they don’t stay damp and stain.
Now do a quick inspection and note what you see. Take photos of staining, swollen trim, and any water tracks so you can compare later and communicate clearly if you call for help. If you need a bigger-picture checklist for keeping damage from migrating, this guide fits well: stop damage from spreading.
Finally, begin gentle drying right away: run a fan aimed across the wet surface (not straight into the wall), and start a dehumidifier if you have one. The goal is to lower indoor humidity and stop absorption, not to “bake” the area with heat.
Stop Water and Protect Drywall
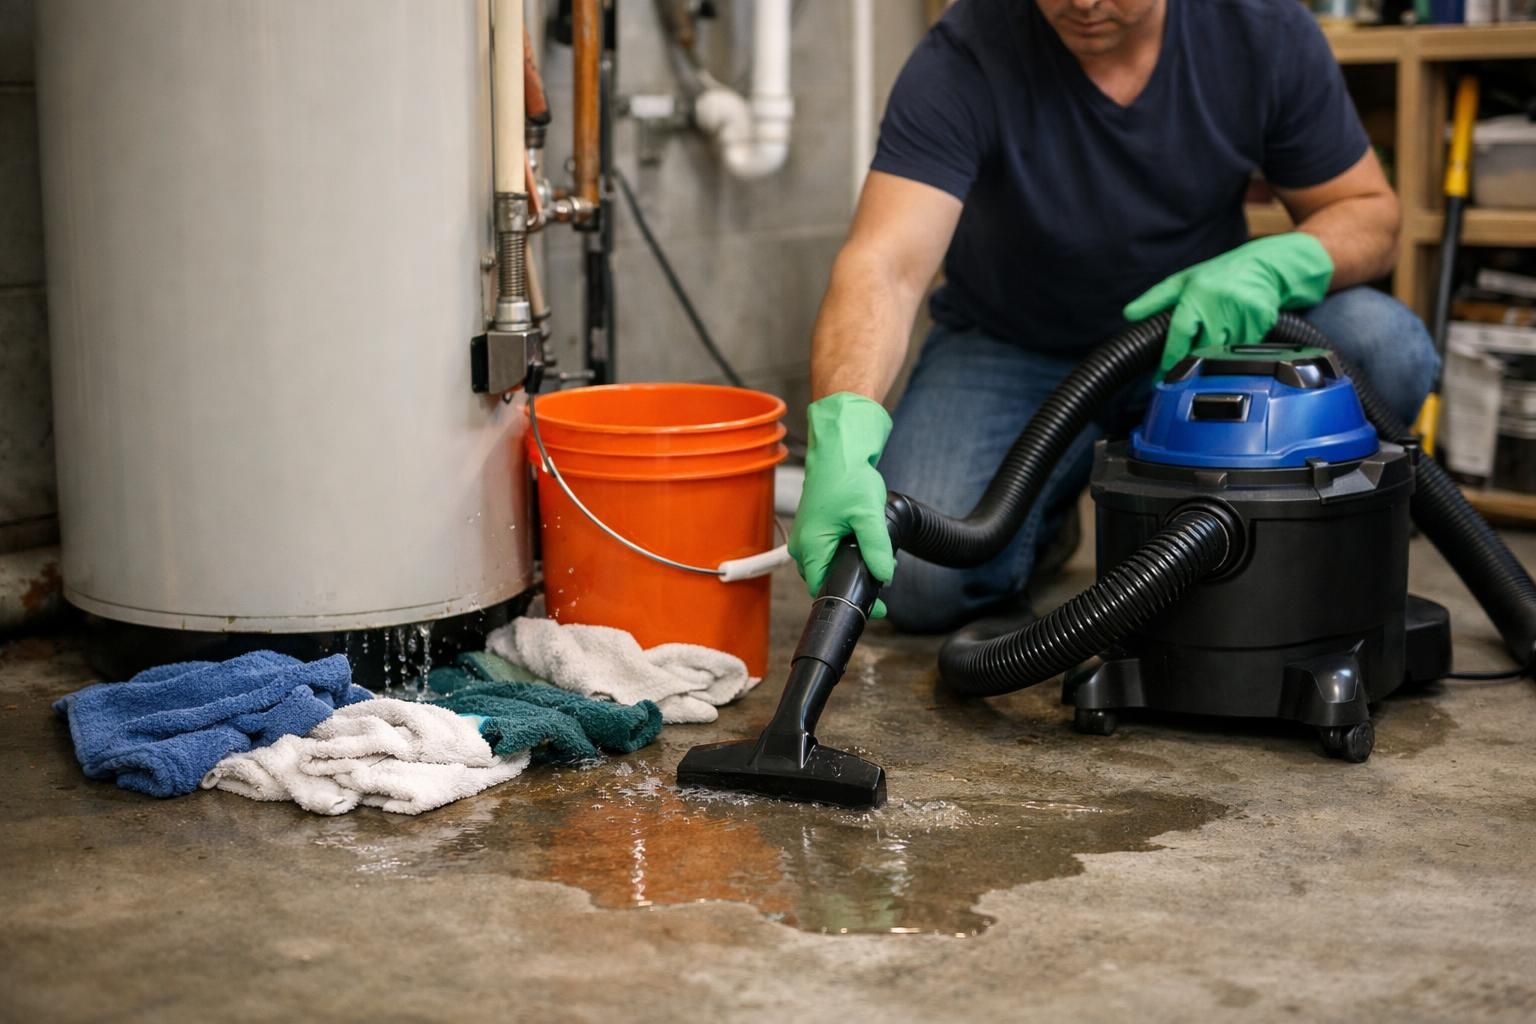
Stopping the water at the room side buys you time, but you still need to protect drywall from wicking and softening while you identify the true entry point. Start by catching and redirecting drips into a container, then keep the wettest wall area exposed to air so moisture can leave instead of spreading upward.
Use towels at the baseboard as a temporary “wick barrier,” and swap them out often so they don’t stay saturated. If paint is bubbling or drywall feels soft, avoid pressing hard or over-handling it, since wet gypsum crumbles easily. Keep furniture and rugs several feet back, because damp drywall can release moisture into the room and raise overall humidity.
Is it a Window Leak or Condensation (how to Tell)
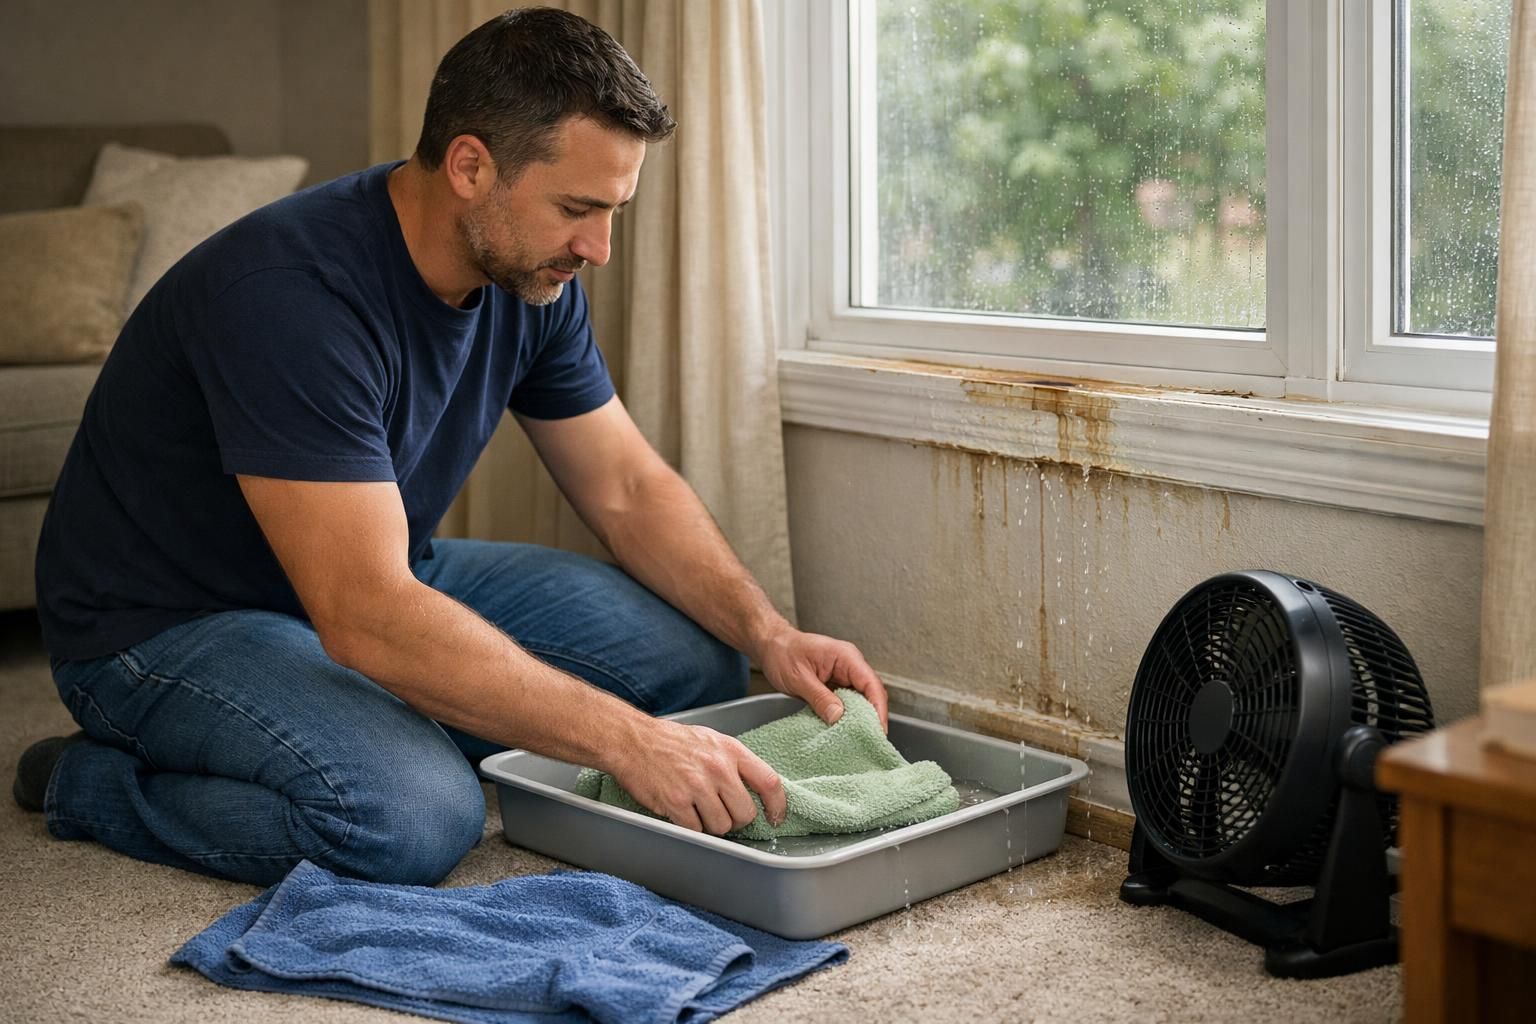
You’re dealing with a true leak when moisture shows up during rain or wind-driven storms and you find wet building materials around the opening, not just a foggy pane. Condensation can look dramatic, but it usually follows indoor humidity patterns and temperature swings.
Check timing and location. A window leak in heavy rain often shows a clear pattern: wetness at the top corners, staining that radiates from trim joints, or a drip line that starts shortly after rainfall begins. Condensation, on the other hand, is typically on the glass surface, especially along the bottom edge, and it’s worse overnight or in the morning when indoor air is warm and humid.
Do a touch and tool check:
- Wipe the glass: if water returns on the glass but trim stays dry, suspect condensation.
- Press a paper towel to drywall under the window: if it picks up moisture, treat it like a leak.
- Look for bubbling paint, soft drywall, or swollen MDF trim: those point to repeated wetting, not just surface fogging.
- Smell the area: a musty odor suggests materials are staying damp, raising window leak mold risk.
If you’re unsure, measure. A basic moisture meter can tell you whether drywall or trim is actually wet versus just feeling cool and clammy.
Common Causes (failed Seal
Most window leak water damage traces back to one of a few repeat issues: failed seals, flashing errors, siding gaps, or drainage problems at the sill. A failed seal can mean cracked exterior caulk, separated joints at the frame, or degraded glazing/trim interfaces that let wind-driven rain slip behind the exterior face. Flashing is even more critical: missing head flashing or incorrectly lapped flashing tape can direct water into the rough opening instead of out and down the wall. Gaps in siding or trim above the window can also funnel water downward inside the wall. Finally, clogged weep holes or an inward-pitched sill can trap water until it finds an interior path.
Containment Tricks That Won’t Trap Moisture
You can contain drips without sealing the wall off by creating airflow-friendly barriers. Use a shallow tray with a towel in it (the towel reduces splash), and aim a fan so air skims across the damp baseboard and lower wall.
A few practical options that work well:
- Use painter’s tape to hang a loose plastic “drip skirt” that’s open at the bottom for air.
- Put spacers (like small blocks) under a towel so air can circulate and it dries instead of staying soaked.
- If carpeting is damp at the edge, lift it slightly and slide a dry towel underneath, then swap towels frequently.
Avoid taping plastic tightly over wet drywall or trim. It feels neat, but it keeps moisture in the material longer, which is exactly what mold likes.
When to Shut Off Power Near Outlets
Shut off power when water has reached outlets, switches, baseboard heaters, or you see wet drywall directly around electrical boxes. Water can travel inside the wall and show up at an outlet lower down, so don’t assume “it’s dry there” just because you didn’t see a drip.
If you’re deciding whether to cut power broadly or just isolate a circuit, this helps you think it through safely: turn off electricity guidance. And if anything looks scorched, buzzing, or unusually warm, stop and get an electrician involved before you touch the area again.
Check for Hidden Water in the Wall Cavity and Under the Sill
Hidden moisture is the reason a small-looking leak turns into months of odor, staining, and repeated repairs. Water often runs behind trim, collects under the window stool, and then travels sideways along framing.
Start with the least invasive checks. Press along the drywall under the window and at the lower corners. Softness, a “spongy” feel, or crumbling paper facing are red flags. Look at flooring edges for swelling, darkening, or a faint tide line.
Then get more targeted:
- Use a moisture meter on drywall in a grid pattern moving away from the window.
- Check inside the window track and weep areas for standing water or clogged drains.
- Look for staining on the underside of the stool (use a mirror/flashlight).
- If accessible, inspect the exterior below the window for gaps where water can be driven inward.
If you want a broader set of symptoms to compare against, this is a useful cross-check: signs of hidden moisture. The big idea is simple: don’t trust what you can see from the room side alone.
Drying Plan: Airflow
Airflow is the fastest “first lever” for drying because it strips moisture from surfaces and helps trapped dampness migrate outward where a dehumidifier can remove it. Set fans so air moves across the wall and along the baseboard rather than blasting directly into a crack, which can push moisture deeper.
Create a controlled drying zone: close the room door, run a fan continuously, and use a dehumidifier if available to keep humidity down. Lift drapes, remove vent covers if safe, and pull furniture away to prevent dead-air pockets. Recheck damp areas daily; if the drying boundary keeps growing or readings don’t drop, moisture is likely trapped behind trim or inside the cavity and may require opening.
Drying Plan: Airflow, Dehumidification, and Moisture Checks
A good drying plan removes moisture from materials faster than it can spread, and it verifies progress instead of guessing. Fans alone help, but they work best when indoor humidity is kept low with dehumidification.
Set up airflow so it moves across wet surfaces and out of the area. Crack the window only if outdoor air is drier than indoor air; otherwise you’re importing humidity. Place a dehumidifier in the same room, close doors, and let it run steadily. If you have HVAC, running the system can help with circulation, but don’t rely on it as your only drying tool.
Now, measure and re-check. Take moisture readings at the wettest point and a “known dry” control spot several feet away. Recheck every day at first. If the numbers aren’t dropping, something’s still feeding the moisture, or it’s trapped behind finishes.
Also pay attention to smell and material behavior. Persistent mustiness, ongoing paint bubbling, or trim that keeps swelling is your cue that drying in place might not be enough.
When Trim/drywall/insulation Should Be Opened or Replaced
You should open or replace materials when they can’t dry effectively in place, when they’ve lost structural integrity, or when contamination and mold risk are increasing. Drywall that’s soft, crumbling, or swollen at seams generally doesn’t rebound to a clean, flat finish.
Insulation is the big wildcard. If fiberglass batts are wet and compressed, they dry slowly and can hold moisture against framing. If you suspect the cavity is wet, removing a small section of baseboard and cutting a neat “inspection window” in drywall under the sill can tell you a lot without demolishing the whole wall.
Replacement is usually the cleaner call when:
- MDF trim has swollen and the finish has popped off.
- Drywall has been wet repeatedly (you’ll see layered staining or paper delamination).
- Insulation is saturated or smells musty.
- You see visible microbial growth or persistent odor after drying attempts.
If you end up opening the wall, plan for a proper patch and finish sequence rather than a quick cosmetic cover-up. That same area tends to re-stain if any dampness remains in framing.
When to Call a Contractor vs a Restoration Pro
Call a contractor when the main problem is building-envelope failure you need to permanently fix, like flashing, siding integration, or a misinstalled window. A restoration pro is the better fit when you have significant wet materials that need controlled drying, monitoring, and possibly demolition to prevent ongoing damage.
Here’s a practical way to split the roles. If you’re seeing water leaking around window frame only during storms, the source is likely exterior, so a contractor who understands flashing details is key. But if the wall and floor are already wet, you may need drying equipment and moisture mapping first, otherwise repairs can trap moisture behind new finishes.
You can also use escalation triggers:
- Multiple rooms affected or water traveling along a wall: restoration first.
- One window, clear exterior entry point, minor interior dampness: contractor first.
- Musty smell, recurring staining, or prior “repairs” that didn’t last: expect both, in sequence.
If you want to know what professional drying and monitoring typically includes, this overview is a helpful primer: restoration process overview.
Prevention: Caulk
Caulk helps prevent window leak water damage when it’s used to seal the correct exterior joints and maintained before cracks turn into entry points. Start by removing loose, failed beads, cleaning the surfaces thoroughly, and using a high-quality exterior sealant compatible with the window and siding materials.
Avoid “caulking everything shut.” Many window and trim details are designed to drain, and sealing the wrong seam can trap water behind cladding or block weep paths, making leaks worse. Focus on obvious separation points where water is driven inward by wind, especially at upper trim transitions, and inspect annually for shrinkage, splitting, or gaps. If caulk fails repeatedly in the same area, treat it as a sign of a flashing or water-management issue, not just a maintenance problem.
Prevention: Caulk, Flashing, Drainage, and Maintenance
Prevention works when you focus on water management, not just sealing every gap you can see. Caulk is a maintenance item, but flashing and drainage are the system that makes windows forgiving when wind-driven rain hits.
Start outside. Look for cracked or missing sealant at transitions, but be cautious: sealing the wrong joint can block drainage paths. Keep weep holes clear, and avoid painting them shut. Check that the sill area sheds water outward, and that trim details aren’t creating a little dam.
A smart maintenance routine looks like this:
- Inspect after the first big storm each season: staining tells you where to look.
- Keep gutters and downspouts moving water away from walls near windows.
- Re-caulk only where it’s intended, and don’t bridge joints meant to drain.
- Watch for siding gaps above windows and seal them correctly, not from the inside.
If you’ve had repeat leaks, consider a contractor evaluation focused on flashing sequence and housewrap integration. That’s where “mystery leaks” usually live.
Conclusion
If you handle window leak water damage in the right order, you’ll prevent most of the expensive fallout: stop the intrusion, contain without trapping moisture, check for hidden wet spots, then dry with airflow and dehumidification while you verify progress. And if the leak tracks back to flashing or siding details, plan on fixing the exterior pathway, not just the interior symptoms. Your next step today is simple: confirm the source during the next rain or with careful testing, then decide whether drying in place is truly working.