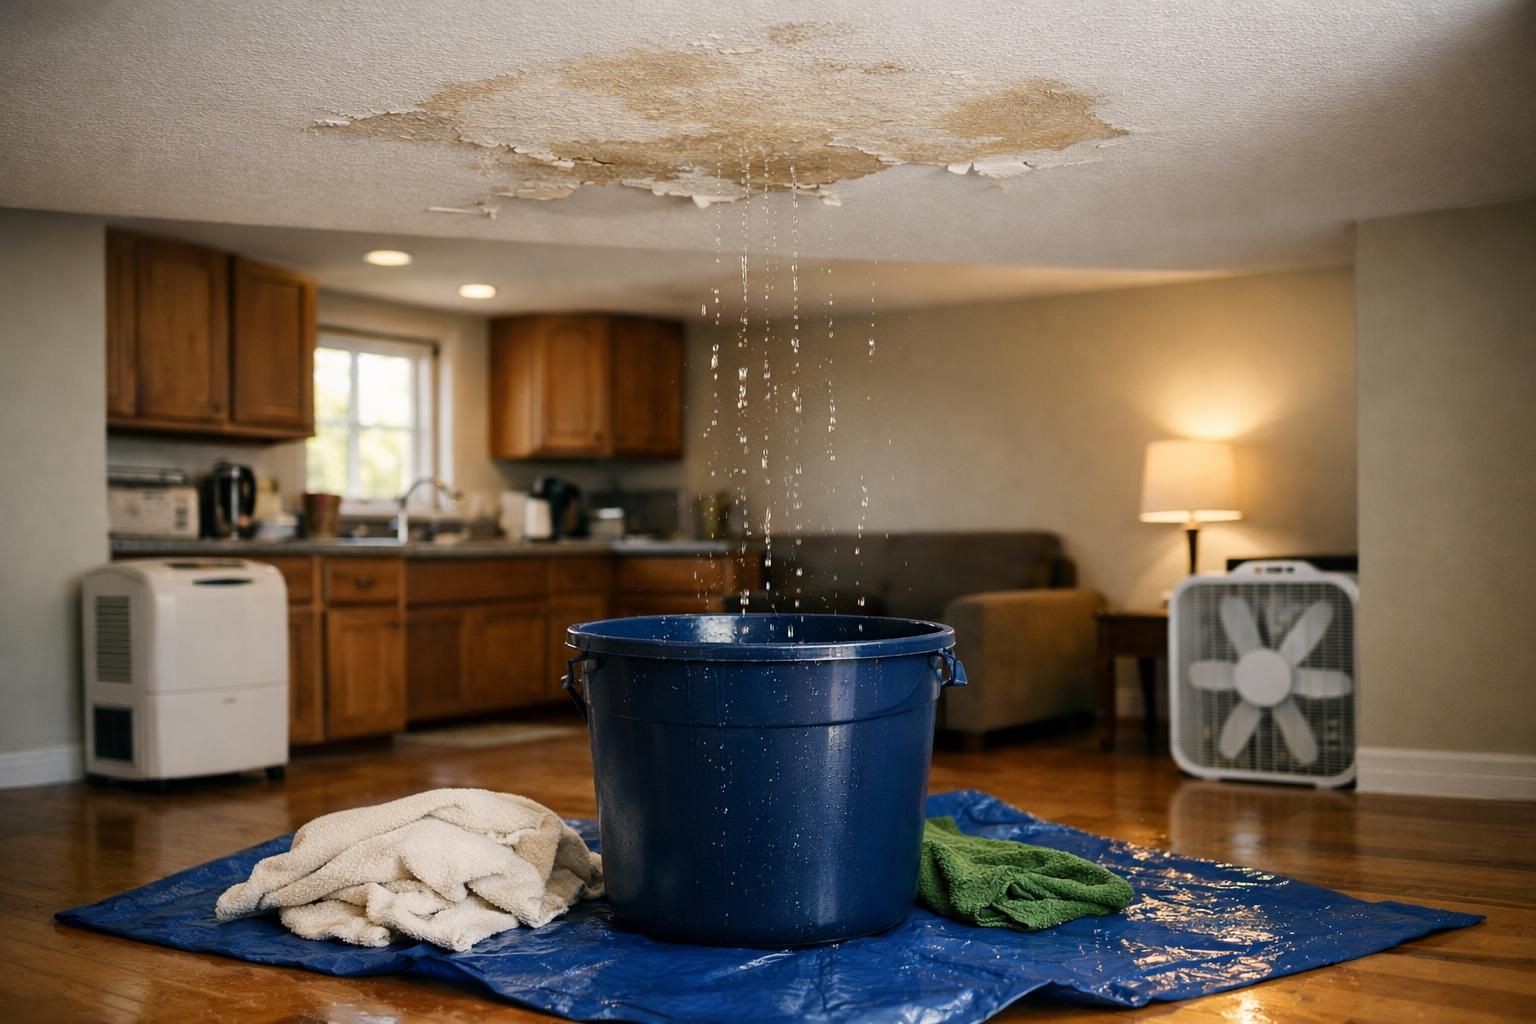
A refrigerator water line leak can go from a small puddle to serious, expensive problems fast, especially when it spreads under flooring or into cabinets where you cannot see it. Refrigerator water line leak water damage is tricky because the source is often hidden behind the unit, and the water supply may keep feeding the leak until you shut it off. In this guide, you will learn what to do in the first minutes, how to make the area safe, how to stop the leak at common failure points, and how to dry and inspect for hidden moisture. You will also get practical guidance on what can be saved, when professional help makes sense, and how to document the situation clearly.
- Shut off the water supply first, then confirm the leak has stopped
- Unplug safely and prevent slips while you work behind the refrigerator
- Dry aggressively and check for hidden water under flooring and cabinets
- Inspect the water line, fittings, and valve feeding the ice maker and dispenser
- Save materials early by protecting nearby wood, drywall, and finishes
- Document everything in case insurance or a landlord needs proof
Quick steps to take immediately
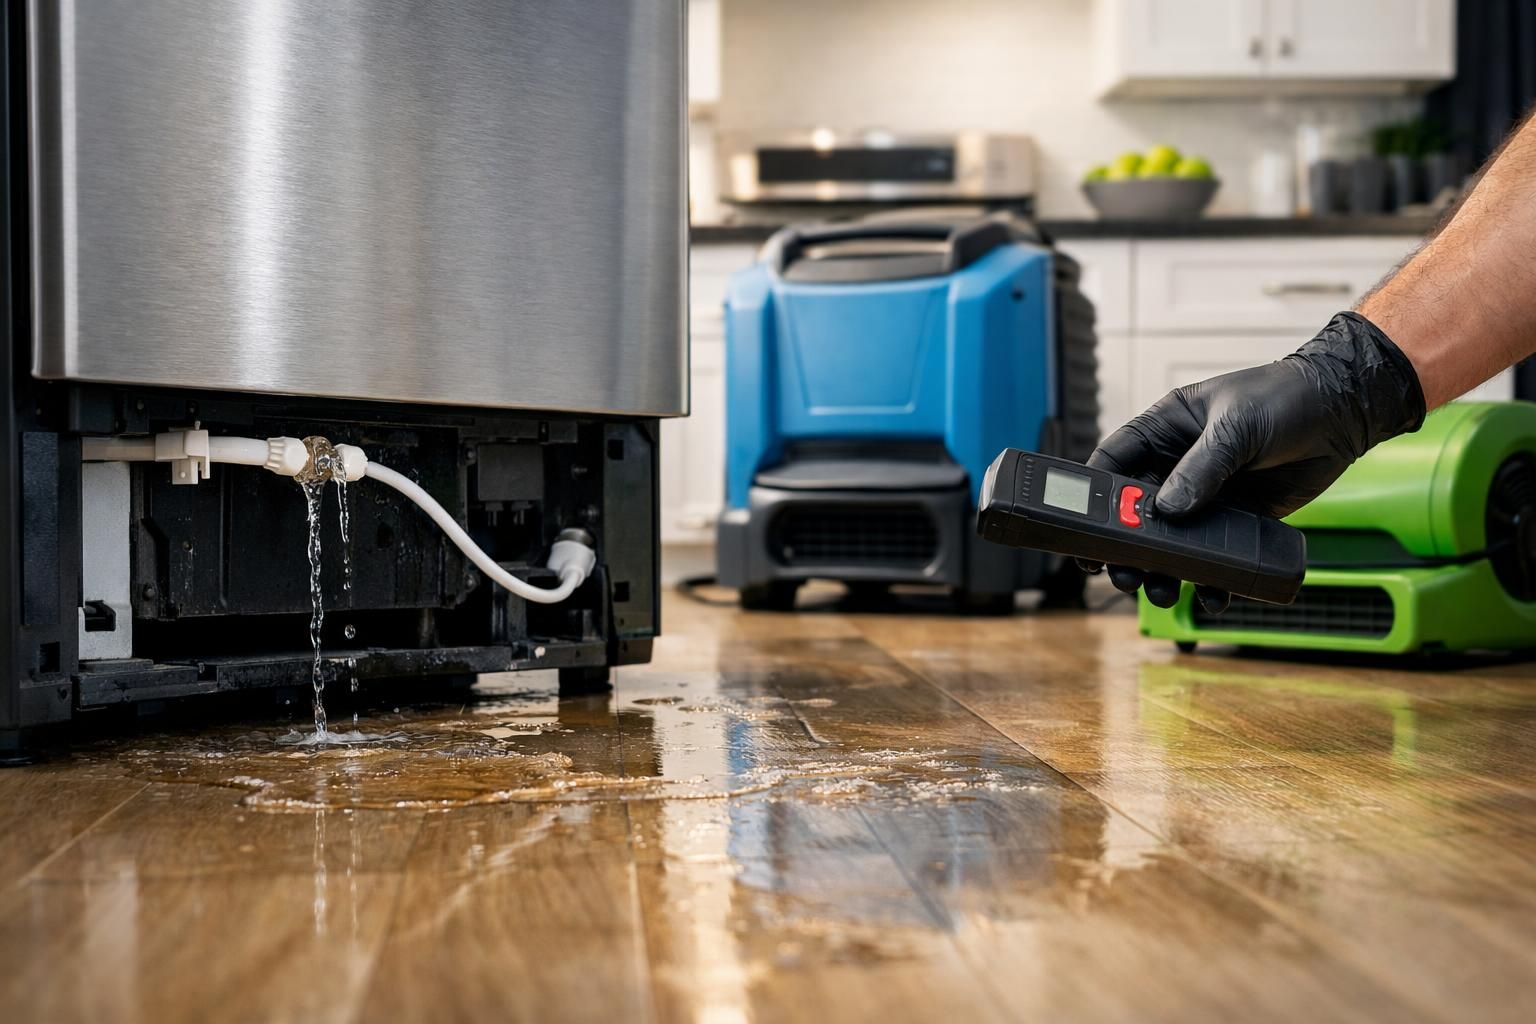
Start by locating the water shutoff that feeds the refrigerator. This is often a small valve in a nearby cabinet, behind the fridge, in the basement below, or at the main shutoff if you cannot find a dedicated valve. Turn it clockwise until it stops. Then dispense water at the fridge door (if applicable) to relieve pressure and confirm flow stops.
Next, pull the refrigerator forward carefully and look for active dripping. If you see water continuing after the valve is closed, you may be dealing with residual water in the line, a second supply path, or a drain pan overflow. Lay towels down immediately, and use a flashlight to check the line connection at the back of the fridge and at the shutoff valve end.
Safety first: electricity and slipping hazards
Water and electricity do not mix, and refrigerators are heavy enough to cause injury when you are rushing. Before reaching behind the unit, make the floor safe. Wipe up standing water, place towels for traction, and keep kids and pets out of the area. If the leak has spread near outlets, power strips, or cords, treat it as a serious hazard.
Unplug the refrigerator only when you can do it without standing in water. If the plug or outlet is wet, turn off the circuit at the breaker first. Use a flashlight rather than a corded lamp, and avoid running extension cords across damp flooring. Move slowly when pulling the unit out to avoid crushing the water line or tearing flooring.
Stop the fridge water line leak (ice maker line and fittings)
Most refrigerator water line leaking problems come from a few common points: the shutoff valve, the compression fitting at the valve, the fitting at the back of the refrigerator, or a damaged line that has been kinked or rubbed. With the water off, dry the line and fittings so you can spot the exact location of moisture returning.
Check whether the line is copper, braided stainless, or plastic. Plastic lines can crack or get pinholes, and they are easier to kink when the refrigerator is pushed back. Braided stainless lines usually fail at the fittings rather than the hose itself. Tightening a compression nut slightly can help, but do not over-tighten, since that can deform parts and worsen refrigerator water line leak damage. If you see obvious damage, plan to replace the line rather than patch it.
Useful quick checks before turning water back on:
- turn off electricity after a water leak
Remove water and protect nearby materials

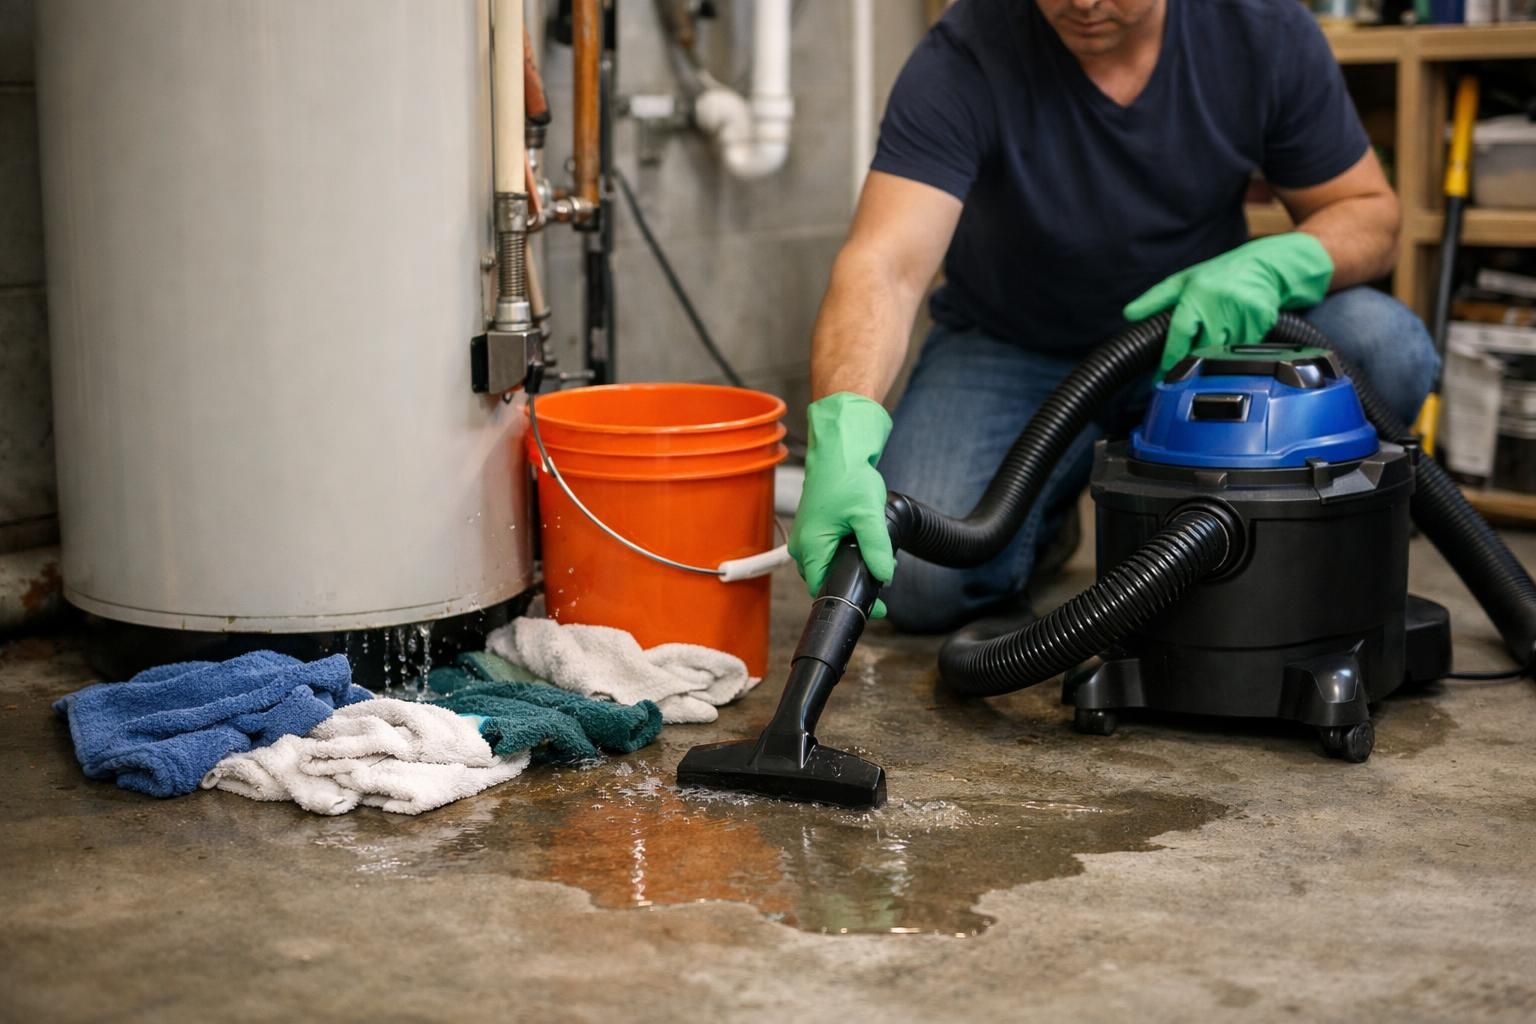
Once the leak is stopped, shift to cleanup and containment. Remove standing water with towels, then use a wet vacuum if you have one. The goal is to prevent absorption into wood, drywall, and seams in the flooring. Even small puddles can wick under cabinets and baseboards.
Protect nearby materials by lifting items off the floor, especially anything made of particleboard or cardboard. If water reached cabinetry panels, dry the surface immediately and open doors to increase airflow. Place towels along the toe kick area to catch any seepage. If water traveled under the refrigerator, check the drip pan area as well, since overflow can keep the area damp and confuse your leak tracking.
Check flooring and subfloor around the fridge
Water that disappears quickly is often moving under the finished floor. Feel the floor with your hand and foot for cold, spongy, or slightly raised areas, and look for seams that are darkening or curling. Pay attention to transitions between kitchen flooring and adjacent rooms, since water can travel along the easiest path.
If you have access below, such as a basement or crawlspace, inspect the underside of the subfloor under and around the refrigerator. Look for darkened wood, wet insulation, or damp pipes and wiring paths that could carry water. A refrigerator water line leak damage event can show up as staining later, so take notes about where you saw moisture and how far it spread.
Drying steps to prevent hidden damage and mold
Drying is not just about what you can see. Hidden pockets of moisture behind cabinets, under flooring, and inside wall cavities can linger and cause odors, swelling, and future mold. Increase airflow immediately by opening nearby cabinet doors and using fans to move air across the floor, not just into the room. If humidity is high, a dehumidifier helps pull moisture out of materials.
Keep drying for longer than you think you need. Surfaces can feel dry while the subfloor is still damp. Rotate towels, empty the dehumidifier regularly, and continue checking the same areas for returning moisture. If you smell mustiness or see discoloration spreading, that is a sign the water may be trapped and needs deeper access.
What to check behind cabinets, under flooring, and in walls
Behind cabinets, look for swelling at the bottom edges, soft spots, or separating seams where water wicked upward. Use a flashlight to inspect the toe kick gap if there is one, and feel underneath the cabinet face frame for dampness. Under flooring, check along edges and transitions, since water often pools where it hits a barrier.
In walls, water can run down behind drywall and collect at the base. Look for bubbling paint, soft drywall, or discolored caulk lines near the floor. Pay attention to any shared wall behind the refrigerator, especially if plumbing passes through it. If you have a moisture meter, it can help confirm dampness, but even without one, repeated towel dampness in the same spot is a strong clue.
When to remove baseboards, toe kicks, or flooring edges
Remove trim or access panels when drying stalls or when you see signs of trapped water. Toe kicks can hide standing water under cabinets, and baseboards can trap moisture at the drywall edge. If the floor remains cool and damp after sustained airflow, or if swelling is visible, controlled removal can prevent bigger repairs later.
Work carefully to avoid splintering or cracking. Label pieces so they go back in the same place. If flooring edges are curling or the seams are separating, you may need to lift a small section to allow airflow to the underlayment and subfloor. If you are unsure or the water spread is large, this is a point where professional drying equipment and targeted removal can reduce guesswork.
What materials are usually salvageable vs replaceable
Some materials recover well with quick action, while others deform or delaminate once wet. Solid wood trim can often be dried and reinstalled if it has not warped. Many cabinet faces and frames can be saved if water exposure was brief and drying is thorough. Vinyl and tile floors may survive if water did not reach the underlayment or seep into seams.
Materials that often require replacement include particleboard cabinet bases, swollen MDF toe kicks, wet drywall that has lost integrity, and laminate flooring that has buckled or separated. Underlayment and insulation may also need removal if they remain damp. Focus on function and stability, not just appearance, since hidden moisture can cause odors and slow deterioration even after the surface looks normal.
When to call a restoration pro
Protect nearby materials by lifting items off the floor, especially anything made of particleboard or cardboard. If water reached cabinetry panels, dry the surface immediately and open doors to increase airflow. Place towels along the toe kick area to catch any seepage. If water traveled under the refrigerator, check the drip pan area as well, since overflow can keep the area damp and confuse your leak tracking and make it harder to stop water damage from spreading.
Call a restoration professional when the affected area is larger than you can confidently dry, when water has clearly traveled under flooring or into walls, or when you cannot identify or stop the source. If the leak ran for an unknown length of time, professional moisture mapping and targeted drying can reduce the chance of long-term problems.
Call a restoration professional for emergency water damage restoration when the affected area is larger than you can confidently dry, when water has clearly traveled under flooring or into walls, or when you cannot identify or stop the source. If the leak ran for an unknown length of time, professional moisture mapping and targeted drying can reduce the chance of long-term problems.
You should also consider help if you see persistent odors, recurring dampness after drying efforts, or visible microbial growth. A pro can advise on safe removal of wet materials, set up drying equipment, and confirm when moisture levels have returned to a safer range. If you are in a rental, notify the property manager promptly and follow their process.
Prevention tips to avoid the same leak again
Prevention starts with the right line and a stress-free routing behind the refrigerator. Use a high-quality braided stainless supply line where appropriate, and avoid pushing the refrigerator back until the line is positioned in a gentle curve. Make sure the line is long enough so it is not stretched tight. Periodically pull the refrigerator out slightly to inspect for abrasion and to confirm the floor is dry.
Also check the shutoff valve condition and accessibility. A valve you cannot reach is a valve you will not close quickly during an emergency. Replace questionable valves, and consider adding a simple routine: glance behind the fridge during cleaning, listen for unusual hissing, and watch for slow drips at fittings after any appliance move or flooring work.
What to document for insurance
Documenting early helps if you need to file a claim, request reimbursement, or show a landlord what happened. Start with photos and video of the leak source, the water path, and any damaged materials, taken before you remove items or begin repairs. Then document the steps you took to stop the water and dry the area.
Drying is not just about what you can see. Hidden pockets of moisture behind cabinets, under flooring, and inside wall cavities can linger and cause odors, swelling, and future mold. Increase airflow immediately by opening nearby cabinet doors and using fans to move air across the floor, not just into the room, which is crucial for knowing how to dry a room after a water leak. If humidity is high, a dehumidifier helps pull moisture out of materials.
Keep a simple log:
- Date and time you discovered the leak and shut off the valve
- Where the water traveled and which rooms or materials were affected
- Photos of fittings, the line, and any visible swelling or staining
- Cleanup and drying actions taken, including any materials removed
- Receipts for supplies or services related to mitigation and repair
Conclusion
Refrigerator water line leak water damage is manageable when you act quickly, focus on safety, and dry beyond what is visible. Shut off the water, eliminate electrical and slip risks, pinpoint the failure point at the line or fittings, and remove moisture before it can soak into cabinets, walls, or the subfloor. Continue monitoring for hidden dampness and odors, and do not hesitate to remove small sections of trim if it improves drying access. Your next practical step is to replace any questionable supply line or fittings and verify the shutoff valve works smoothly, so the same leak does not catch you off guard again.
Date and time you discovered the leak and shut off the valve Where the water traveled and which rooms or materials were affected Photos of fittings, the line, and any visible swelling or staining Cleanup and drying actions taken, including any materials removed Receipts for supplies or services related to water damage restoration and repair